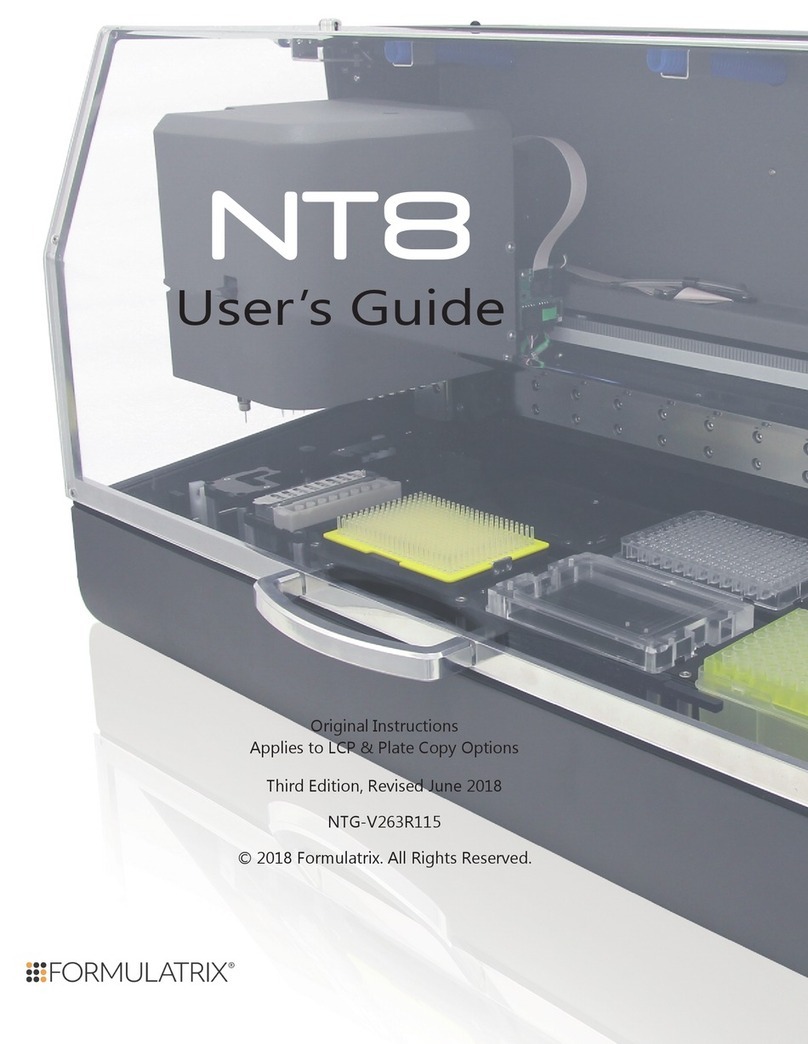
Formulatrix NT8 User manual

NT8
USER’SGUIDE
APPLIES TO LCP &
PLATE COPY OPTIONS
ORIGINAL INSTRUCTIONS


NT8
User’s Guide
Original Instructions
Second Edition
Revised June
2018
NTG-V25R314
© 2018Formulatrix. All Rights Reserved.


Formulatrix Product Information
Formulatrix.com
Formulatrix Corporate Headquarters
1254 Main Street Waltham, MA 02451 USA Phone: +1 781 788 0228
For information requests, email [email protected]. For sales inquiries, email [email protected]. For
Formulatrix European Representative
Flip Hoedemaeker
Support, Europe
Phone: +31 652 451106
Acknowledgements
The NT8 was developed in collaboration with Vadim Cherezov of The Scripps Research Institute (TSRI) and the
JCIMPT Center led by Ray Stevens and supported by the NIH Common Fund in Structural Biology.


TABLE OF CONTENTS
iv
Chapter 1: Introduction................................................................................................1
Chapter 2: Safety Information......................................................................................3
Regulatory Compliance....................................................................................................................3
Equipment Safety Guidelines.........................................................................................................3
Mechanical Hazards...........................................................................................................................4
Electrical Hazards................................................................................................................................4
Chapter 3: Requirements and Specifications..............................................................5
Computer Requirements.................................................................................................................5
Electrical Requirements....................................................................................................................6
Specifications.......................................................................................................................................6
Chapter 4: Overview......................................................................................................7
Options...................................................................................................................................................8
Chapter 5: Hardware Overview....................................................................................9
The NT8 Head....................................................................................................................................10
Accessories.........................................................................................................................................11
Chapter 6: Initial Setup...............................................................................................15
Setting Up the NT8..........................................................................................................................15
Adding Plate Types.........................................................................................................................17
Chapter 7: Configuring the Humidifiers....................................................................21
Chapter 8: Software Overview...................................................................................23
The Experiment Designer Tab.....................................................................................................23
Task List...............................................................................................................................................24
Task List Properties..........................................................................................................................25
Device View........................................................................................................................................25
Plate Library.......................................................................................................................................26
Status Bar............................................................................................................................................26
Rock Maker Integration Tab.........................................................................................................27
Chapter 9: Setting Up the NT8 Hardware..................................................................31
Installing a Low Volume Protein Block.....................................................................................31
Installing a High Volume Protein Block....................................................................................32
Installing a Low Volume Tip Caddy...........................................................................................32
Installing the Reference Plate......................................................................................................33
Installing a High Volume Tip Caddy..........................................................................................33
Installing LCP Attachments..........................................................................................................34
Chapter 10: Sitting Drop Experiment Dispenses......................................................25
Chapter 11: Hanging Drop Experiment Dispenses..................................................39
Chapter 12: Creating Daughter Plates (Plate Copying)...........................................45
Chapter 13: Mixing LCP Drops...................................................................................49

v
Chapter 14: LCP Experiment Dispenses....................................................................53
Chapter 15: Running Rock Maker Experiments with NT8........................................57
Chapter 16: System Maintenance..............................................................................59
Chapter 17: Troubleshooting and FAQs....................................................................63
Appendix A: Toolbar Buttons.....................................................................................65
Index.............................................................................................................................66

INTRODUCTION
1
Thank you for purchasing the NT8, an automated nanoliter volume liquid
handler with drop dispensing capabilities.
Your NT8 must be used in the manner described in this user’s guide. Any
other use may result in damage to your NT8 or personal injury. Formulatrix, Inc.
is not responsible in whole or in part for any damages caused by: improper use,
unauthorized alterations, adjustments or modifications, failure to comply with
the procedures outlined in the NT8 User’s Guide, or use of the products in
violation of applicable laws, rules or regulations. Except as otherwise expressly
provided in this user guide, any alteration, adjustment or modification to the
products will void the product warranty.
Read, understand and observe all safety information and instructions in this
manual before using your NT8. Please note specific safety requirements as
explained in this user’s guide. Failure to follow these instructions could result in
serious personal injury.
Please save this guide for future reference and have it available to all
operating personnel.
The NT8 is manufactured to the current technical safety-relevant regulations.

Convention Description
This icon denotes a caution and advises you of
precautions to take.
This icon denotes a prohibited action.
This icon denotes a compulsory action and advises
you of actions you must take.
This icon denotes a caution relating to electric
shock and advises you of precautions to take.
This icon denotes a fire hazard, and advises you of
precautions to take.
This icon denotes a note and alerts you to
important information.
This icon denotes a laser hazard.
This icon denotes a warning.
>
The > symbol leads you through nested menu items
and dialog box options to a final
command.
bold
Bold text denotes items you must select or click in
the software, such as menu items and dialog box
options. Bold text also denotes parameter names.
monospace Text in this font denotes text or characters you
should enter from the keyboard.
Symbols and Conventions

2
SAFETY INFORMATION
Only Formulatrix personnel are permitted to transport,
assemble, or service the NT8.
Use only parts supplied or recommended by Formulatrix in
this document or via email.
The safety recommendations in this guide are basic guidelines. If the lab
where the NT8 is to be kept has additional safety guidelines they should be
followed as well, along with all applicable national and international safety codes.
Formulatrix products are CE (Conformité Européenne) Machinery, Low
Voltage, and EMC directive compliant. If necessary, request the official
Declaration of Conformity (DOC) from Formulatrix.
●Read all safety and operating instructions before operating the
NT8.
●Do not place the NT8’s facilities connections (power, waste lines
and communications cables) where they could cause a safety
hazard.
●Do not place the product in a location where it may be subject to
physical damage.
●Ensure that all power connections to the product are properly
grounded.
●Do not remove the nameplate, or any warning, hazard, or
Equipment Identification labels.
●Turn OFF power before inserting or removing power cables.
Regulatory Compliance
Equipment Safety Guidelines

The NT8 is a complex electromechanical device. Only persons with the
proper training should service or operate the product.
All facilities to the product must be disconnected before servicing, or injury
may result from the automatic operation of the equipment.
The proper precautions for operating electrical equipment must be
observed.
Avoid damage to the power cables. Do not apply
unnecessary stress, place heavy objects on, or crush the
cables or fire may occur.
Switch off all power sources before removing connectors or
electric shock may occur.
Arrange cables in accordance with the Technical Standard
for Electric Properties and Extension Rules or fire may occur.
Do not use extension cables unless approved by Formulatrix.
Mechanical Hazards
Electrical Hazards

REQUIREMENTS AND
SPECIFICATIONS
3
The NT8 should be placed on a sturdy table that has dimensions of at least
120 cm (47.2”) wide by 80 cm (32.5”) long. The water carboy should be placed
to either the left or right of the NT8. The waste carboy should be placed under
the table.
Ambient Temperature Range: 4 °C to 30 °C.
Operating Humidity 0 - 95% non-condensing
Storage Humidity 0 - 95% non-condensing
Store the NT8 within the specified ranges of temperature and
humidity where it is not exposed to direct sunlight.
●Windows 7, Windows Vista, or Windows XP
●1 USB Port
●1 GB RAM or greater
●1 GB hard drive space
●.NET Framework 3.5
●FDTI 2.08.24
Computer Requirements

●Robotics: 100-240 V, 50-60 Hz, 130 W typical, 200 W max
●Standard or European electrical outlet
Confirm that the power supply requirements are properly met
to avoid material damage and fire.
The power supply for the system must meet or exceed electrical
requirements of the system to avoid damage and risk of fire.
Width: 653 mm (25.7”)
Depth: 511 mm (20.1”)
Height: 431 mm (16.9”)
Weight: 38 kg (83.8 lbs)
Electrical Requirements
Specifications

4
●Ultra Low Volume Dispense Head – At the core of the NT8 is an
8channelnanopipettorthatreliablydispensesdropsfrom50nLto1μL
with CVs that average 5%. The NT8’s pipette tips have a very small
geometry and a hydrophobic coating, both of which ensure precise
dispensing across the full range of reagents encountered in protein
crystallization.
●Flexible Finger Technology – In order to ensure that drops wick to the
crystallization plate, all eight tips must touch the plate. To achieve this
objective, each tip is attached to a flexible finger that can move up and
down by 0.5 mm, allowing the dispense head to contour to the slope
and flatness of each dispense surface.
Additionally, each tip has a sensor that indicates when a tip contacts a
surface. These sensors allow the NT8 to drive down to precisely the point
when all tips touch the plate.
●Plate Copy Dispense Option – The NT8’s plate copy head automatically
loads tips and can aspirate and dispense up to 200 µL.
Equipped with eight individual pressure sensors, the plate copy head
accurately detects when each tip contacts liquid, allowing the NT8 to
aspirate from just below the liquid surface. This feature prevents viscous
liquids from coating the outside of the tips and dripping while in transit
to the dispense location.
●LCP Dispense Option – The NT8’s LCP head can accurately and quickly
dispense drops of 25-200 nL. Its fully-automatic calibration system
ensures that the syringe tip is centered to within 50 µm of the target
drop location for precise drop setting, and it can dispense lipid and well
solution drops to a 96-drop LCP plate in fewer than 5 minutes.
●Collision Avoidance – The NT8 is designed to protect itself and your
samples from plate crashes caused by incorrectly positioned plates and
improper plate types. Optical encoders monitor the positioning of each
motion axis and tell the NT8 to alert you as soon as a motion error is
detected while Tip Touch Sensing surveils tip-to-plate contact and
proper tip attachment.
OVERVIEW
Key Features

The NT8 can be configured for LCP dispenses and for plate copying.
LCP
The lipid cubic phase (LCP) option includes a dispensing attachment that can
dispense LCP drops as small as 25-200 nL. The dispenser uses an 8 mm barrel syringe,
which a sensor monitors for proper positioning before dispensing begins.
The LCP model dispenses a complete 96-drop LCP plate in fewer than 6 minutes for
both the lipid drop setting well solution drop setting.
LCP models include a lipid mixer and an automatic LCP calibration system. The lipid
mixer attaches to the NT8’s deck, and is controlled by the software to ensure the right
number of mixing cycles are applied to the syringe. The automatic calibration system
ensuresthesyringetipiscenteredtowithin50μm.
PLATE COPY
The plate copy option includes a specialized head that includes a mount for HV tips.
Theplatecopyheadcanaspirateanddispenseupto200μLofreagentfromadeepwell
block to a crystallization plate. The plate copy head consists of eight positive
displacement syringes capable of dispensing viscous reagents.
TheNT8deckcanaccommodateonerackofstandard200μLpipettetipsandcan
automatically load and eject tips. While most tips are washable, plate copy tips are not
and must be disposed of after use.
Options

HARDWARE OVERVIEW
5
Using the NT8 requires a working knowledge of its components. The two major
assemblies of the NT8 are the head and the deck. Both are located on the front of the
NT8. The head primarily contains tools to aspirate and dispense liquids, and the deck
contains the plates, tip caddies, protein source(s), and the wash and waste stations.
THE NT8 DECK
1 – Waste Station. The waste station is where the NT8 disposes of LV tips.
2 – Protein Source Station. The protein source station is where
you put the assembly containing the protein block, the protein tray
containing your protein sample, and the protein block clamp. These
pieces are found in the accessory kit. The NT8 supports low volume
(LV) and high volume (HV) protein blocks.
The protein source has three columns of eight drops each (24
total), each well capable of holding 3 µL (LV protein block) or 13
µL (HV protein block).
3 – Wash Station. The wash station is where the NT8 washes
LV tips. The wash station draws water from the water carboy
included in your accessory kit.
Figure 5-2. Protein block.
Figure 5-1. NT8 hardware overview.

4 – Low Volume Tip Caddy Station. The low volume (LV) tip caddy station is where
you place the LV tip caddy, which contains 384 LV tips.
5A, 5B, 5C – Microplate Stations. The NT8 has three designated areas for SBS
footprint microplates. Up to three microplates may be placed on the NT8 at once. Station
5C is also used for HV protein blocks.
6 – High Volume Tip Caddy Station. The high volume (HV) tip caddy station is
where you put the HV tip caddy, which contains 96 200 µL tips. HV tips are used during
plate copy or daughter plate creation experiments.
7 – Deep Well Station. The deep well station is where you place deep well blocks,
which are used in plate copy or daughter plate creation experiments.
THE NT8 HEAD
The NT8 contains the attachments for both LV and HV tips1, as well as LCP tools if
your NT8 is equipped with LCP functionality. The tips are numbered 1-8, tip 1 being
closest to the back of the NT8, and tip 8 being closest to the front.
Each tip has its own sensor indicator. When a tip makes contact with a liquid or plate
surface, the blue sensor lights turn off.
●LV tips are located at the bottom-left of the NT8’s head.
●HV tips are located at the bottom-right of the NT8’s head.
●If you have the LCP option, an LCP lever is located on the front of the NT8’s head.
The LCP syringe mount, compatible with Hamilton LCP syringes, is found on
the left side.
¹ HV tips are part of the Plate Copy option.
Figure 5-3. NT8 head.

Most of the accessories found in the accessory kit are available through the
online Formulatrix accessories store, available at www.formulatrix.com/store.
●Low Volume Tips – LV tips are sold by a case of 10 tip
boxes that contain 384 tips each, or in a master case that
contains 10 cases of 10 tip boxes.
●Disposable Protein Trays – Disposable protein trays
come in packs of 100 trays.
●LCP Starter Kit – The LCP starter kit includes one
monoolein, an LCP syringe coupler, six short 26 gauge
needles, five LCP sandwich plates and seals, and two 100
µL syringes. Note: Your NT8 must be equipped with the LCP
option in order for it to work with the LCP starter kit.
●LCP Syringe Coupler – The LCP syringe coupler connects two
LCP syringes.
●Plate Copy Pipette Tips – Plate copy, or HV, tips are used
for plate copy or daughter plate creation experiments.
●Protein Block – A replacement part for the protein block
that contains protein trays.
Accessories
Figure 5-4. LV tip box.
Figure 5-6. LCP starter kit.
Figure 5-7. LCP
syringe coupler.
Figure 5-8. Plate copy,
a.k.a HV tips.
Figure 5-5. Protein trays.
Figure 5-9. Protein
block.

●High Volume Protein Block – A
replacement part or optional accessory
to support experiments that need more
protein than a Low Volume Protein Block
is designed to hold.
●Reference Plate – The reference plate is a clear
plate that has crosshairs located at each corner.
The crosshairs are targets for you to use if you
need to tune drop position. The NT8’s software
then determines the remaining drop positions
from these four points.
●HD Seal Jig Transfer – The HD seal jig transfer is
used to attach the HD seal to a microplate. It is
used in hanging drop experiments.
●Ball Point Hex Keys – Also known as an Allen wrench, ball point
hex keys are included for troubleshooting purposes. They can
also be used to tighten and loosen shipping bolts.
●Power Cable – The power cable is approximately 15
feet long, and is used to conduct power to your NT8.
Figure 5-10. Reference plate.
Figure 5-11. HD seal jig transfer.
Figure 5-12. Ball point hex keys.
Figure 5-13. Power cable.
Figure 5-10. High Volume Protein Block.
Other manuals for NT8
1
Table of contents
Other Formulatrix Medical Equipment manuals
Popular Medical Equipment manuals by other brands
Synrad
Synrad Firestar TI Series Operator's manual
Ohio Medical
Ohio Medical Push-To-Set PTS-ISU Service manual
Johnson & Johnson
Johnson & Johnson Biosense Webster LASSO 2515 Instructions for use

Ofa Bamberg
Ofa Bamberg memory Instructions for use
MedRx
MedRx Avant A2D+ Training manual
Otto Bock
Otto Bock 1E58 Instructions for use
