manuals.online logo
Brands
  1. Home
  2. •
  3. Brands
  4. •
  5. Franke
  6. •
  7. Outdoor Fountain
  8. •
  9. Franke KEPAC User manual

Franke KEPAC User manual

10112 036865-001
Drinking Fountain
MoDels: kePaC, kePFaC, kePF8aC, keP8aCee, kePV8aC
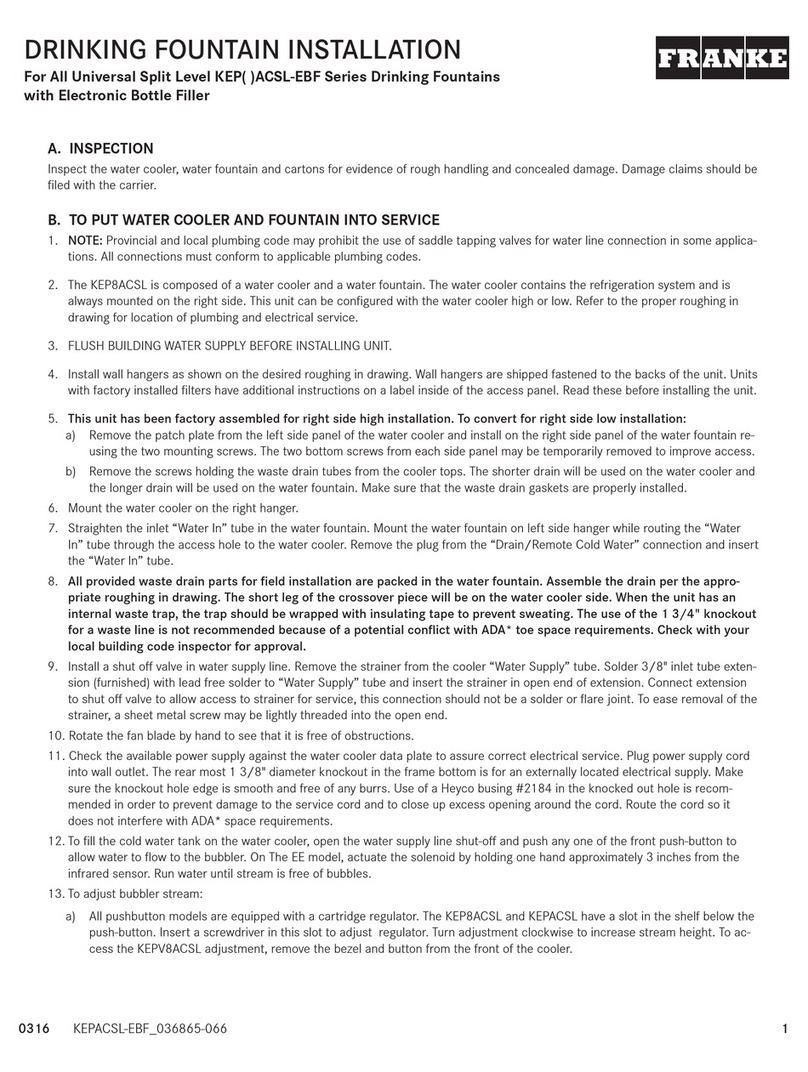
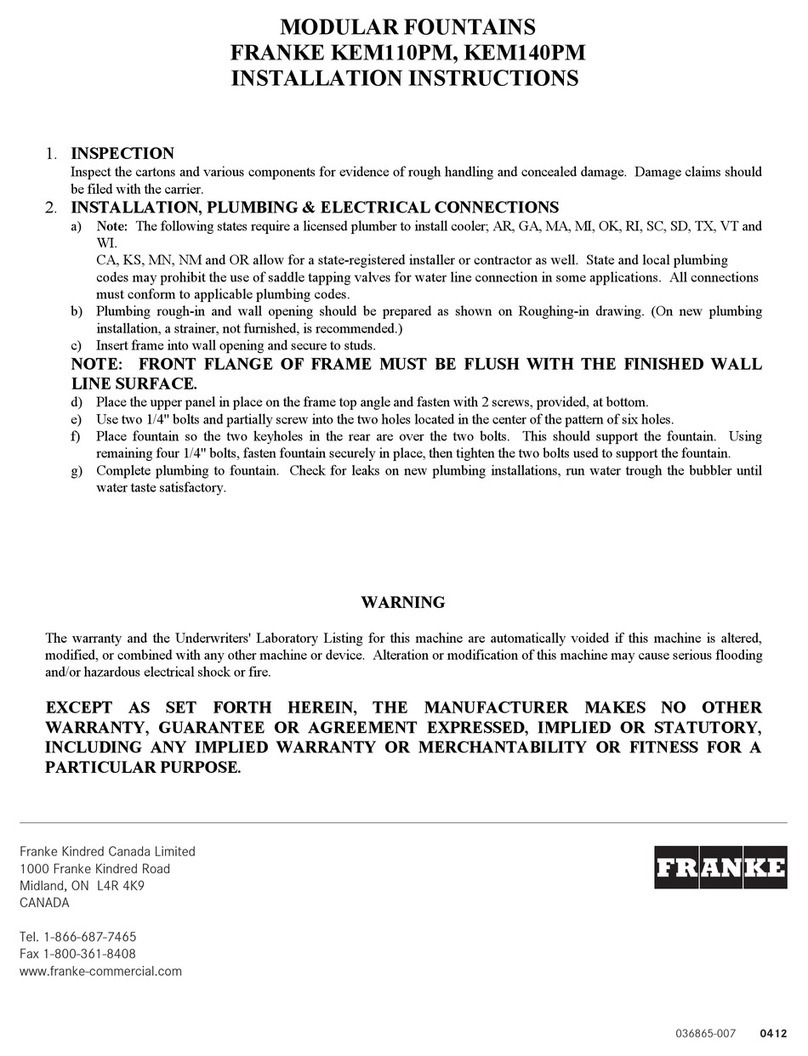
a. insPeCtion
Inspect the carton and water cooler for evidence of rough handling and concealed damage. Damage claims should be filed with carrier.
B. to Put Water Cooler anD Fountain into serViCe
1. NOTE: The following states require a licensed plumber to install cooler; AR, GA, MA, MI, OK, RI, SC, SD, TX, VT and WI. CA, KS, MN, NM and
OR allow for a state, registered installer or contractor as well. State and local plumbing codes may prohibit use of saddle taping valves for
water line connection in some applications. All connections must conform to applicable plumbing codes.
2. Locate and install plumbing and electrical service if required, in accordance with the Roughing-in Drawing. Filter units have additional
instructions on a label inside the access panel. Read these before installing unit.
3. FLUSH BUILDING WATER SUPPLY LINE BEFORE INSTALLING UNIT.
4. Install unit on the wall hanger. Wall hanger is shipped fastened to the back of the unit.
5. Install a trap in the waste line and a shut off valve in the water supply line. An in-line strainer is furnished in the “Water Supply” tube.
Connect the “Water Supply” tube to the shut off valve. This connection should not be a solder joint or flare connection to allow access to the
strainer for service. To ease removal of the strainer, a sheet metal screw may be lightly threaded into the open end. When the unit has an
internal waste trap, the trap should be wrapped with the insulating tape to prevent sweating. Use of the 1 3/4" diameter knockout for a waste
line is not recommended because of a potential conflict with ADA* toe spaceclearance requirements. Check your local building code
inspector for approval.
6. Rotate the fan blade by hand to see that it is free of obstructions.
7. Check the available power supply against the water cooler data plate to assure the correct electrical service. Plug power supply cord
into wall outlet. The rear most 1 3/8" diameter knockout in the frame bottom is for an externally located electrical supply. Make sure the
knockout hold edge is smooth and free of any burrs. Use of a Heyco bushing #2184 in the knocked out hole is recommended in order to
prevent damage to the service cord and to close up excess opening around the cord. Route the cord so it does not interfere with ADA*
space requirements.
8. To fill cold water tank on water cooler versions, open water supply line shut-off and push any one of the front or side pushbuttons
to allow water to flow to the bubbler. On the EE model, actuate the solenoid by holding one hand approximately 3" from the infrared
sensor. Run water until stream free of bubbles.
9. To Adjust Bubbler:
a) All Pushbutton models are equipped with a Cartridge Regulator. The KEP8AC, KEPAC, KEPF8AC, and KEPFAC have a slot in the shelf below
the Pushbuttons. Insert a screwdriver in the slot to adjust regulator. Turn adjustment clockwise to increase stream height. To access the
PV8AC adjustment, remove the Bezel and Button from the front of the cooler.
b) Electric Eye (EE) models have a Regulator built into the the Bubbler. If adjustment is needed, insert a 5/64" wrench approximately 1 1/8"
into the bubbler nozzle opening until it bottoms out and is seated in an adjust screw. Turn the adjust screw clockwise to reduce stream
height or counter clockwise to increase the height. NOTE: less than one turn is required to go from a closed to a wide open flow. Do not
over tighten the adjuster in the closed position as stripping the hex impression in the adjust screw may result. Turn the adjuster 1/16 of
a turn at a time.
10. On electic eye equipped models, place and then hold hand approximately 3" from the sensor to actuate the solenoid valve. After
approximately 30 seconds run time, the sensor will automatically shut off the solenoid valve. To reactivate, move hand away for an
instant and then again place it in front of the sensor.
2036865-001 0112 30112 036865-001
Drinking Fountain
MoDels: kePaC, kePFaC, kePF8aC, keP8aCee, kePV8aC
Drinking Fountain
MoDels: kePaC, kePFaC, kePF8aC, keP8aCee, kePV8aC
11. To adjust the beam range of the sensor (EE models only):
a) Shut off water and power supplies.
b) Remove the four screws from the top front.
c) Remove the eight screws from the bottom of the nose that holds the nose to the shelf.
d) Remove the nose to gain access to the sensor adjusting screw located between the two lenses.
e) The screw can be tuned a maximum of 3/4 turns. Turn screw counterclockwise to decrease range. The sensor has an adjustable range of
24" to 48". It is factory set at 27". There is a non-adjustable on-time delay of 0.75 seconds to prevent nuisance actuation of the solenoid
valve should someone walk by. NOTE: Walls with a reflective finish i.e., ceramic tile, across from the sensor may cause false actuation no
matter what the sensor adjustment is for distance. Therefore, do not install the unit in such an area or dull the surface of the wall so it will
not reflect light.
f) The Sensor may be remotely adjust with a PDA. Software may be downloaded from the Franke web site Tech Tips Section.
C. MaintenanCe
The only maintenance operation required is the removal of dirt and lint from the condenser where used. Inspection should be made at 3-month
intervals. Disconnect the power supply cord, then clean the condenser with a small stiff non-wire or vacuum cleaner attachment brush when
required. Observance if this procedure will insure adequate air circulation through the condenser so operation is efficient and economical.
D. oVerloaD ProteCtion
The compressor motor, where used, is equipped with an automatic reset protector which will disconnect the motor from the line in
case of an overload.
e. luBriCation
This unit is equipped with a hermetically sealed compressor and requires no additional lubrication. The fan motor, where used, on this unit
seldom needs oiling, but if required, a few drops of SAE 10 oil should be used.
F. to DisContinue use oF Water Cooler
1. Close water shut-off valve.
2. Provide container to catch water to be drained.
3. On the push button model, disconnect the water supply line at the shut off valve and remove the tank drain plug. Actuate and hold in the
pushbutton to open the solenoid valve and completely drain the cooler. Disconnect the power supply cord.
4. On the EE model, disconnect the water supply line at the shut off valve and remove the tank drain plug. Actuate the solenoid, as explained in
Step B-7 to completely drain the cooler. Disconnect the power supply cord.
5. Replace plug when draining is complete.
6. ALWAYS DRAIN ALL WATER WHEN FREEZING TEMPERATURES ARE ANTICIPATED AND BEFORE SHIPPING THE WATER COOLER.
*American With Disabilities Act
The warranty and the Underwriters’ Laboratory Listing for this machine are automatically voided if this machine is altered, modified,
or combined with any other machine or device. Alteration or modification of this machine may cause serious flooding and/or hazardous electrical
shock or fire. EXCEPT AS SET FORTH HEREIN, THE MANUFACTURER MAKES NO OTHER WARRANTY, GUARANTEE OR AGREEMENT EXPRESSED,
IMPLIED OR STATUTORY, INCLUDING ANY IMPLIED WARRANTY OR MERCHANT ABILITY OR FITNESS FOR A PARTICULAR PURPOSE.
Warning
OPTIONAL - GLASSFILLER
LOCATION
KEPF SERIES
FILTER LOCATION
17 5/8
[448]
PUSH PADS
NON-ELECTRONIC
EYE MODELS ONLY
ELECTRONIC EYE
MODELS ONLY
5/16 [8] HANGER
MOUNTING HOLES,
2PLCS. 5 3/16
[132]
4 1/32
[102]
8 1/4
[209]
1 1/4 O.D.
TAILPIECE
3/8 O.D.
WATER INLET
WITH STRAINER
AIR
FLOW
1/2 [13]
*33
[838]
ORIFICE
*29 5/16
[744]
*21 1/4
[540]
*18 1/16
[459]
*17
[432]
*16 1/2
[419]
7
[178]
15 7/16 [392]
4
[102]
1
[25]
1/4 [6] MOUNTING
HOLES, 4 PLCS.
*19 31/32
[507]
*13 9/32
[337]
6 7/32
[158]
7 1/16
[179]
THIRD ANGLE PROJECTION ROUGHING-IN
AND
DIMENSIONAL DRAWING
1/2 [13] 21/4 [57]
7 23/32
[196]
12 3/4
[324]
6 3/8 [162]
5 1/4 [133]
3 15/16
[84]
1 1/2 [38]
14 1/8
[359]
*27
[686]
25/32
[20]
3/8 WATER SUPPLY
OPTIMUM LOCATION
STUB OUT 1[25] INCH
ELECTRICAL
OUTLET OPTIMUM
LOCATION
18 29/32
[480]
T15 DRIVE SIZE
TORX HEAD SCREWS
1 1/4 IPS WASTE
OPTIMUM LOCATION
STUB OUT 1 [25] INCH
KEPV8AC PUSH BUTTON
18 5/8 [473]
NOTES:
1. TRAP, STOP VALVE AND ELECTRICAL OUTLET NOT FURNISHED.
2. ALLOW 4 INCHES [102 MM] MIN. PER SIDE FOR VENTILATION.
* 3. RECOMMENDED ADULT BARRIER FREE HEIGHT INSTALLATION
SHOWN. REDUCE HEIGHT BY 3 INCHES FOR INSTALLATIONS
USED PRIMARILY BY CHILDREN AGES 12 AND YOUNGER. UNIT
SHALL ALSO HAVE A MINIMUM CLEAR FLOOR SPACE 30[760]
BY 48 [1220]. ADJUST VERTICAL DIMENSIONS AS REQ’D TO
COMPLY WITH FEDERAL, STATE, AND LOCAL CODES.
4. ALL DIMENSIONS ARE IN INCHES. DIMENSIONS IN BRACKETS
[ ] ARE IN MILLIMETERS.
KEPFAC/KEPF8AC(EE) FILTER
036865-001 0112
Franke Kindred Canada Limited
1000 Franke Kindred Road
Midland, ON L4R 4K9
CANADA
Tel. 1-866-687-7465
Fax 1-800-361-8408
www.franke-commercial.com

This manual suits for next models

4

Other Franke Outdoor Fountain manuals

Franke ANIMA ANMX32L User manual

Franke

Franke ANIMA ANMX32L User manual

Franke ANMX330 User manual

Franke

Franke ANMX330 User manual

Franke KEPWSMSBF-STN User manual

Franke

Franke KEPWSMSBF-STN User manual

Franke KEM110PM User manual

Franke

Franke KEM110PM User manual

Franke KEP ACSL-EBF Series User manual

Franke

Franke KEP ACSL-EBF Series User manual

Popular Outdoor Fountain manuals by other brands

Elkay EDFPB114C Installation & use manual

Elkay

Elkay EDFPB114C Installation & use manual

Elkay FLEXI-GUARD DRKR14RC Installation, care & use manual

Elkay

Elkay FLEXI-GUARD DRKR14RC Installation, care & use manual

Murdock A172-SO Series Installation & maintenance instructions

Murdock

Murdock A172-SO Series Installation & maintenance instructions

Urban BF200 Installation, operation and maintenance instructions

Urban

Urban BF200 Installation, operation and maintenance instructions

Massarelli 3417 Setup instructions

Massarelli

Massarelli 3417 Setup instructions

AquaScape 39000 installation instructions

AquaScape

AquaScape 39000 installation instructions

Campania International Zen III FT-242 Assembly instructions

Campania International

Campania International Zen III FT-242 Assembly instructions

Campania International M-101 Assembly instructions

Campania International

Campania International M-101 Assembly instructions

Elkay VRCTL 8 1D Series Installation, care & use manual

Elkay

Elkay VRCTL 8 1D Series Installation, care & use manual

Jeco FCL081 quick start guide

Jeco

Jeco FCL081 quick start guide

Campania International Marais FT-313 Assembly instructions

Campania International

Campania International Marais FT-313 Assembly instructions

Alpine CPS182 owner's manual

Alpine

Alpine CPS182 owner's manual

Kenroy Home TUCSON Care and instructions manual

Kenroy Home

Kenroy Home TUCSON Care and instructions manual

Sunnydaze Decor SSS-326 manual

Sunnydaze Decor

Sunnydaze Decor SSS-326 manual

Murdock M-OBR4-GRD-FRA3 Series Installation & maintenance instructions

Murdock

Murdock M-OBR4-GRD-FRA3 Series Installation & maintenance instructions

ENQUATICS AquaMaster Masters Decorative Series owner's manual

ENQUATICS

ENQUATICS AquaMaster Masters Decorative Series owner's manual

LuxenHome WHF1741 instruction manual

LuxenHome

LuxenHome WHF1741 instruction manual

LuxenHome WHF925 instruction manual

LuxenHome

LuxenHome WHF925 instruction manual

manuals.online logo
manuals.online logoBrands
  • About & Mission
  • Contact us
  • Privacy Policy
  • Terms and Conditions

Copyright 2025 Manuals.Online. All Rights Reserved.