TGA100/TGA200 Rev0305
2
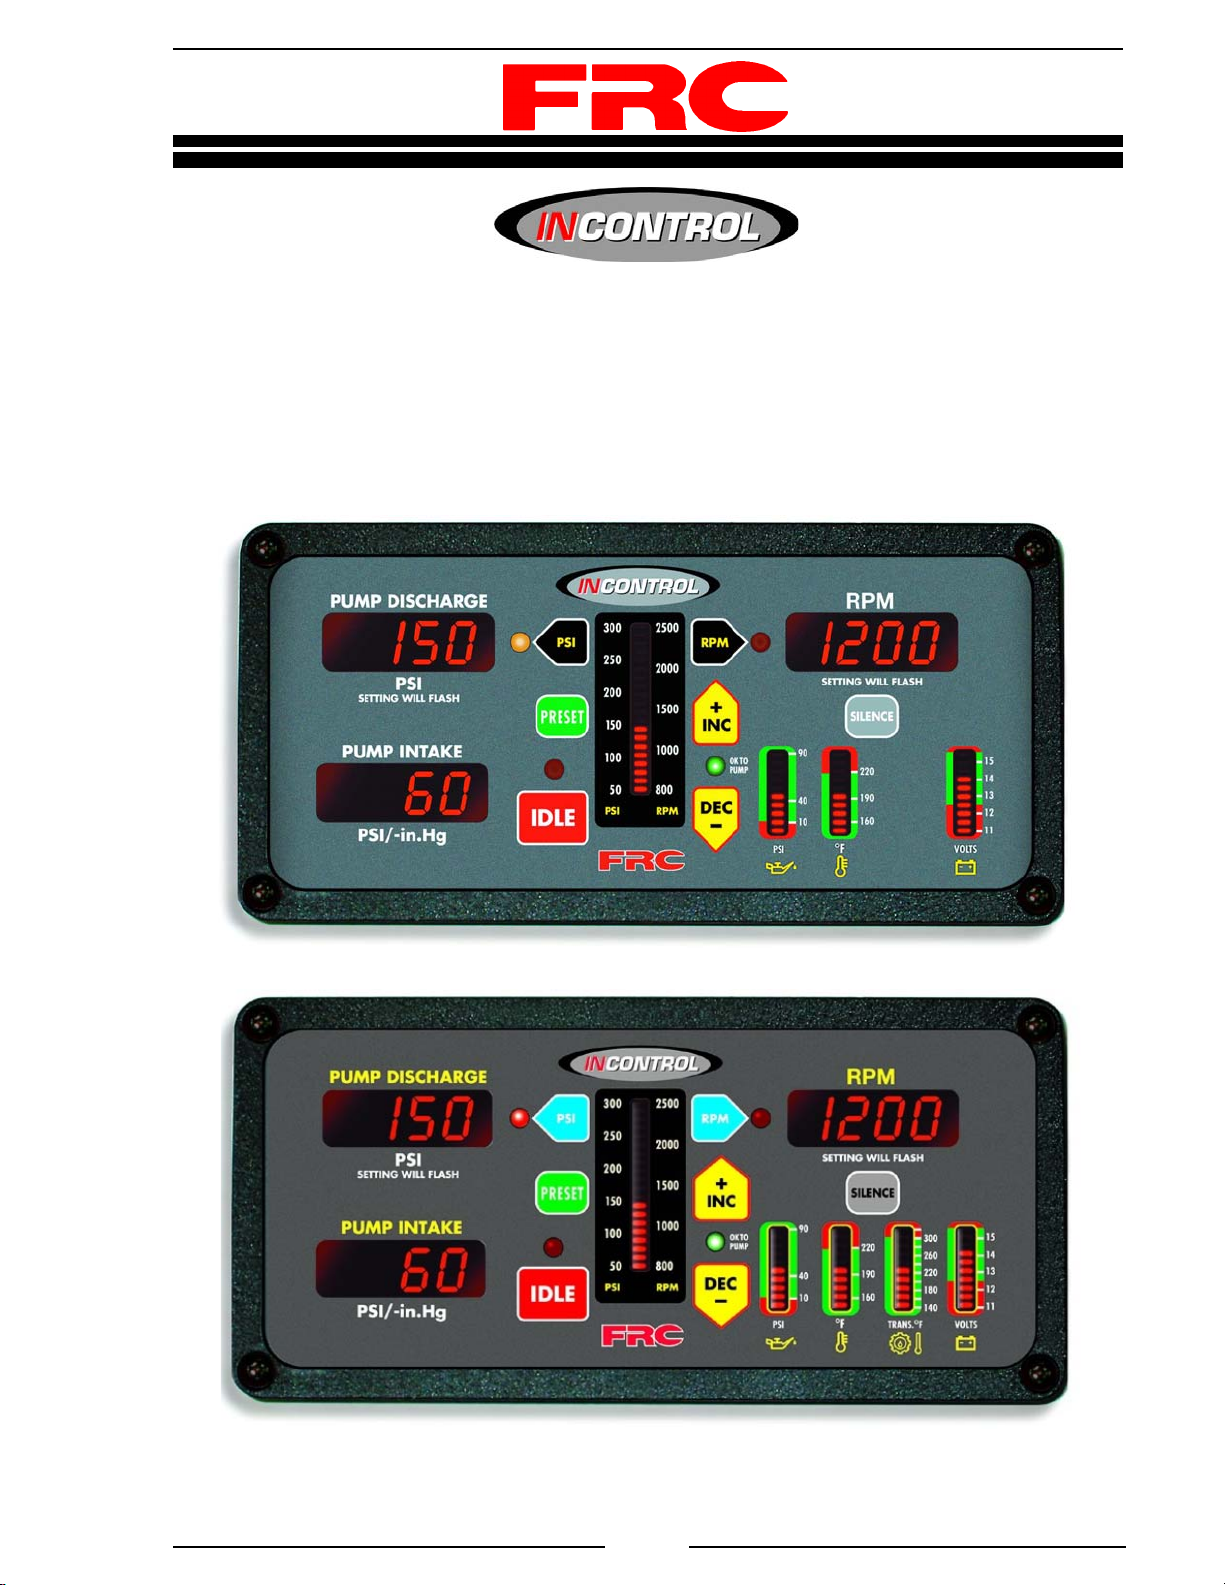
CONTENTS
Table of Contents
CONTENTS ............................................................................................................... 2
INTRODUCTION...................................................................................................... 4
Overview ................................................................................................................ 4
Features.................................................................................................................. 4
Specifications......................................................................................................... 5
GENERAL DESCRIPTION....................................................................................... 6
Components .......................................................................................................... 6
Controls and Indicators ......................................................................................... 8
INSTALLATION ...................................................................................................... 10
Install Control Panel............................................................................................. 10
Install Pressure Sensors....................................................................................... 11
Install Engine Sensors .......................................................................................... 12
InstallBuzzer........................................................................................................ 12
OPERATION............................................................................................................ 13
Pressure Mode Operation.................................................................................... 14
RPM Mode Operation ......................................................................................... 15
Change Preset Setting (Pressure or RPM)........................................................... 15
HighIdle .............................................................................................................. 16
PROGRAMMING.................................................................................................... 18
Program Governor Response Speed................................................................... 18
Program Engine Type .......................................................................................... 18
DIAGNOSTICS ....................................................................................................... 20
WIRING ................................................................................................................... 22
12-Pin Connector................................................................................................. 22
8-Pin Connector................................................................................................... 23
Pressure Sensor ................................................................................................... 24
Cummins Harness Connections........................................................................... 26
Detroit Diesel (Series 50 and 60) Harness Connections ...................................... 28
Navistar and Detroit Diesel (Series 40) Harness Connections ............................. 29
Caterpillar Harness Connections.......................................................................... 30
Mercedes Harness Connections .......................................................................... 33
FLYBACK DIODE WIRING................................................................................... 34