Freeway Raiser User Manual Page 4of 24 Part No. 999017 / Rev.4 / Dec 2017
CAUTION: DO NOT ATTEMPT TO USE THIS EQUIPMENT
WITHOUT FIRST UNDERSTANDING THE CONTENTS OF THIS
MANUAL.
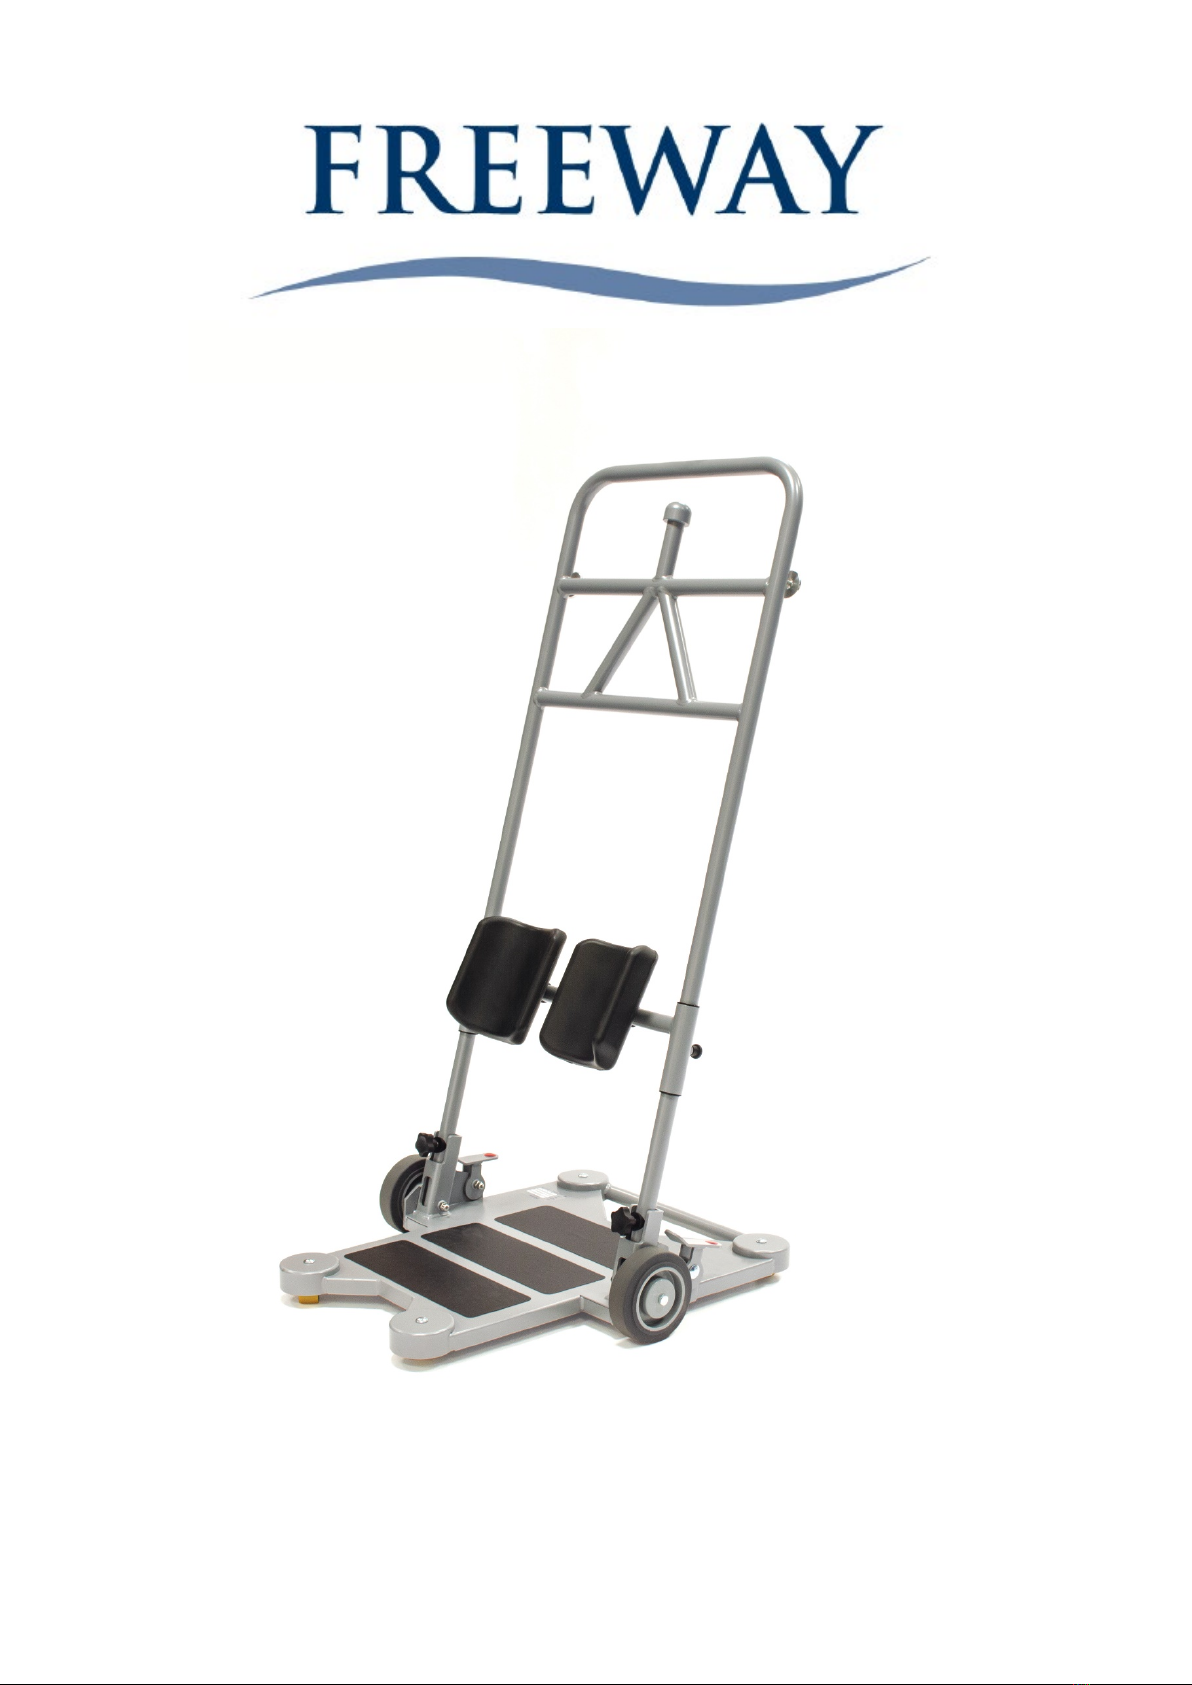
1. Introduction
Before using this equipment, and to ensure the safe operation of your
raiser, carefully read this entire manual, especially the section on
“Cautions”.
The raiser is designed to be used in conjunction with Prism Medical UK
accessories and slings although other manufacturers slings can be used
following a risk assessment.
Please refer to any user guides supplied with these components and
refer to them while reviewing this manual.
Should any questions arise from reviewing this manual contact your local
authorised Prism Medical UK Representative.
Failure to comply with warnings in this manual may result in injury to either
the operator, or the individual being raised/transferred. Damage to the
device and/or related components may also occur. Be sure that the
contents of this manual are completely understood prior to using this
device.
Store this manual with the documents included with the device and
sling(s). Contents of this manual are subject to change without prior
written notice.
2. Contraindications
There are no known “contraindications” associated with the usage of the
raiser and its accessories, provided they are used a per manufacturer’s
recommendations and guidelines.
However, it is recommended that a client specific assessment is
completed by a trained and knowledgeable health care professional to
determine the method of transfer.
Prism Medical UK does not recommend a required number of caregivers
for the use of our products. This information and recommendation can
only be provided after a thorough personalized, case specific assessment,
as there are many factors that can influence these decisions.
It is however, “obligatory” that a client that is assessed as being an
independent user of our technology have the ability to receive assistance,
during the transfer, in the event of a malfunction or personal concern.
This assistance can be provided in the form of; a nearby qualified
caregiver, a phone, a communication device etc.