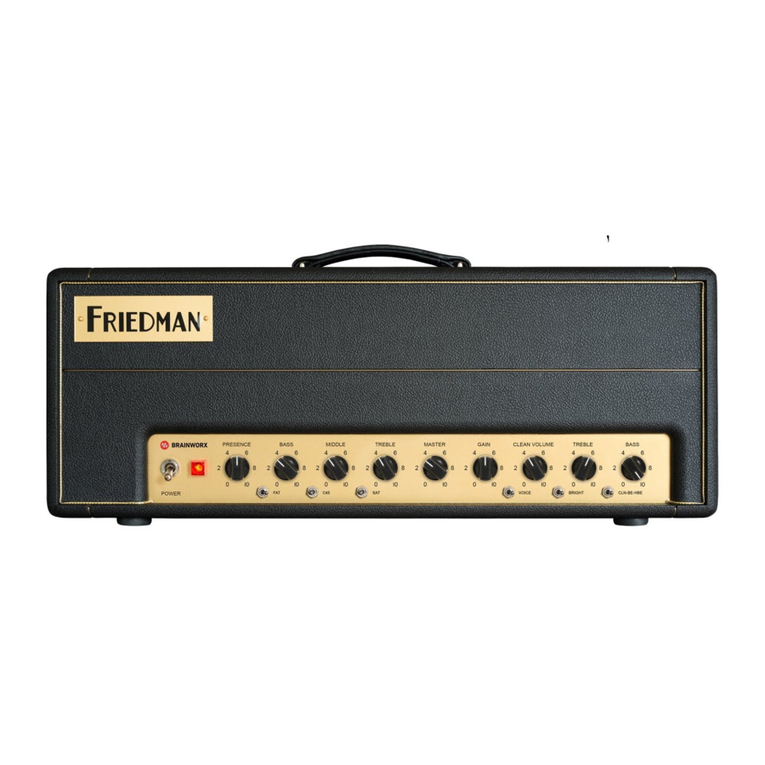
Friedman SS-100V2 User manual

INSTRUCTION MANUAL

Congratulations on purchasing this incredible new
guitar amplifier designed by one of the most well-
known amp modders and designers in the LA
Music scene for the past 20 years, Dave Friedman.
Dave Friedman’s first signature amplifier, the SS-
100 was created in 2011 to the exacting tonal
demands of guitarist extraordinaire, Steve
Stevens. After nearly a decade together, Steve and
Dave agreed it was time for an update.
Together, they re-voiced the dirty channels to be
more percussive and more dynamic while
retaining the high gain plexi-like tones the original
was known for. The clean channel, known for high
headroom and sparkling cleans, was un-touched
(perfection doesn’t need alteration!).
The hand-crafted in the USA, SS-100v2, features a
fully redesigned, blacked out Baltic Birch head
shell, built to withstand the rigors of the road.
On the front panel you’ll find three channels: a
clean with an independent tone stack, a dirty
channel and boosted channel sharing a tone stack
allowing you to dial in plethora of voicings.
Channel switching and boosts are accessed via the
front panel or the footswitch jack on the rear
panel. That’s also where you will find the ultra-
transparent effects loop.
By far, the highlight of this amplifier is its sound.
From the gorgeous shimmering cleans to the high
gain monster tone that put Steve Stevens on the
map, the Friedman SS-100v2 stands in an elite
class all its own.
• 100-Watt all tube head
• Three channels
• Hand-wired in the USA
• 4 x EL-34 power tubes
• 5 x 12AX7 preamp tubes
• Master volume and gain controls per
channel
• Shared EQ consisting of bass, middle,
treble and fat switch (SS, SS+ channel)
• Clean channel featuring volume, treble,
middle, bass and 3-way bright switch
• Global Thump, Presence and System
Volume
• Ultra transparent series FX loop
• 16, 8, and 4 ohm Impedance selector
switch
• Custom USA made transformers
• 2 button footswitch with LED’s included
• Limited lifetime warranty
• Dimensions: 8.75" (D) x 29.25" (W) x
12.25" (H)
• Weight: 43 lbs.
PLUGGING IN
We recommend starting the amp with the Bass on
7-8, the mids at around 6 or 7 and the treble at 5.
Set the gain around 8 and then bring the master
to taste. After plugging in, you will notice
instantly, the tight bottom end and rich
harmonically detailed chords and single notes,
that’s the Friedman sound. This amp cleans up
remarkably well with the guitar’s volume control
even with the amp on higher gain settings.
While the SS100v2 was primarily designed as a
high gain amp, the SS100v2 will surprise and
impress you with all the different tones available.
If you want a more classic rock sound from the 60s
and 70s, lower the gain and bring up the master.
For a more modern sound, set the gain from 7 to
10.
We know you will love your new Steve Stevens V2
Signature Amp. If you have any questions or need
help don’t hesitate to email us at

INSTRUCTIONS
Please keep this instruction manual for future
reference and for the duration of owning this
Friedman Amplifier. Please carefully read and
understand the instructions inside this user’s
manual before attempting to operate your new
amp. This instruction manual includes essential
safety information regarding the use and
maintenance of the amplifier. Take special care to
heed all warning symbols and signs inside this
manual and those printed on the amplifier itself.
WARNING!
TO PREVENT FIRE OR SHOCK HAZARD, DO NOT
EXPOSE THE AMPLIFIER TO WATER OR MOISTURE.
DO NOT OPERATE NEAR ANY WATER SOURCE
WHAT’S THE MEANING OF THIS?
The lightning flash with an arrow triangular
symbol is intended to alert the user to the
presence of non-insulated “dangerous voltage”
within the products enclosure, and may be of
sufficient magnitude to constitute a risk of electric
shock
WHAT’S THE MEANING OF THIS?
The exclamation point triangular symbol is
intended to alert the user to the presence of
important operating and maintenance (servicing)
instructions in the user manual accompanying this
amplifier!
1. Read Instructions – All the safety and operating
instructions should be read before this product is
operated.
2. Retain Instructions – The safety and operating
instructions should be retained for future
reference.
3. Heed Warnings – All warnings on the amplifier
and in the operating instructions should be
adhered to.
4. Follow Instructions – All operating and use
instructions should be followed.
5. Water and Moisture – The amplifier should not
be used near water – for example, a bathtub,
washbowl, kitchen sink, laundry tub, wet
basement, or near a swimming pool, and the like.
6. Heat – Amplifier should be situated away from
heat sources such as radiators, heat registers,
stoves, or other amplifier (including amplifiers)
that produce heat.
7. Power Sources – This product should be
operated only from the type of power source
indicated on the rating label.
If you are not sure of the type of power supply to
your home, consult your product dealer or local
power company.
8. Grounding or Polarization
– This product may be equipped with a polarized
alternation-current line plug (a plug having one
blade wider than the other). This plug will fit into
the power outlet only one way. This is a safety
feature. If you are unable to insert the plug fully
into the outlet, try reversing the plug. If the plug
should still fail to fit, contact your electrician to
replace your obsolete outlet. Do not defeat the
safety purpose of the polarized plug.
9. Power-Cord Protection
– Power-supply cords should be routed so that
they are not likely to be walked on or pinched by
items placed upon or against them, paying
particular attention to the cord in correspondence
of plugs, convenience receptacles, and the point
where they exit from the amplifier.
10. Cleaning – The amplifier should be cleaned
only as recommended by the manufacturer. Clean
by wiping with a cloth slightly damp with water.
Avoid getting water inside the amplifier.
11. Non-use Periods – The power cord of the
amplifier should be unplugged from the outlet
when left unused for a long period of time.
12. Object and Liquid Entry
– Care should be taken so that objects do not fall
and liquids are not spilled into the enclosure
through openings.

13. Damage Requiring Service
– The amplifier should be serviced by qualified
service personnel when:
A. The power-supply cord or the plug has been
damaged; or
B. Objects have fallen, or liquid has been spilled
into the amplifier; or
C. The amplifier has been exposed to rain; or
D. The amplifier does not appear to operate
normally or exhibits a marked change in
performance; or
E. The amplifier has been dropped, or the
enclosure damaged.
F. The amplifier needs tube replacement or
biasing
14. Servicing – The user should not attempt any
service to the amplifier beyond that described in
the operating instructions.
All other servicing should be referred to qualified
service personnel.
15. Ventilation – Slots and openings in the cabinet
are provided for ventilation and to ensure reliable
operation of the product and to protect it from
overheating, and these openings must not be
blocked or covered.
16. Attachments – do not use attachments not
recommended by the product manufacturer as
they may cause hazards.
17. Lightning – For added protection for this
product before a lightning storm, or when it is left
unattended and unused for long periods of time,
unplug it from the wall outlet. This will prevent
damage to the product due to lightning and power
line surges.
18. Replacement Parts – When replacement parts
are required, be sure the service technician has
used replacement parts specified by the
manufacturer or have the same characteristics as
the original part. Unauthorized substitutions may
result in fire, electric shock, or other hazards.
19. Safety Check – Upon completion of any service
or repairs to this product, ask the service
technician to perform safety checks to determine
that the product is in proper operating condition.
20. FUSES – Always use the correct rating and type
of fuse as indicated on the rear panel. Note the
proper rating fuse is determined by the AC line
voltage in the country this unit is being operated.
CAUTIO

FRONT PANEL
SYSTEM VOLUME CONTROL: This overall system VOLUME.
THUMP CONTROL: Adjusts the low-end response in the power section. This is global on all channels.
Start at about 4-5 and adjust to taste.
PRESENCE CONTROL: This adds or takes away upper mids and highs.
Note: This pot will sound scratchy when adjusted – this is normal.
MASTER CONTROL 2: This is the SS+ VOLUME.
MASTER CONTROL 1: This is the SS VOLUME.
TREBLE CONTROL: This adds or takes away treble. Start at 5 and adjust to taste.
MIDDLE CONTROL: Adds or takes away midrange. Start at 4 or 5, lower settings will scoop the mids,
higher levels will allow your audience to actually hear the guitar in the mix.
BASS CONTROL: This adds or takes away bass or bottom end. As the amp gets louder you may want to
back this off a bit. Start at 7-10 for bedroom volumes.
GAIN CONTROL 2: This adds gain/distortion for the SS+ channel. Adjust to taste. Don’t be afraid.
GAIN CONTROL 1: This adds gain/distortion for the SS channel. Adjust to taste. Don’t be afraid.
BASS CONTROL: Adjusts the bass of the clean channel. Start at 5 and adjust to taste.
MIDDLE CONTROL: Adjusts the midrange of the clean channel. Start at 5 and adjust to taste.
TREBLE CONTROL: Adjusts the treble on the clean channel. Start at 5 and adjust to taste.
CLEAN VOLUME: Adjusts the clean channel’s volume.
CHANNEL SELECTOR SWITCH: Switches between clean, SS, and SS+ when footswitch is not connected.
BRIGHT SWITCH: 3 position switch that varies the overall brightness of the clean channel only.
INPUT: Just like it says.

REAR PANEL
DIRT FAT: Dirty Channel’s fat switch.
FOOTSWITCH JACK: This is where you plug in the footswitch.
SEND JACK: This is where you plug the INPUT of your Effect(s). Use a high quality shielded guitar cable.
RETURN JACK: This is where you plug the OUT of your Effect(s). Use a high quality shielded guitar cable.
IMPEDANCE SELECTOR: Select between 16, 8 or 4 Ohm to match your speaker set-up.
SPEAKER OUT JACKS (2): Plug speaker cabinets here. Set Impedance selector to appropriate position.
STANDBY SWITCH: This will put your amp into PLAY mode.
MAINS INPUT: Plug the supplied IEC power cord here and into a 115v wall outlet to power the beast.
MAIN FUSE: This fuse is in the compartment found below the AC receptacle. Replace only with type
indicated on rear panel. This is also most likely the result of a bad tube. Constant blowing of this fuse
(even when using new tubes) is an indication that something could be seriously wrong with your amp.
STOP and call us so we may help you diagnose.
POWER SWITCH: Turn this ON for about one minute before taking the amp out of Standby for maximum
tube life. ALWAYS MAKE SURE THERE IS A SPEAKER LOAD CONNECTED TO YOUR AMP BEFORE TURNING
ON.
HT FUSE: Only replace with Type indicated on rear panel. If this fuse blows, it’s most likely a bad power
tube.

FRIEDMAN LIMITED LIFETIME WARRANTY
Thank you for choosing Friedman. Friedman
manufactures some of the world’s most reliable
hand-wired, all-tube amplifiers and speaker
cabinets. Friedman takes great pride in an
extremely thorough testing procedure which is
implemented on each product prior to shipment.
In the unlikely event that you have a problem
with your amplifier, please refer to warranty
below. Friedman stands behind our products like
no other and we’re here to help you!
AMPLIFIERS: Friedman offers a limited lifetime
warranty to the original purchaser that a
Friedman amplifier will be free from defects in
material and workmanship. A dated sales receipt
will establish coverage under this warranty,
PLEASE KEEP YOUR PROOF OF PURCHASE TO USE
YOUR WARRANTY. This warranty does not cover
service or parts to repair damage caused by
accident, neglect, abuse, normal & wear, disaster,
misuse, abuse, over-powering, negligence,
inadequate packing or shipping procedures and
service, repair or any modifications to the product
which have not been authorized or approved by
Friedman in writing. ANY MODIFICATION TO THE
AMPLIFIER WILL VOID YOUR WARRANTY. If this
product is defective in materials or workmanship
as warranted above, your sole remedy shall be
repair or replacement by Friedman as provided
below.
CAUTION: Do NOT attempt to repair, modify or
service your amplifier by yourself!!! Please read
the instruction manual for all safety notifications,
warnings and instructions. Friedman, like all tube
amplifiers, have extremely high voltages that can
cause serious injury or death. Do not remove the
chassis from the amplifier. All repair and service
work must be performed by Friedman or an
authorized service center of Friedman. ANY
UNAUTHORIZED REPAIRS WILL VOID YOUR WARRANTY.
TUBES: Friedman warrants the original purchaser
that the specific tubes used in Friedman will be
free from defects in material and workmanship for
a period of 90 days from the original date of
purchase. A dated sales receipt will establish
coverage under this warranty. This tube warranty
will automatically terminate 90 days after the
original retail sales date. This tube warranty is in
lieu of all other expressed warranties. If tubes fail
within the 90 day warranty period your sole
remedy shall be replacement of tubes as provided
below.
RETURN PROCEDURES: In the unlikely event that
a defect occurs please email us at
help you diagnose the problem. If a product must
be sent to us, please follow the procedure
outlined below.
• Defective products must be shipped,
together with proof of purchase, freight
pre-paid and insured to the Authorized
Friedman Service Center or directly to
Friedman.
• If a product must be returned to Friedman
for warranty replacement/repair, a Return
Authorization Number must be obtained
from our Customer Service Department
prior to shipping the product.
• Please contact Friedman Customer Service
Department for the Authorized Friedman
Service Center nearest you.
• Products must be shipped in their original
packaging or its equivalent; in any case,
the risk of loss or damage in transit is to be
borne by the purchaser.
• The Return Authorization Number must
appear in large print directly below the
shipping address.
• Always include a brief description of the
defect, along with your correct return

address and telephone number.
•When calling to inquire about a returned
product, always refer to the Return
Authorization Number.
If Friedman determines that the unit was
defective in materials or workmanship at any time
during the warranty period, Friedman has the
option of repairing or replacing the product at no
additional charge, except as set forth below.
•All replaced parts become a property of
Friedman. Products replaced or repaired
under this warranty will be returned via
ground shipping within the United States
or Canada - freight prepaid.
•Friedman is not responsible for costs
associated with expedited shipping, either
to Friedman or the return of the product
to the customer.
All warranty repairs outside the United States and
Canada must be directed to the dealer or
distributor from which you purchased the
product.
INCIDENTAL OR CONSEQUENTIAL DAMAGE: In no
event will Friedman be liable for any incidental or
consequential damages arising out of the use or
inability to use of any Friedman product, even if a
Friedman dealer has been advised of the
possibility of such damages, or any other claim by
any other party. Some states do not allow the
exclusion or limitation of consequential damages,
so the above limitation and exclusion may not
apply to you. This warranty gives you specific legal
rights and you may also have other rights which
may vary from state to state.
FOR YOUR PROTECTION: Please complete and
send in the completed warranty registration card
to: Friedman Amplification, care of Boutique Amps
Distribution, 5300 Harbor Street, Commerce, CA
90040. Please send within (10) ten days of the
date of purchase so that we may contact you
directly in the event a safety notification issued in
accordance with the 1972 Consumer Product
Safety Act.
CUSTOMER SUPPORT: Our dedicated and friendly
staff is ready to help you with any warranty or
product questions you may have. Please email us
Thank you again for choosing Friedman and we
look forward to a long relationship!
www.FriedmanAmplification.com
Table of contents
Other Friedman Musical Instrument Amplifier manuals

Friedman
Friedman Pink Taco User manual

Friedman
Friedman Phil X Signature User manual

Friedman
Friedman BE-50 deluxe User manual

Friedman
Friedman SS-100 User manual

Friedman
Friedman Dirty Shirley DS40 User manual

Friedman
Friedman JJ-100 User manual

Friedman
Friedman BE-100 User manual

Friedman
Friedman smallbox User manual

Friedman
Friedman BE-100 User manual

Friedman
Friedman Buxom Betty User manual