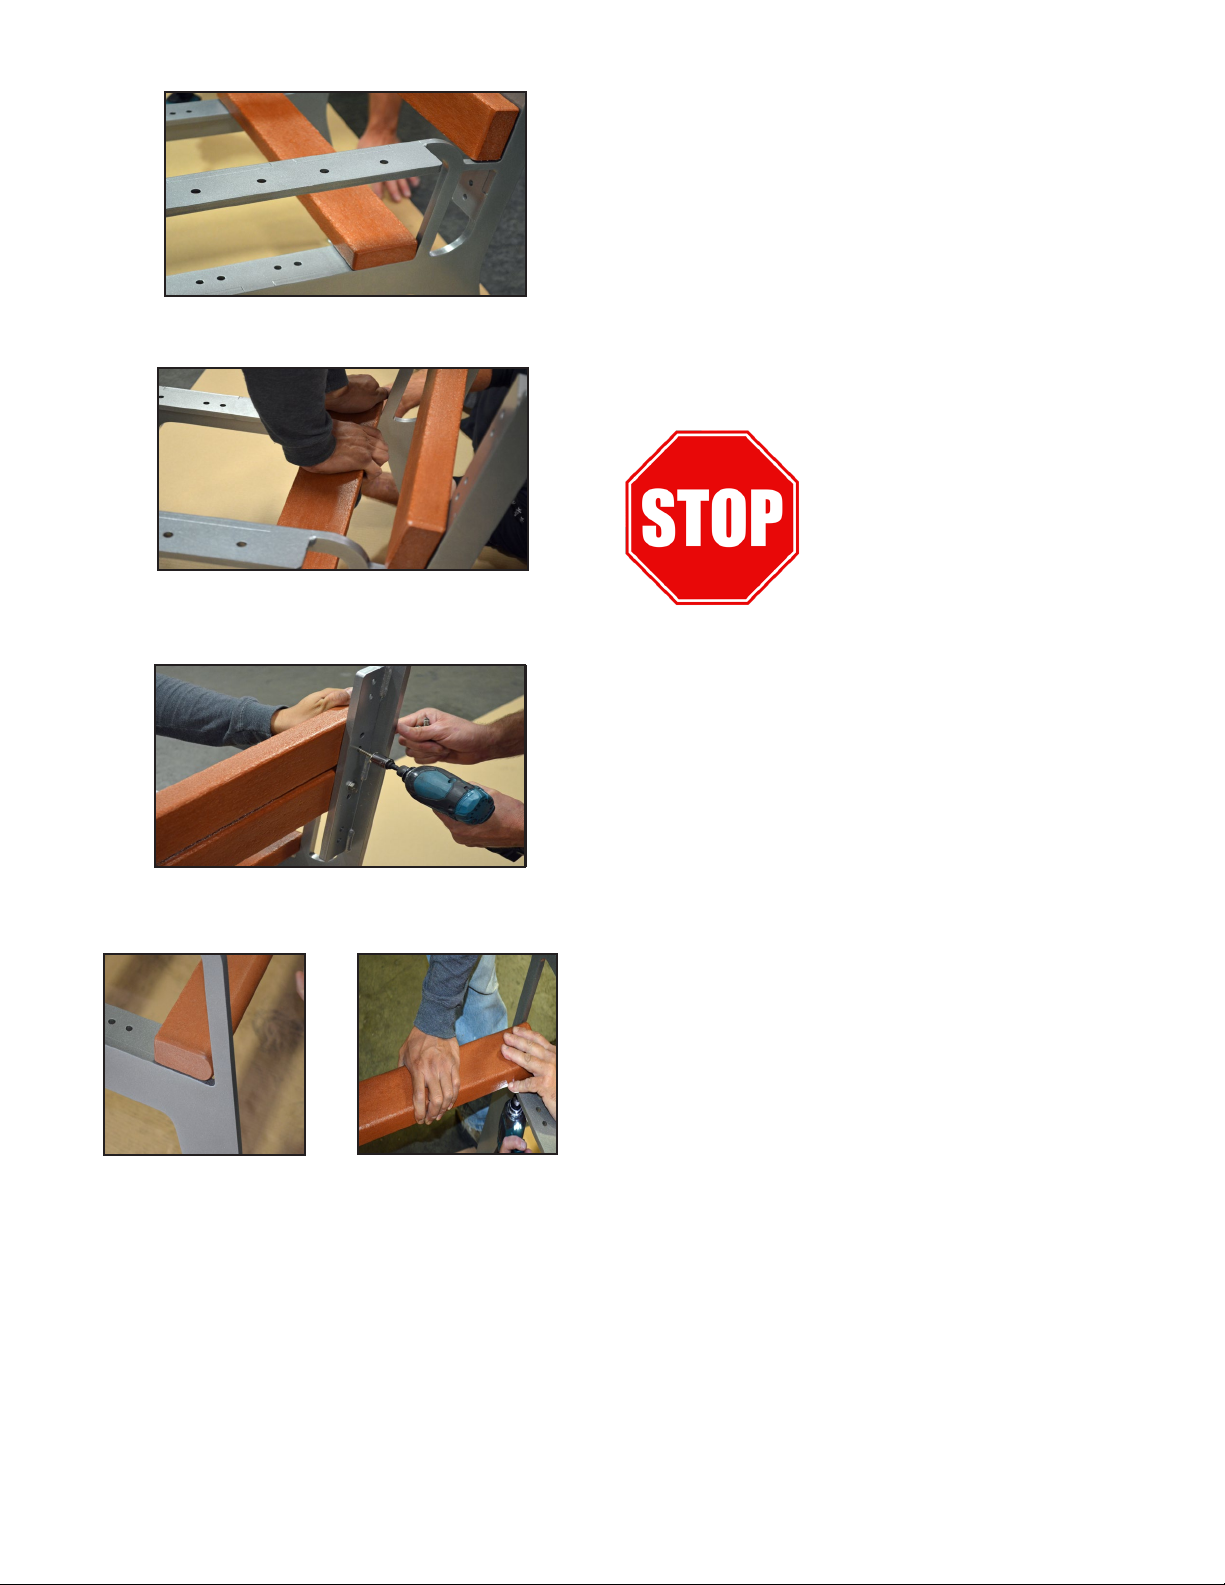
Picture C
Picture D
Step 2. Still holding the chair ends upright, po-
sition another chair slat against the mounting
ledge on the seat side and even with the edge
of each chair end. This slat will be positioned
against the arm upright. (See Picture ‘C’) Ensure
the edges of the slat and chair ends are even, at-
tach the slat to the mounting ledge using 5/16”
hex lag screws and at washers. See Picture ‘D’.
Step 3. Using an approximate spacing of 1/2”, at-
tach another slat above the previously installed
slat using 5/16” hex lag screws and at wash-
ers. See Picture ‘E’. Again, using an approximate
spacing of 1/2” , attach a bullnose slat at the top
edge of the chair back. Attach nal back slat on
the bottom side of the arm support bar.
Picture E
Before proceeding to the next
step, double check the chair
ends and installed slats are
square and perpendicular to
each other. Make any adjust-
ments necessary to maintain
a square assembly.
Step 4. Place a bullnose slat on the seat area
of the chair end mounting ledge with the front
edge against the arm upright. See Picture ‘F’. En-
sure the slat is square and ush with each chair,
attach using 5/16” hex lag screws and at wash-
ers. See Picture ‘G’.
Picture F Picture G
01/2017 Page 2 of 3


