2. Install Teacher Edition Software
Windows®XP, Vista and 7
For Windows 8, please see the Teacher Edition Software User Guide
1. Download the Teacher Edition application from gofrontrow.com/juno under the
Downloads section
2. Extract the .zip file.
3. Double-click the installation file.
4. During the installation you will be prompted to select components. Choose “Install
with Juno Tower Support”.
5. When prompted to install the Juno Tower and microphone drivers (you will be prompted
3 times), click “Install this Driver Software Anyway” (this allows Windows to
communicate with the Juno Tower and microphones).
Mac®OS
1. Download the Teacher Edition application from gofrontrow.com/juno under the
Downloads section
2. Double-click the DMG file.
3. Drag the Teacher Edition application to the Applications folder.
NOTE: If you will also be installing the FrontRow Microphone Settings application,
you must run both applications from the Applications folder.
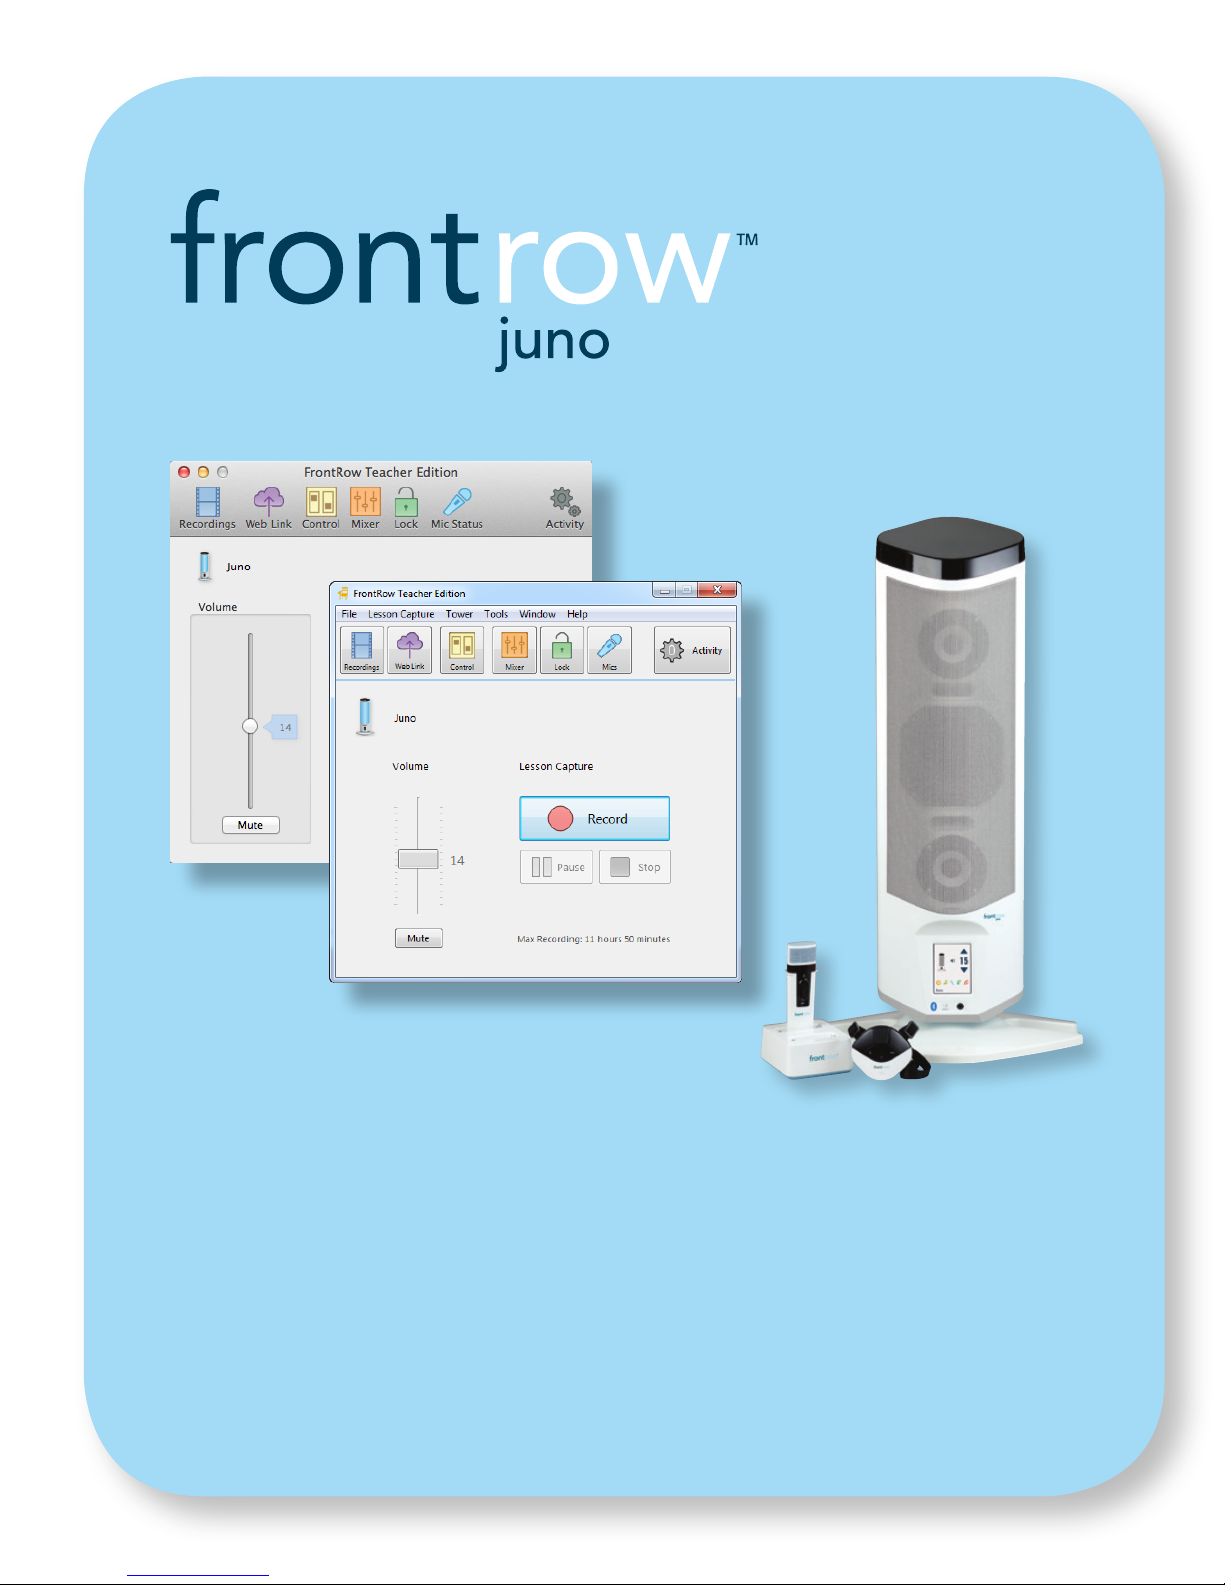
Quick Start
Use this guide for help with setting up Juno®and getting started with Lesson Capture.
For more detailed information, see the Teacher Edition Software User Guide and the
Juno System User guides.
Set your system up in 3 easy steps!
1. Connect cables.
2. Install software.
3. Activate the software license.
1. Connect the Juno Tower to Your Computer
1. Connect the 3 cables shown below between your Juno Tower and
the computer.*
USB cable*
3. Activating the Teacher Edition License
To activate your Teacher Edition License, open the License Manager and enter the License
ID or License Key provided by FrontRow. Your License ID is included in your Juno shipping
box or supplied by your administrator.
NOTE: Validating a License ID requires that your computer be connected to the Internet
(a License Key can be validated without an Internet connection). If you have a License ID
and cannot access the Internet, contact your FrontRow reseller to obtain a License Key.
Once installed, double click the Teacher Edition chair icon to open the application.
In Windows it will appear on your desktop, or if you opted not to install a desktop icon,
you will find it in your Start menu under FrontRow.
On the Mac it will appear in your Applications folder.
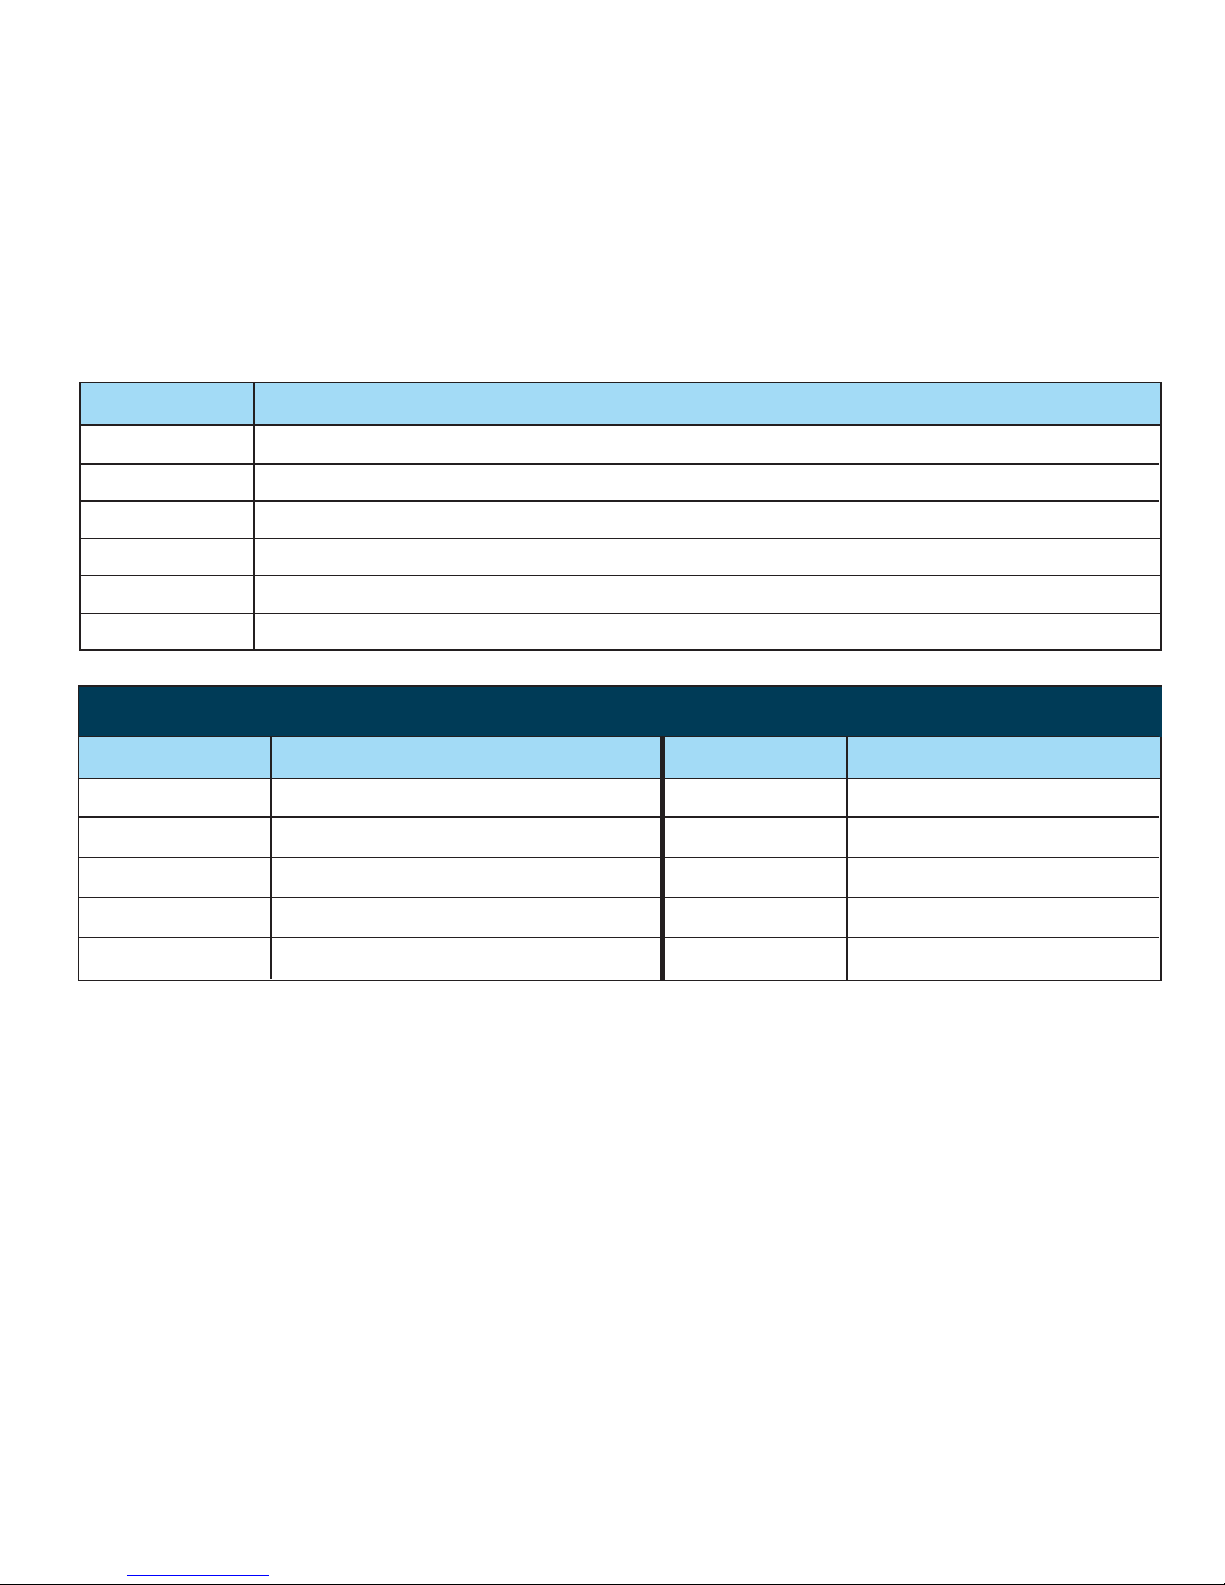
To issue a voice command:
1. Press and hold the One-Touch button on the Pendant Microphone.
2. Wait for voice command tone and Tower LCD background to turn green.
3. Keeping the button pressed, say one of the commands below.
4. Wait for confirmation tone and Tower LCD background to return to white.
5. Release button.
Increase Increase the volume by 2 steps
Reduce Reduce the volume by 2 steps
LCD Toggle Juno Tower LCD lock on/off
Begin Begin or resume a paused recording
Suspend Pause a recording
Finish Stop, encode and automatically name a recording based on your personalized settings
Using Voice Commands
3.5mm – 3.5mm
audio cable*
Computer Line / Mic In Audio Out
Line Out
3.5mm – RCA
audio cable Audio In
Windows Mac OS
Windows Mac OS
Say: To:
* The 3.5mm to 3.5mm and USB cables are only necessary if using the optional Teacher Edition
Lesson Capture Software. The 3.5mm to RCA cable is for audio playback from the computer
through the Juno Tower.
Your Juno Tower shipped with English - United States / Canada voice commands.
To localize your voice commands for different languages or regions:
Windows
1. Under the Tower menu click Settings.
2. Click the Change Language button on the Information tab.
3. Choose language / region and click OK.
4. Click Update and follow on the screen / Tower LCD prompts.
Mac OS
1. Under the FrontRow Teacher Edition menu, click Preferences.
2. On the Juno Tower tab, click the dropdown next to Country / Language and choose
the appropriate language / region.
3. Click Change Language to confirm and follow the on screen / Tower LCD prompts.
Intercom Make an intercom call request
Power Up Turn display on
Shut Down Turn display off
Freeze Screen Freeze/Unfreeze projector image
Blank Screen Blank/Show projector image
Commands available with Juno Connect Module installed
Say: To: Say: To:
Source One Switch AV input
Source Two Switch AV input
Source Three Switch AV input
Source Four Switch AV input
Source Five Switch AV input