EN-6 ENGLISH
Changes and Additions
G
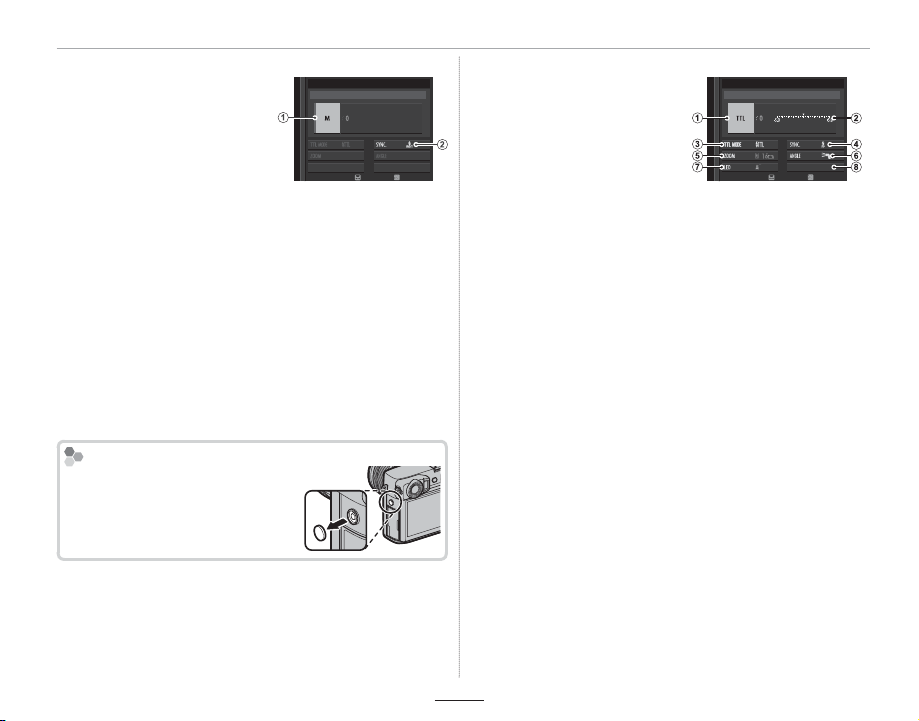
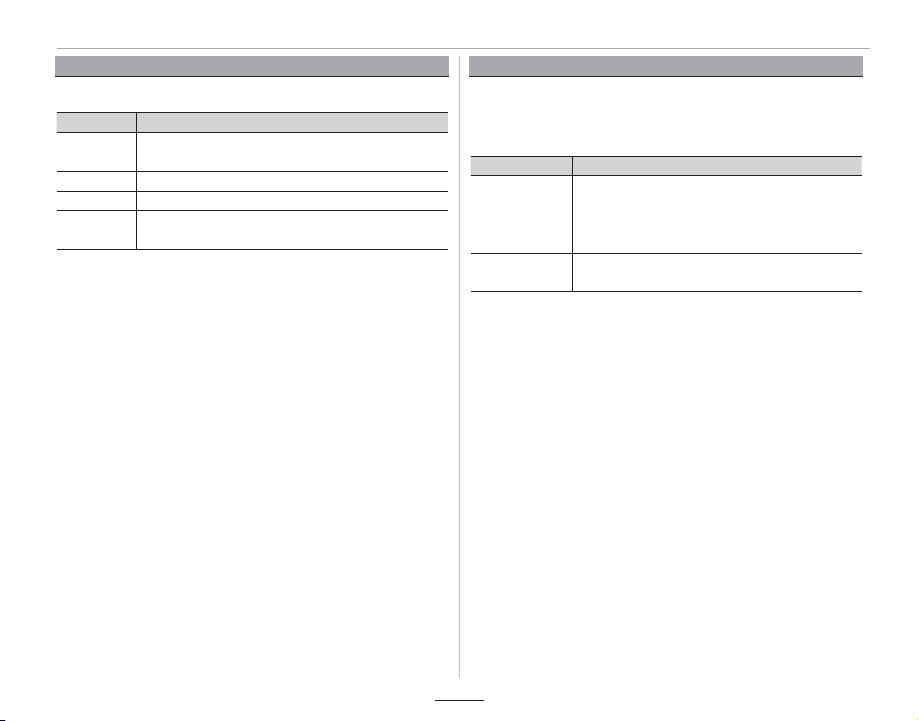
Flash mode (TTL): Choose a ash mode for TTL ash control.
• FLASH AUTO: The ash res only as required; ash level is
adjusted according to subject brightness. A picon
displayed when the shutter button is pressed halfway
indicates that the ash will re when the photo is taken.
• STANDARD: The ash res with every shot if possible; ash
level is adjusted according to subject brightness. The
ash will not re if not fully charged when the shutter
is released.
• SLOW SYNC.: Combine the ash with slow shutter speeds
when photographing portrait subjects against a back-
drop of night scenery. The ash will not re if not fully
charged when the shutter is released.
H
Sync: Control ash timing.
• 1ST CURTAIN: The ash res immediately after the shutter
opens (generally the best choice).
• 2ND CURTAIN: The ash res immediately before the shut-
ter closes.
• AUTO FP(HSS): High-speed sync (compatible units only).
The camera automatically engages front-curtain high-
speed sync at shutter speeds faster than the ash sync
speed. Equivalent to 1ST CURTAIN when MULTI is selected
for ash control mode.
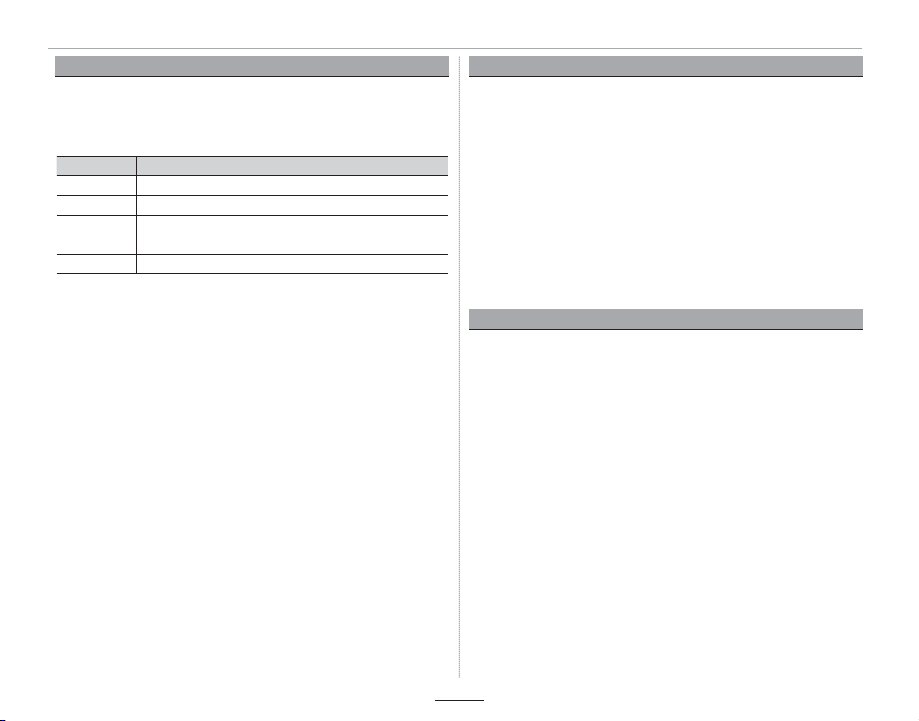
I
Zoom: The angle of illumination (ash coverage) for units
that support ash zoom. Some units allow the adjustment
to be made from the camera. If AUTO is selected, zoom will
automatically be adjusted to match coverage to lens focal
length.
J
Lighting: If the unit supports this feature, choose from the
options below.
• FLASH POWER PRIORITY: Gain range by slightly reducing
coverage.
• STANDARD: Match coverage to picture angle.
• EVEN COVERAGE PRIORITY: Slightly increase coverage for
more even lighting.
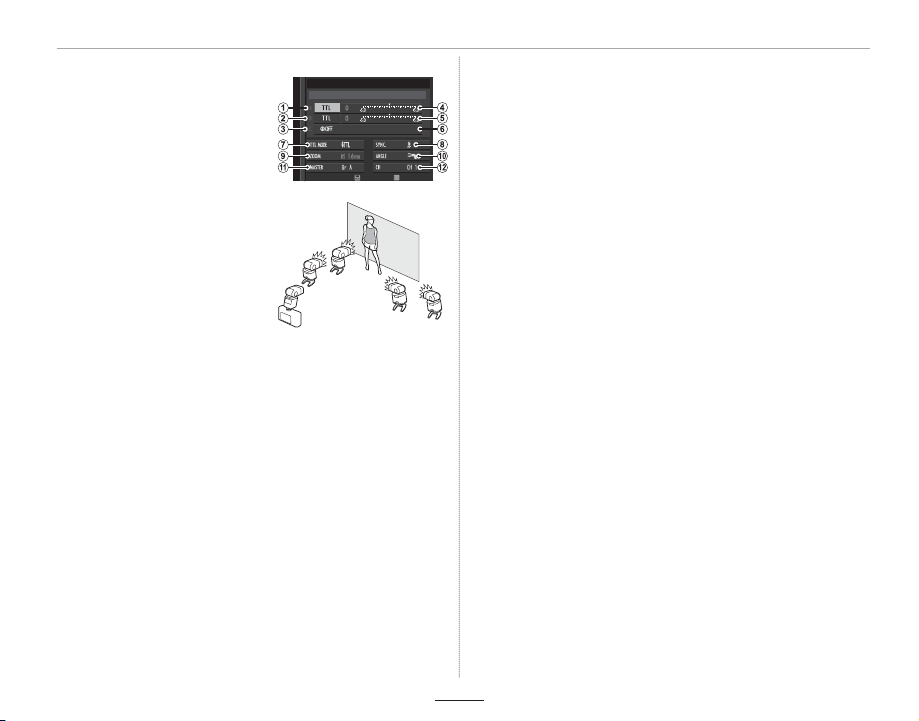
K
Master: Assign the master ash to group A (Gr A), B (Gr B),
or C (Gr C). If OFF is selected, output from the master ash
will be held to a level that does not aect the nal picture.
Available only if the unit is mounted on the camera hot
shoe as a master ash for FUJIFILM optical wireless remote
ash control in TTL, TTL%, or Mmode.
K
Number of ashes: Choose the number of times the ash
res each time the shutter is released in MULTI mode.
L
Channel: Choose the channel used by the master ash for
communication with the remote ash units. Separate
channels can be used for dierent ash systems or to pre-
vent interference when multiple systems are operating in
close proximity.
L
Frequency: Choose the frequency at which the ash res
in MULTI mode.