9EN
SET UP FOR USE
• Unless stated, all operations described are based on the use of
remote control. Some operations can be carried out using the
buttons on the control panel.
• On-screen menu will disappear from the TV screen
automatically after about 60 seconds if you do not press any
buttons during the setting operation.
Initial Setting
When you turn on the TV for the first time, you need to set the
followings to use the TV appropriately.
1) Connect the power cord to a standard AC outlet.
2) Press STANDBY-ON to turn on the TV, then
“LANGUAGE” menu will appear.
3) Press Cursor K/Lrepeatedly to select your desired
language, then press ENTER.
(See “Language Selection” for more information.)
4) “COUNTRY” menu will appear.
Press Cursor K/Lrepeatedly to select your desired
country, then press ENTER.
(See “Country Setting” for more information.)
5) “CHANNEL TUNING” menu will appear.
Press Cursor K/Lto select “START”, then press ENTER.
(See “Automatic Channel Presetting” for more information.)
Language Selection
If you want to change the language of the on-screen menu, follow
the procedure below.
1) Press STANDBY-ON to turn on the TV.
2) Press SETUP so that the menu display appears on the TV
screen.
3) Press Cursor K/Lto point to “LANGUAGE”, then press
ENTER.
4) Press Cursor K/Lrepeatedly to select your desired
language, then press ENTER.
5) Press SETUP to exit.
Country Setting
You can select your desired TELETEXT language.
1) Press STANDBY-ON to turn on the TV.
2) Press SETUP so that the menu display appears on the TV
screen.
3) Press Cursor K/Lto point “COUNTRY”, then press
ENTER.
4) Press Cursor K/Lrepeatedly to select your desired
country, then press ENTER.
• The selected country will be indicated by yellow.
5) Press SETUP to exit.
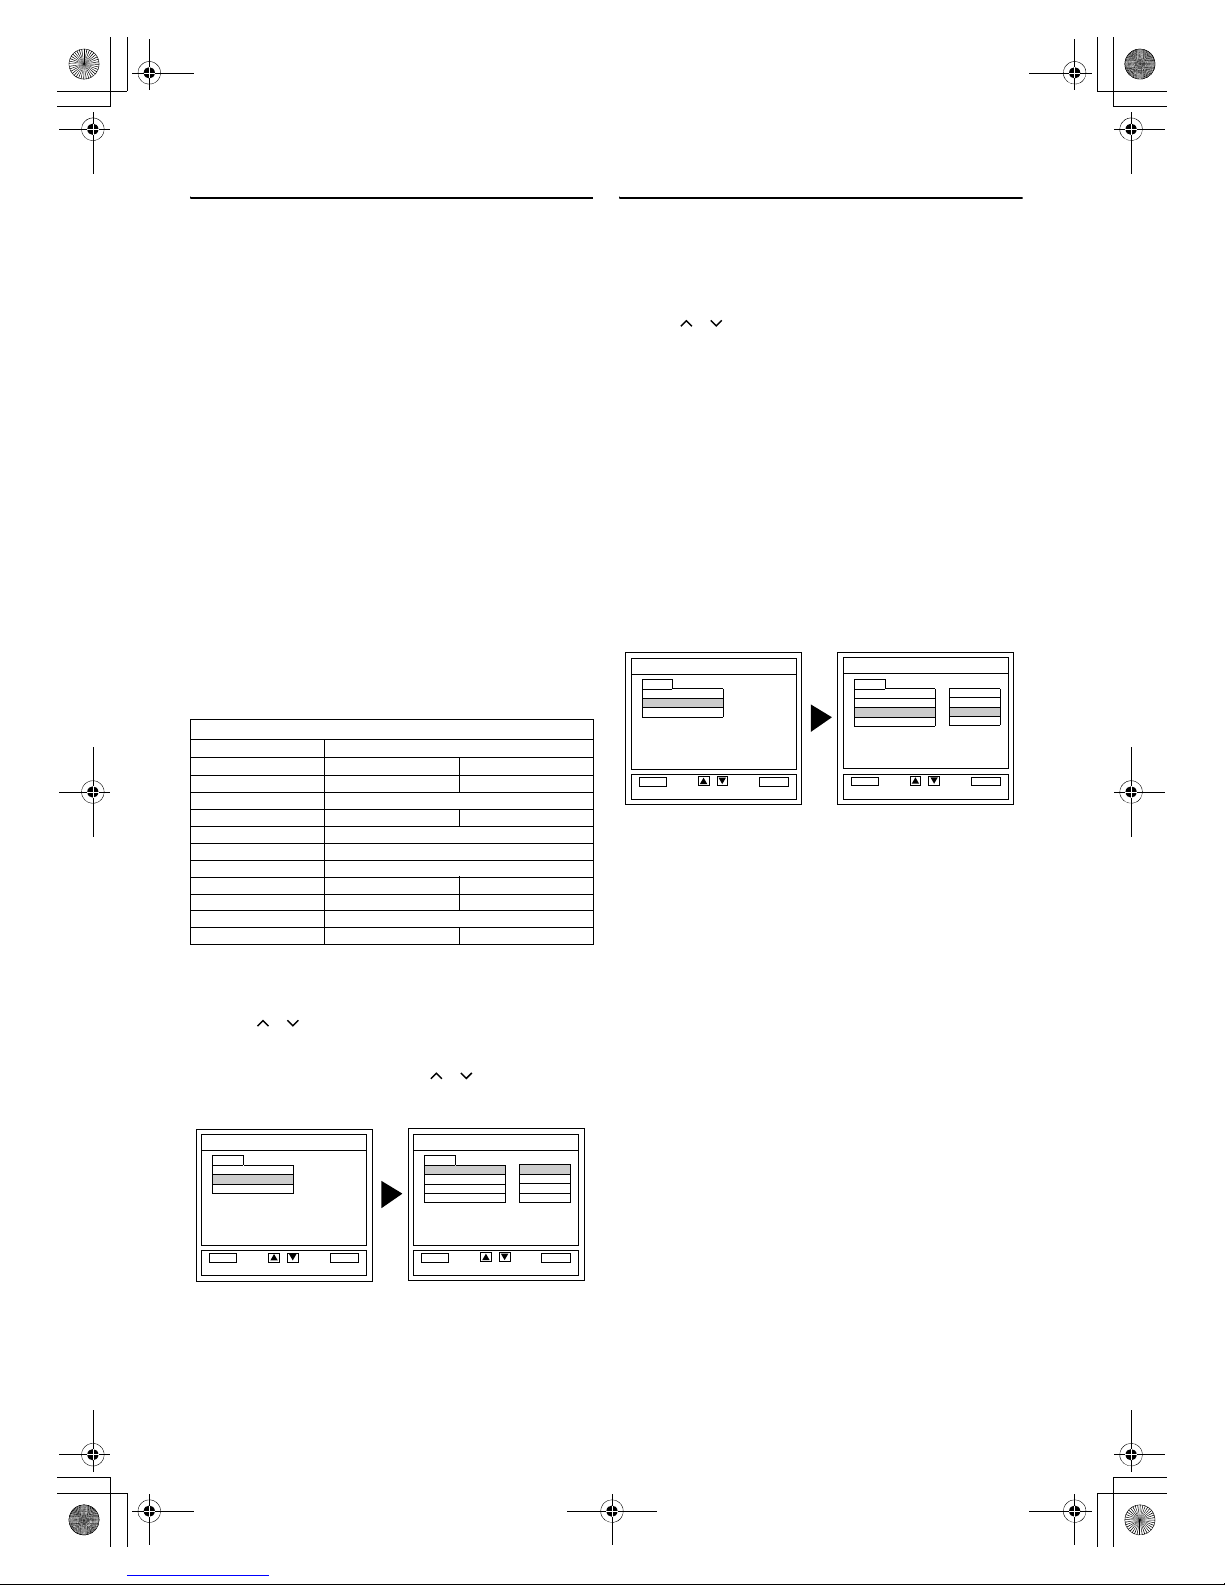
Automatic Channel Presetting
You can programme the tuner to scan only the channels that are
receivable in your area.
1) Press STANDBY-ON to turn on the TV.
2) Press SETUP so that the menu display appears on the TV
screen.
3) Press Cursor K/Lto point to “CHANNEL TUNING”,
then press ENTER.
4) Press Cursor K/Lto point to “AUTO”, then press
ENTER.
• The tuner scans and memorises all the active channels in your
area. When “AUTO TUNING” is completed, the lowest
memorised channel reappears on the screen, and you can use
PROG. +/– on the control panel or / (prog.) on the
remote control for the memorised channels.
•IfyoupressSETUP during the scanning, this operation will
be stopped and the lowest memorised channel will appear on
the TV screen.
Note: •If some digits appear in the corner of the screen, press
STANDBY-ON without unplugging the power cord.
Note: •If you press SETUP during the initial setting, the
operation will be stopped and nothing will appear on
the TV screen. You need to set again to complete the
initial setting.
Note: •If you select “BACK” in the screen menu and press
ENTER, the display will return to previous one.
BACK
OK
ENTER
LANGUAGE
BACK
SELECTBACK
BACK
OK
ENTER
AUTO TUNING
START FINISH
CHANNEL
BACK
AUTO
MANUAL
MOVE
SELECTBACK
A73F0EP_EN.fm Page 9 Monday, July 30, 2007 3:38 PM