manuals.online logo
Brands
  1. Home
  2. •
  3. Brands
  4. •
  5. Furrion
  6. •
  7. Home Theater System
  8. •
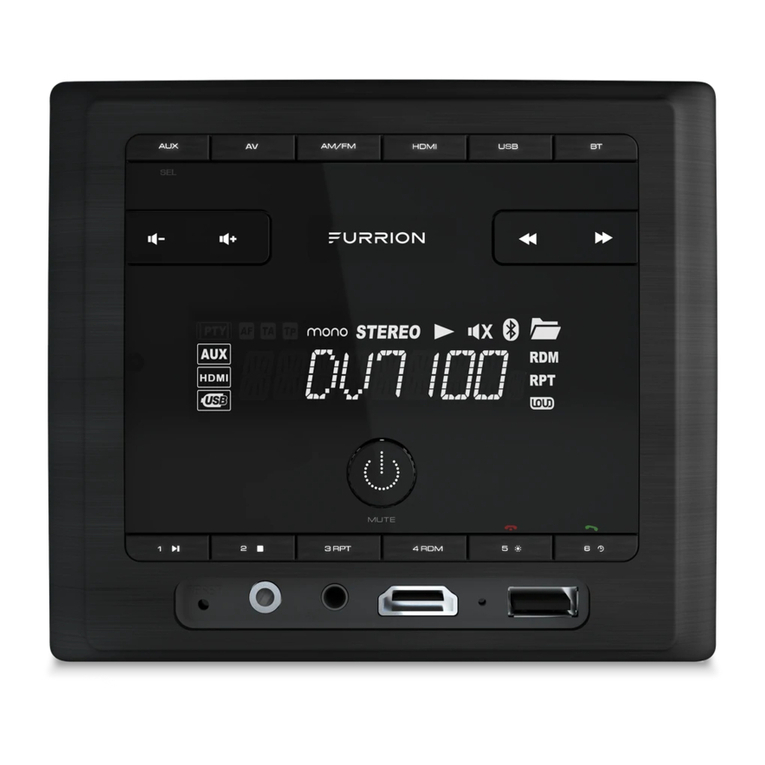
  9. Furrion DV1100 User manual

Furrion DV1100 User manual

   
 






  

B


        

�r 

     

 -
  


 n
0
   ov11

 
All manuals and user guides at all-guides.com
all-guides.com
All manuals and user guides at all-guides.com
4
Fig.1 Fig.2 Fig.3
A
B
+ side up
All manuals and user guides at all-guides.com
all-guides.com
All manuals and user guides at all-guides.com
Press once to pause the playback,press >|| to resume;
press twice to stop playback, then press >|| to start playback
from the beginning of the first chapter/track.
Disc USB Opreation
Insert Disc
Eject CD
Track Select
Fast Forward
and Backward
Pause
Playback
Stop
Playback
Repeat
Random
Title
With the label facing up,insert a disc into the Disc slot.
The disc will automatically begin playback.
Press EJECT toeject the disc
Rotate TRK >>| or TRK|<< to skip to next or previous
track/chapter.
Rotate and hold TRK >>| or TRK |<< to fast forwards or
backwards.
Press >|| to temporarily stop the playback.
Press>|| again to resume playback.
Press RPT to repeat current playing track/chapter.
Press RPT to resume.
Press RDM to play each track in random order.
Press RDM again to resume.
In DVD/VCD mode,press TITLE to display the title list.
BLUETOOTH OPERATION
Dial or
accept call
Reject or
End call
Press to accept, dial or redial a call.
Press to reject or end a call.
9
All manuals and user guides at all-guides.com
The Description of the Wiring Diagram for Socket 1 and Socket 2
WIRING HARNESS PLUG 1
WIRING CONNECTIONG SOCKET 1
1.7 Wiring Diagram
WIRING HARNESS PLUG 2
WIRING CONNECTIONG SOCKET 2
10
All manuals and user guides at all-guides.com
all-guides.com
WIRING CONNECTIONG SOCKET 1 VIEW
PURPLE
PURPLE
ACCESSORY
2
3
PIN NO COLOR FUNCTION
1 BLUE RIGHT(C)SPEAKER (+)
2 BLUE/BLACK RIGHT(C)SPEAKER (-)
3 ORANGE LEFT(C)SPEAKER (+)
4 ORANGE/BLACK LEFT(C)SPEAKER (-)
WIRING CONNECTIONG SOCKET 2 VIEW
11
All manuals and user guides at all-guides.com
POWER AND SPEAKER WINRES FROM STREREO CONNECTIOR
WIRES FROM RV,BOAT OR TRUCK
12
All manuals and user guides at all-guides.com
1.8 Mounting Installation
Location
* Choose a mounting location away from humid areas, water sources, appliances or any
equipment that can radiate heat.
* Select an area on a wall or cabinet which is free from cable, fuel or brake lines and ensure
the area behind the wall mount stereo has a vent hole or if it is an enclosed box and has
adequate room around the rear of the unit for cooling.
* Ensure when the stereo is mounted in the cut out that the wires at the rear of the unit are not
pressed against the heat sink
Mounting Opening
* Refer to following mounting hole diagram,measure and cut a mounting area.
* Where possible leave around 1 to 2 inches of space inside the cabinet around the sides and
rear of the stereo housing to help with airflow and ventilation.
Installing the unit.
* Before finally installing the unit, connect the wiring temporarily and make sure
the unit and the system work properly.
*Fix the unit with screw according to following diagram.
PLASTIC FRAME
-
+
-
3.31 0.005
-
5.94 0.005
MOUNTING SCREWS
M3 22
1.32 0.02
13
All manuals and user guides at all-guides.com
14
2. Common Operation
1.Turning On and Off the unit
By pressing the power button will turn on or enter standby mode
Sleep Tight function
By holding the power button for 5 seconds while the unit is in standby mode will enable
Sleep Tight mode, this is were all illumination on the front panel will turn off on the unit.
2.Selecting a Source:
DVD / USB - once a DVD or USB is inserted into the unit, the unit will automatically switch
to display this source menu. Press this function button to select DVD if a disk is already
installed and the unit is playing from another source.
AM/FM - by pressing this button will scroll through the FM1, FM2, FM3, AM1, AM2.
To switch this units AM/FM reciever between USA and Europe frequencies press and hold
the AM/FM button for 10 seconds until the region is displayed on the screen.
AUX-this button allows you to scroll through the AUX inputs fitted to the strereo
AUX input - connection on the rear of the unit, (normally used to connect TV sound input)
AV IN - connection on front of unit to connect a external audio source
BLUETOOTH / DIMMER - by pressing this button will enable bluetooth connection, if the
button is held in for over 2 seconds it will then dim the face illumination by 1 of the 3 stages
each time pressed.
3.Volume Adjust
Rotate the volume knob clockwise to increase volume, rotate anticlockwise to reduce volume.
4. Mute
Press MUTE button to mute what ever source is playing and display mute on the screen.
Press the mute button again to release unit from mute.
5. Clock and Alarm Set
1) To display the clock on the LCD display, press Clock botton on the remote control
2) To Adjust or set the clock, press and hold the Clock Set button on the front of the
unit or hold the Clock button on the remote control until the clock set feature is
displayed on the LCD display of the stereo then use the volume knob on the unit
or + and - buttons on the remote control to adjust the time, push in the volume knob
on the stereo or press the SEL button on the remote control to change from setting
hours to minutes. Once time is set the stereo will automatically set after a few second
of not pressing any functions.
3) To set the Alarm Clock the Stereo must be in AM/FM mode when the Alarm Set
buttois held in. The alarm clock is set in the same way as above for the clock set.
Once the alarm clock is set, you will see the ALARM light illuminated under the LCD
display.
Press the alarm on /off button to turn on or cancel the alarm setting.
All manuals and user guides at all-guides.com
15
6. To select a preset EQ mode
Press the EQ button to select the preset music equalizer curves: MOVIE,
MUSIC, CLASSIC, CONCERT .The sound effect will be changed.
7. To turn on/off LOUD mode
Press and hold LOUD button on the front panel to turn on/off LOUD
mode.
8.To adjust the sound equalizer curves
To adjust the sound equalizer curves, briefly and repeatedly press the SEL
button to select the sound equalizer curves of VOL, BAS(without preset EQ),
TRE (without preset EQ), BAL, FAD,BEEP(ON/OFF), then rotate the VOL knob
on the front panel or press the + or - button to adjust level.
9.To preset the unit to sleep mode
Press the SLEEP SET button to select the time you want to make the unit go
sleep mode in. There are four modes for select.
00: The sleep mode off
15: The NDICATOR light SLEEP will be lighted, The unit will go to sleep mode
in 15 minutes
30: The INDICATOR light SLEEP will be lighted, The unit will go to sleep mode
in 30 minutes
60: The INDICATOR light SLEEP will be lighted, The unit will go to sleep mode
in 60 minutes
NOTE: Only the ALARM ON mode is selected, the above preset function
can effect.
10.To preset the unit from sleep mode to turning on
Press and hold the SLEEP SET to pop up the preset clock interface. adjust the
time you want the unit to turn on in.
NOTE: Only the ALARM ON mode is selected, the above preset function
can effect.
11.ALARM ON OFF BUTTON
Press the ALARM ON OFF BUTTON to select the ALARM ON or ALARM OFF
mode.
ALARM ON: The INDICATOR light ALARM will be on.
ALARM OFF:The INDICATOR light ALARM will be off.
12.ZONE A/B/C BUTTON
Pressing zone A, B or C buttons will turn on or off the audio source in each of
the different areas which your speakers are connected. A blue indication light
with A, B and C is displayed under the LCD display and when lit is to indicate
when sound is being fed to the Zone.
13.Press the button or TITLE button up to the previous menu.
14.To reset the unit
when the buttons are not effective or
sound is distorted, then
.
display is incorrect, or the function
use a sharp point to press the RESET button, that
will make the unit be reset to factory default and re-instate the correct functions
All manuals and user guides at all-guides.com
all-guides.com
16
3. Radio Operation
1. FREQUENCY SELECT
In RADIO mode. Press and hold the AM/FM button to select your desired frequency EUROPE,
USA1 or USA2.
2. AM/FM BUTTON
In RADIO mode, press the AM/FM button to select your desired radio band of FM1, FM2, FM3,
AM1, AM2 , and the selected band will be displayed on the small monitor of the front panel.
3. TUNE/SEEK UP/DOWN
In RADIO mode:
1) Rotate the TUN/TRK KNOB to the right or left limit position stopping for about 1 second or Press
and hold the >>|/ |<< button on the remote control to automatically search up/down for a available
station from the current frequency.
2) Rotate the TUN/TRK KNOB or the press the >>| / |<< button on the remote control
to manually search up or down with step by step for your desired station from the current
frequency.
4. AS/PS BUTTON
In RADIO mode:
1) When pressing and holding the AS/PS button on the front panel or APS button on the remote
control, the radio searches from the lowest frequency and checks the signal strength level until 1
cycle search is finished. And then the 6 strongest stations are preset to the corresponding preset
number memory bank. The AS operation is implemented in each bank of the selected band.
When the AS operation is finished, it will resume broadcasting
on the M1.(It can store 3x6 stations for FM and 2x6 stations for AM in all)
2) When briefly pressing the AS/PS button on the front panel or APS button on the remote control,
the radio searches for each preset station from the M1. When the field strength level is more than
the threshold level of the stop level, the radio holds at that preset number for a few seconds with
releasing mute, and then searches again. After finishing a circle of searching, it will stop
searching on the M1.
NOTE: In FM band, FM1,FM2,FM3 is checked one at a time.
In AM band, AM1, AM2 is checked one at a time.
5. PRESET STATION [ 1-6 ] BUTTONS
In RADIO mode:
1) To memorize the current frequency on the current band, press and hold any one of the six preset
buttons (1-6) .
2) To recall the preset memory on the current band, press one of the preset buttons [1-6] .
6. STEREO/MONO BUTTON
Press the ST button to select the STEREO or MONO sound mode for
FM band.
7. LOC BUTTON
1) In RADIO mode, when the signal of the distance radio station are very weak and the receiving
effect is bad during tuning, check whether there is the word LOC on LCD. If there is the word
LOC on LCD, press this button to turn off the LOC function, then tune again for the distance
radio station;
2) In RADIO mode, when the signals from the local radio stations are too strong, this could lead
to interference. press this button to turn on the LOC function, and the LOC icon will be lit up on
the LCD. Re-tune for the local station required.
All manuals and user guides at all-guides.com
17
8. PTY (PROGRAM TYPE) BUTTON
Long press the SEL button on the front panel or press the PTY button on remote
shortly to select one of the following mode.
When PTY group is on, press the VOL+ or VOL- button on the remote
controller or rotate the VOL knob on the front panel to select one of PTY
programs: <-->NEWS<-->AFFAIRS<-->INFO<-->SPORT<-->EDUCATE
<-->DRAMA<-->CULTURE <-->SCIENCE<--> VARIED<-->WEATHER<-->
FINANCE<-->CHILDREN<-->SOCIAL<-->RELIGION<-->PHONE IN<-->
TRAVEL<-->LEISURE<-->DOCUMENT< -->PTY NONE<-->POP M< -->
ROCK M<-->EASY M<-->LIGHT M<--> CLASSICS<-->OTHER M<-->
JAZZ<-->COUNTRY<-->NATION M<-->OLDIES<-->FOLK M<-->
When PTY group is on, pressing the 6 number buttons also can select one of
PTY programs as above.
After selecting one of the PTY programs, it will display SEEK PTY and
automatically search for the station of the PTY program. If the station of
the PTY program does not exist, it will display PTY NONE and then return
back to the normal station.
Note: Press and hold the SPEAKER SELECTION BUTTON B on the front panel for
5 seconds can turn on/off RDS mode.
9. AF [ALTERNATIVE FREQUENCIES] BUTTON
Long press the SEL button on the front panel or press the AF button on the
remot control briefly, the AF switchingmode is selected and the state of the AF
switching mode is displayed by AF segment.
Segment off: AF switching mode off.
Segment on: AF switching mode on, and has RDS information.
Segment flashing: AF switching mode on, but RDS information is not received yet.
When the AF switching mode is selected, the radio checks the signal strength
of the AF all the time. The interval of checking time of each AFs depends on
the signal strength of the current station, from a few minute for the strong
station to a few seconds for the weak station. Every time that a new AF is
stronger than the current station, it switches over to that frequency for very
short time, and the NEW FREQUENCY is displayed for 1-2 second. Because
the mute time of the AF switching or the checking time is very short, it is
almost inaudible in case of normal program. (When AF flash on LCD, it will
search for the stronger RDS station. If AF and TP flash on LCD, it can only
search for the traffic announcement station).
In FM mode, when AF is on, SEEK, (SCAN), AUTO-MEMORY function can
only receive and save the RDS program.
10. TA [TRAFFIC ANNOUNCEMENT] BUTTON
Long press SEL button on the front panel then rotate it or press the TA button
on remote shortly to turn on TA search mode.
When traffic announcement is transmitted:
1).If the unit is in Disc Play mode, it will switch to radio mode temporarily.
2).Temporarily switch over to an EON linked station when EON detects a
traffic announcement on that other program, and TA, TP will be displayed
on LCD
* TA interruption function:
The current traffic announcement is cancelled by pressing TA button shortly.
* When TA is on, SEEK, (SCAN), AUTO MEMORY function can be received
or saved only when traffic program identification code has been received.
All manuals and user guides at all-guides.com
18
4 Basic Disc, USB Operation
4.1 Begin playback
1. Press the POWER button briefly to turn on the DVD player.
After turning on the DVD player, please turn on the monitor, and ensure that
the video output of the monitor is the video input from the DVD player
connected with the monitor.
? Common Question
Q: There is not anything is displayed on TV screen when the DVD player is
turned on. How to solve the problem?
A: Ensure that the TV was set to right video input(not TV channel); for
example, if you make VIDEO1 INPUT of TV and DVD player connected
with each other, then you need set TV to VIDEO1.
2. Insert a disc into the DISC SLOT(Label surface up).
! NOTE
1. For some discs that are seriously scratched or poor manufacturing or
recording quality, it may not play.
2. If the player can not read disc under normal condition, please try to
eject and reload the disc again.
3. Remark:
1) In addition to normal CD and DVD, this unit supports to play CD-R,
CD-R/W, DVD-R and DVD-R/W as well; however, depending on the
conditions of the recording equipment, recording program or the disc
itself, some CD-R, CD-R/W, DVD-R or DVD-R/W may not play.
2) When dealing with CD-R, CD-R/W, DVD-R or DVD-R/W recording,
too high recording speed may result in poor signal quality and therefore,
it is recommendable to select as lower as possible recording speed.
All manuals and user guides at all-guides.com
19
4.2 Pause Playback
When playing DVD/VCD/CD/MP4/MP3/WMA discs, press the PAUSE/PLAY
button on the front panel or remote control to pause the playback, press the
PAUSE/PLAY button again to resume normal playback.
4.3 Stop Playback
When playing DVD/VCD/MP3/WMA/CD discs, press the STOP button once to
pause the playback, then press the PLAY button to resume the normal playback;
press the STOP button twice to stop the playback, then press the PLAY button
to start playback from the beginning of the first chapter/track.
4.4 Select Chapter/Track with the TUN/TRK KNOB or the >>| / |<< Button
Rotate the TUN/TRK KNOB on the front panel or the >>| / |<< button on the
remote control during playback to select the next or last chapter/track to
playback.
Note: Rotate the TUN/TRK KNOB or press the >>|/|<< button multiple times to
advance multiple chapters/tracks forward or backward.
4.5 Select Chapter/Track with the Number Buttons
When playing DVD/VCD(PBC OFF)/MP3/WMA/CD discs, press one of the
1~9 and the 0/TA number buttons to directly select and play the 1st to 10th track /
chapter (the 0/TA button is used as the 10 button).
If you want to play the track/chapter with serial number bigger than 10,
use the 10+, 1~9 and 0/TA button. For example 1, to play the 13th track/
chapter, firstly press the 10+ button once, then press the 3 button. For
example 2, to play the 34th track/chapter, firstly press the 10+ button for 3
times, then press the 4 button.(the 0/TA button is used as the 0 button)
Note: pressing and holding the +10 or -10 buttons will allow you to play the next
10 or last 10 chapter/track(only for MP3/WMA).
4.6 Select Chapter/Track with the Root/PBC Menu (If the disc includes the
root/PBC menu)
When playing DVD discs:
1. Press the TITLE button on the remote control to display the title list.
2. Press the direction buttons to select your desired title, and then press the OK
or PLAY button to open the root menu of the selected title.
3. Press the direction buttons to select your desired chapter, finally press the
OK or PLAY button to play the selected chapter.
During playback, pressing the TITLE button on front panel or long pressing the
TITLE button on the remote can directly displaythe root menu of the title that is
playing.
All manuals and user guides at all-guides.com

Other manuals for DV1100

2

Other Furrion Home Theater System manuals

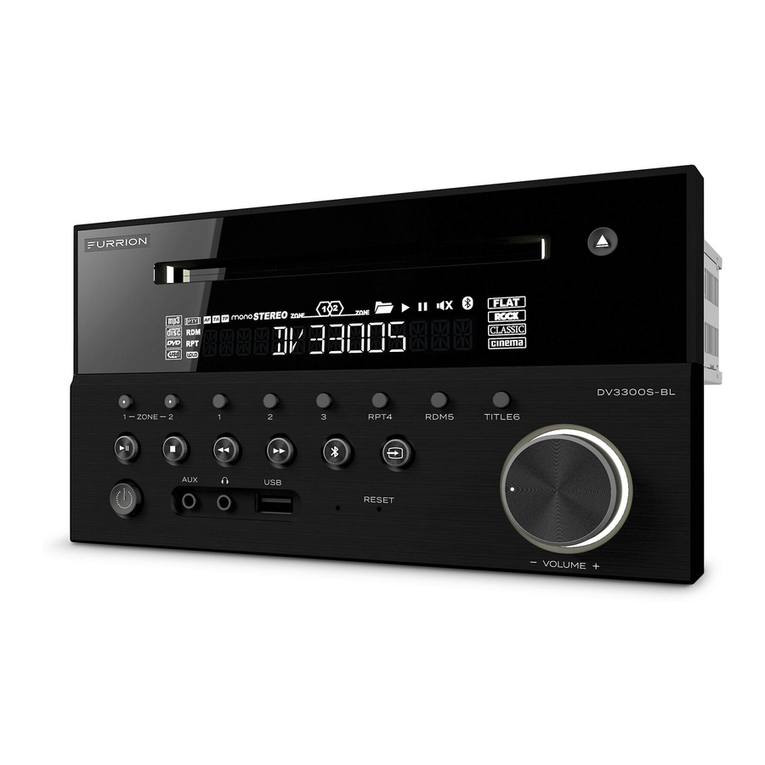
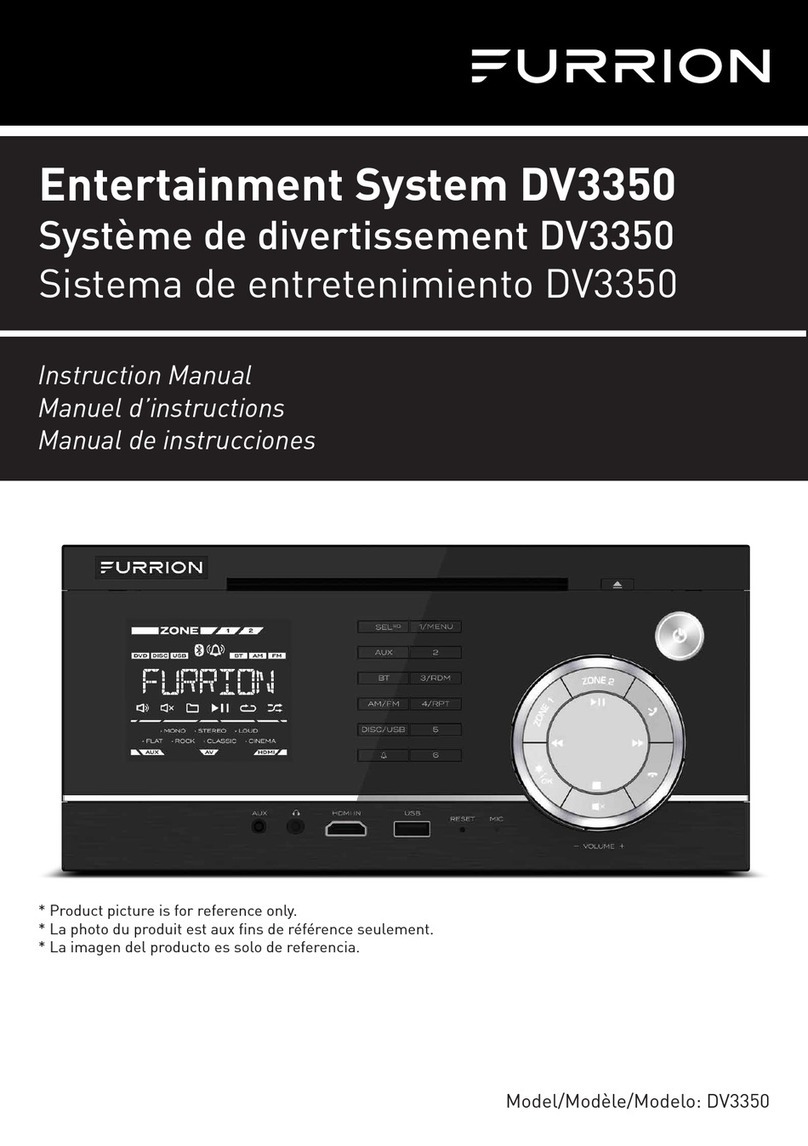
Furrion DV3350 User manual

Furrion

Furrion DV3350 User manual

Furrion DV3300 User manual

Furrion

Furrion DV3300 User manual

Furrion DV7100 series User manual

Furrion

Furrion DV7100 series User manual

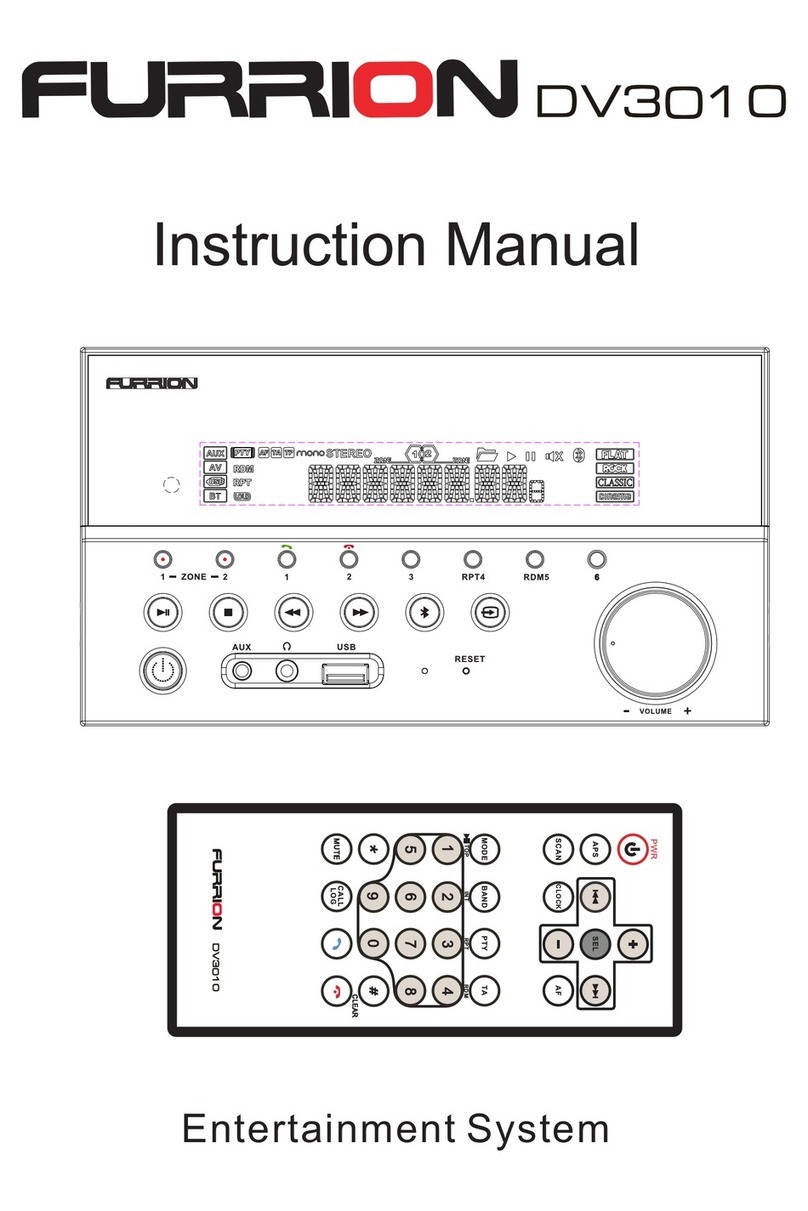
Furrion DV3010 User manual

Furrion

Furrion DV3010 User manual

Furrion DV1230 User manual

Furrion

Furrion DV1230 User manual

Furrion DV3050 User manual

Furrion

Furrion DV3050 User manual

Furrion FDHK32V1A User manual

Furrion

Furrion FDHK32V1A User manual

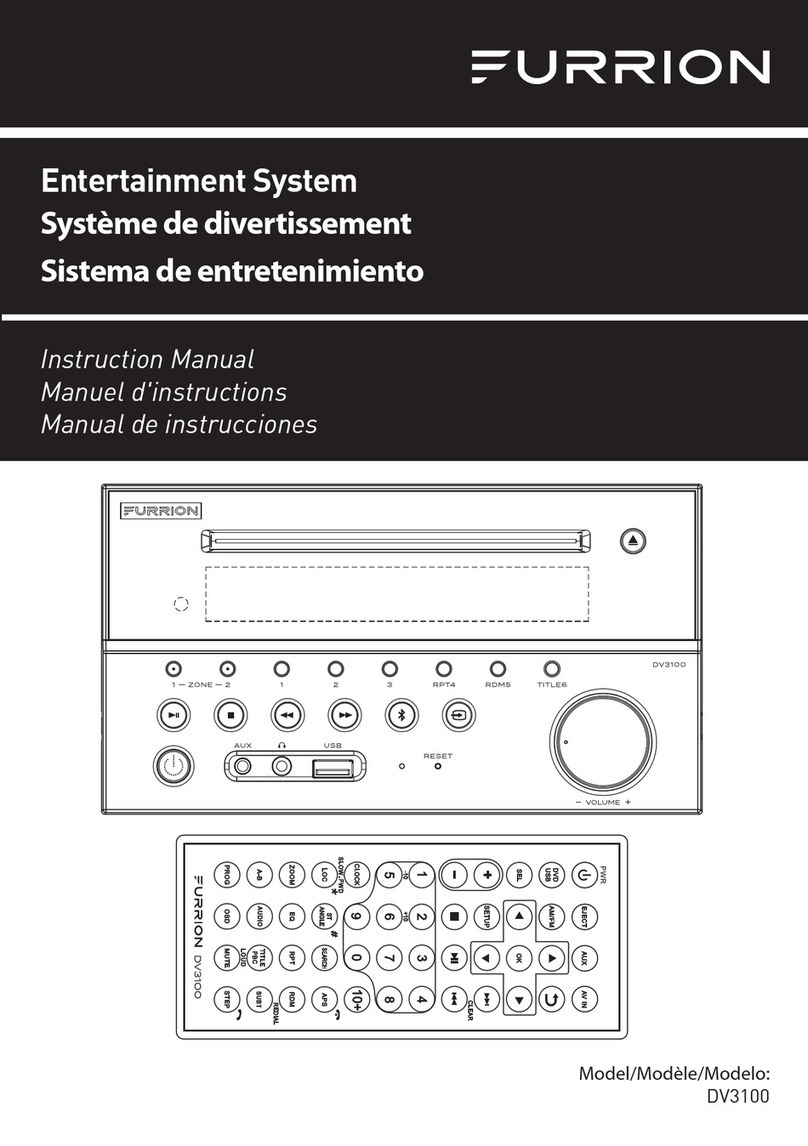
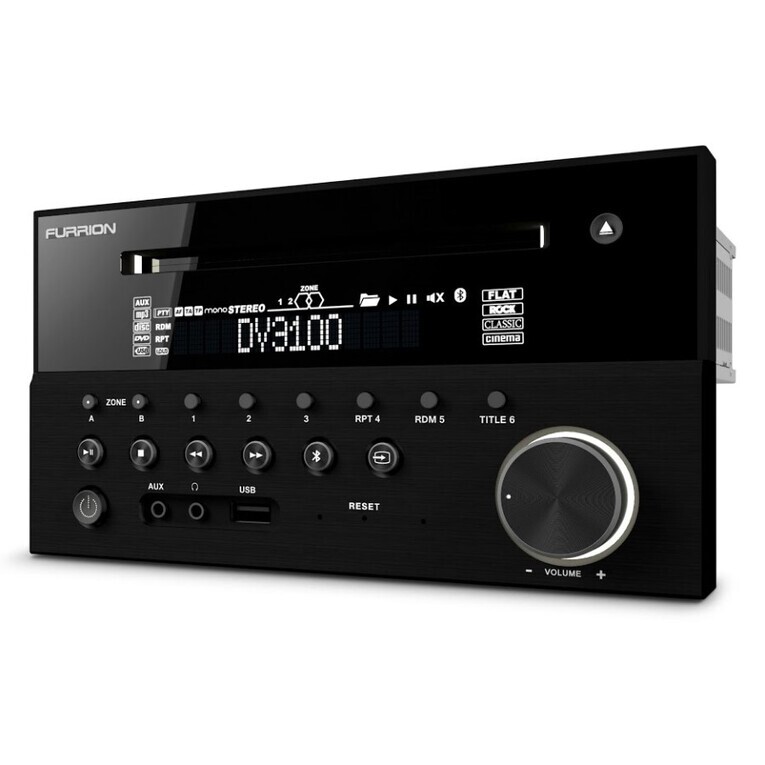
Furrion DV3100 User manual

Furrion

Furrion DV3100 User manual

Furrion DV3300S-BL User manual

Furrion

Furrion DV3300S-BL User manual

Furrion DV3100 User manual

Furrion

Furrion DV3100 User manual

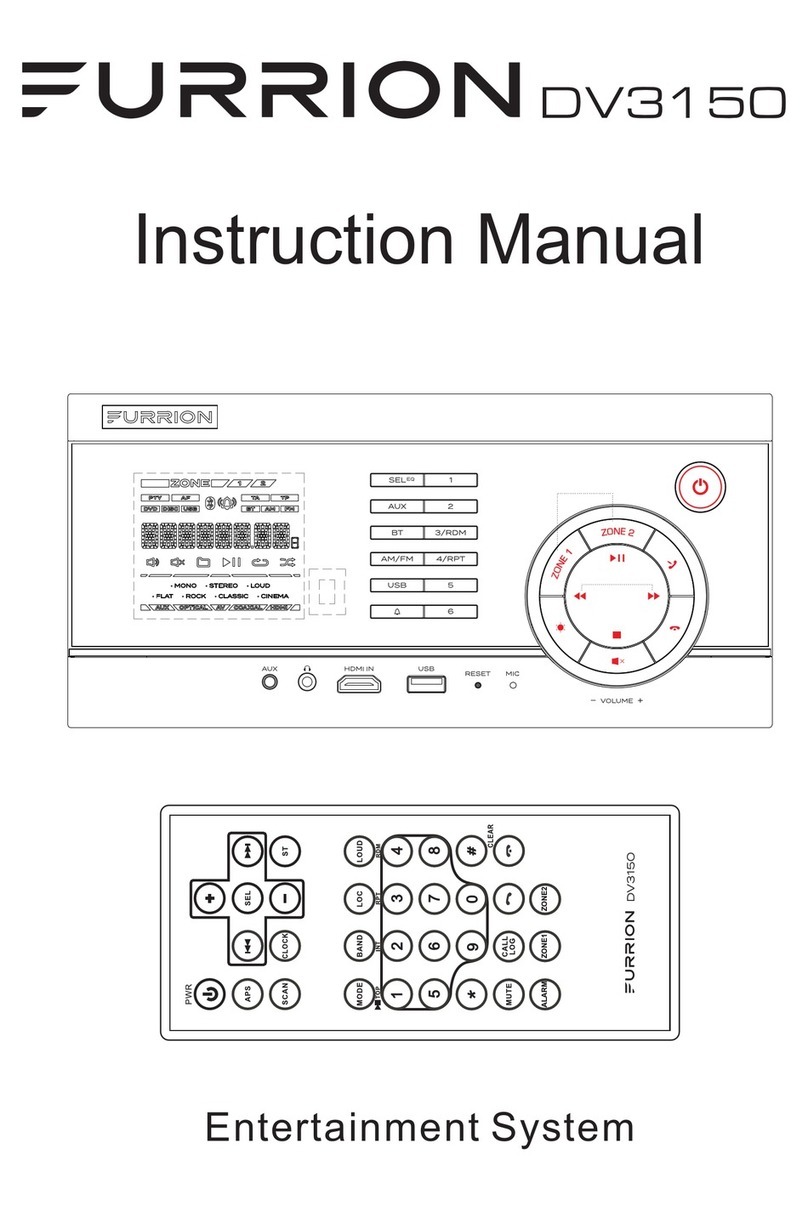
Furrion DV3150 User manual

Furrion

Furrion DV3150 User manual

Furrion DV3300S-BL User manual

Furrion

Furrion DV3300S-BL User manual

Popular Home Theater System manuals by other brands

Sony HT-AX7 Help guide

Sony

Sony HT-AX7 Help guide

Sony 4-147-229-13(1) operating instructions

Sony

Sony 4-147-229-13(1) operating instructions

Sherwood ST-4108 operating instructions

Sherwood

Sherwood ST-4108 operating instructions

Philips HTS3410D Specifications

Philips

Philips HTS3410D Specifications

Sony DAV-EA20 operating instructions

Sony

Sony DAV-EA20 operating instructions

Samsung HT-ES6200 user manual

Samsung

Samsung HT-ES6200 user manual

Philips HTB5541DG quick start guide

Philips

Philips HTB5541DG quick start guide

Samsung E10T user manual

Samsung

Samsung E10T user manual

Philips Immersive 3000 series quick start guide

Philips

Philips Immersive 3000 series quick start guide

Samsung HT-C7300 user manual

Samsung

Samsung HT-C7300 user manual

Samsung HT-D5500K user manual

Samsung

Samsung HT-D5500K user manual

Sony SA-VE522 instruction manual

Sony

Sony SA-VE522 instruction manual

Philips MCD988/93 quick start guide

Philips

Philips MCD988/93 quick start guide

Sony SA-VE812ED operating instructions

Sony

Sony SA-VE812ED operating instructions

Philips FWD790 Quick use guide

Philips

Philips FWD790 Quick use guide

Bose Lifestyle 18 Series II installation guide

Bose

Bose Lifestyle 18 Series II installation guide

THOMSON HT121SB manual

THOMSON

THOMSON HT121SB manual

JBL CINEMA VISION CVPD50 owner's guide

JBL

JBL CINEMA VISION CVPD50 owner's guide

manuals.online logo
manuals.online logoBrands
  • About & Mission
  • Contact us
  • Privacy Policy
  • Terms and Conditions

Copyright 2025 Manuals.Online. All Rights Reserved.