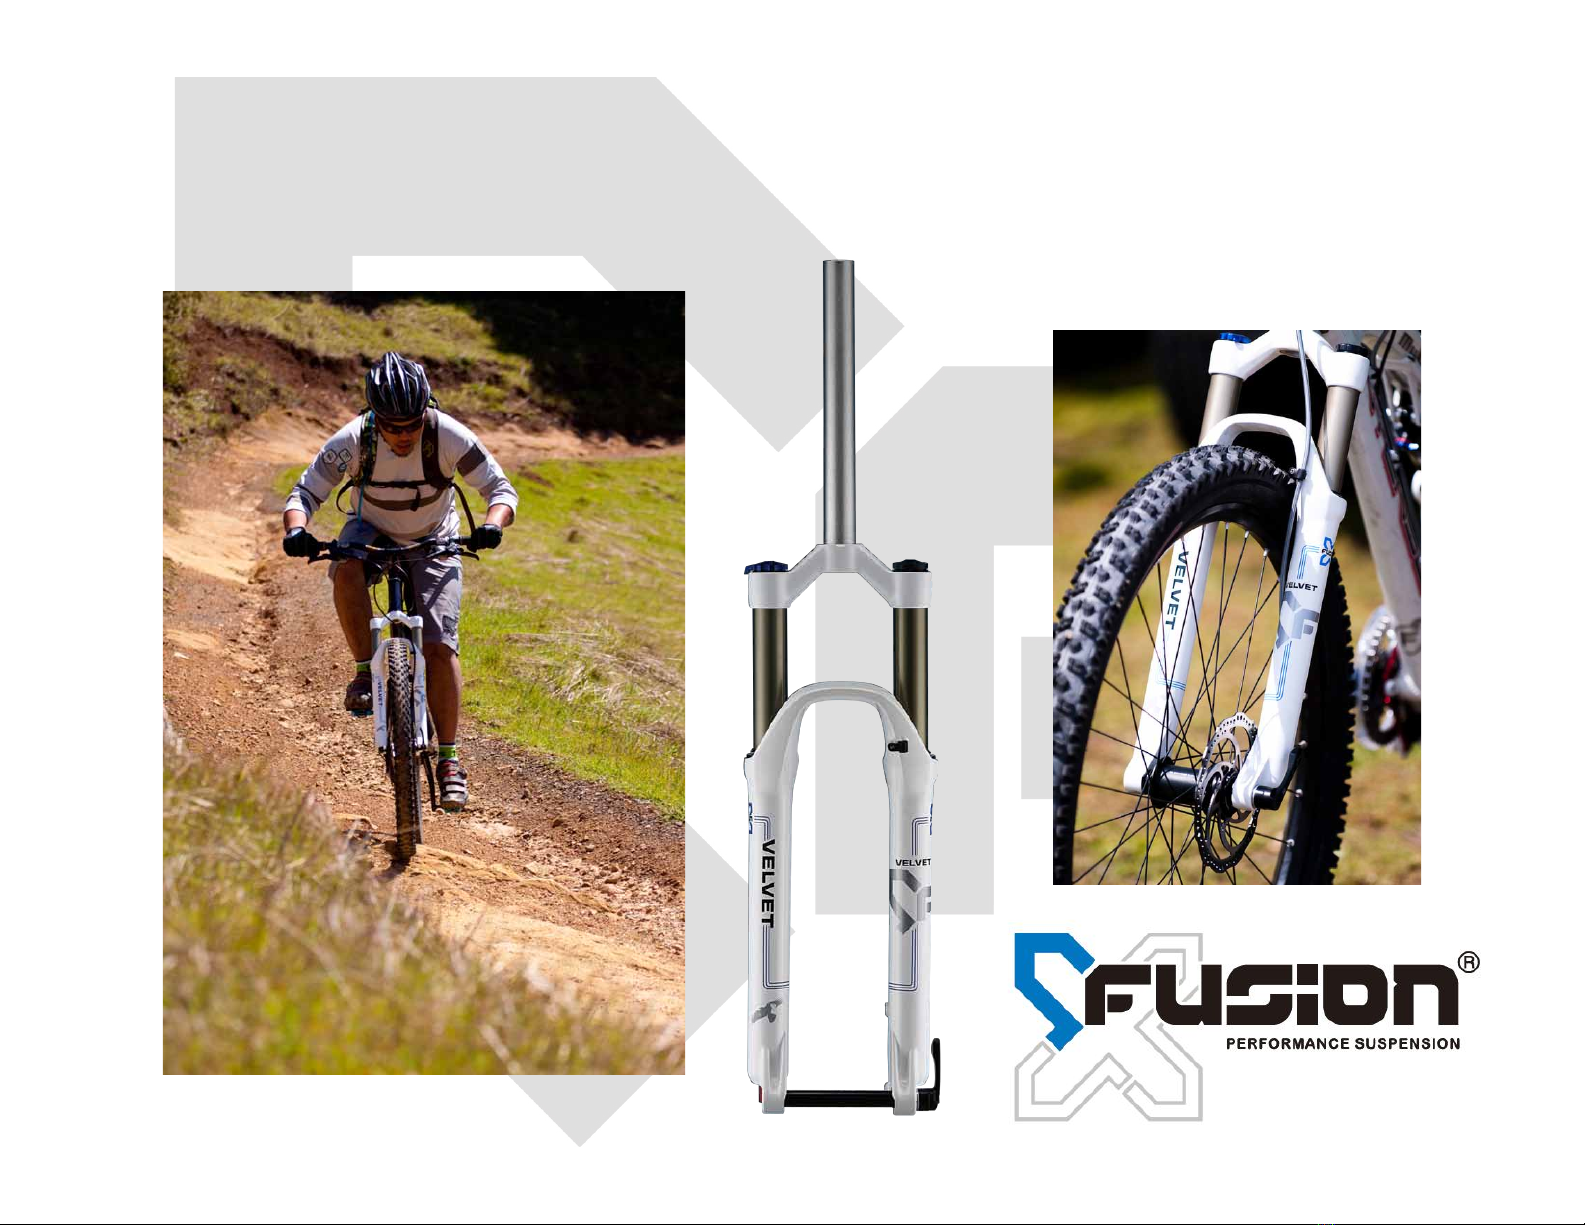
Fusion Velvet RL User manual

Velvet RL & R
Set-Up Guide
!"#$%$&'()*+)*+,(

Terminology
Steerer Tube
Air Valve Cap
Brake Guide
+-..(/!(012"(342%&(
.45"($'(/!(6..7(
Lockout Lever
Stanchion
8&9":(8";(

Basic Set-Up
Step 1: Install Velour Fork on Your Bicycle
Make sure that the fork is installed correctly. We recommend if you are unsure on how to install
your new fork correctly that you visit your local bike shop for assistance. Always double check to
make sure your stem, headset, bars and front wheel axle are all securely tightened.
Step 2: Set Your Forks Sag
Sag is the amount of travel your fork uses with the dead weight of the rider mounted in gear on the
bike. We recommend that you set your fork up with 20-25% sag for XC use. For Example: If your
Velvet is set at 100mm of travel then you would want the fork to compress 20-25mm to achieve the
correct sag percentage. On your Velvet the sag will be controlled by the amount of air pressure you
run inside the fork. Below you will find a general air pressure table to help you get started. These
pressures may not get you to the optimal sag percentage, so please use a suspension specific pump
to adjust your pressures accordingly. Also shown below is an easy way to accurately measure your
sag. By strapping a zip tie to the fork stanchion you can mount your bike while the zip tie captures
your sag measurement.
Velvet R and
RL 100mm
Rider Weight
Recommended
Pressure
75-100 lbs
60 PSI
100-125 lbs
65 PSI
125-150 lbs
70 PSI
150-165 lbs
75 PSI
165-180 lbs
80 PSI
180-200 lbs
90 PSI
200-220 lbs
100 PSI
>220 lbs
110 PSI

Basic Set-Up(
Step 3: Set Your Rebound Adjustment
To set the rebound, use the red rebound adjustment knob located at the bottom of the fork.
Personal preference and terrain are factors in your rebound setup but you should still take a few
things into account. You do not want your rebound so slow that the fork can’t react to the next
impact on trail. You also do not want the fork to rebound so fast it could unexpectedly send you off
balance or even off the bike. In set-up you are looking for the setting that best reacts to the terrain
you are riding.
-Turning the red adjustment knob clockwise will slow down the rebound.
-Turning the red adjustment knob counter clockwise will speed up the rebound.
During initial set-up we recommend starting with the base setting and adjusting accordingly from
there. Here is how to find your correct rebound setting.
-Turn the rebound knob all the way clockwise until it reaches the end of the adjustment. (this
setting is as slow as your adjustment knob allows the fork to rebound.
-Turn the adjustment knob 8 clicks counter clockwise. This will set you at your base rebound
setting in the middle of the range. (There are about 16 clicks of adjustment)
-Once at your base setting pedal around the bicycle and determine if you need to slow down
or speed up your rebound. When adjusting always move 2 clicks at a time in either direction. If the
change in rebound speed is too much then backtrack one click. This is a quick and efficient way to
find the correct setting.

Basic Set-Up(
Step 4: Lockout Adjustment (Velvet RL Only)
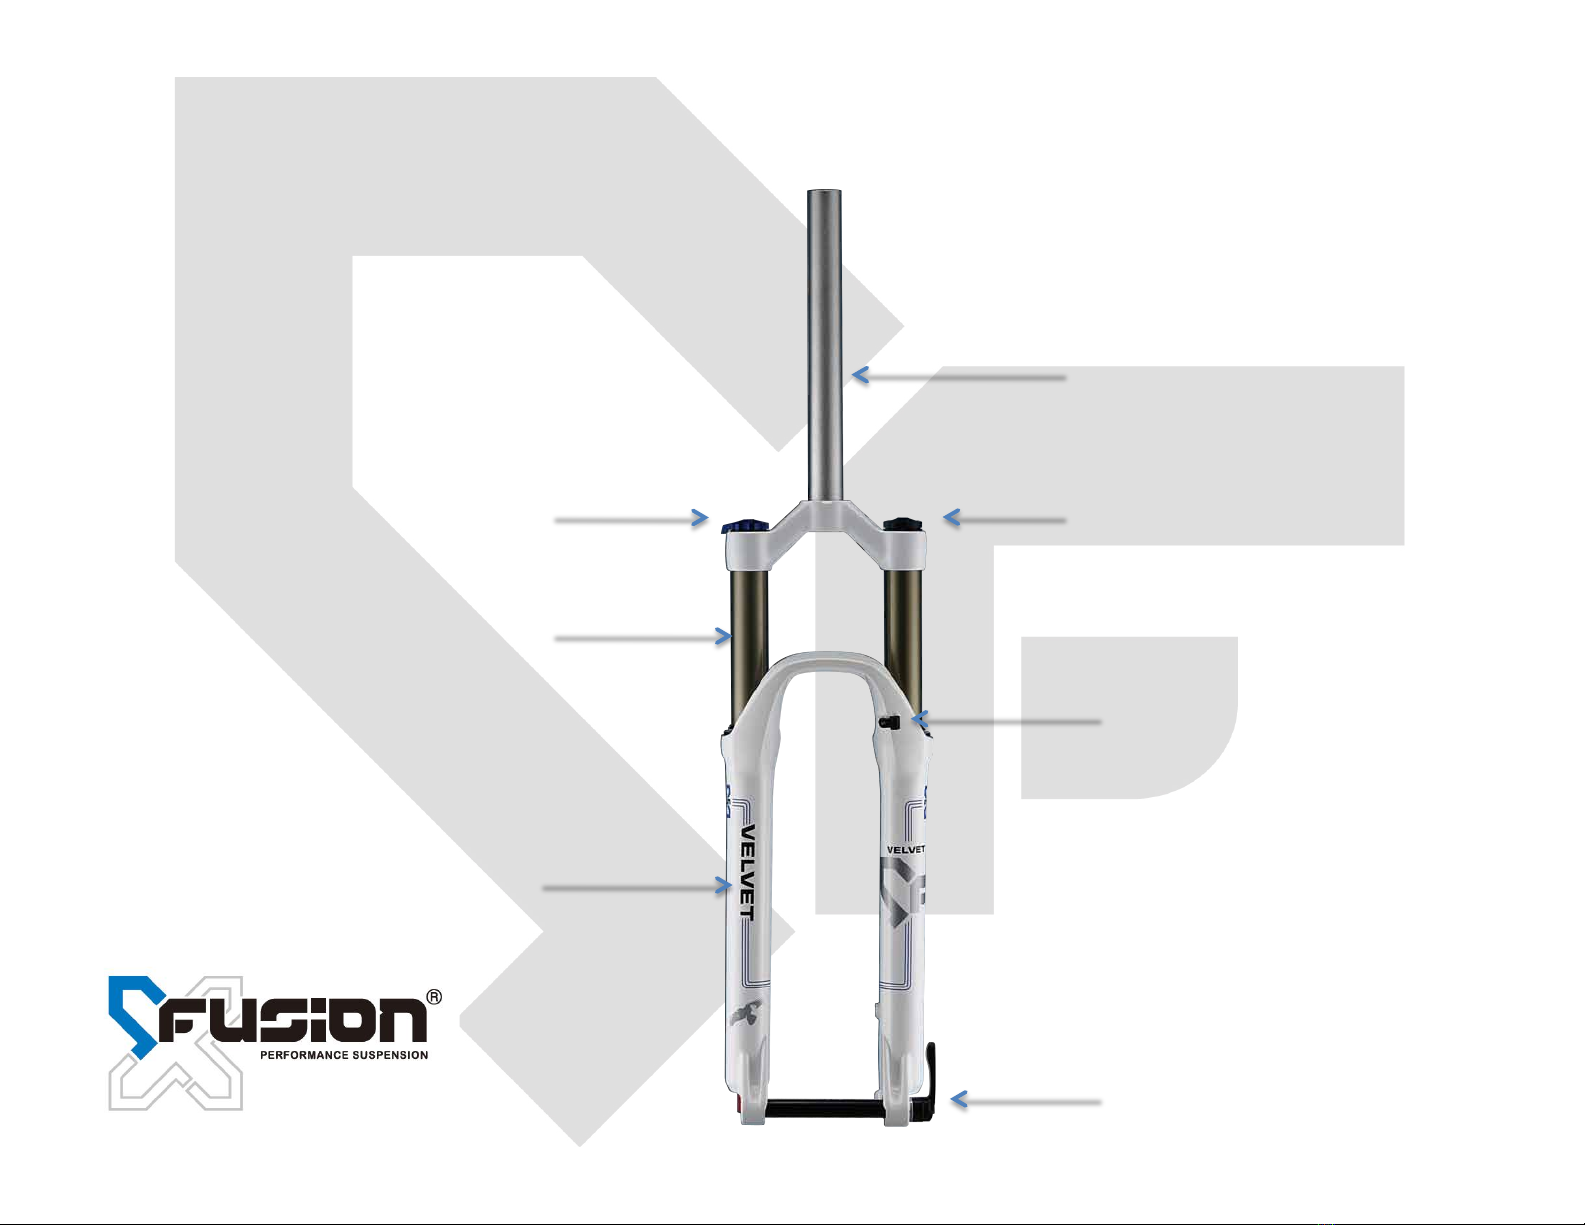
The Velvet RL fork is equipped with a lockout adjustment to increase efficiency when needed. The
lockout adjustment is the blue dial easily located at the top of the fork for on the fly use. The
Velvet’s lockout lever works as an on-off switch that controls the low speed compression port. When
locking the Velvet fork out you are closing the low-speed compression port not allowing oil flow. You
may notice when your fork is locked out that under heavy load or a large impact your fork still
compresses. This happens because the oil is not completely blocked from flowing and when a great
enough force is applied the oil will blow off and flow around the low-speed port and up through your
compression shim stack. After the impact or force the oil will return and the fork will continue to be
locked out.
-When blue lockout lever is moved counter-clockwise the fork is in the open position.
-When blue lockout lever is moved clockwise the fork is in the lockout position.
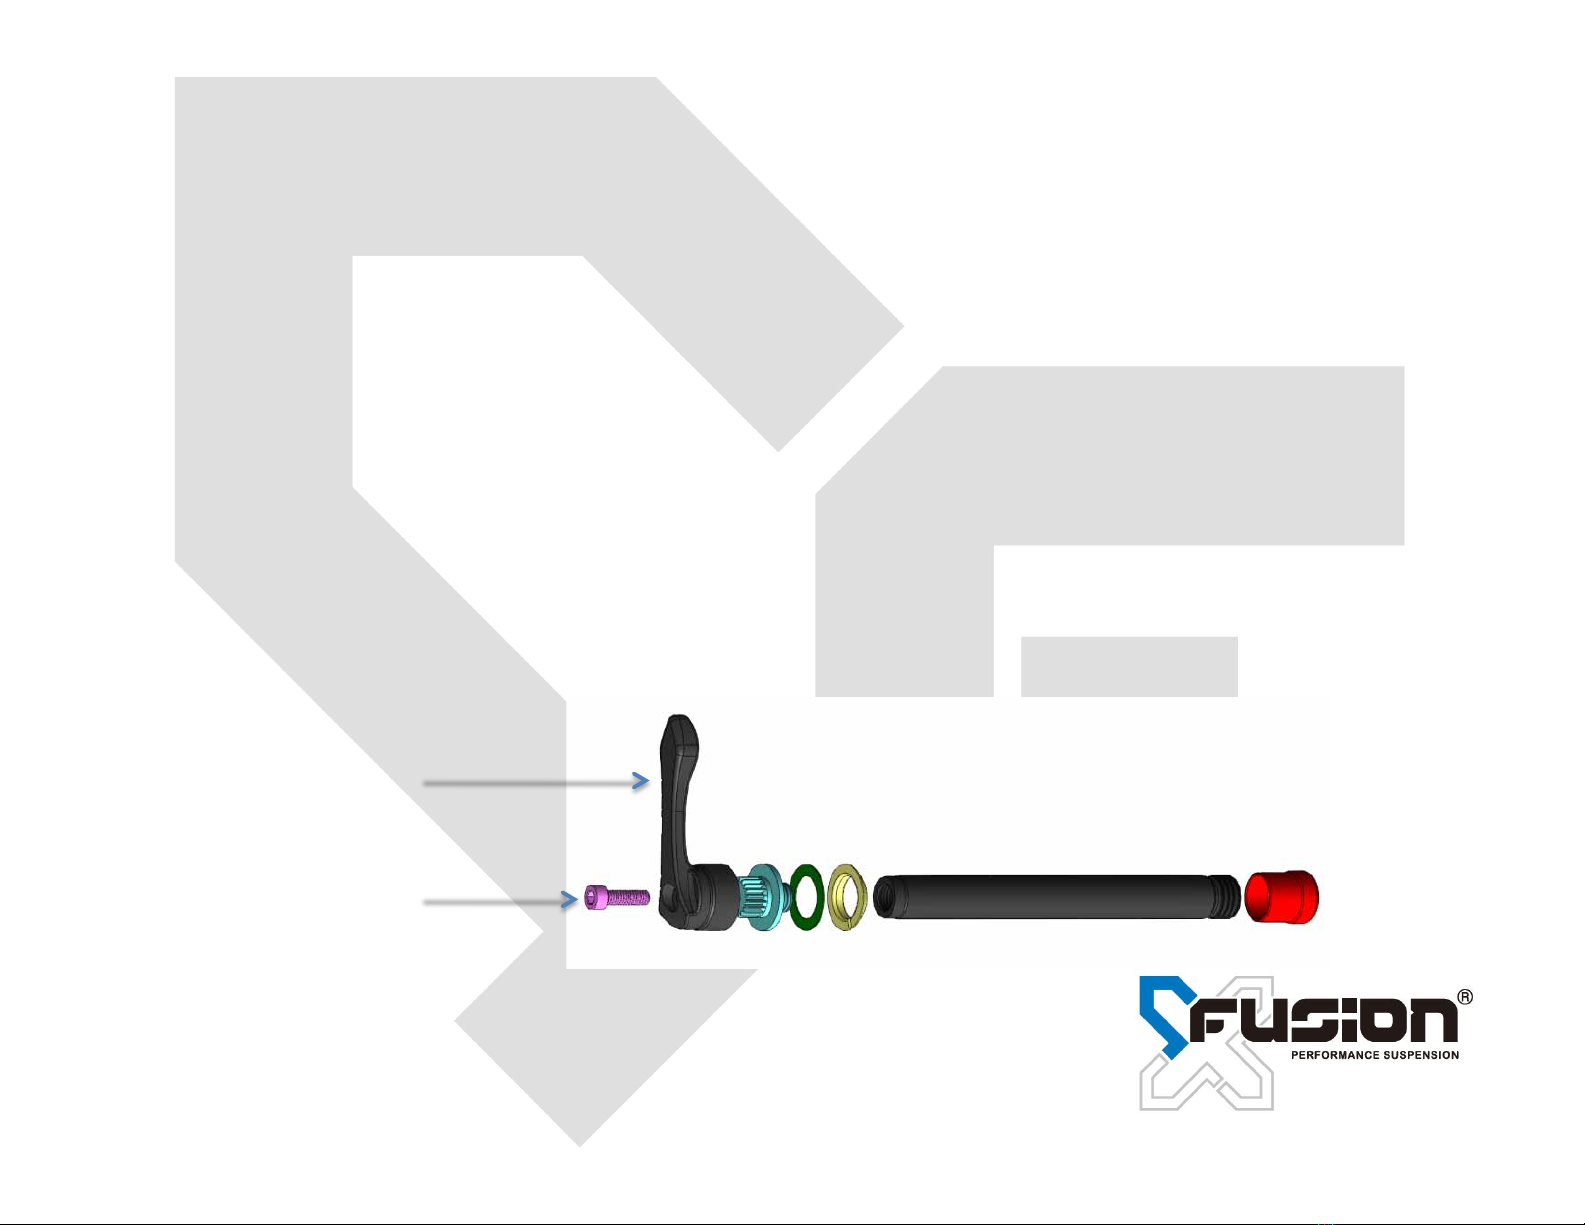
Remote Version
The Velvet RL remote version works the exact same way as the lever actuated lockout fork. The
only difference is that the remote version is controlled from the X-Fusion handle bar mount. It is
important that this mount is properly set up for the lockout to work as intended. Make sure the
cable line is not kinked or routed in a way that may obstruct the lockout function. Lubing the cable
before routing through the cable housing will help to decrease friction and improve the longevity of
the cable. Lastly make sure that the cable has proper tension for best feel and performance of the
lockout function. Just like any cable it will wear out over time, replacing the cable frequently will
ensure maximum performance.

Basic Set-Up
Step 5: Bolt and Axle Check!
The last step before taking off on your ride is to thoroughly go over you entire bike to make sure all
bolts and clamps are securely tightened. Also make sure that your forks axle is tightened correctly.
Some Velvet forks may come with our X-Series QR System by Syntace. The X-Series QR System is
a simplistic design that allows you to set your QR lever in any spot you wish once tightened.
1.Place wheel in dropouts and insert axle.
2.Turn Clockwise until QR lever is firmly tightened.
3. Unscrew bolt at the center of the QR lever.
4. Rotate QR lever so that it sits in a optimal position for riding.
5. Re install bolt so that QR lever remains in proper location.
QR Lever
Bolt (step 3)

Important Info
Cleaning and Maintenance:
-It is normal for a slight grease ring to form around the stanchions after every ride. The grease is
used as lubrication to improve the longevity and smoothness of your fork’s dust wipers. It’s best to wipe
the grease ring away after every ride to avoid contaminants entering your fork under these seals. If
excessive amounts of oil begins leaking from anywhere on your fork then please contact your local bike
shop or X-Fusion Authorized Service Center immediately.
-Never use a high pressure washer when cleaning your fork!
-Use a soft scrub brush and warm soapy water when cleaning your fork.
Service:
-If you experience any issues with your product please contact your local Service Center. Service
centers can be found on our website at WWW.XFUSIONSHOX.COM.
-We recommend your fork receives standard damper and lower leg service after every 80 hours of
ride time or annually. This service should be performed only by experience suspension technician or one
of our Authorized Service Centers.
Travel Adjustment:
-To change the travel please see the 2011 Velvet travel change guide also located on our website
at WWW.XFUSIONSHOX.COM.
This manual suits for next models
1
Table of contents