Firmware Download Utility Instructions
Copyright ©2004 FutureLogic, Inc. All Rights Reserved. PUBN Page 2 of 22 11/30/2004
PUBN-000015 REV.A
PSA-66-ST
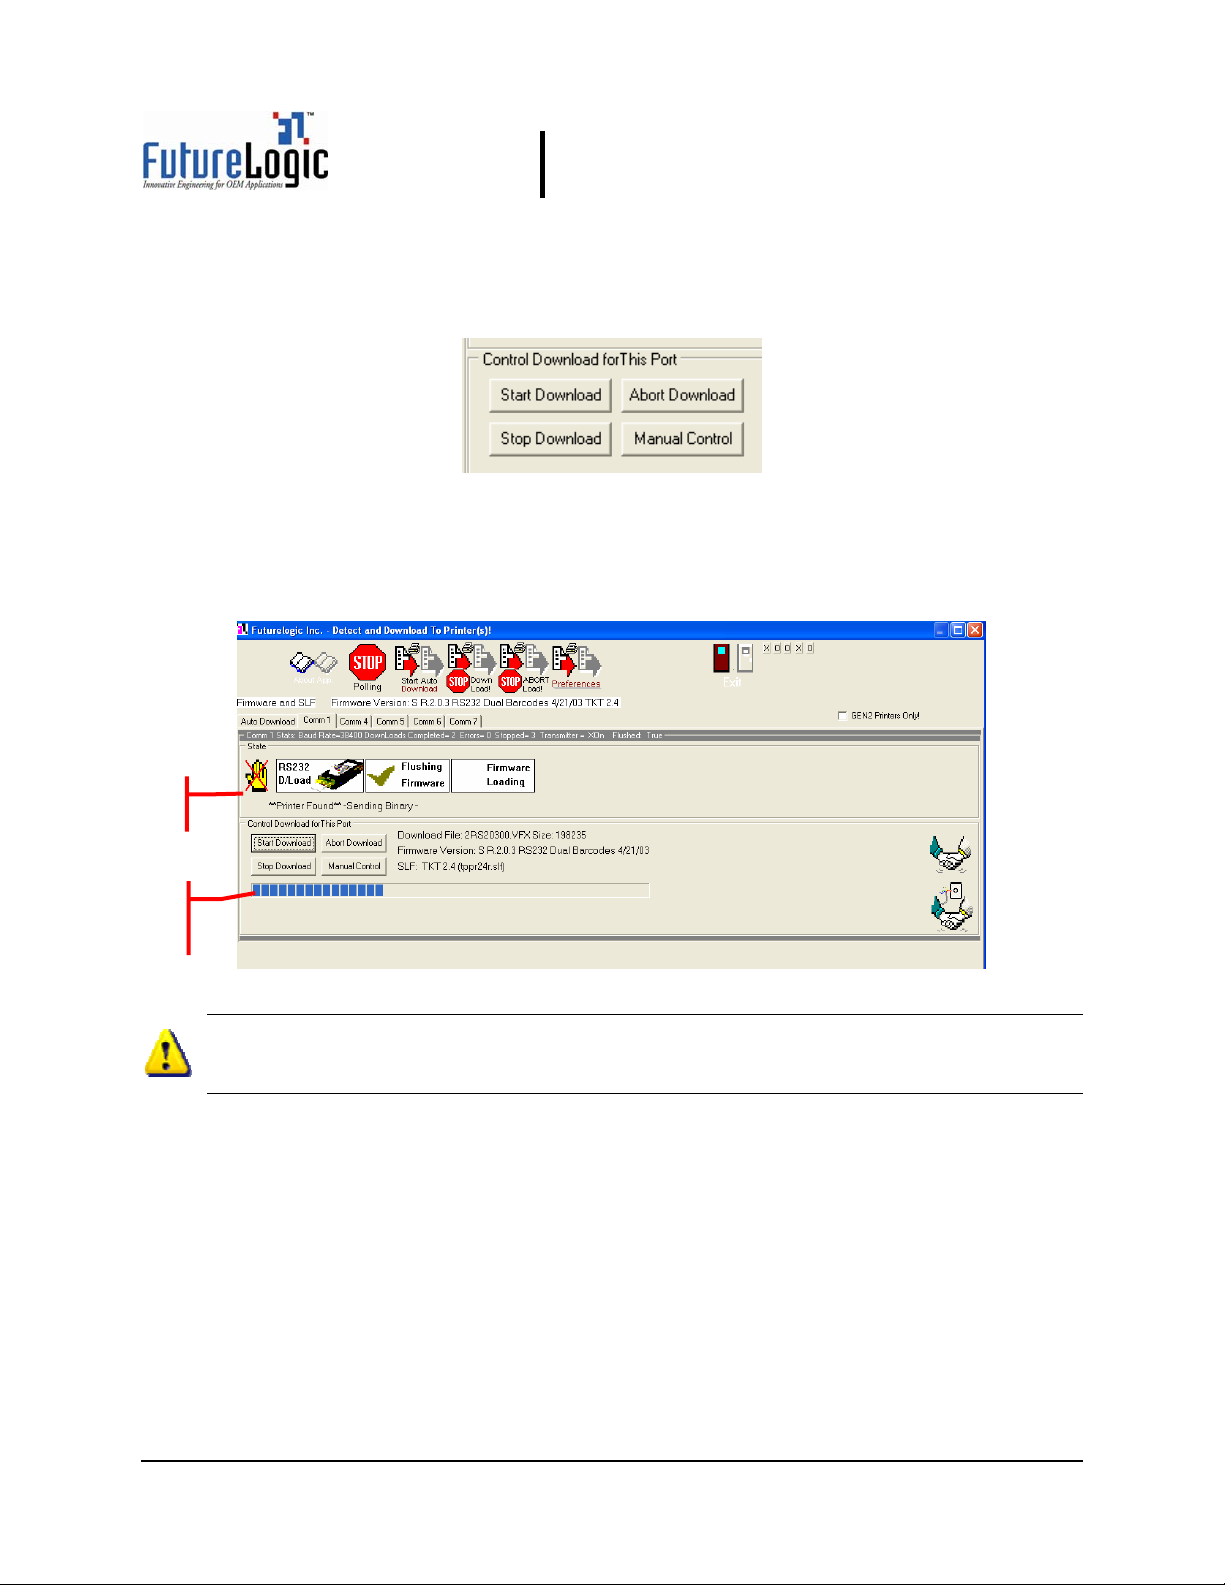
2Changing Firmware on One or More
Printers
This section describes how to remove a printer from a machine, change the firmware on one or
more printers at a time using a standalone Stationary Module for each printer, each connected
to different communication ports.
CAUTION!
ESD Sensitive Equipment!
Electronic boards and their components are sensitive to static electricity. Care must
be taken during all handling operations and inspections of this product in order to
ensure product integrity at all times.
Do not handle this product out of its protective enclosure while it is not used for
operations purposes unless it is otherwise protected.
Discharge your clothing before touching the assembly. Discharge tools before use.
Whenever possible, unpack or pack this product only at EOS/ESD safe workstations.
Where a safe workstation is not guaranteed, it is important for the user to be
electrically discharged before touching the product with his/her hands or tools.
Note: If using a Nexplex printer, connect using the power supply. For additional
information on the Netplex interface, please contact International Game Technology.
2.1 Removing the Printer from the Machine
Note: Skip this section if the printer is not already in a machine.
To remove the printer from the machine:
1. Power down the printers to be downloaded.
2. Slide the unit open until it locks in the open position.