Gagebot Trike User manual

®
Trike
Other languages available at / 此安裝說明書亦提供中文版本 /此安装说明书亦提供中文版本 /
Andere Sprachen verfügbar unter: www.cagebot.com
assembly Manual

2
1.
2.
Additionally, you will need:
or
8xAA 1,5V Batteries
Important: Do not mix rechargeable and non-
rechargeable batteries!
CAGEBOT NOTICE
Hot-plugging can damage
electronic components
When connecting electronic components the controller needs to be switched o (the light
of the LED on top of the controller needs to be o), otherwise, the electronic components
may be damaged.
Connecting non-Cagebot
electronic components
Connecting non-Cagebot electronic components is possible, but is done on your own risk.
In case of damage the warranty expires.

3
14+
Warnung! Nicht für Kinder unter 14 Jahren geeignet. Für Kinder unter
14 Jahren Benutzung nur unter Aufsicht von Erwachsenen.
Warning! Not suitable for children under 14 years of age. For children
unter 14 years of age, usage under parental guidance or guidance of
adults only.
警告!十四歲以下的孩童需由家長陪同或成年人士引導下使用。
警告!十四岁以下的孩童需由家长陪同或成年人士引导下使用。
Achtung! Erstickungsgefahr! Für Kinder unter 3 Jahren nicht geeignet.
Warning! Choking hazard. Small parts. Not suitable for children under
3 years of age.
警告!內含細小零件,若吞嚥恐引發窒息危險,不適合三歲以下幼童。
警告!內含細小零件,若吞嚥恐引发窒息危险,不适合三岁以下幼童。
SICHERHEITSHINWEISE
SAFETY INFORMATION
重要安全資訊
重要安全资讯

4
ATTENTION, IMPORTANT SAFETY INFORMATION!
Regularly check all component for damages. Stop using damaged
parts and components, and replace them immediately. This is
especially important with regards to all electronic components.
Store out of reach of children under 14 years of age. Let children
under 14 years of age use the product or parts of the product
under parentel supervision or under supervision of adults only.
Watertightness
Thesetisoutdoor-suitableandrobust,butitselectricalcomponents
are NOT WATERTIGHT. Improper use may damage the electric
system.
Risk of injury
Extreme and sudden stress on the product or parts of it, fatigue
phenomena as well as damaged and defective material can lead
to components breaking or detaching. This can lead to injuries.
Bruise
Careless handling can cause ngers or skin being caught between
components. This can lead to major bruises at aected body parts.
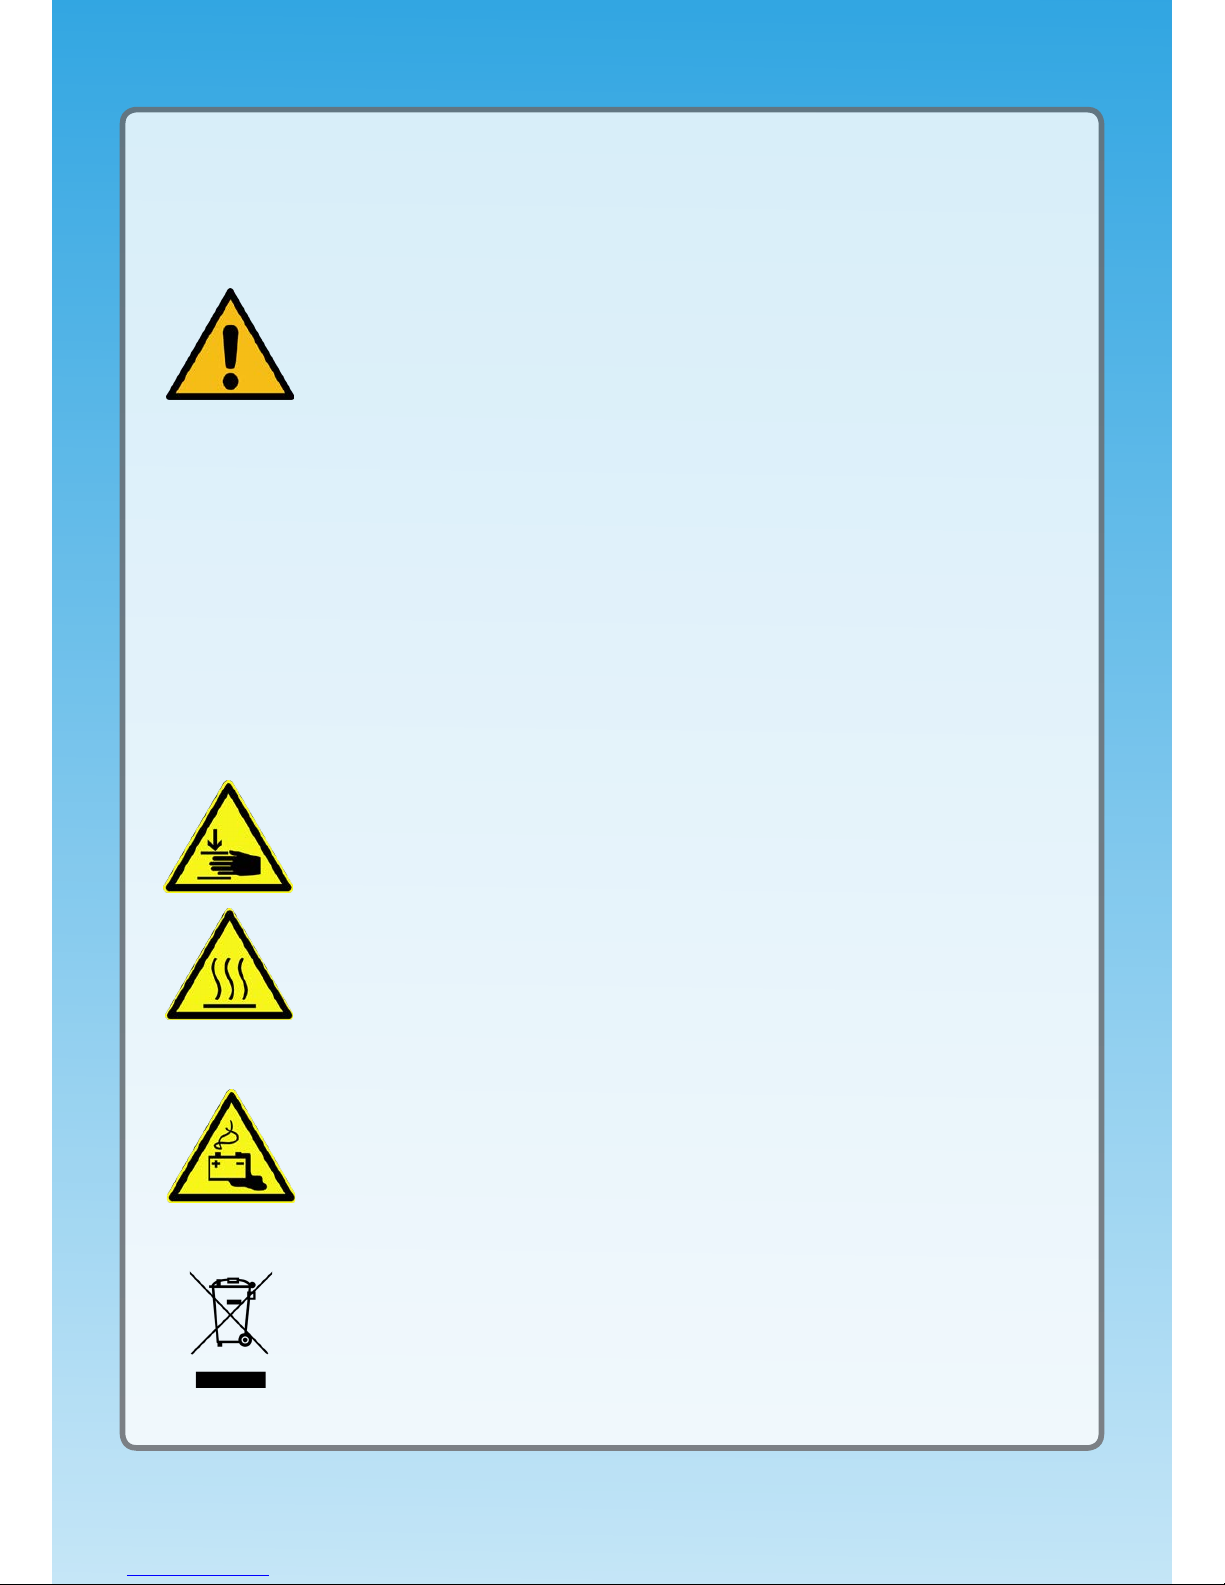
Acute risk of injury caused by hot surfaces!
Careless handling can lead to a rise of surface temperature of the
heat sink of > 80 °C. Risk of burning! The heat sink should not be
touched during usage and shortly after usage.
Important information about batteries
Never use damaged batteries. Only use batteries of the type
recommended, or a corresponding type. Insert the batteries
so that the poles are correctly positioned. Never short-circuit
the battery holder. Incorrect handling of batteries or the use of
inappropriate energy sources can lead to damages of the robot
and electronic components and to serious injuries.
Disposal
Protect the environment by not disposing of this product with your
household waste (2002/96/EC). Check with your local authority for
recycling advice and facilities.

5
parts list
Order numberAmountNameImage
1002_070NY_044Arc 70mm
1002_070NG_0448Arc 150mm
1001_030NB_042Bar 30mm
1001_050NB_0437Bar 50mm
1003_004AN_042Adapter single
1003_004AN_0450Adapter double
1003_021NK_044Connector 2 arms angled
1003_031NK_0410Connector 3 arms angled
1003_041NK_044Connector 4 arms angled
1003_042NK_044Connector 4 arms at
1003_051NK_042Connector 5 arms
1005_515SN_042Cagebot axle x 15mm

6
Order numberAmountNameImage
1004_007SN_0434Cagebot nut
1004_110SN_04224Countersunk screw M3x10
1004_106SN_048Countersunk screw M3x6
1004_210SN_042Cylinder screw M3x10
1005_030SN_048Cagebot Axis mf 30mm
1005_010SN_045Cagebot Axis mf 10mm
1005_310SN_041Cagebot Axis mm 10mm
1007_159RK_048Tire 150mm
1007_150NK_032Rim 150mm
1006_170NK_042
Motor holder round 70mm
(30mm motor)
1009_006PK_032Clutch shaft
1009_100PK_032Clutch clamp ring
parts list

7
Order numberAmountNameImage
1007_079RK_042Tire 70mm
1007_070Y_042Rim 70mm
1009_001NR_041Friction bearing
1005_710NK_044Spacer 10mm
2024_001NR_041Ultrasonic Sensor
2020_035NK_042Motor 30mm (35:1)
2021_001NK_041Cagebot Controller
1025_003XX_042Batterie holder
2025_001YK_042Battery box body
1025_002YK_042Battery box lid
parts list

8
Contents
Basics & Tips 9
Assembly Instructions 10
1. Rear Wheel 10
2. Front Wheels 11
3. Motor with Front Wheel 13
4. Chassis - Right 18
5. Chassis - Left 24
6. Final Assembly 35
Cables 37

9
ba
basics & tips
Before you get started, here a few basics and tips for the assembly of
the Cagebot.
1. Concept of Assembly
2. Screws
The screws should be fastened tightly but not too tightly to avoid damages.
Also, please note that screws should be inserted through holes with
depressions on the sides of a bar:
3. Follow the instructions closely
Please follow the assembly instructions closely to avoid excess assembly
time. Pay special attention to the bars' orientation and from which direction
to insert the screws!
Now you are ready! Have fun! The Cagebot Team

10
a
b
c
2x 2x 1x 8x 4x 8x M3x10
1. rear wheels

11
a b
1. 7x M3x10
2x
2a.
4x 4x
a b
2x M3x10
2. front wheels

12
2b.
3.
1x
1x
6x
1x
2x
c

13
b
1.
a
8x M3x10
4x 4x
3. Motor with Front Wheel

14
2.
b
a
4x M3x10
4x
4x4x
2x
Use short countersunk screws (M3x6)!

15
3.
b
4x 4x1x 1x1x
a
Carefully tighten cylinder
screws. Overtightening
the screw may break the
clamp ring.
Do not bolt down cylinder screw!
Mind the orientation of plane and dots!

16
4a.
b
a
3x 4x
4x

17
4b. 4x M3x10
c
2x

18
1. 1x
2x
2x
1x 8x
2x1x 1x2x
1x 1x M3x10
4. Chassis - right

19
2. 22x M3x10

20
3.
a
b
4x M3x10
4x
Table of contents