manuals.online logo
Brands
  1. Home
  2. •
  3. Brands
  4. •
  5. Gainsborough
  6. •
  7. Indoor Furnishing
  8. •
  9. Gainsborough Solar Round Peacock Wall Art User manual

Gainsborough Solar Round Peacock Wall Art User manual

Solar Round Peacock Wall Art
K259 v001: 01/09/21
Please read and retain these instructions for future reference
ALWAYS POSITION IN DIRECT SUNLIGHT
ASSEMBLY INSTRUCTIONS / INSTRUCTIONS FOR USE:
Unpack the components carefully. Please check all parts have been removed from the packaging.
Before using first time
Allow light to charge for at least 8-12 hours in
full sunlight with the ON/OFF switch in the OFF
position. The ON/OFF switch is located under
the solar panel. Once the batteries are fully
charged, set the ON/OFF switch to ON. Ideally
align the solar panel to face the midday sun to
maximize charging.
NOTE: The solar panel is located on the body of the peacock as shown where circled.
Find an ideal Place for the Solar Light.
Place the solar light in an area where it will receive direct sunlight for at least 6 hours per day. The number of
hours the light will illuminate is directly proportional to the hours of sunlight it receives. If the light is placed
in a shaded area, it will not be able to fully charge and its illumination time will be limited. Do not place the
light near other outdoor lighting like porch or streetlights. These may fool the sensor and keep the light from
coming on, or cause it to turn off automatically
Caution: Install the lights where they will not create a trip hazard or cause an obstruction.
Replacing Battery
Dimensions
(H) 44 x (W) 45 x (D) 3.5cm
Material:
Metal
Contains 1.2V 200mAh Ni-MH AAA Rechargeable battery
LED lights not replaceable
•ROYAL BLUE STRIKING PEACOCK WALL ART WITH 9 WARM
WHITE LED’S SCATTERED THROUGHOUT THE PEACOCKS TAIL
HIGHLIGHTING THE CLEAR JEWELS
•METALLIC FINISH
•ATTACH TO YOUR GARDEN FENCE, WALL, SIDE OF A SHED
ETC USING THE BUILT IN HOOKS (SCREWS NOT INCLUDED)
Solar Round Peacock Wall Art K259 Instructions for Use
Please read and retain these instructions for future reference v001: 01/09/21
If the light stops working after it has been used for a long time (about 6-12 months), the battery may be
beyond its lifespan.
•Push the switch to the off position.
•Using a screwdriver, remove the 4 screws and take out the batteries replacing them with a new 200
MAH Ni-MH 1.2V AAA rechargeable battery.
•Do not disconnect or remove any wires or tamper with any other connections inside or around the
compartment.
•Replace the battery cover and screw into place.
Trouble shooting
If the solar light does not turn on automatically at night, please check the following:
•Is the switch in the ON position?
•Battery is not fully charged: Ensure the solar panel is positioned where it will receive plenty of direct
sunlight. This item should not be placed in shady areas or the battery will not charge and the light will
not function properly.
•Battery needs replacement: Replace the battery when the lights are no longer functional or are very dim
during summer months.
•Loose battery: Sometimes the battery may become dislodged from the terminals and no contact is
made. Make sure the battery is firmly in contact with the terminal at each end of the battery holder.
Solar Round Peacock Wall Art K259 Instructions for Use
Please read and retain these instructions for future reference v001: 01/09/21
•Dirty solar panel: A dirty solar panel will not allow the battery to fully charge. Clean the solar panel with
a damp cloth or paper towel.
•Light does not turn on: The light is designed to switch on when it turns dark, if there are strong light
sources nearby then the light may be dim or not turn on.
Care and Maintenance Recommendations
1. Clean solar panel with a soft sponge every couple of weeks.
2. Make sure all connectors are still tight and no water getting in.
3. For long-term storage, charge the battery for 2-3 days before removing the battery pack and storing the
light and battery in cool, dry environment.
BATTERIES
•Keep batteries away from children and pets.
•Do not mix used and new batteries.
•Remove the batteries if left for long periods.
•Never dispose of batteries in a fire.
•Battery disposal, spent or expired batteries must be properly disposed of and recycled in compliance
with local regulations. For detailed information, contact your local authority.
•Follow the battery manufacturer’s safety, usage, and disposal instructions.
DISPOSAL
•Coopers of Stortford use recyclable or recycled packaging where possible.
•Please dispose of all packaging, paper, cartons, packaging in accordance with your local
recycling regulations.
•Plastics, polybags –this is made from the following recyclable plastic.
Code & Symbol
Type of Plastic
Polypropylene
Polystyrene
Commonly used for
Microwaveable food containers,
yoghurt pots, butter tubs, disposable
plates and cups
Insulation boxes, water cups,
protective packaging inserts,
take away containers
Notes
Commonly recycled and collected from
household recycling bins (packaging
tape itself not recyclable but does not
interfere with cardboard)
Not commonly recycled but
waste management
centres will recycle it.
•At the end of the product’s lifespan please check with your local council authorised household waste
recycling centre for disposal.

This manual suits for next models

1

Other Gainsborough Indoor Furnishing manuals

Gainsborough K354 User manual

Gainsborough

Gainsborough K354 User manual

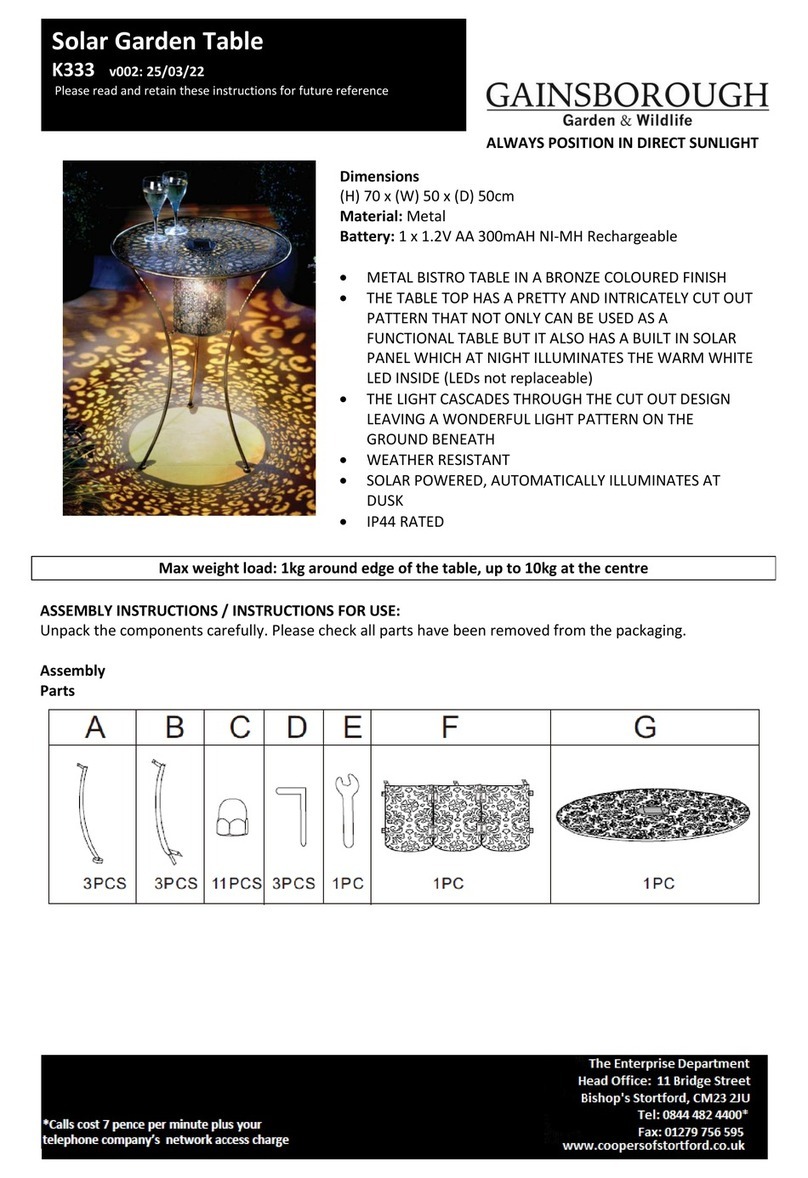
Gainsborough K333 User manual

Gainsborough

Gainsborough K333 User manual

Gainsborough K358 User manual

Gainsborough

Gainsborough K358 User manual

Popular Indoor Furnishing manuals by other brands

Cello Capri 502411029 instruction manual

Cello

Cello Capri 502411029 instruction manual

OWIM Miomare HG00718 Operation and safety notes

OWIM

OWIM Miomare HG00718 Operation and safety notes

Rehau RAUVOLET VETRO-LINE manual

Rehau

Rehau RAUVOLET VETRO-LINE manual

Uttermost REVELATION R25203 Assembly instructions

Uttermost

Uttermost REVELATION R25203 Assembly instructions

BLACK RED WHITE GRACE B186-RTV2D2S Assembly instructions

BLACK RED WHITE

BLACK RED WHITE GRACE B186-RTV2D2S Assembly instructions

Walker Edison W52CLA3D Assembly instructions

Walker Edison

Walker Edison W52CLA3D Assembly instructions

Hatco FTBX Series Installation and operating manual

Hatco

Hatco FTBX Series Installation and operating manual

Triarch 31553 Assembly instructions

Triarch

Triarch 31553 Assembly instructions

TRICA SAL manual

TRICA

TRICA SAL manual

BLACK RED WHITE KENTAKI S320-SZFN2D Assembly

BLACK RED WHITE

BLACK RED WHITE KENTAKI S320-SZFN2D Assembly

Performance PLTLEG-BEV24 Assembly instructions

Performance

Performance PLTLEG-BEV24 Assembly instructions

Arblu TULIP COLONNA GIREVOLE Assembly instructions

Arblu

Arblu TULIP COLONNA GIREVOLE Assembly instructions

uwis Caravanbed manual

uwis

uwis Caravanbed manual

RSI Systems Furniture EZcube installation guide

RSI Systems Furniture

RSI Systems Furniture EZcube installation guide

Demeyere 385309-00 Assembly instructions

Demeyere

Demeyere 385309-00 Assembly instructions

Hanover Brigantine Dining Table owner's manual

Hanover

Hanover Brigantine Dining Table owner's manual

ADA premium Tiana Assembly instructions

ADA premium

ADA premium Tiana Assembly instructions

Monarch Specialties I 2542 Assembly instructions

Monarch Specialties

Monarch Specialties I 2542 Assembly instructions

manuals.online logo
manuals.online logoBrands
  • About & Mission
  • Contact us
  • Privacy Policy
  • Terms and Conditions

Copyright 2025 Manuals.Online. All Rights Reserved.