Galaxy GSKU User manual

User Manual
Model: GSKU
www.galaxytech.com
WIR ELES S HOME DIGITAL INTERFACE
TM
WHDI Stick
HD Video Wireless Kit
WIREL ESSLY STREAM CO NTENT FROM YOUR NOT EBOOK AN D HDMI DEVICE TO FULL HD TV
Galaxy Microsystems Ltd.
Room 1101-1103, 11/F, Enterprise Square Two, 3 Sheung Yuet Road, Kowloon Bay,
Kowloon, Hong Kong
555100-0283-000
尺寸:11.5cm*15cm 材料: 内页用普通书纸80克, 封面封底 用157g铜版纸(打起码钉装订)
555100-0283-000
封面封底彩色四色印刷,内页黑白单色印刷(封二封三直接印内页内容)

Congratulations on your purchase of Galaxy WHDI Stick HD
Video Wireless Kit - The ultimate solution to connect your HD
devices WIRELESSLY to your TV. This device enables wireless
connectivity of any uncompressed HD video and Audio. It can be
wireless connected from an HD source device, such as Desktop
PCs, Laptops, Blu-Ray players, STBs, and game consoles etc,
to an HD display device such as LCD/Plasma TVs and
Projectors etc. Share High Definition content among all devices
in full coverage, no line of sight required.
Introduction
Product Specification
Main Features:
Supports HDMI 1.3 standard in 720p and Full HD 1080p
resolution
Less than 1ms latency - No video delays and no lip-sync
problems
Support all popular audio formats including PCM stereo, DTS &
Dolby Digital
Uses the 5Ghz unlicensed band
Range: Non-line-of-Sight, in-room communication, up to 10
meters
Co-exists with Wi-Fi 802.11a/n in the 5GHz band
Encrypted wireless link, no eavesdropping by neighbors
Easy device switching: pair multiple WHDI sticks to multiple
WHDI receiver for easy device switching
Comply with WHDI 1.0 standard works with any WHDI
Complied TV or Receiver Adaptor
Comply with HDCP 2.0 allows sending Blue Ray movies and
other protected content.
01 02
content
Introduction
Product Specification
WHDI Stick
What is included
WHDI Receiver
Installation
Installing the WHDI Stick
Installing the WHDI Receiver
Paring Extra Devices
Troubleshooting
FCC Statement
02
02
04
04
05
07
07
08
09
10
11

Galaxy WHDI Transmitter Stick
Dimensions: 107mm x44mm x16mm
Maximum 12dBm transmission power
Power consumption: up to 2.5Watt for Full HD resolution
USB Powered [5V 0.5A]
Interface: HDMI in x1, Mini USB x1
Galaxy WHDI Receiver
Bundled with IR receiver for deviceairing/switching
Dimensions: 148mm x96mm x20mm
Receiver Sensitivity ≤ - 65 dBm
Input Voltage: 5V/2A DC (AC adaptor included)
Interface: HDMI out x1, DC in x1, IR in x1, Mini USB x1
(Reserved)
WHDI Stick
USB port
The stick uses standard USB port as input power. When you
are using devices without USB port, you can use the
bundled USB power adaptor.
What is included
0403
HDMI Video Input
Status Indicator
-LED on: connection established
-LED flashing: pairing mode
-LED off: connection failed
Pairing key
Use this key to put the stick into “pairing” mode. Please
check the steps provided in this manual for more
details
1
1
2
2
3
3

Power input
The receiver requires 5V/2A DC power. Use the power
adaptor included in this package.
HDMI Video output
Network status indicator
-LED on: network connection established
-LED flashing: pairing mode
-LED off: connection failed or power failure
Video status indicator
-LED on: receiver has connected to display device
successfully
-LED off: video connection failed
IR receiver
USB port (reserved)
05 06
Installation for the WHDI stick and receiver is easy. For best signal
reception, it is recommended to place BOTH the WHDI Stick and
receiver vertically. You can use the bundled stand for the receiver,
and the bundled angled HDMI converter for the WHDI stick
respectively.
Installation
1) It is recommended to turn off your device before installing the
WHDI stick.
2) Connect the HDMI video input of the stick to the HDMI output
port of your HD video device. Use the angled HDMI converter or
the extension cable if necessary.
Installing the WHDI Stick
Galaxy WHDI Stick
USB cable
1
2
6
3
5
4
1
2
3
4
5
6
WHDI Receiver
3) Connect the USB port of the stick to the USB port of your HD
video device. Use the bundled USB power adaptor if your HD
video device does not equip with a USB port.

3) Connect the bundled power adaptor to the power input of the
WHDI Receiver.
Installing the WHDI Receiver
0807
4) The LED status indicator will turn on when the WHDI Stick has
successfully connected with the WHDI Receiver.
Galaxy WHDI Stick
USB cable
USB power adaptor
1) It is recommended to turn off your device before installing the
WHDI Stick.
2) Connect the HDMI video output of the receiver to the HDMI
input port of your HD display device. An HDMI cable is included
in the package for your convenience. It is recommended to use
the bundled stand to hold the receiver vertically. Notice the
direction of the receiver to make sure the antenna is facing
upwards
4) The Video status indicator will turn on when the Receiver has
connected successfully with the HD display device. However the
Network status indicator will only be turned on when the WHDI
Receiver has connected with the WHDI Stick successfully.
WHDI Receiver
HDMI Cable
Power Supply

Pairing Extra Devices
09 10
Galaxy WHDI Stick HD Video Wireless Kit allows multiple
pairing – you can pair multiple WHDI Sticks to a single receiver
for easy switching between devices. The WHDI Stick and
WHDI Receiver included with this kit is already factory paired
by default, and does not require manual pairing for operation.
Use the below procedure only when you wish to pair extra
devices, or the receiver has trouble in pairing with the WHDI
Stick.
Step 1
Connect the WHDI Stick and WHDI Receiver to your input
device and HDTV using the procedure described in this
manual.
Step 2
Power on both WHDI Stick and WHDI Receiver
Step 3
The WHDI Stick and WHDI Receiver is already factory paired
by default. Even if you have not turned on your input device,
they will automatically connect with each other. The following
will be shown on the screen:
Connected to StickXXXX. Please Check Video Source.
Step 4
To pair extra WHDI Stick to the WHDI Receiver,
press the MENU button located at the top left
hand corner of the remote control
Step 5
The following will be shown on the screen, select “Add, Remove
or Rename Video source” and press OK to continue.
Step 6
Next, select “Add new Video Source”
Step 7
The following will be shown on screen:
Re ceive r re mote co nt rol
Select Video Source
ð StickXXXX
Disconnect Wireless Link
Add, Remove or Rena me Video Source
Add, Remove of Rename
Video Source
ð Add new Video Source
ð Rename Video Source
ð Modify Video Source
Name
Press Connect Button on New Source for 3 sec
Operation may take up to 20 seconds after
Connect Button is pressed.

Step 8
Press the Pairing key on the WHDI Stick for 3 seconds, and wait
for about 20 seconds for the WHDI Receiver to identify and pair
the WHDI Stick.
Step 9
Pairing is complete. You can now switch between different WHDI
Sticks connected to a single WHDI Receiver using the remote
control. You can also rename different WHDI Sticks using the
setup menu.
*NOTE: The WHDI Stick can only be connected to ONE WHDI
Receiver at a time. To connect the WHDI Stick to another WHDI
Receiver, you must first select “Disconnect Wireless Link” from the
WHDI Receiver setup menu. This will disconnect the current
connection and allows the WHDI Stick to connect with a different
WHDI Receiver.
Q: How come the network connection status indicators on both the
transmitter and receiver are OFF even after both devices have
been powered on?
A: Possibly the transmitter and receiver are too far away or there
are too many obstacles interfering with the transmission signal.
Please adjust the position of one or both devices.
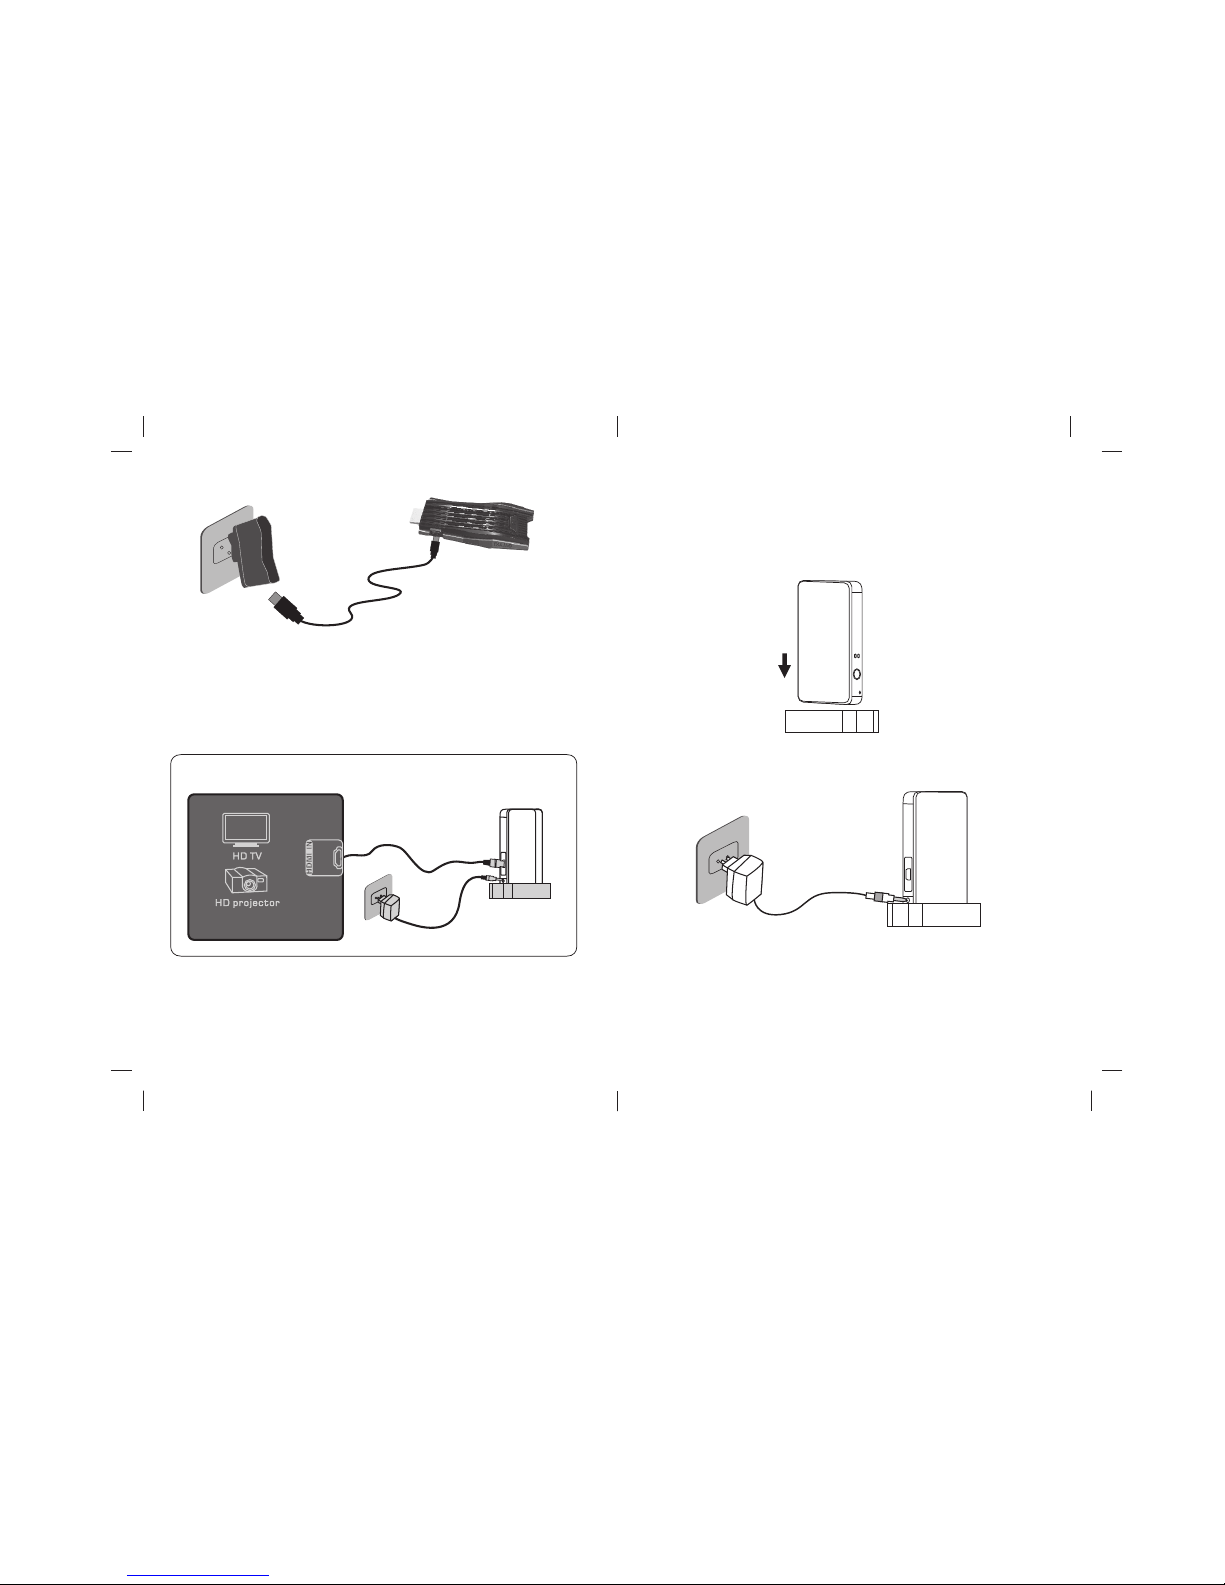
Q: Why is not my display device receiving any signals?
A: Please check whether the receiver is properly connected to the
TV. In addition, check to make sure the input source of the TV is
set to HDMI.
Q: I can not hear any sound on the TV
A: Please confirm whether the player is muted or whether the
audio output is configured correctly. Galaxy WHDI Stick
supports 2 channel PCM as well as DTS/AC3 audio pass
through. Please refer to user manual of your TV set for
supported audio format of your TV.
Q: Why aren’t any images output when the transmitter is
connected to a Blu-Ray disc player and the receiver is
connected to a PC display or projector?
A: The playback requirements for Blu-Ray disc players comply with
the HDCP protocol specifications. Please confirm whether your
display device supports HDCP. The Galaxy WHDI Stick fully
complies with HDCP 2.0.
Q: Why is there noise and interference on the image displayed on
TV?
A: Possibly the transmitter and receiver are too far away from each
other, or there are many obstacles interfering with the
transmission signal. Please adjust the position of both devices.
11 12
Troubleshooting
Q: Why are there no images displayed on TV after the transmitter
and receiver have been powered on?
A: It may take 15-30 seconds for initiation and connection after the
transmitter and receiver are powered on. Please wait patiently.
If no images appear after 1 minute, check whether the
connection between the transmitter and the player as well as
the connection between the receiver and the TV are made
properly.

FCC Statement
1413
Both the WHDI Stick and WHDI Receiver works best when they
are placed vertically.
Q: When I connect the USB port of the WHDI Stick to my PC,
Windows detected a unknown hardware, is that normal?
A: The WHDI Stick only uses the USB port for power, and does not
require any driver installation on the PC for such purpose.
Driver installation is only needed for firmware update and
maintenance.
This equipment has been tested and found to comply with the limits for a Class B
digital device, pursuant to part 15 of the FCC rules. These limits are designed to
provide reasonable protection against harmful interference in a residential
installation. This equipment generates, uses and can radiate radio frequency energy
and, if not installed and used in accordance with the instructions, may cause
harmful interference to radio communications. However, there is no guarantee that
interference will not occur in a particular installation. If this equipment does cause
harmful interference
to radio or television reception, which can be determined by turning the equipment
off and on, the user is encouraged to try to correct the interference by one or more
of the following measures:
-Reorient or relocate the receiving antenna.
-Increase the separation between the equipment and receiver.
-Connect the equipment into an outlet on a circuit different from that to which the
receiver is connected.
-Consult the dealer or an experienced radio/TV technician for help.
To assure continued compliance, any changes or modifications not expressly
approved by the party responsible for compliance could void the user’s authority to
operate this equipment. (Example- use only shielded interface cables when
connecting to computer or peripheral devices).
FCC Radiation Exposure Statement
This equipment complies with FCC RF radiation exposure limits set forth for an
uncontrolled environment. This transmitter must not be co-located or operating in
conjunction with any other antenna or transmitter.
This equipment complies with Part 15 of the FCC Rules.Operation is subject to the
following two conditions:
(1) This device may not cause harmful interference, and
(2) This device must accept any interference received, including interference that
may cause undesired operation.
Caution!
The manufacturer is not responsible for any radio or TV interference caused by
unauthorized modifications to this equipment. Such modifications could void the
user authority to operate the equipment.
Table of contents