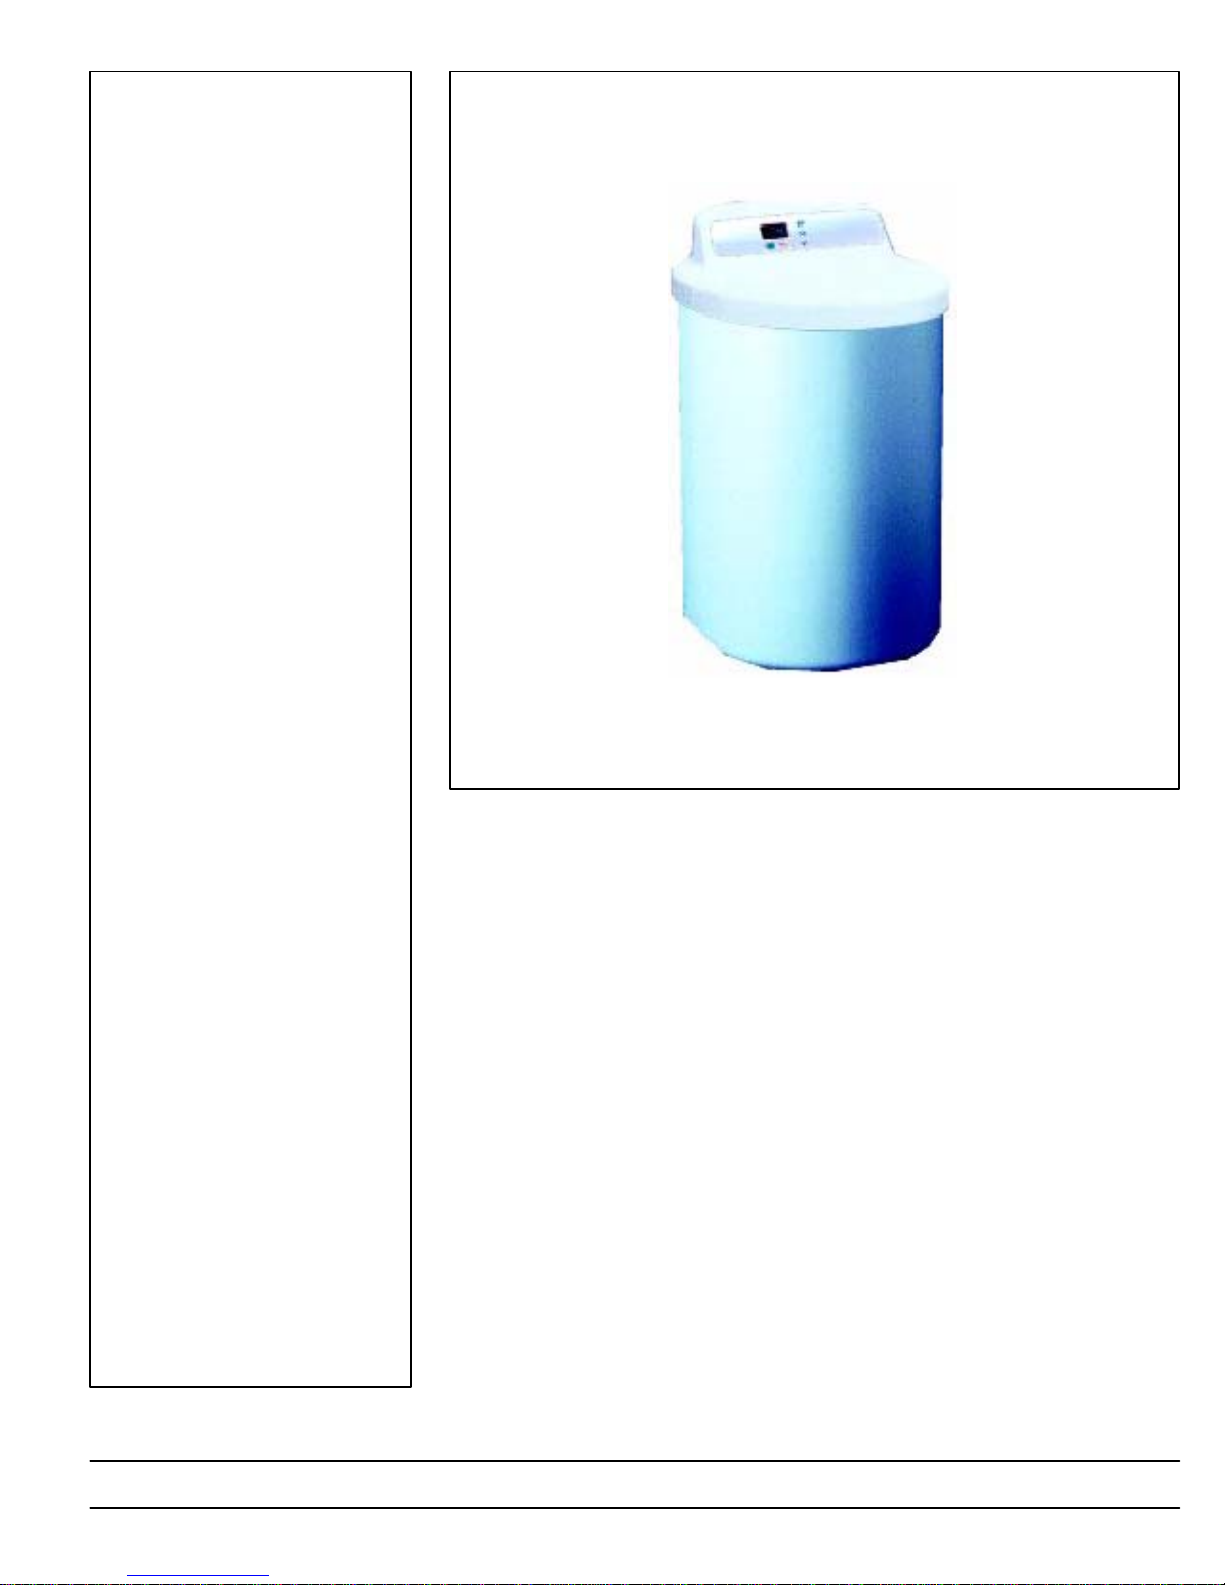
WATER SOFTENER START-UP
SECTION 1
7
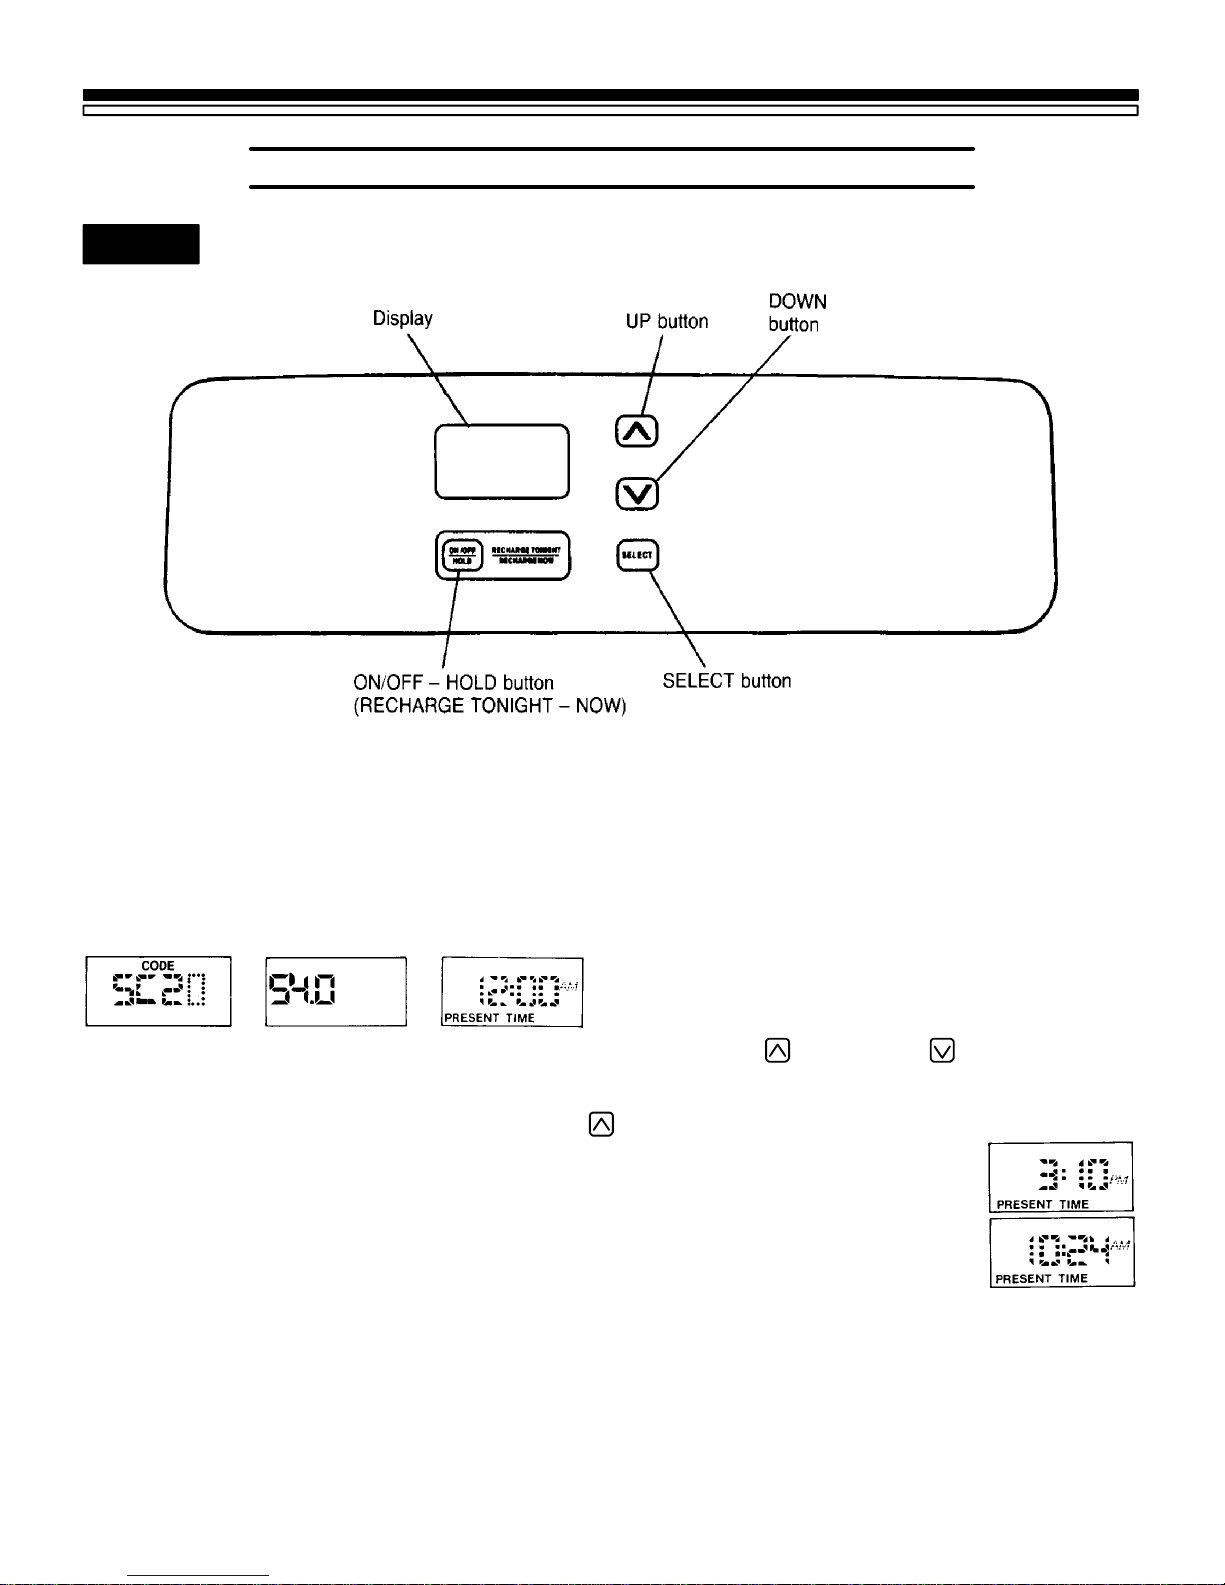
1C. PROGRAM THE TIMER
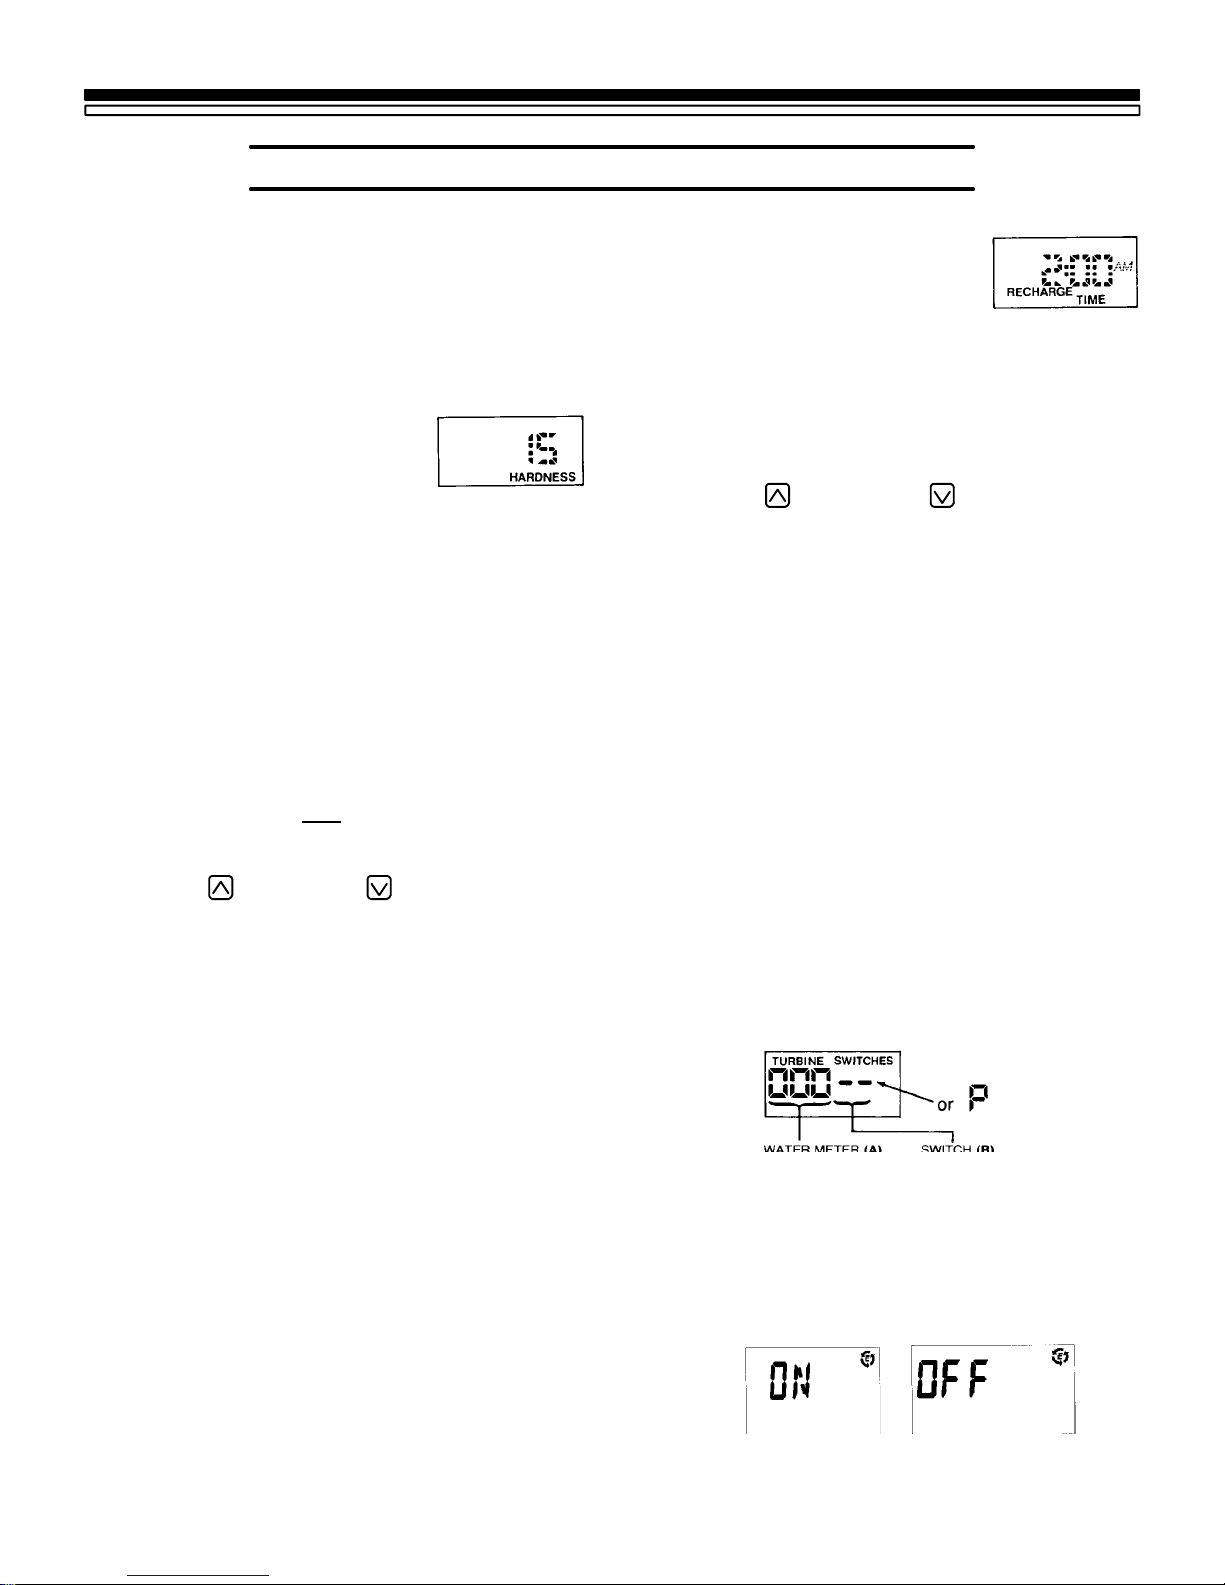
2. SET WATER HARDNESS NUMBER:
QPress the SELECT button once todisplay 15
(flashing) and HARDNESS. The hardness is
set in gpg. To recalculate from ∞dor∞Fuse
following conversion. 1gpg = 0.959 ∞d = 1.71
∞F= 171 ppm
The grains per gallon (gpg)
hardness of your water supply is
on your water analysis report.
Be sure to enter water test results
on page 2, for future reference.
NOTE:
If your water supply contains iron, compensate
for it by adding to the water hardness number.
For example, assume your wat er is 15 gpg hard and
contains2 ppmiron. Add5 tothehardnessnumber for
each 1 ppm of iron. In this example, you would use 25
foryourhardnessnumber.
15 gpg hardness
2 ppm iron x 5 = 10 +10
(times) 25 HARDNESS NUMBER
QPress the UP/DOWN buttons to set your
waterhardnessnumberinthedisplay.The
DOWN button moves the display to 1. The UP
button moves the display to the highest setting
(see maximum setting for your model in the
specifications).
NOTE:
Each press of the UP/DOWN button changes the
display by 1 between 1 and 25. Between 25 and
the highest number, the display changes 5 at a
time…25, 30, 35, etc. Continuous pressure on the
UP or DOWN button changes the display twice
each second.
3. SETRECHARGE(REGENERATION)TIME:
QPress the SELECT button once to display
2:00 AM (flashing) and RECHARGE TIME.
At the 2:00 AM RECHARGE
TIME setting, the softener be-
gins regeneration (see pages 11
and 12) at 2:00 AM, ending no
later than 4:00 AM. This is a good time in most
households because water is not being used (see
AUTOMATIC BYPASS, page 14). If a different
RECHARGE TIME setting would be better for
your household, do the following.
QPress the UP/DOWN buttons to set the
desired RECHARGE starting hour. Be sure to
observe the AM-PM as you did when setting the
present time of day.
NOTE:
Each press of the UP/DOWN buttons changes
the display 1 hour. Continuous pressure on the
buttons changes the display twice each second.
QPress the SELECT button once again, to
return the present time (steady) of day and
RECHARGE TONIGHT in the display.
4. SET SALT EFFICIENCY
When this feature is ON, the unit will operate at
salt efficiencies of 4000 grains of hardness per
pound of salt ( = 57 ∞Fm3/Kg salt) or higher.
QPress and hold for 3 seconds the SELECT
button until the following screen is displayed.
More information on this particular display is
found in the Troubleshooting Section of the
manual, under Manual Initiated Electronics
Diagnostics.
QOnce in thisdisplay, pressthe SELECTbutton
and one of the following two displays is shown.