GAPS Water Treatment Pallas Duo Manual

Installation and Maintenance Manual
Pallas Duo

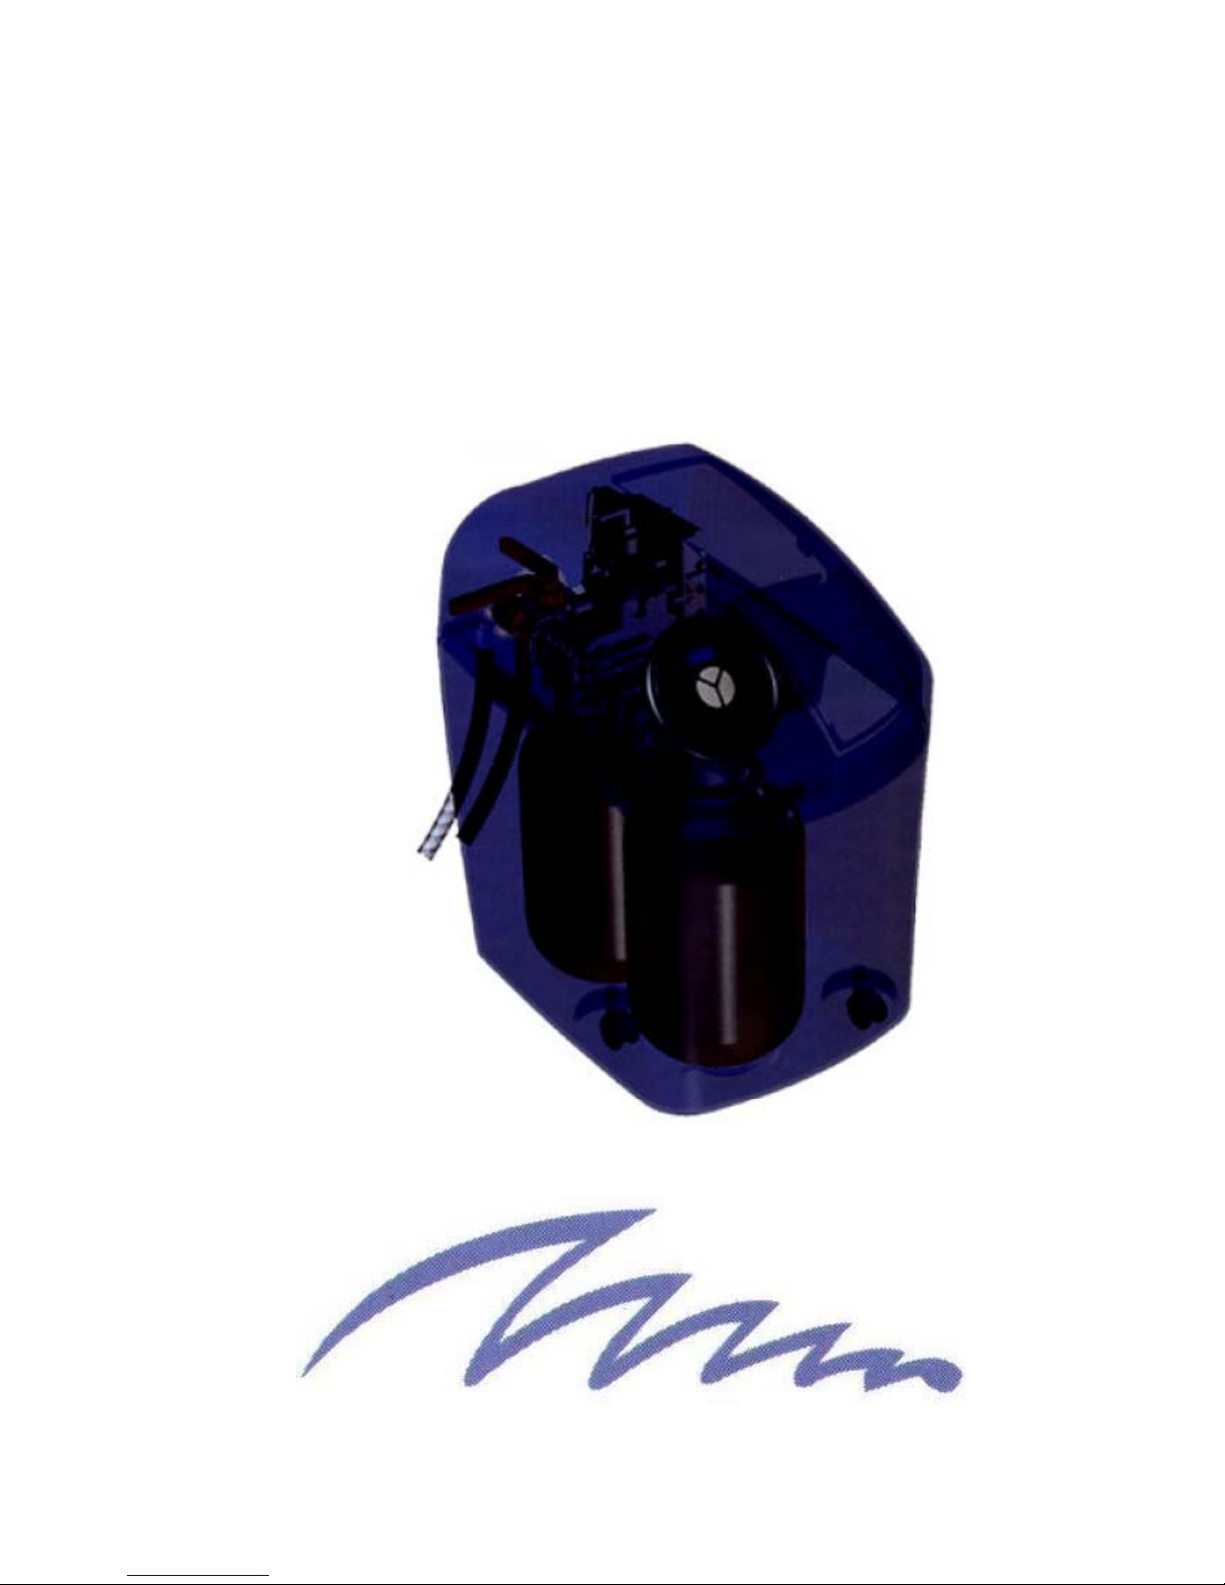
General installation checklist
1) Place the softener where you want to install the unit. NOTE: Be sure the softener is level and on a firm base.
2) During cold weather it is recommended that the installer warm the valve to room temperature before operating.
3) Perform all plumbing according to local plumbing codes. Use a 1/2" minimum pipe size for the drain.
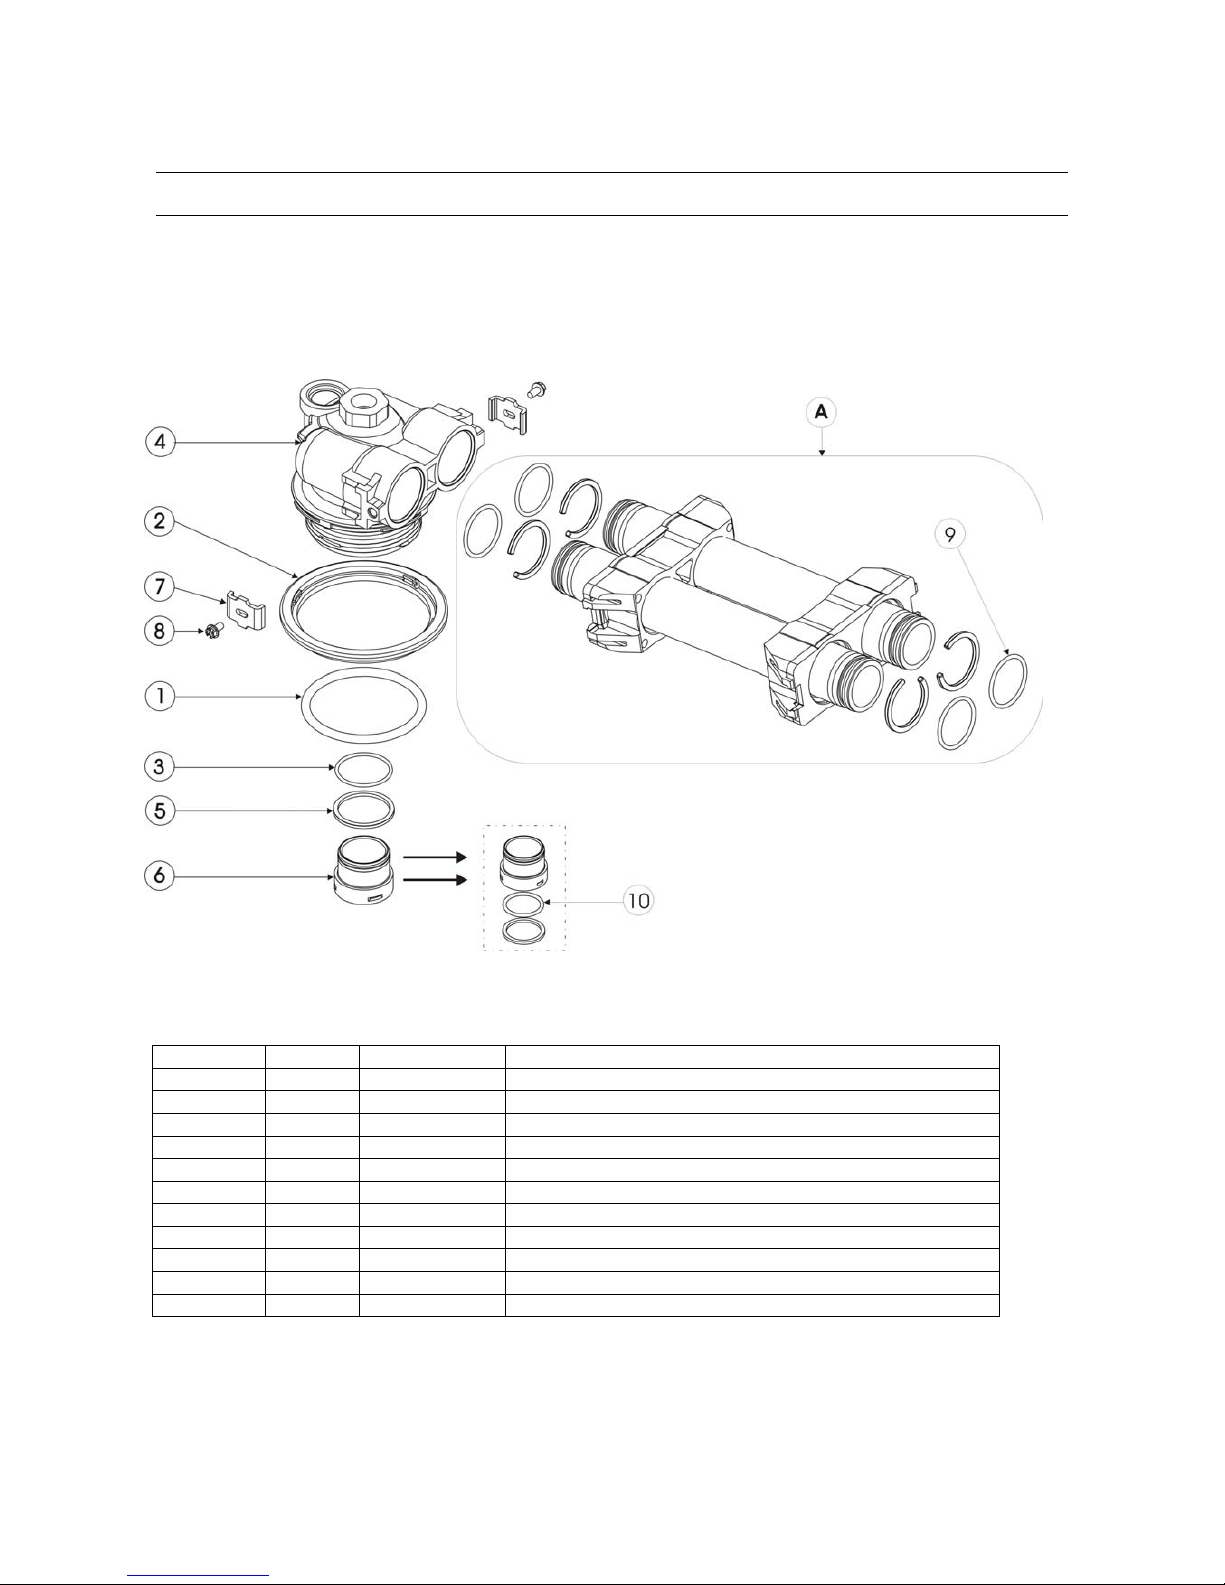
4) The 1" distributor tube must be flush with the top of each tank. Cut if necessary. Chamfer the end slightly in order to
avoid the deterioration of the o-ring seal at the time of the assembly
5) Use only non-aerosol 100% silicone lubricant for the distributor tube o-ring. Do not use any other type of grease or
lubricant as they will cause damage to the valve.
6) The Solder joints to the principal plumbing and the drain must be carried out before the softener is connected. Failure
to do so could cause irreversible damage to the softener
7) Use only ribbon Teflon ® to make any threaded connections.
8) Ensure that the ground under the softener is quite clean and to plan.
9). Fill the softener cabinet with approx. 2” (50mm) water. Do not add salt to the brine tank at this time.
10) Put the by-pass valve of the softener into the "by-pass" position. Turn on the main water supply. Open a cold soft
water tap nearby and let water run a few minutes or until the system is free of foreign material (usually solder) resulting
from the installation. Close the water tap when water runs clean.
11) Place the bypass into the "Service" position and let water flow into the mineral tank. When water flow stops,
slowly open a cold water tap nearby and let water run until the air is purged from the softener. Then close tap.
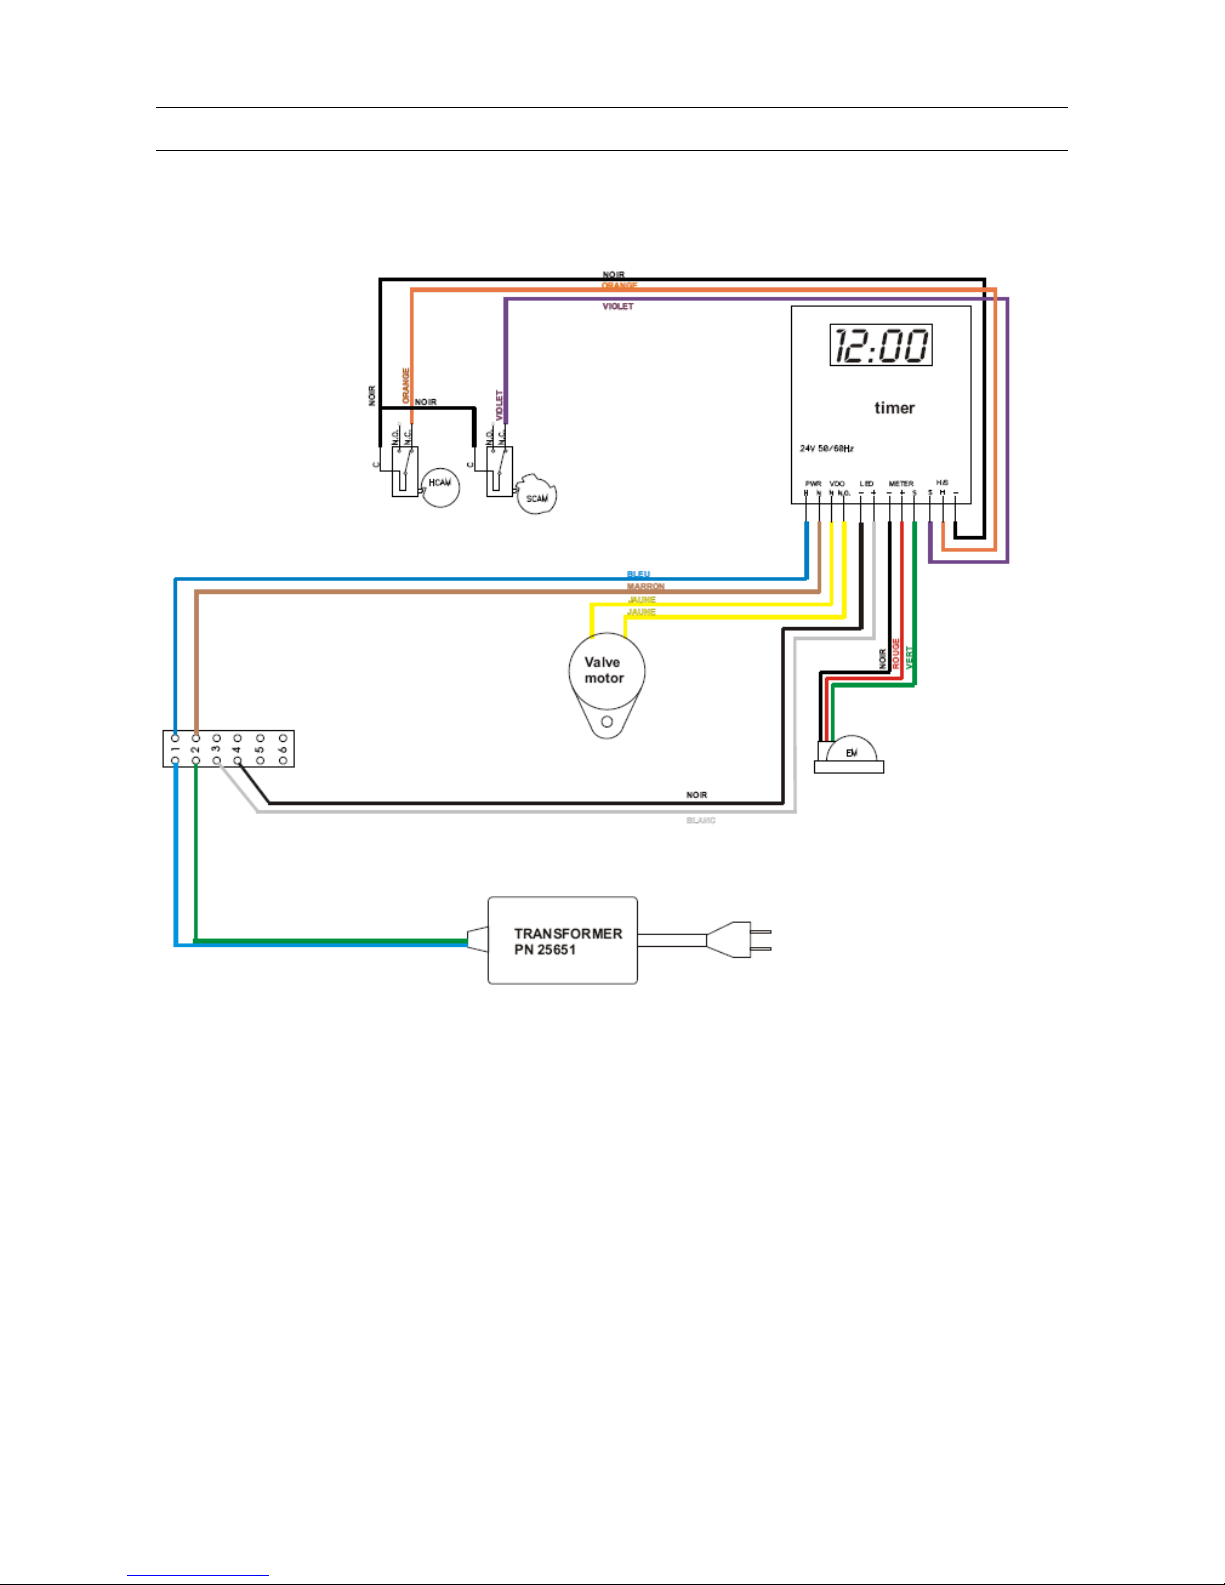
12) When the softener is connected electrically, the valve may cycle itself and change over the position service.
13) The valve includes an indicator to inform the fitter of its position: the wheel directly below the motor indicates the
tank that is currently in the service position. The Digital display on the front of the softener alternates between the
volume remaining in the service tank, the number of the tank in service (U-1 or 2 corresponds with the wheel:
"INDICATION of the TANK IN SERVICE") and the time of the day.
Important: to understand various dislays please refer to the service manual Programming chapter.
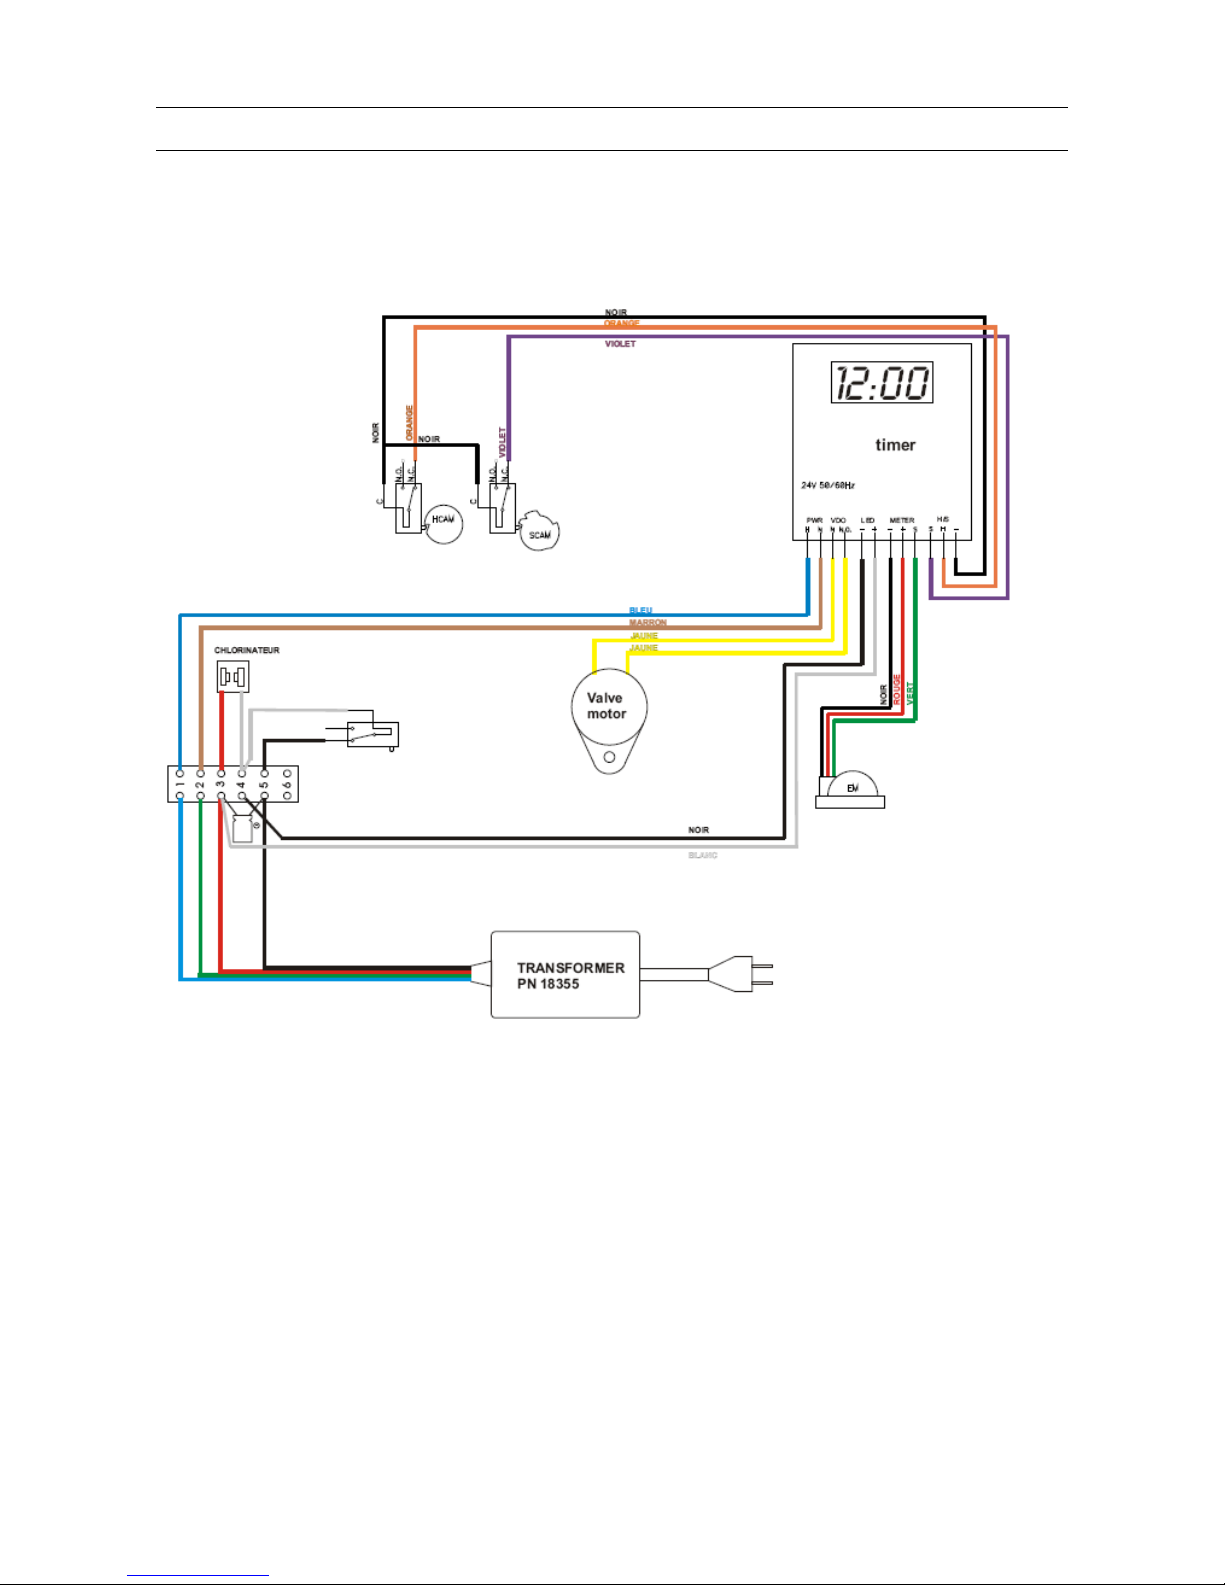
14) Initiate a regeneration and bring the valve to cycle 1, by pressing the regeneration button. The valve begins by
transfering from one tank to the other and then entering the regeneration cycle of the tank that was in service. The water
runs until the system is purged of the air. Once the air is completely evacuated, it enters the Brine draw & slow rinse
stage and then into brine refil. On return to the service position repeat the precedure. This allows the complete purge of
the second bottle.

Wiring Diagram
Up Flow

Wiring Diagram
Up Flow + Chlorinator

Exploded Diagram
Power Head - Up Flow (Ref : 28396)

Exploded Diagram
Power Head - Up Flow (Ref : 28396)
ITEM QTY PART No DESCRIPTION
1 1 10218 MICROSWITCH
2 1 10302 INSULATOR
3 2 10339 NUT
4 1 11086 SCREW M3 X 0.50
5 2 11335 SCREW FILLISTER HEAD # 4-40 x 0.19
6 2 11663 LOCK WASHER
7 4 13296 SCREW # 6-20 x 0.50
8 1 13547 STRAIN RELIEF
9 1 14896 GENEVA WHEEL
10 2 14917 RETAINING CLIP
11 1 14921 PISTON ROD LINK UPPER
12 1 15019 PISTON ROD LINK LOWER
13 1 15132 TRIPLE CAM
14 1 15135 DRIVE GEAR 9000
15 2 15172 SCREW FLAT HEAD # 4-40 x 1.38
16 1 15199 GROUND PLATE 9000/9500
17 2 15372 THRUST WASHER
18 2 15692 SPACER
19 2 15810 RETAINING CLIP
20 1 16433 MICROSWITCH
21 1 17315 DRIVE NUT 9000/9500
22 1 18737 MOTOR 24V50HZ - 1RPM
23 2 19160 SCREW
24 1 21271 SERIAL NUMBER LABEL
25 2 23250 WASHER SS LN .4
26 1 23474 LABEL ASSY BY
27 1 23653-06 TERMINAL BLOCK 06 POSITIONS
28 1 24934 TERMINAL BLOCK LABEL
29 1 25651 TRANSFORMER
30 1 25868 DRIVE GEAR UPPER ASSEMBLY
31 1 25870 DRIVE GEAR LOWER ASSEMBLY
32 1 27002 LABEL SHAFT POSITION
33 1 27712 MOTOR PROTECTOR
34 1 28207 BACK PLATE 9120
35 1 28330 HARNESS 9120
36 1 40422 WIRE NUT

Exploded Diagram
Power Head - Up Flow + chlorinator (ref : 28363)

Exploded Diagram
Power Head - Up Flow + chlorinator (ref : 28363)
ITEM QTY PART No DESCRIPTION
1 1 10218 MICROSWITCH
2 1 10302 INSULATOR
3 2 10339 NUT
4 1 11086 SCREW M3 X 0.50
5 2 11335 SCREW FILLISTER HEAD # 4-40 x 0.19
6 2 11663 LOCK WASHER
7 2 11882 SWITCH STAND OFF
8 4 13296 SCREW # 6-20 x 0.50
9 1 13547 STRAIN RELIEF
10 1 14896 GENEVA WHEEL
11 2 14917 RETAINING CLIP
12 1 14921 PISTON ROD LINK UPPER
13 1 15019 PISTON ROD LINK LOWER
14 1 15135 DRIVE GEAR 9000
15 1 15199 GROUND PLATE 9000/9500
16 2 15372 THRUST WASHER
17 2 15692 SPACER
18 2 15810 RETAINING CLIP
19 1 16433 MICROSWITCH
20 1 16442 SCREW AUX SWITCH
21 1 17315 DRIVE NUT 9000/9500
22 1 17592 CAPACITOR
23 2 25651 TRANSFORMER
24 1 18737 MOTOR 24V50HZ - 1RPM
25 2 19160 SCREW
26 1 21271 SERIAL NUMBER LABEL
27 1 23250 WASHER SS LN .4
28 1 23474 LABEL ASSY BY
29 1 23653-06 TERMINAL BLOCK 06 POSITIONS
30 1 23950-10 CHLORINATOR MICROSWITCH ASSY
31 1 24934 TERMINAL BLOCK LABEL
32 1 25868 DRIVE GEAR UPPER ASSEMBLY
33 1 25870 DRIVE GEAR LOWER ASSEMBLY
34 1 27002 LABEL SHAFT POSITION
35 1 27712 MOTOR PROTECTOR
36 1 28207 BACK PLATE 9120
37 1 28330 HARNESS 9120
38 1 28395 TRIPLE CAM ASSY
39 1 40422 WIRE NUT

Exploded Diagram
Valve Body Assembly (Ref : 28238)
ITEM QTY PART No DESCRIPTION
1 1 13361 SPACER INJECTOR
2 1 13497 AIR DISPERSER
3 1 14906 END PLATE
4 1 14928 END PLUG STUD
5 4 15137 SCREW HEX WASHER HEAD 10-24 X 3/8"
6 1 28246 INJECTOR ASSEMBLY 9100 UF
7 1 28173 PISTON LOWER ASSEMBLY 9000 UF
8 1 25642 SEAL & SPACER KIT 9000/91000
9 1 28241 VALVE BODY & DISTRIBUTOR ADAPTOR 9100
10 1 24234 PISTON UPPER ASSEMBLY 9100 UF

Exploded Diagram
Second tank adaptor assembly
ITEM QTY P/N DESCRIPTION
1 1 18303-01 O'ring
2 1 18569 Retainer tank seal
3 1 19054 O'ring
4 1 40673 2nd tank adapter
5 1 40538 O'ring retainer 32mm
6 1 61419 Distributor adapter kit
10 1 13304-01 O'ring
7 2 13255 Clip
8 2 14202-01 Screw
A 1 Tube assembly 9100 for 7" tank
9 4 13287-01 O'ring

Exploded diagram
Water meter ¾ assembly
ITEM QTY PART No DESCRIPTION
1 1 19797 METER BODY ASSY ¾" TURBINE
2 2 19569 CLIP, FLOW METER
3 2 13314 SCREW HEX WASHER HEAD 8 - 18 x .60
Table of contents
Popular Water Dispenser manuals by other brands

Water Maze
Water Maze CLP-5024 Operator's manual

Canature WaterGroup
Canature WaterGroup Tannins 89 TLC owner's manual

Hellenbrand
Hellenbrand H200 Series Brochure & specs

IBC Water
IBC Water AST1257-940 Installation & operating instructions

3M
3M DF260-CL-CC Installation and operation instructions

H2O International
H2O International H2O-GSB3C User manual & warranty

Follett
Follett Symphony 12CI400A-LI Installation, operation and service manual

ProFlow
ProFlow PF-SOF1-SIM Technical manual

Trebs
Trebs Comfortemp 99341 manual

Oasis
Oasis KALIX CONTACTLESS P1CPVCDKY user manual

Kenmore
Kenmore IntelliSoft 370 Series owner's manual

GE
GE SmartWater GXSF18G Owner's Manual & Installation Instructions