Assembly
Important: Organize and identify all parts before beginning assembly. Read through all the instructions carefully.
Tip: Check the tire pressure before assembly. Tires may lose pressure during shipping. Fill to psi, if necessary.
Tip: During assembly, you may find it helpful to use a nail or awl to clean out and line up the holes when placing bolts.
If
you
have
difficulty
assembling
y
our
cart,
please
con
tact
us
at:
in
[email protected]om
or
call
---.
Securing the Trim and Support Angles
Step 1. Lay out the wood panels on a protected level
surface and arrange the hardware so it’s easily
accessible. Note: Each wood panel has pre-drilled holes
with one T-Nut already inserted into a hole.
Lay out each wood panel as shown in Figure so that
the sides with the pre-installed T-Nut face up. Also note
that the Trim and Support Angles arrive already placed
on their corresponding wood panels, but are not bolted
into place. This will be done in a later step. For now,
simply make sure all the Trim pieces fit flush around the
edges of the cart Panels and that the holes in the Trim
and Panels line up.
Step 2. Using a hammer, firmly tap a T-Nut into each of
the pre-drilled holes in the wood panels until the head
of the T-Nut rests flush with the surface of the wood.
Important: Do not place a T-Nut in the holes marked
”No T-Nut” (See Figure ). Note: If you need to remove a
T-Nut, pry it up with a flat screwdriver.
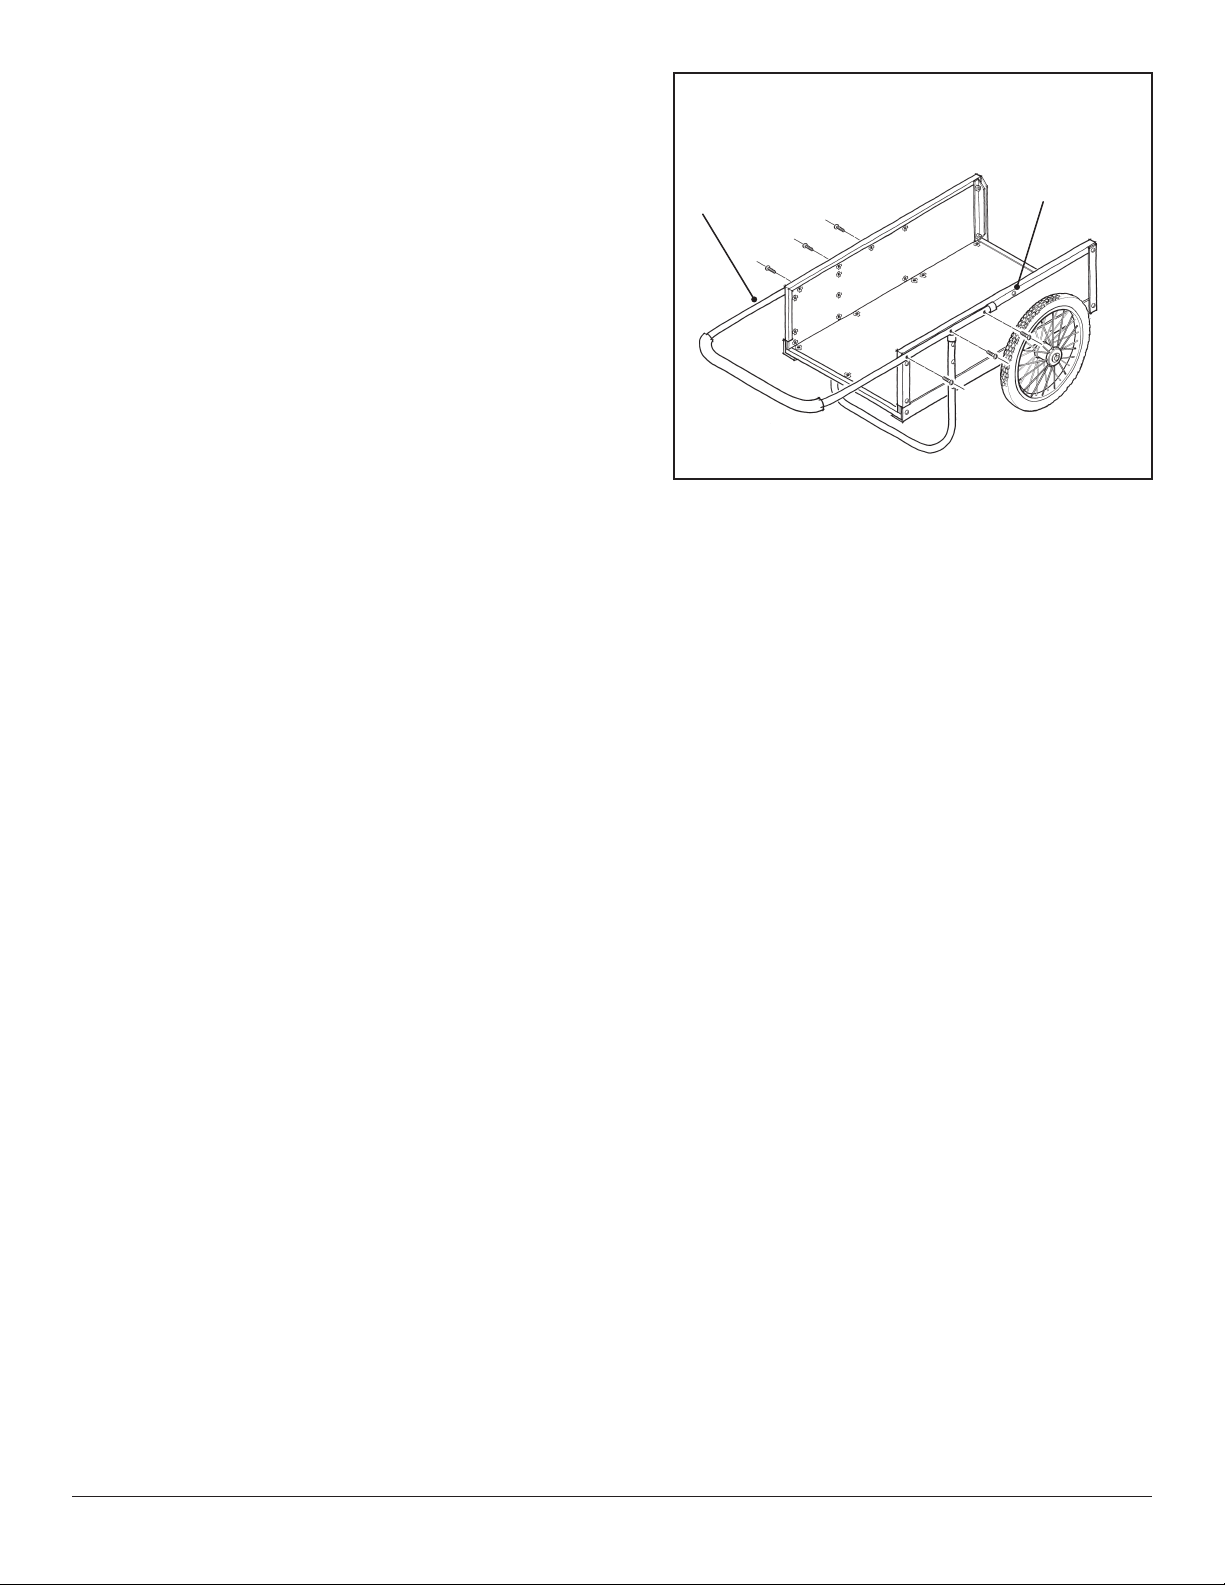
Step 3. Start with the Bottom Panel. This part arrives partially assembled. The bottom corners of
the front and back Trim pieces sandwiched between the Bottom Panel and the Support Angles
(Figure a, detail). Use a Nail or Awl to make sure the holes in the Trim and the Support Angles
are lined up with the predrilled holes in the Bottom Panel (Figure ).
In the corners of the Bottom Panel, insert six /" Bolts up through the underside of the
aluminum Trim at the front and back. Tighten with a Phillips screwdriver to secure the Trim.
Important: Do not insert Bolts through the pairs of holes labeled Axle Clamps (Figure ).
Step 4. Attach the Front Panel Trim to the Front Panel using three ⁄" Bolts (Figure ). Note: Do not attach the Trim to the top of the
Left and Right Panels at this time. This will be attached later, in conjunction with other parts.
Assembling the Cart Body
Step 5. One at a time, position the Left and Right Panels inside the Support Angles of the Bottom Panel, making sure the sides of the
Panels with T-Nuts face inward and the wide side of the aluminum trim on both Panels faces out. Use ⁄" bolts to attach each
Side Panel to the Support Angles by placing a bolt through holes A and C from the outside (Figure ). Tighten the bolts.
Step 6. Place the black, welded U-Brace on the front end of the cart (Figure ). Do not attach the U-Brace until Step .
Step 7. Place an Aluminum Angle inside each corner of the U-brace with the long sides of the Angles against the Side Panels and the
cut of each angle sloping inward as shown in Figure . Align the top and bottom holes in the U-Brace with the holes in the Side
Panels and Aluminum Angles. From the outside, insert two -/" Bolts into each side. Fasten with Lock Nuts and hand tighten.
Step 8. The U-Brace and Aluminum Angles provide a channel for the Front Panel to slide up and down. Place the Front Panel in the
channel to make sure the Panel opens and closes freely. Adjust the Aluminum Angles if necessary. Remove the Front Panel. Using
a wrench and Phillips screwdriver, firmly tighten the Bolts.
Attaching the Wheels and Leg Stand
Step 9. Turn the cart body upside down. Put one end of the Axle through the Wheel hubs (Figure ). Insert two Cotter Pins through
the small holes near the ends of the Axle. Use a flat screwdriver and pliers to spread the ends of the pins apart, then bend the
cotter pins around the Axle. Push the Wheels to the ends of the Axle so that the Wheels line up evenly on both sides of the cart.
Fasten the Axle to the Bottom Panel using the two Axle Clamps and two ⅝" bolts per Clamp (Figure ). Tip: "Catch" the Bolts into
the Bottom Panel on both sides of the Clamp before tightening. Alternate tightening each side.
No T-Nuts,
leave open
No T-Nuts,
leave open
Figure 2
Front Panel
Bottom Panel
Left
Panel
Right
Panel
holes
for Axle
Clamps
Underside of Bottom Panel
Trim
Support
Angle
Figure 2a
Front Panel Trim