Rotary Pellet Stove Cleaning System
Operating Instructions
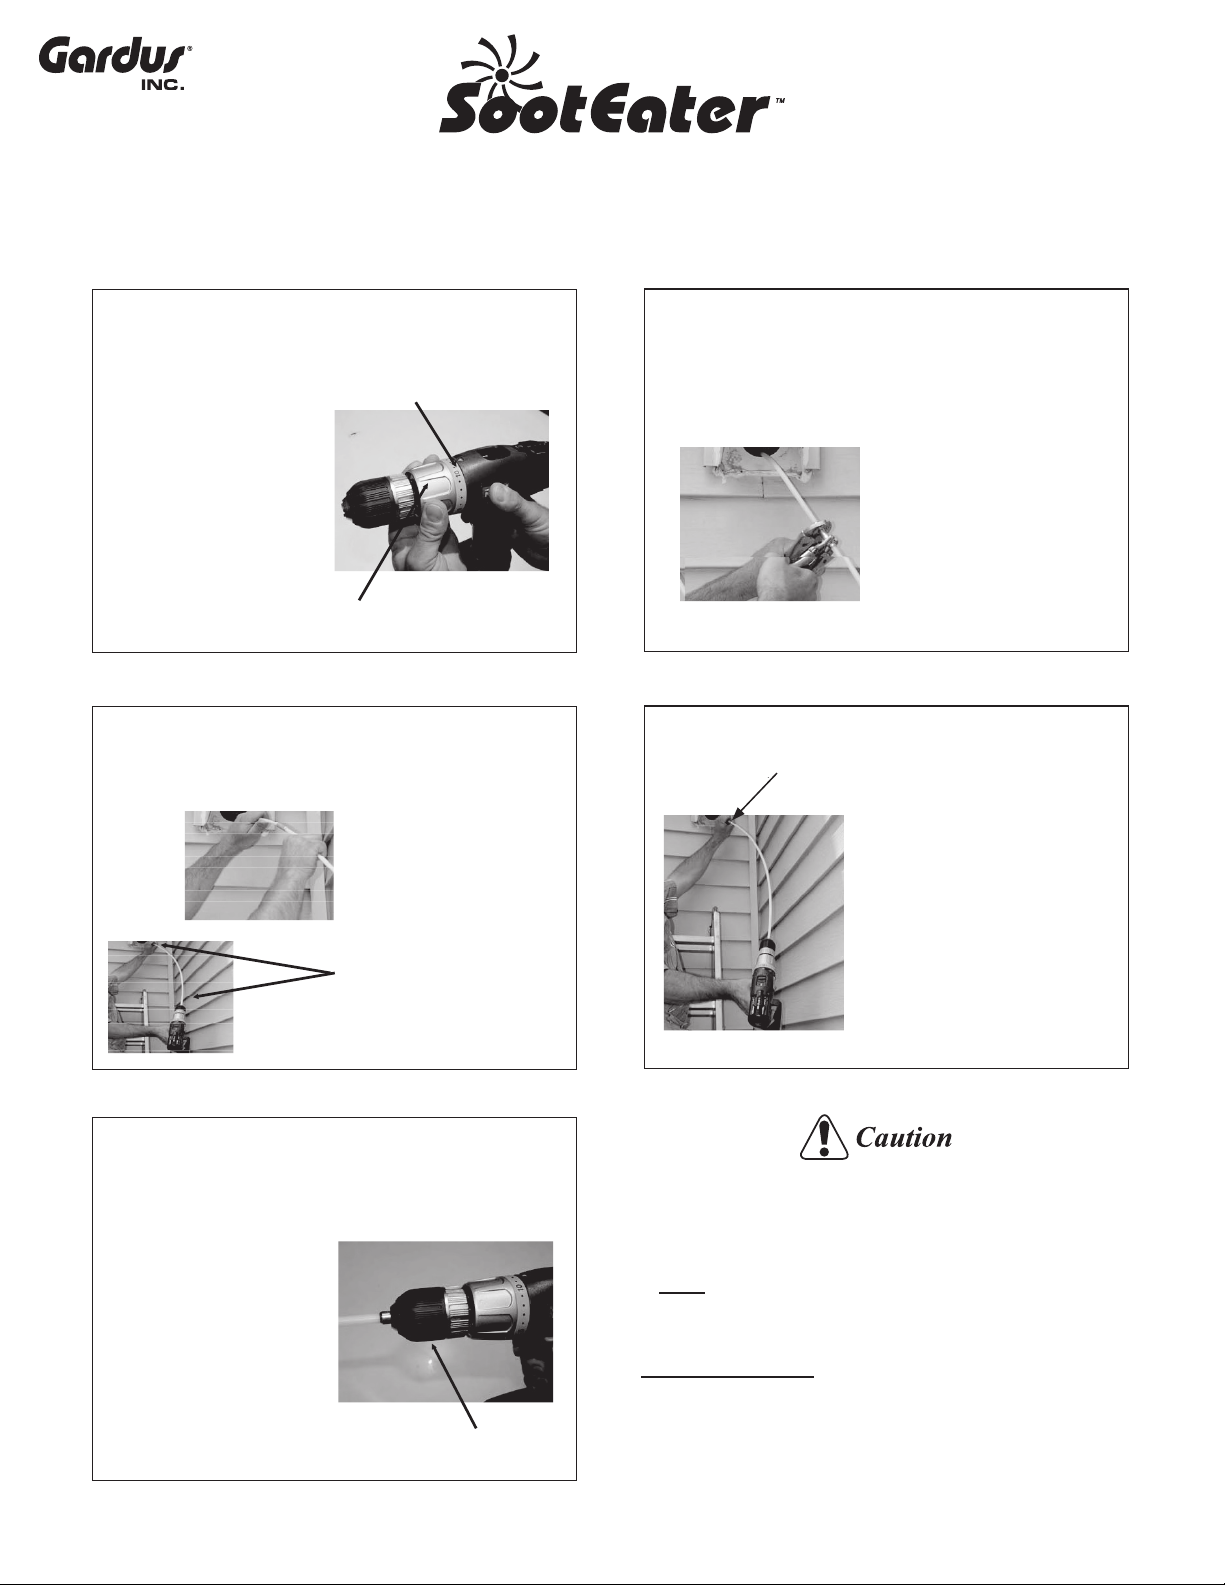
Recommended Drill:
Any cordless drill with a 3/8” or
1/2” chuck with an adjustable
clutch will work.
Setting the Clutch on your
cordless drill:
a. Adjust clutch to a setting in
the middle of the range or
slightly lower.
b. You should be able to hold
the properly adjusted
chuck with your hand &
prevent it from spinning yet
there should be a fair
amount of torque.
Turn to adjust clutch
Set on middle setting or lower
Connecting the rods
1.) To connect the rods, simply
screw them together and
tighten with two pairs of
pliers.
Use a small piece of duct tape
around the joint of the fittings
after tightening.
This will reduce the risk of
the rods unscrewing if you
accidentally reverse the drill.
Important Note: Always spin the
drill in the Clockwise
Direction as the rods may
come apart even if tightened
with pliers.
Operating Instructions
4
Optional method for connecting rods
2.) This method requires a
great deal of caution but
will speed up the
cleaning process.
a. Start the threads by
hand to insure that they
are not cross-threaded.
b. Insert the other end of
the rod into the drill
chuck.
c. Spin the rods clockwise
while holding the rod
you are connecting to.
Methods for disconnecting the rods
1) Use two pairs of pliers to
loosen & then unscrew
the rods by hand.
2) You can disconnect each
rod using the drill as well.
a. Hold the end of the rod,
which is inside the vent,
very tightly.
b. Reverse the drill while
holding the rod end to
unscrew the rod which is
connected to the drill.
Important Note: be sure that
the rods that are still in the
vent do not spin as this will
cause them to disconnect
inside the vent.
Hold end of rod very tightly by
hand or with pliers
5
Inserting the rod into
the drill chuck:
a. The fittings on the
rods are designed to
fit into any type of
drill without an
adapter.
b. Simply insert the
steel rod fitting into
the chuck of the drill
and tighten by hand. Twist chuck to tighten
Attaching the Lint Trap
Brush to the FlexRod:
Screw the Lint Trap Brush
onto the rod by hand then
tighten with two pairs of
pliers.
Important Notes:
Only use this brush by hand.
“Do Not Use the Drill to Spin.”
While cleaning with the brush by
hand, rotate the rod clockwise
to ensure that the brush does
not loosen.
6
• Always rotate the rods in the clockwise direction when spin-
ning the rods into the vent & coming back out of the vent.
• Failure to do so will cause the rods to un-screw and disconnect.
• Never force the rods or over-torque the rods with the drill.
Doing this may result in property damage, rod breakage or
personal injury.
To avoid rod breakage
1. Only use a drill with an adjustable clutch. (a cordless drill is
recommended)
2. Keep clutch setting on drill at halfway or lower when rotating
the rods.


