manuals.online logo
Brands
  1. Home
  2. •
  3. Brands
  4. •
  5. Lopi
  6. •
  7. Fireplace Accessories
  8. •
  9. Lopi 99200122 User manual

Lopi 99200122 User manual

Other Lopi Fireplace Accessories manuals

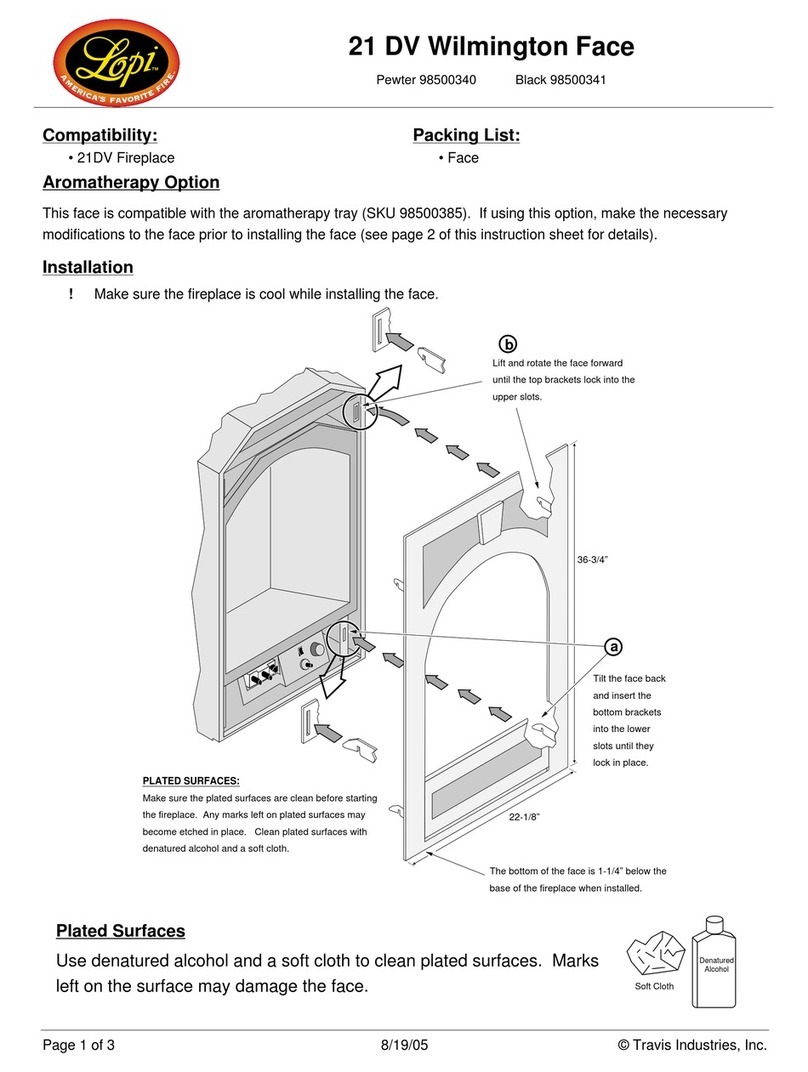
Lopi 21 DV Wilmington Face User manual

Lopi

Lopi 21 DV Wilmington Face User manual

Lopi Bostonian 564 User manual

Lopi

Lopi Bostonian 564 User manual

Lopi WILMINGTON DVS FACE 99500146 User manual

Lopi

Lopi WILMINGTON DVS FACE 99500146 User manual

Lopi BLACK 99300496 User manual

Lopi

Lopi BLACK 99300496 User manual

Lopi 95400186 User manual

Lopi

Lopi 95400186 User manual

Lopi 250-05675 User manual

Lopi

Lopi 250-05675 User manual

Lopi Hearthview 864 User manual

Lopi

Lopi Hearthview 864 User manual

Lopi 564 User manual

Lopi

Lopi 564 User manual

Lopi Zero Clearance Box User manual

Lopi

Lopi Zero Clearance Box User manual

Lopi Zero Clearance Box User manual

Lopi

Lopi Zero Clearance Box User manual
Lopi Hearthview 864 User manual

Lopi

Lopi Hearthview 864 User manual

Lopi PEWTER 9850034 User manual

Lopi

Lopi PEWTER 9850034 User manual
Popular Fireplace Accessories manuals by other brands

Valor L2 1700K quick start guide

Valor

Valor L2 1700K quick start guide

Exodraft Xzense manual

Exodraft

Exodraft Xzense manual

Whalen Ruso MNFP62BF23-6 manual

Whalen

Whalen Ruso MNFP62BF23-6 manual

Woodstock Soapstone Fireview 201 manual

Woodstock Soapstone

Woodstock Soapstone Fireview 201 manual

EdilKamin SERBATOIO 250 Installation, use and maintenance

EdilKamin

EdilKamin SERBATOIO 250 Installation, use and maintenance

Bronpi KIT-1 instructions

Bronpi

Bronpi KIT-1 instructions

Town & Country Fireplaces 22150051 instructions

Town & Country Fireplaces

Town & Country Fireplaces 22150051 instructions

Travis Industries 33 DVI installation instructions
Travis Industries

Travis Industries 33 DVI installation instructions

Lennox Hearth Products LENNOX MPE-33R installation instructions

Lennox Hearth Products

Lennox Hearth Products LENNOX MPE-33R installation instructions

Dimplex DFP6776C install guide

Dimplex

Dimplex DFP6776C install guide

Napoleon W175-0689 instruction manual

Napoleon

Napoleon W175-0689 instruction manual

Travis Industries 95400424 installation instructions

Travis Industries

Travis Industries 95400424 installation instructions

Osburn ZERO CLEARANCE KIT installation instructions

Osburn

Osburn ZERO CLEARANCE KIT installation instructions

Majestic QUARTZPLA36IN installation instructions

Majestic

Majestic QUARTZPLA36IN installation instructions

Napoleon DBPO36 installation instructions

Napoleon

Napoleon DBPO36 installation instructions

Dimplex SMP-130-E install guide

Dimplex

Dimplex SMP-130-E install guide

Empire Comfort Systems LS50TINF installation instructions

Empire Comfort Systems

Empire Comfort Systems LS50TINF installation instructions

IHP WS-CI150 quick start guide

IHP

IHP WS-CI150 quick start guide

manuals.online logo
manuals.online logoBrands
  • About & Mission
  • Contact us
  • Privacy Policy
  • Terms and Conditions

Copyright 2025 Manuals.Online. All Rights Reserved.

Small Pedestal (1250 / Answer)
99200122
Page 1 of 4 9/4/08 © Travis Industries, Inc.
Compatibility:
• 1250 Wood Stove
• Answer
Packing List:
• Pedestal
• (2) 3/8-16 x 3/4” Bolts w Washers
• (2) 5/16” x 3” Lag Bolts w Washers
• Screen with (6) Staples
• Insulation
• Cover Plate Assembly
Pedestal Attachment
NOTE: If using outside air, install it prior to attaching the pedestal (see Outside Air Installation on page 2 and 3).
Two pedestal bolts
attach the pedestal to
the bottom of the
stove.
Pedestal
9/16" Wrench
The lag bolts and washers
may be inserted through
these holes to anchor the
pedestal to the floor.
Stove
Small Pedestal (1250 / Answer)
99200122
Page 2 of 4 9/4/08 © Travis Industries, Inc.
Outside Air Installation – Using the Outside Air Kit (99200139)
AAA
AAA
AAA
AAA
AAA
AAA
AA
AA
AA
AA
A
A
A
A
A
A
A
AA
AA
AAAAAAAA
AAAAAAAA
AAAAAAAA
AAAAAAAA
AAAAAAAA
AAAAAAAA
AAAAAAAA
AAAAAAAA
AAAAAAAA
AAAAAAAA
AAAAAAAA
AAA
AAA
AAA
AA
AA
AA
AA
AA
AA
AA
AA
AA
AA
AA
AA
AA
AA
AA
AA
AA
AA
AA
AAAAAAAA
AAAAAAAA
AAAAAAAA
AAAAAAAA
AAAAAAAA
AAAAAAAA
AAAAAAAA
AAAAAAAA
AAAAAAAA
AAAAAAAA
AAAAAAAA
3" Dia. Flex Duct
(4' max. length)
Select a location between
framing members for the
wall penetration.
NOTE: If wall is thicker
than 8", attach the flex duct
to the hood then slide the
hood into place.
Hood with Rodent Screen
Silicone
Seal the area around
the tube to prevent
air from entering
through the wall.
Silicone
AA
AA
AA
AA
A
A
A
A
A
AA
AA
Remove the cover
plate on the pedestal.
Secure the flex duct to the
air duct assembly using
the included hose clamp.
Attach the outside air duct
assembly to the pedestal
with the same screws that
held the cover plate in
place.
b
c
a
Tuck insulation (included with the
pedestal) under both sides of the
pedestal and under the holes on the
base of the pedestal. This prevents air
from being
drawn from below
the pedestal.
A
e
Slide the hood
through the wall and
secure to the outside
wall with the two
included screws.
Cover Plate
d
Slide the cover plate over the flex duct
then attach the flex duct to the hood with
the included hose clamp. Secure the
cover plate to the wall with the included
screws (and drywall anchors if needed).
HINT: The flex must be fully stretched and
the ends cut square and flatted for it to fit
properly. The tube on the hood and air
duct may be crimped if necessary.
Min. 3"
Dia. Hole
8"
Outside Air Cover Plate (Required on the Answer ONLY)
When using outside air with the Answer, install the cover plate to insure combustion air is drawn from below.
Remove the air control stop on the stove.
Remove the bridge and plugs from the front of
the cover plate.
Re-attach the bridge to complete the cover plate installation.
Attach the air control stop and cover plate as
shown above. HINT: Place one screw through the
cover plate and air control stop, and while holding
them together, slide the components into place
and tighten the screws to secure.
Small Pedestal (1250 / Answer)
99200122
Page 3 of 4 9/4/08 © Travis Industries, Inc.
Outside Air Installation –Through the Pedestal into the Crawl Space
This pedestal has an internal air duct that may be used to direct air to the firebox. Outside air is then drawn from
the crawl space under the stove (check with local building codes for requirements in your area). See the
directions below for installation details.
1 Determine the location of the hole placed under the pedestal. The illustration below details the location of the
pedestal in relation to the front of the stove. The hole should be at least 16 square inches.
15
12"
23 1/2"
16"
Outside air may be drawn
from this area underneath
the pedestal
(min. 16 square inches)
Top View
The faceplate of the Answer
is flush with the front of the
forward edge of the pedestal
base.
The faceplate of the 1250 is
1/4" in front of the forward
edge of the pedestal base. FRONT
2Outside Air Cover Plate (Required on the Answer ONLY) When using outside air with the Answer, install
the cover plate to insure combustion air is drawn from below.
Remove the air control stop on the stove.
Remove the bridge and plugs from the front of
the cover plate.
Re-attach the bridge to complete the cover plate installation.
Attach the air control stop and cover plate as
shown above. HINT: Place one screw through the
cover plate and air control stop, and while holding
them together, slide the components into place
and tighten the screws to secure.
Small Pedestal (1250 / Answer)
99200122
Page 4 of 4 9/4/08 © Travis Industries, Inc.
3 Attach the included screen over the hole (staples are included with the pedestal). Place the pedestal in place
and tuck insulation under both sides of the pedestal and under the holes in the base of the pedestal (see step
“a”on the previous page). This prevents air from entering under the pedestal.
Staples are used to attach
the screen to the floor.
Screen is used to prevent
rodents from entering.
AA
AA
AA
AA
AA
AA
Insulation is used to seal the side
edges of the pedestal .
4 Attach the stove to the pedestal.