manuals.online logo
Brands
  1. Home
  2. •
  3. Brands
  4. •
  5. SEI
  6. •
  7. Fireplace Accessories
  8. •
  9. SEI Salinas Media FA938300TX User manual

SEI Salinas Media FA938300TX User manual

8
15 16 17 18
1
2
1.Insertcamlocks(C)intopredrilledholeson
upperfrontbar(7).Screwcambolt(A)into
predrilledholesonmiddleverticalpanels
(3L&R).Attachmiddleverticalpanels
(3L&R)toupperfrontbar(7)byslipping
wooddowel(B)&cambolt(A)into
correspondingpredrilledholesuntilmiddle
verticalpanels(3L&R)&upperfrontbar(7)
meet.Securebyrotatingcamlock (C)
counterclockwisewithPhillipsscrewdriver.
Insertshelfpanel(5)intotheassembled unit.
2.Insertingflatheadlongscrew(R)into
predrilledholesofupperfrontbar(7)and
tighteningwithPhillipsscrewdriver(not
included).Insertcamlocks(C)intopredrilled
holesonmiddleverticalpanels(3L&R).
Screwcambolt(A)intopredrilledholeson
bottompanel(6).Attachbottompanel(6)to
assembledunitbyslippingwooddowel(B)&
cambolt(A)intocorrespondingpredrilled
holesuntilbottompanel(6)&assembled unit
meet.
3
3.Insert camlocks(C)intopredrilled holeson
shelf panel(5).Screwcambolt(A)into
predrilled holeson side panels(2L&R). Attach
side panels (2L&R)toassembled unit in the
step 2byslipping wood dowel(B)&cam
bolt(A)intocorresponding predrilled holesuntil
side panels (2L&R)&assembled unit in the
step 2meet.Securebyrotating camlock (C)
counterclockwisewithPhillipsscrewdriver. Use
allen wrench(G)&hexagon socket bolt (D)&
spring washer(E)&flat washer(F) connect
bottompanel(16)&side panels (2L&R)
together.Screwleg (16)intothe assembled
unit,asshowninthe step 3.
4
4.Insertcamlocks(C)intopredrilledholeson
assembledunitinthestep3.Screwcam
bolt(A)intopredrilledholesontoppanel(1).
Attachtoppanel(1)toassembledunit inthe
step3byslippingwooddowel(B)&cam
bolt(A)intocorrespondingpredrilledholes
untiltoppanel(1)&assembledunit inthe
step3meet.Securebyrotatingcamlock (C)
counterclockwisewithPhillipsscrewdriver.
B
A
16
1
5
5.Attachedmiddlebackpanle(9)&side back
panels(10)byinsertingroundheadscrew(P)
intopredrilledholesandtighteningwith
Phillipsscrewdriver(notincluded).
6
6.Useflatheadlongscrew(R)toconnect
drawerleftsidepanel(12)&drawerrightside
panel(13)&drawerfrontpanel(11)&drawer
bottompanel(15)&drawerbackpanel(14)
together.Usebolt(M)connectknob (J)&
drawerfrontpanel(11)together.
Repeatwithanotherdrawer.
R
7
8
7.Useroundheadscrew(P)connect magnet
locks(H)&shelfpanel(5)together.Useflat
headscrew(Q)connectmagnetlatchs(I)&
doors(4L&R)together.Usehinges(Q)&flat
headscrew(Q)connectdoors(4L&R)&
assembledunitinthestep6together.Push
thedrawersintotheassembled unit.
Insertshelfbracket(N)intocorresponding
holes,thenplaceadjustableshelfpanel(8)
ontopoftheshelfbracket (N).
8.Insertfirebox(18)totherelated placeof
assembledunit.
HQ
4
9
10
9.Attachedwoodholder(17)byinserting flat
headlongscrew(R)intocorresponding
predrilledholesandtighteningwithPhillips
screwdriver(notincluded).
10.Adjusttherubberfootatthe bottomof
leg(16)untilit'stight.
Nowyournewfireplaceisreadytouse.
R17
Pleaseimmediatelyexaminethisproductcarefully.Anyrequestformissingpartsordamage replacement
mustbereceivedwithin90daysofyourreceipt of the product . Replacement,ifavailable,willbehonored
withinthistimeframe.Partswillnotbeavailableforitemsarrivingfullyassembled. We do not
recommendmodifyingproduct(s)andwearenotresponsibleforanydamagesdue toproduct
modification(s).Ifdamagesormissingpartsarenotreportedwithin90daysofyourreceipt, weareunder
noobligationtoprovidepartsorreplacementmerchandise.
PleasecontactSouthernEnterprisesat800-633-5096orinDallas972-869-0111/9am-4pmMon-Fri
Centraltimeifyouhaveproductissuesoremailusatservice@seidal.com. Pleaseask forcustomer
servicerepresentativeforissuesinvolvingdamagesorreplacementparts.Pleaseask fortechnical
assistancerepresentativeforanyissueswithproductand assembly/construction.
Pleasecontacttheretailerthatyoupurchasedfromforreturns.
CustomerService1-800-633-5096
service@seidal.com
SouthernEnterprises, Inc.
600FreeportParkway,Suite200
Coppell,Texas75019
PartsReplacementForm
CustomerInformation
Name
Address
City/State/Zip Code
Phone Number
Pleaseindicatewhereyou purchased thisitem:Store/Website/Catalog
Pleaseindicatecolor/size/style number:
StyleNoPartsLetterPartsDescriptionQuantityNeeded
CAUTION
Thetopshelfisintendedforaflatscreentelevisionwithamaximumoverallwidthof 38
and supportsup to65lb.
Eachcentershelf should notbeloaded withmorethan20 lb.
DONOTEXCEEDRECOMMENDEDLOAD.Usewithproductsheavierthanthe
maximumsizesandweightsindicatedmayresultininstabilitycausingpossibleinjury.
Thisunitcontainsapermanentwarningstickerlocatedonundersideoftopshelforinsidedrawer.
Donotallowchildrenunder16yearsold tomovethecart.
Model:FA938300TX--MISSIONOAK
SALINASMEDIAFIREPLACEMANTLE
Southern Enterprises,Inc
600FreeportParkway,Suite200
Coppell,Texas,75019
ManufactureDate:
!

Popular Fireplace Accessories manuals by other brands

Valor L2 1700K quick start guide

Valor

Valor L2 1700K quick start guide

Exodraft Xzense manual

Exodraft

Exodraft Xzense manual

Whalen Ruso MNFP62BF23-6 manual

Whalen

Whalen Ruso MNFP62BF23-6 manual

Woodstock Soapstone Fireview 201 manual

Woodstock Soapstone

Woodstock Soapstone Fireview 201 manual

EdilKamin SERBATOIO 250 Installation, use and maintenance

EdilKamin

EdilKamin SERBATOIO 250 Installation, use and maintenance

Bronpi KIT-1 instructions

Bronpi

Bronpi KIT-1 instructions

Town & Country Fireplaces 22150051 instructions

Town & Country Fireplaces

Town & Country Fireplaces 22150051 instructions

Travis Industries 33 DVI installation instructions

Travis Industries

Travis Industries 33 DVI installation instructions

Lopi Hearthview 864 user manual

Lopi

Lopi Hearthview 864 user manual

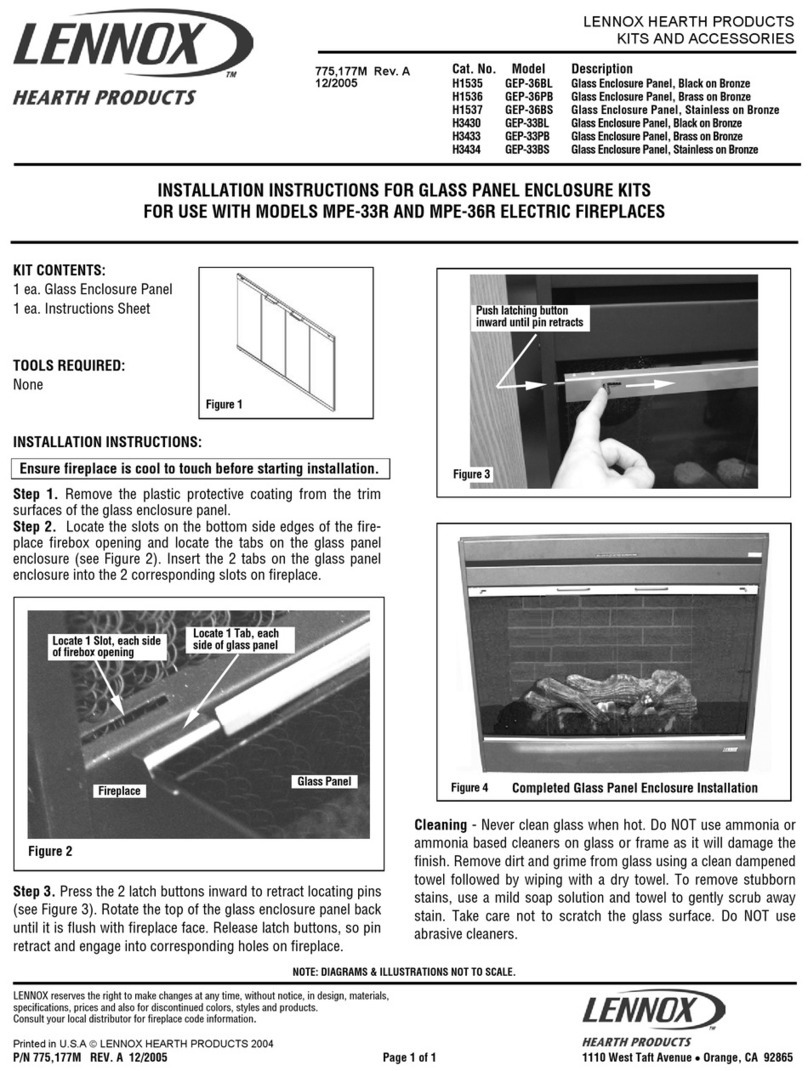
Lennox Hearth Products LENNOX MPE-33R installation instructions
Lennox Hearth Products

Lennox Hearth Products LENNOX MPE-33R installation instructions

Dimplex DFP6776C install guide

Dimplex

Dimplex DFP6776C install guide
Napoleon W175-0689 instruction manual

Napoleon

Napoleon W175-0689 instruction manual
Travis Industries 95400424 installation instructions
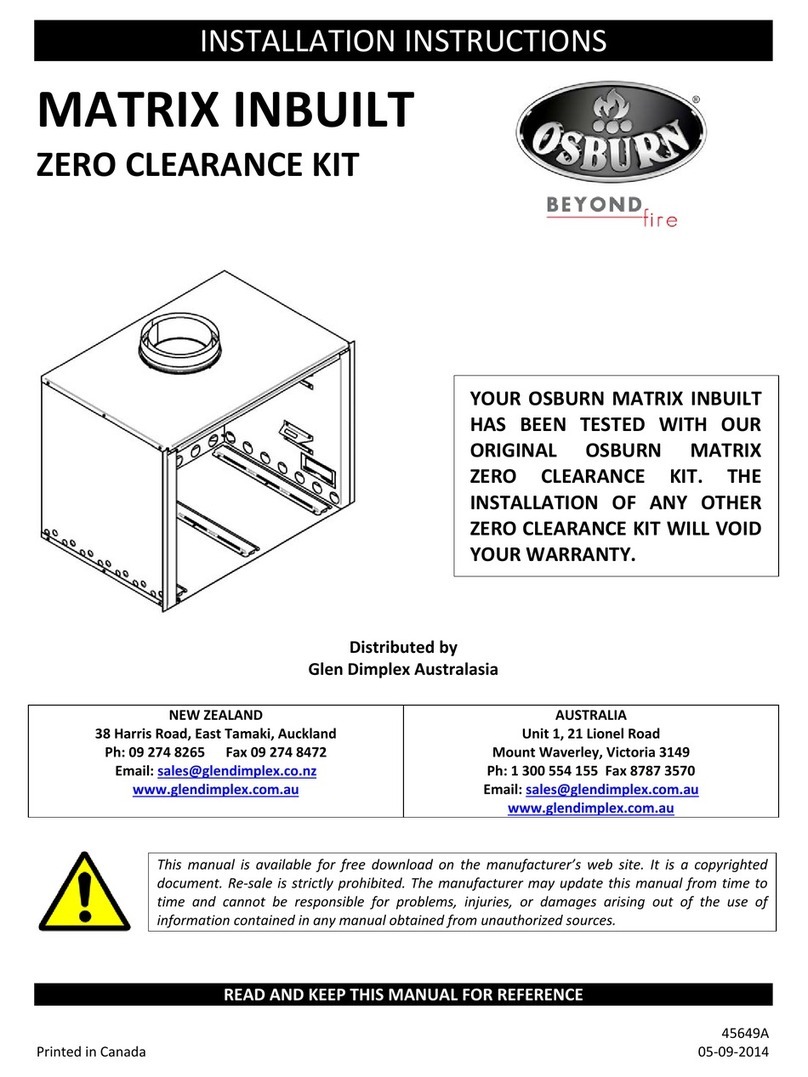
Travis Industries

Travis Industries 95400424 installation instructions

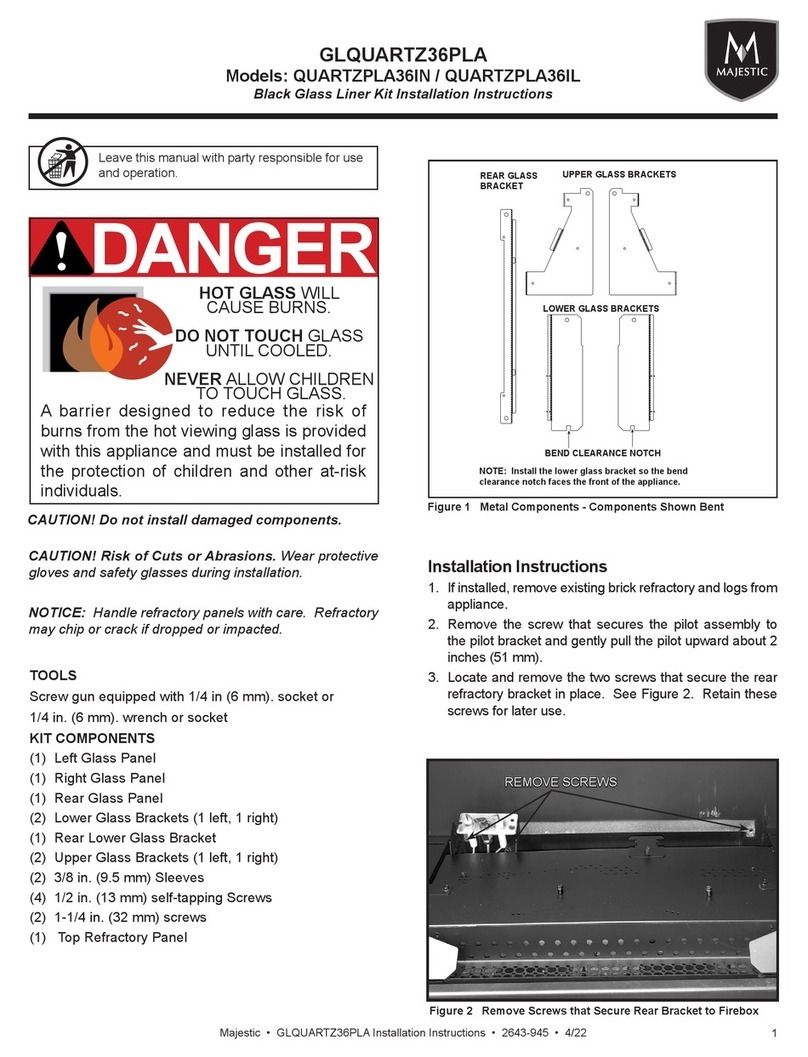
Osburn ZERO CLEARANCE KIT installation instructions
Osburn

Osburn ZERO CLEARANCE KIT installation instructions

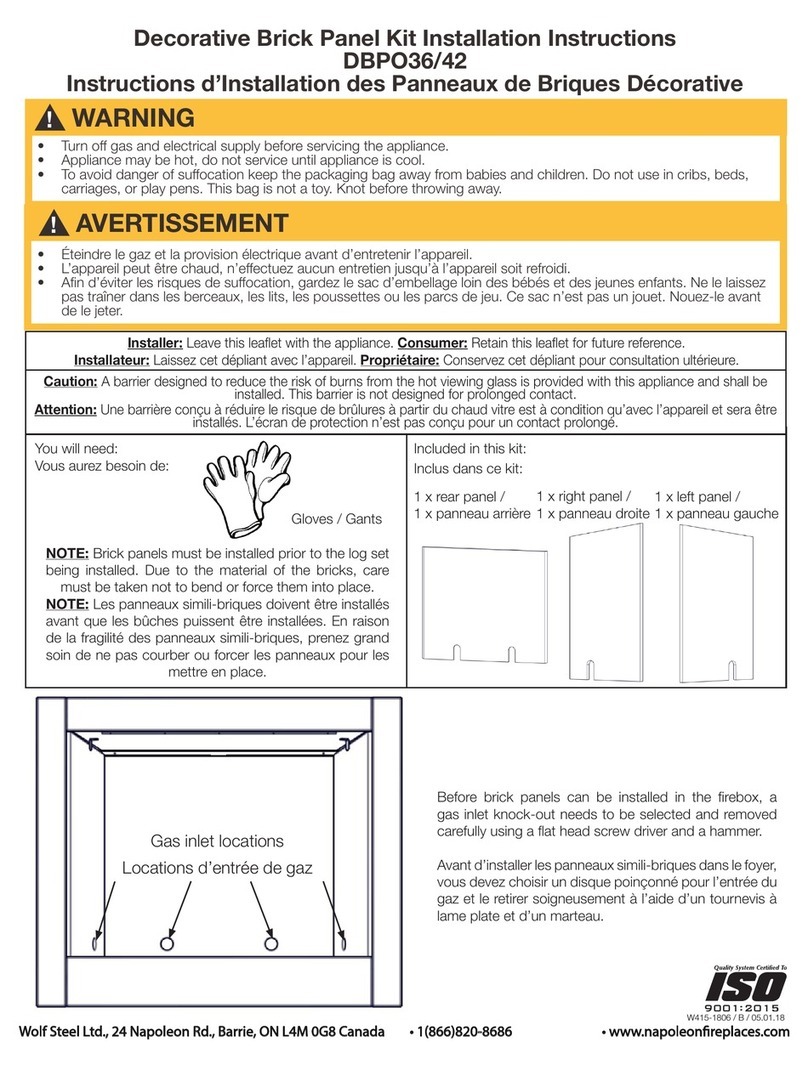
Majestic QUARTZPLA36IN installation instructions
Majestic

Majestic QUARTZPLA36IN installation instructions

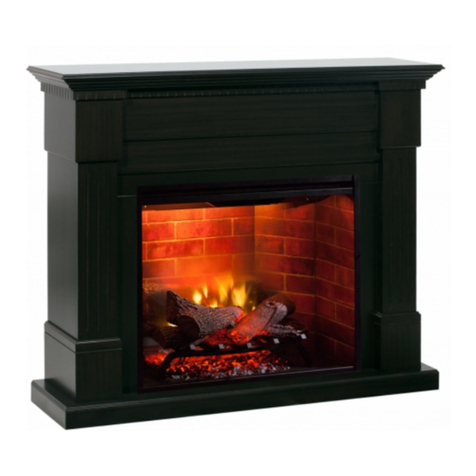
Napoleon DBPO36 installation instructions
Napoleon

Napoleon DBPO36 installation instructions

Dimplex SMP-130-E install guide

Dimplex

Dimplex SMP-130-E install guide

Empire Comfort Systems LS50TINF installation instructions

Empire Comfort Systems

Empire Comfort Systems LS50TINF installation instructions

manuals.online logo
manuals.online logoBrands
  • About & Mission
  • Contact us
  • Privacy Policy
  • Terms and Conditions

Copyright 2025 Manuals.Online. All Rights Reserved.