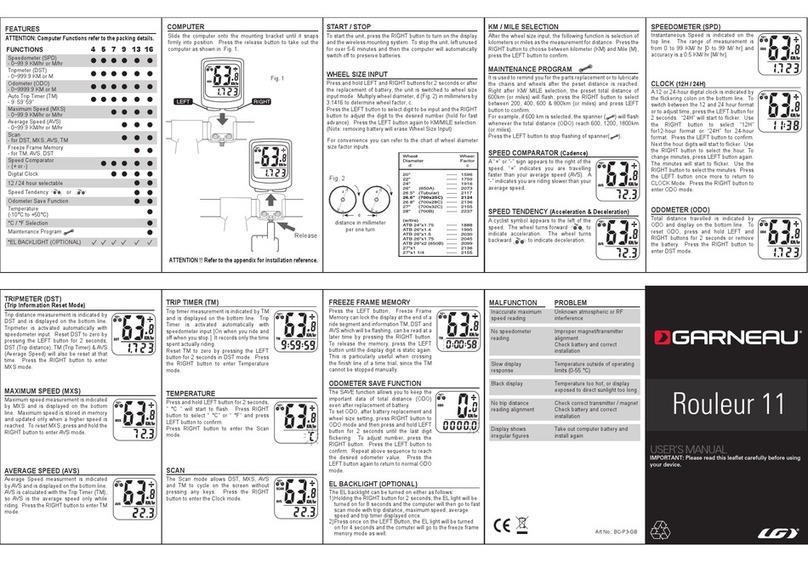
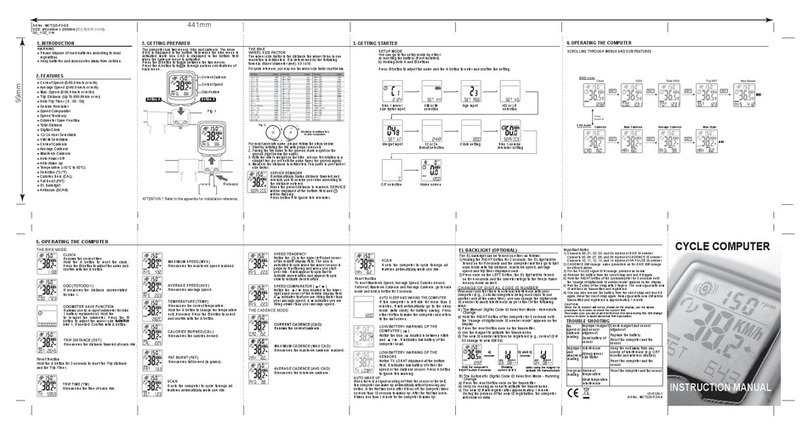
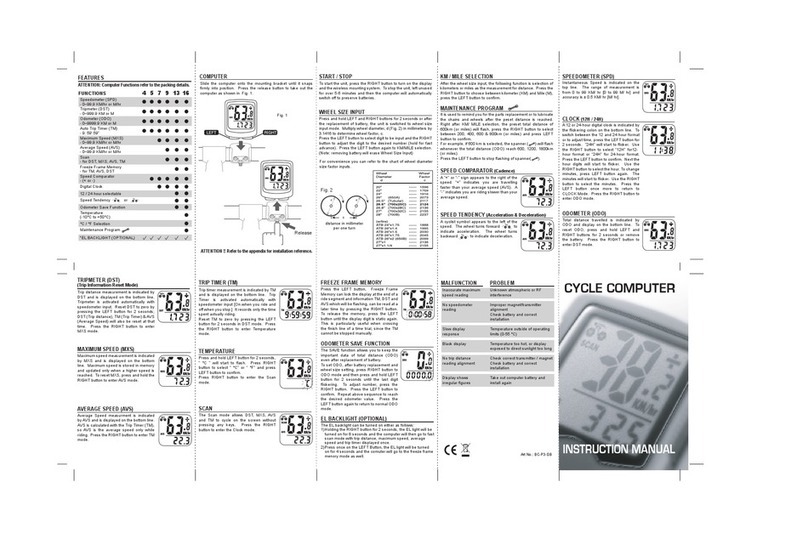
Garneau MCT305-P3-GB User manual

1. INTRODUCTION
5. OPERATING THE COMPUTER
For most accurate value, please follow the steps below:
1. Start by inflating the tire with proper pressure
2. Facing the tire valve to the ground, mark a spot on the
ground (right below the valve)
3. With the rider's weight on the bike, roll one full rotation in a
straight line (so roll until the valve faces the ground again)
4. Measure the distance in millimeters.This value is your wheel
size factor.
Current Cadence
Current Speed
Sub-Feature
2. GETTING PREPARED
The computer has three menus: the bike, cadence and HRM.
The icone BIKE is displayed in the bottom field when the bike
menu is activated, while icon CAD is displayed in the bottom
field when the cadence menu is activated.
Press the Bbutton to toggle between the three menus.
Press the Abutton to toggle through various sub-features of
each menu.
Release
Fig. 1
Button BButton A
ATTENTION !! Refer to the appendix for installation reference.
THE BIKE MODE:
Art No.: MCT305-P3-GB
1010126-1
FAT BURNT (FAT)
It measures fat burned (in grams).
TEMPERATURE (TEMP)
It measures the current temperature.
Hold the Abutton to change the temperature
unit, if needed. Press theBbutton to select
and confirm with the Abutton.
AVERAGE SPEED (AVS)
It measures the average speed.
MAXIMUM SPEED (MXS)
It measures the maximum speed reached.
TRIP TIME (TM)
It measures the time of each ride.
CALORIES BURNED (CAL)
It measures the calories burned.
ODO (TOTODO-1)
CLOCK
It shows the current time.
Hold the Abutton to reset the clock.
Press the Bbutton to adjust the value, and
confirm with the Abutton.
SCAN
It sets the computer to cycle through all
features automatically while you ride.
INSTRUCTION MANUAL
CYCLE COMPUTER
SPEED TENDENCY
Notice the in the upper left hand corner
of the middle display field. The icon is
animated to spin when the wheel sensor is
properly functioning and when you start
your ride. It will appear to spin fast to
indicate acceleration and appear to spin
slow to indicate deceleration.
TRIP DISTANCE (DST)
It measures distance traveled at each ride.
Hold the Abutton for 3 seconds to reset
the trip distance and the trip timer.
SPEED COMPARATOR ( / )
Notice the / icon located in the lower
right hand corner of the middle display field.
Aindicates that you are riding faster than
your average speed. Aindicates you are
riding slower than your average speed.
THE BIKE
WHEEL SIZE FACTOR
The wheel size factor is the distance the wheel turns in one
revolution in millimeters. It is determined by the following
formula: Wheel diameter (mm) X3.1416
For quick reference, you may use the wheel size factor chart below.
Distance in millimeters
in one revolution
Fig. 2
ODOMETER SAVE FUNCTION
It allows you to re-input odometer for bike
1 after battery replacement. Hold the A
button to re-input the odometer. Press the
B button to adjust the wheel size factor of
bike 1, if needed. Confirm with Abutton.
SCROLLING THROUGH MENUS AND SUB-FEATURES
Press
Button B
Press
Button B
4. OPERATING THE COMPUTER
3. GETTING STARTED
SETUP MODE
You can go to the setup mode by either:
a) Inserting the battery (if not installed)
b) Holding both Aand Bbuttons
Press Bbutton to adjust the value and the Abutton to enter and
confirm the setting.
AUTO WAKE UP
When there is a signal sending out from the sensor or the belt,
this computer can wake up automatically by itself without pressing
any button. In the first two hours after it turns off, the computer
takes no more than 10 seconds to wake up. After the first two hours,
it takes less than 1 minute to the computer to automatically wake up.
Bike 1 wheel
size factor input
Weight input HRM training
zone setting
12 or 24
format selection
Clock setting Bike 1 service
reminder setting
C/F selection Home screen
KM or M
selection
KG or LB
selection
Age input
WARNING
● Please dispose of used batteries according to local
regulations.
● Keep the batteries and accessories away from children.
TROUBLE SHOOTING
No
speed or
cadence
reading
Improper magnet
and sensor
alignment
Dead battery of
sensor
Check magnet and sensor
alignment
Replace the battery.
Reset the computer and the
sensor.
Irregular
reading
Ambient
temperature
Weak temperature
Interference
Improper
and
abnormal
reading
Interference
Wrong wheel
size factor
Keep the unit away from any
source of interference (e.g. CRT
monitor and wireless devices)
Reset the computer and the
sensor
Reset the computer and the sensor
SERVICE REMINDER
It automatically tracks distance traveled and
reminds you to service your bike according to
the distance entered.
When the preset distance is reached, SERVICE
will be displayed at the bottom field and
will be flashing.
Press button Ato ignore this reminder.
Art No.: MCT305-P3-GB
SIZE: (W)440mm x (H)99mm(單色雙面黑白印刷)
SO_1132_11N_MCT
No HR
reading
HR sensor not
attached to your
body securely
Dry skin
Dirty conductive
pads
Dead battery of
sensor
Adjust the chest strap to ensure
good contact with your body
Clean the electrode pad with soft
cloth dampening with diluted
natural detergent.
Replace the battery
Moisten the conductive pads with
water or ECG-gel
CAD mode
Cadence Max Cadence Average Cadence Max Scan
AUTO SLEEP AND WAKING THE COMPUTER
If this computer is left idle for more than 5
minutes, it will automatically go to the sleep
mode (with clock) for battery saving. Press
either button to wake the computer and return
to the last screen.
LOW BATTERY WARNING OF THE BELT
AND SENSOR
Notice TX LOBAT displayed at the bottom
field. It indicates low battery of either the
chest belt or the speed sensor. Press button
Ato ignore this warning.
THE HEART RATE MODE:
HEART RATE ZONE ALERT
Notice the / icon located next to the
heart icon of the top display field. A
indicates that your current heart rate is over
the heart rate zone. Aindicates yourcurrent
heart rate is below selected heart rate zone.
LOW BATTERY WARNING OF THE
COMPUTER ( )
Notice the icon located in between KM/h
and / . It indicates low battery of the
computer head.
CURRENT HEART
RATE (HRM)
It shows the
current heart
rate
MAX HEART RATE
(MAX HR)
It measures the
max heart rate
SCAN FUNCTION (SCAN)
It sets the cycle computer to automatically scan
through the HRM Function while you ride.
Set New Zone
Go to Zone function, hold the AButton until SET ZONE appears.
Repeat the zone setting procedure in the GETTING STARTED
section to set a new zone.
MIN HEART RATE
(MIN HR)
It measures the
Min Heart Rate
AVERAGE HEART
RATE (AVG HR)
It measures
Average Heart
Rate
HEART RATE ZONE(ZONE)
It indicates the heart rate zone you set. Press
button Ato reset the heart rate zone. Press
button Bto adjust the value and confirm by
button A.
MAXIMUM
CADENCE
(MAX CAD)
It measures
the maximum
cadence
reached.
THE CADENCE MODE:
AVERAGE
CADENCE
(AVG CAD)
It measures
the minimum
cadence.
SCAN
It sets the
computer to
cycle through
all features
automatically
while you ride.
CURRENT
CADENCE
(CAD)
It shows the
current
cadence.
441mm
99mm
EL BACKLIGHT (OPTIONAL)
The EL backlight can be turned on either as follows:
1)Holding the RIGHT button for 2 seconds, the EL light will be
turned on for 8 seconds and the computer will then go to fast
scan mode with trip distance, maximum speed, average
speed and trip timer displayed once.
2)Press once on the LEFT button, the EL light will be turned
on for 4 seconds and the comuter will go to the freeze frame
memory mode as well.
It measures the distance accumulated for
bike 1.
2. FEATURES
● Current Speed (0-99.9 Km/h Or M /hr)
●Average Speed (0-99.9 Km/h Or M /hr)
● Max. Speed (0-99.9 Km/h Or M /hr)
●Trip Distance (Up To 999.99 Km Or M)
●Auto Trip Timer ( 9 : 59 : 59)
● Service Reminder
● Speed Comparator
● Speed Tendency
● Odometer Save Function
●Total Distance
● Digital Clock
● 12/ 24 Hour Selectable
● KM/ M Selectable
● Current Cadence
●Average Cadence
● Maximum Cadence
● Current Heart Rate
●Average Heart Rate
● Max. Heart Rate
● Min. Heart Rate
● Heart Rate Zone Alert
●Auto Power Off
●Auto Wake Up
●Temperature (-10°C to 50°C)
● Selection (°C/°F)
● Calories Burn (CAL)
● Fat Burnt (FAT)
● EL Backlight
●Autoscan (SCAN)
CHANGE OF DIGITAL CODE ID NUMBER
Whenever you feel there is external interference with your
computer (e.g., 2 similar computers being used close to one
another and at the same time), you can change the digital code
ID number to avoid interference as per either of the following
ways:
A) The Manual Digital Code ID Selection Mode - Immediate
Change
a) Hold the RIGHT button of the computer for 5 seconds until
the “change of digital code ID number mode” appears on the
display.
b) Press the reset button once on the transmitter.
c) Use the magnet to activate the transmission.
d) The new ID number will thus be registered (e.g., current ID #
03 change to new ID# 04)
B) The Automatic Digital Code ID Selection Mode - Running
Change
a) Press the reset button once on the transmitter.
b) Keep on running as usual to activate the transmission.
c) The new ID # will register after approximately 1 minute.
During the process of the new ID registration, the computer
will show no data.
Hold the computer's
RIGHT button 5 seconds
Showing
current ID # 3 (after using the magnet to
activate the transmission)
a) b) and c)
Important Notes
1) Channels 00, 01, 02, 03, and 04 represent BIKE ID number
Channels 05, 06 ,07, 08, and 09 represent CADENCE ID number
Channels 10, 11, 12, 13, and 14 represent HR PULSE ID number
2) CADENCE ID# change: same procedure as for BIKE ID# change
mentioned above.
3) For the PULSE signal ID # change, proceed as below:
a) Remove the battery from the chest strap and insert it again.
b) Hold the RIGHT button of the cyclocomputer for 5 seconds until
the “change of digital code ID number mode” appears on the display.
c) Rub the 2 sides of the strap with 2 fingers. The new signal with new
ID will then be transmitted and registered.
d) You can also remove the battery from the chest strap and insert it
again. Wear the chest strap again. New signal with new ID# will be
transmitted and registered in approximately 1 minute.
CAUTION:
Since the ID number will not be shown on the display, use the above
procedure A) in order to check the current ID#.
Also make sure you are in an interference free area during this ID# change
process in order to avoid abnormal ID# registration.
Reset Function
To reset Maximum Speed, Average Speed, Calories Burned,
Fat burnt, Maximum Cadence, Average Cadence, Maximum
Heart Rate, Minimum Heart Rate and Average Heart Rate,
go to each mode and hold the Abutton for 3 seconds.
Other Garneau Bicycle Accessories manuals
Popular Bicycle Accessories manuals by other brands

Specialized
Specialized Elite CylcoComputer user manual

Sigma
Sigma BC 16.16 manual

Playcore
Playcore Dero Setbacks installation instructions

VDO Cyclecomputing
VDO Cyclecomputing x3dw instruction manual

Cateye
Cateye RAPID X2 manual

buratti meccanica
buratti meccanica Clorofilla Trail Use and maintenance manual


