GCC Technologies LaserPro StellarMark CIIA-Li User manual

LaserPro StellarMark CIIA-Li User Manual | 1
4F., No.236, Fude 2nd Rd., Xizhi Dist., New Taipei City 22151, Taiwan 886-2-6616-6692 Fax:886-2-2694-6875
StellarMark CIIA-Li
User Manual
www.delinit.by

LaserPro StellarMark CIIA-Li User Manual | 2
TABLE OF CONTENTS
CHAPTER
1 SAFETY............................................................................................4
1.1 PRINCIPLES OF CO2 LASER........................................................................................ 5
1.2 SAFETY RATINGS........................................................................................................ 5
1.3 THE SAFETY INTERLOCK SYSTEM................................................................................ 5
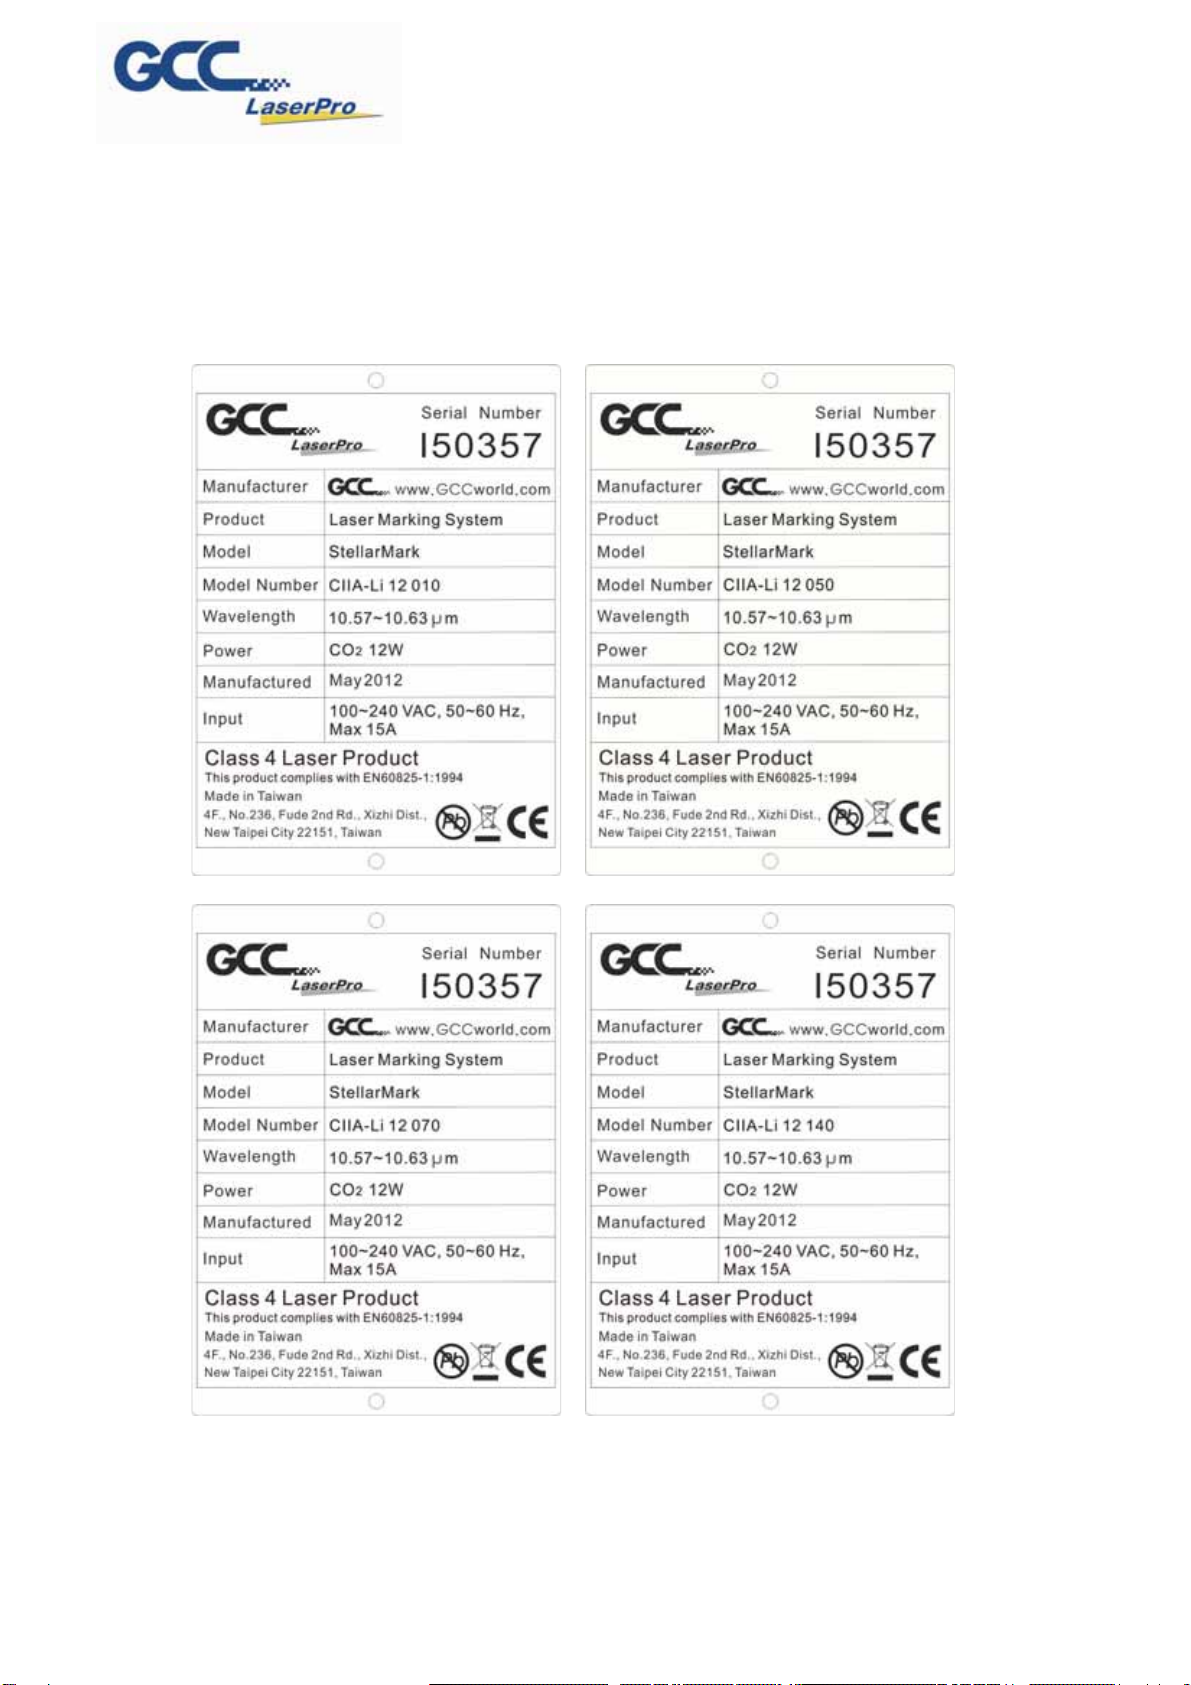
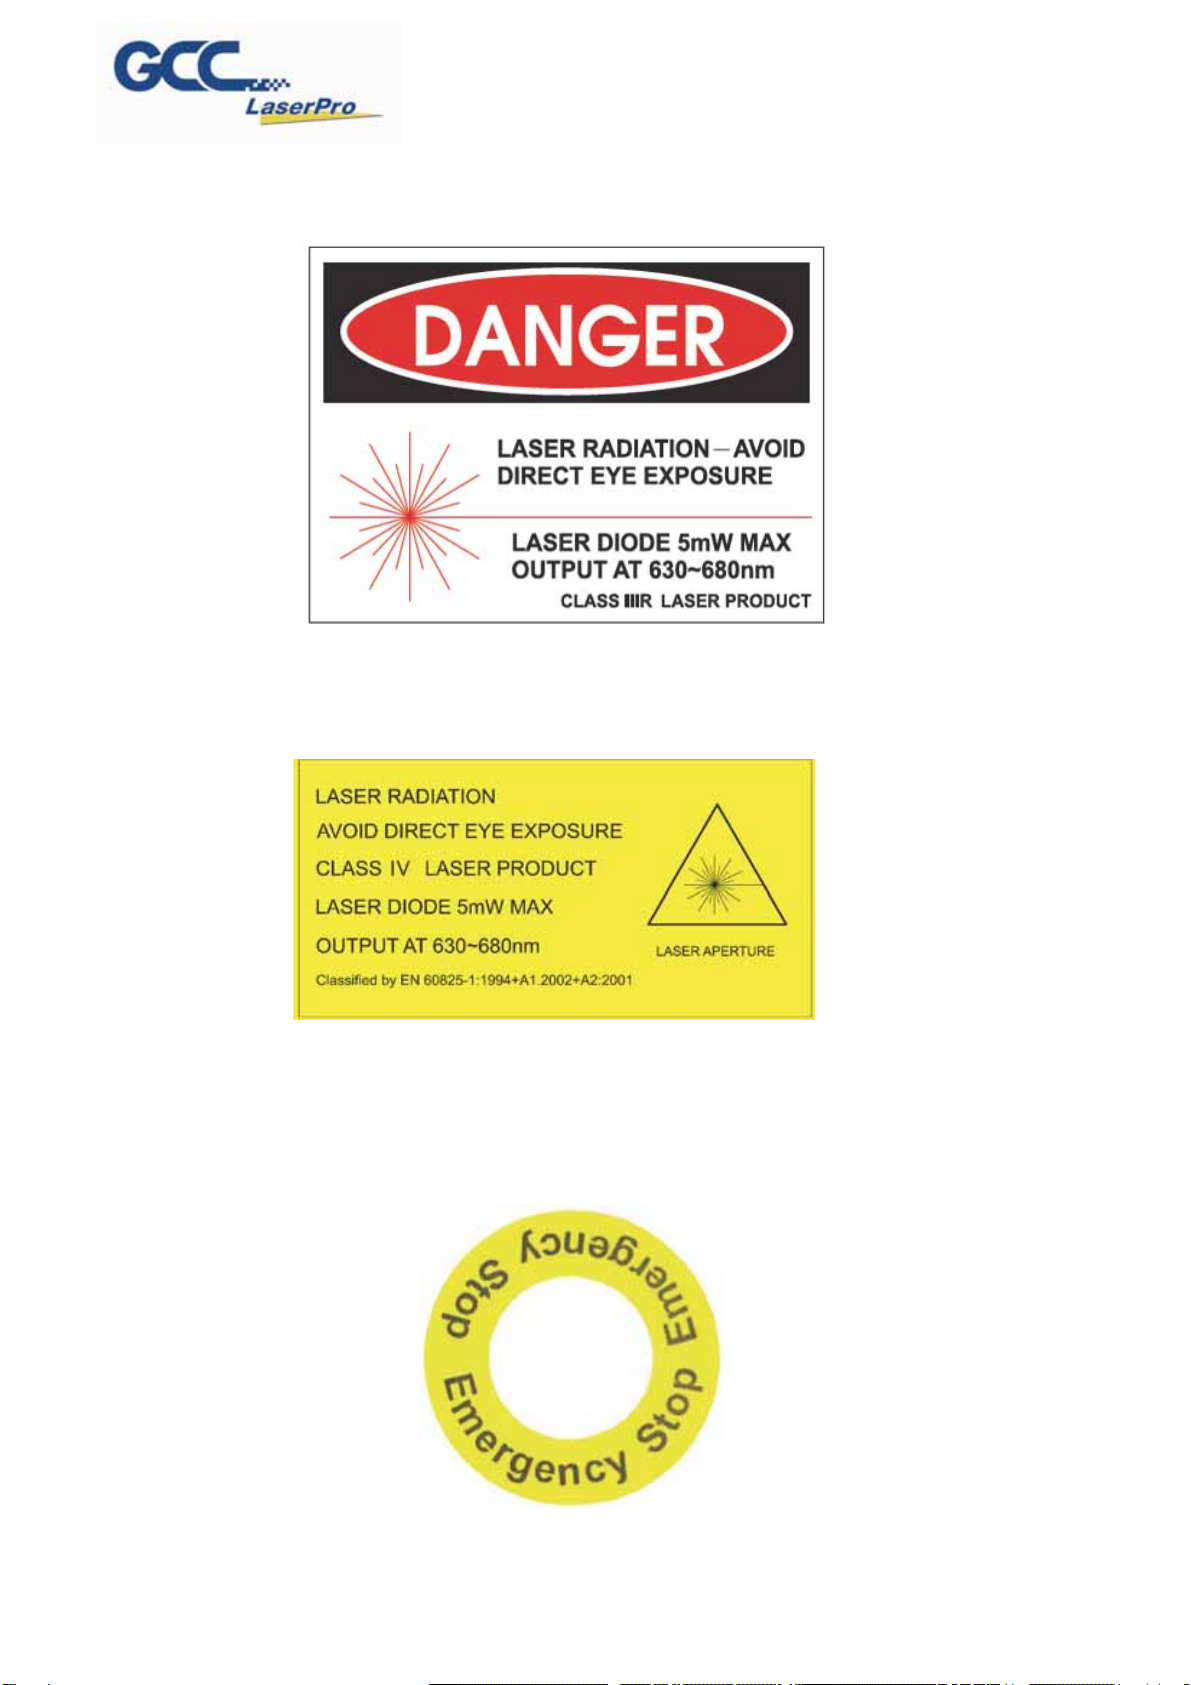
1.4 THE SAFETY LABELS .................................................................................................. 5
1.5 SAFETY MEASURES.................................................................................................... 8
1.6 OPERATING ENVIRONMENT ......................................................................................... 9
CHAPTER
2 U
NP
A
CK
I
NG
&
C
ON
T
E
N
T
S
.....................................................11
2.1 UNPACKING AND UNLOADING........................................................................................... 12
2.2 CONTENTS AND ACCESSORIES CHECKLIST ....................................................................... 12
CHAPTER
3 MECHANICAL OVERVIEW ..........................................................13
3.1 LASER MARKER .............................................................................................................. 14
3.2 MACHINE DIMENSION....................................................................................................... 16
CHAPTER
4 WORKING DISTANCE..................................................................18
4.1 RECOMMENDED WORKING DISTANCE ............................................................................... 19
4.2 PYRAMID FOCUS TOOL .................................................................................................... 20
CHAPTER
5 MACHINE SETUP..........................................................................21
5.1 POWERING UP THE MACHINE ........................................................................................... 22
5.2 POWER CABLE CONNECTION ........................................................................................... 22
5.3 I/O INTERFACE DEFINITIONS............................................................................................. 25
5.4 I/O INTERFACE INSTALLATIONS......................................................................................... 30
CHAPTER
6 SOFTWARE SETUP......................................................................35
6.1 RECOMMENDED COMPUTER CONFIGURATION ................................................................... 36
6.2 SOFTWARE INSTALLATION FOR WINDOWS SYSTEM............................................................ 36
6.3 SOFTWARE INSTALLATION FOR MAC SYSTEM................................................................... 45
CHAPTER
7 LENS ADJUSTMENT....................................................................53
7.1 IMPORT LENS PARAMETER............................................................................................... 54
7.2 LENS PARAMETER CARD.................................................................................................. 58
7.3 LENS PARAMETER ADJUSTMENT ...................................................................................... 61
CHAPTER
8 BASIC MAINTENANCE ................................................................65

LaserPro StellarMark CIIA-Li User Manual | 3
8.1 CLEANING THE LENSES.................................................................................................... 66
CHAPTER
9 APPENDIX......................................................................................68

LaserPro StellarMark CIIA-Li User Manual | 4
Chapter
1
Safety
Principles of CO
2
Laser
Safety Ratings
The Safety Interlock System
Safety Labels
Safety Measures
Operating Environment
www.delinit.by

LaserPro StellarMark CIIA-Li User Manual | 5
1.1 Principles of CO2 Laser
LASER is the acronym for Light Amplification by Stimulated Emission of Radiation. A CO2
laser works by electrically stimulating the molecules within a carbon dioxide gas mixture.
When focused through a lens, this highly-intense, invisible beam will vaporize many
materials. Depending on the speed and intensity of the projected beam, a CO2 laser may
be used to engrave or cut through a wide variety of materials.
1.2 Safety Ratings
Laser marking systems that have the CDRH safety rating of Class 4R and the StellarMark
CIIA-Li has been equipped with a red guidance pointer. This red dot allows the operator to
safely see the focal point of the laser beam. It gives StellarMark CIIA-Li a rating of 4R when
it is integrated with a safety door while operation.
1.3 The Safety Interlock System
With the optional item of safety shield, it gives the StellarMark CIIA-Li marking systems that
automatically shut off the laser when the door is opened. There are some magnets on the
side of safety door, which activate this safety mechanism. Do not attempt to remove or
modify these magnets or any other component of the safety interlock system.
1.4 The safety Labels
According to CDRH standards, all fixed or removable covers that allow access to a laser
beam must have the appropriate laser warning labels attached to them. These warning
labels must be clearly visible to the operator prior to removing the cover. Additional labels
must be applied inside of the machine and be visible in the event the covers are removed. A
label clearly displaying the manufacturer’s name, date of manufacture, description of
product, model number, serial number, and compliance statement must be attached to the
outside of the machine.
In compliance with CDRH standards, the required warning labels are affixed at the time of
manufacture to the LaserPro StellarMark CIIA-Li in the appropriate locations. These labels
are not to be modified in any way or removed for any reason. Please familiarize yourself
with the specific labels and their locations on the machine. Below is a list of all the safety
labels and their locations on the machine.

LaserPro StellarMark CIIA-Li User Manual | 6
Product Label
This label is located at the right-back side of machine. All the product information such
as Serial Number, Model Numbers, Laser Power and Electric power can be found here.
Before requiring any tech support, always provide service person the information on
this label.

LaserPro StellarMark CIIA-Li User Manual | 7
CDRH Label
This label indicates the class level of CDRH.
CE Label
This label indicates the class level of CE
Emergency Stop Label
This label indicates the emergency stop button. You can find this label on the left side
of the power supply unit

LaserPro StellarMark CIIA-Li User Manual | 8
Warning Label
Warning Label is written all the necessary information to be aware of in every
operation.
1.5 Safety Measures
zLASER RADIATION WARNING: Exposure to laser radiation may result in
physical burns and severe eye damage. Proper use and regular maintenance of
this machine is important to the safety of all people in the immediate area.
zPrior to operation, carefully read and familiarize yourself with the warning labels
located on both your laser system and in this manual.
zNever leave the machine unattended during the laser cutting and engraving
process. The laser may ignite combustible materials. A well-maintained fire
extinguisher and operational smoke or fire detector should be kept in the vicinity of
the machine.
zAlways wear safety goggles when the laser system is in operation. Reflective
materials such as mirrors, enameled brass and anodized aluminum may

LaserPro StellarMark CIIA-Li User Manual | 9
partially-reflect some of the invisible laser radiation. Severe eye damage may
occur if appropriate safety goggles are not worn.
zConnect the machine to a properly grounded power outlet. Ensure the voltage of
the power source is identical to the voltage of the machine.
zDo not attempt to modify or disassemble the laser module.
zDo not attempt to remove or modify any component of the machine’s laser
interlock safety system.
zEnsure the immediate work area of the machine is well-ventilated. Odors, vapors,
and dust are byproducts generated during the laser marking and cutting process.
An exhaust system is recommended. Please contact GCC or your local GCC
distributor for more information.
zDo not laser heat-sensitive surfaces or materials that may generate toxic fumes,
such as PVC and Teflon.
zRegularly clean and maintain your machine according to our cleaning and
maintenance instructions. Doing so will ensure a machine that will operate
effectively and safely over a long period of time.
1.6 Operating Environment
Please follow the guidelines when considering a suitable location to set the LaserPro
StellarMark CIIA-Li. Improper work environments may lead to operational malfunction
and/or unsafe working conditions.
The LaserPro StellarMark CIIA-Li should be placed and operated in a clean
environment, avoid places where the machine is exposed to high temperatures, dust,
or high humidity
NOTE
Each LaserPro laser machine is shipped with a single pair of safety goggles.
If additional safety goggles are required, please contact GCC directly or an
authorized GCC distributor. If you wish to purchase one on your own, please
make sure the safety goggles meet these requirements:
190 - 398 nm OD5+
10,600 nm OD5+
V
isible Li
g
ht Transmission: 92.9
%

LaserPro StellarMark CIIA-Li User Manual | 10
zKeep the machine where the room temperature is between 15 – 30 degrees
Celsius or 58 – 85 degrees Fahrenheit.
zAvoid small, enclosed areas where a considerable amount of dust is present.
zAvoid areas where the humidity is above 70% or where the temperature is near
the dew point.
zSetup the machine to be apart from the wall for at least 40cm (1.5 feet).
zChoose a flat surface that is not exposed to high levels of vibration.
zBe sure that your mounting platform has been securely fastened to the table, stand,
or floor.
zChoose a location that is large enough to accommodate the machine, the
computer and a work/storage table.
zHave a fire extinguisher close to the working location at all times.
zMake sure your smoke/fire detecting system is functioning.

LaserPro StellarMark CIIA-Li User Manual | 11
Chapter
2
U
np
a
ck
i
ng
&
C
on
t
e
n
t
s
Unloading
and
Unpacking
Contents
and
Accessories
Checklist

LaserPro StellarMark CIIA-Li User Manual | 12
Item Unit Item Unit
Hex Head Screws Driver 1 G-Mark Advance CD Set (With Keypro) 1
LaserPro CD Set (User Manual) 1 I/O Terminal Platform(5ESDVM-12P) 2
Lens Cleaner 1 I/O Terminal Platform(5ESDVM-10P) 1
Lens Cleaning Paper 1 Laser Marker Power Cable
(48V/20A/7Pin 2.5m) 1
Cotton Bud (100 pcs/ pack) 1 SCSI Cable 50pin Length 2.5m 1
Lenses Only Label Sticker 1 AC Power Cable(Europe) 1
CO2 Goggle 1 Power Cable (US) 1
Wood 14 x 11 cm(Blank Sample) 2 Power Cable (AUS) 1
Lens Parameter Marking List 3 USB CABLE 1
M6 Screw Plastic Foot 4 Acrylic Bar Focus Tool
(for CIIA-Li 010/ 050 Only) 1
Nut (M6xt5xS10). 4
2.1 Unpacking and Unloading
The StellarMark CIIA-Li is shipped in one crate that contains one laser marker which is
connected with a control box, the software and all of the necessary accessories in an
accessories kit.
2.2 Contents and Accessories Checklist
Please check the following items have been shipped with the StellarMark CIIA-Li:
To prevent damage to the machine or personal injury, please get assistance
when loading and unloading the shipping crate.
WARNING
NOTE
Please save the original shipping crate in case it is needed for future
transport or product servicing.

LaserPro StellarMark CIIA-Li User Manual | 13
Chapter
3
Mechanical Overview
Laser Marker
Machine Dimension

LaserPro StellarMark CIIA-Li User Manual | 14
Before you complete the installation, it is a good idea to become more familiar with the
machine’s features and components. You should also make note of the new features that
have been developed exclusively for the StellarMarkǤ
3.1 Laser Marker
3.1.1 LED Panel
There are 3 LED lights on the panel and they will indicate out three working status
of “Over Temp”, “Laser On” and “Power on” of the laser marker.

LaserPro StellarMark CIIA-Li User Manual | 15
ŶOver Temp:
When the red LED light is on, the laser marker will stop firing. Please turn off the
master power of the laser marker and re-start it when the operating temperature
is dropped below 35°C.
ŶLaser On:
When laser is firing, the red LED light is on.
ŶPower On:
When the laser is power on and the green LED light is on.
The StellarMark gives you the choice of 4 scan lens sizes to best suit your
marking applications. The smaller filed size scan lens will produce a smaller spot
size, however it will cover a smaller scan work area. The smaller spot size will
provide higher marking resolution. The larger filed scan lens will produce a larger
spot size with lower marking resolution.
Working Area Focal Length (FL)
10 x 10 25.89 ± 1
50 x 50 65.268 ± 1
70 x 70 91.16 ± 1
140 x 140 196.43 ± 2

LaserPro StellarMark CIIA-Li User Manual | 16
3.2 Machine Dimension
NOTE
The scan lens is very fragile and careful while the cleaning and installing.
Defective or unworkable due to abuse, mishandling, misuse, accident,
alteration, negligence, improper installation, deficient cleaning or other
causes will not be covered in the warranty.

LaserPro StellarMark CIIA-Li User Manual | 17

LaserPro StellarMark CIIA-Li User Manual | 18
Chapter
4
Working Distance
Recommended Working Distance
Pyramid Focus Tool

LaserPro StellarMark CIIA-Li User Manual | 19
4.1 Recommended Working Distance
Due to the characteristics of the scan lens, a certain distance between the marking object
and scan lens has to be set for an optimized output quality. The working distances for
different scan lens are recommended as below:
Scan Lens 10 x 10 mm 50 x 50 mm 70 x 70 mm 140 x 140 mm
A
(Focus Tool Length) 26 ± 1 mm 65 ± 1 mm 91 ± 1 mm 196.5 ± 2 mm
NOTE
In order to achieve the best output quality, the working distance must set
precisely as recommended.
For instance the 70x70 mm scan lens can only tolerate a distance which is +-
1mm different from the recommended working distance of 105mm.
If the working distance is set and out of the recommended range, the output work
produced will be unsatisfactory.

LaserPro StellarMark CIIA-Li User Manual | 20
4.2 Pyramid Focus Tool
The innovative and patened focus tool is an accessory unit for providing the best working
distance on StellarMark
You will find the focus tool is located in accessory box and an optimized length is set for
your scan lens size when the machine is shipped.
Screw the Pyramid Ruler beneath the laser marker and let the to be marked material
touches the bottom screw of Pyramid Ruler, the distance between the two is the best
working distance.
With this tool, you can always have the best working distance for different materials by just
place your desired marking material on the z axis table and move the z axis table up until
the mark material touches the bottom screw of Pyramid Ruler.
NOTE
Fixed length will be varied depend on the size of scan lens.
The fixed length of Pyramid Ruler equals the recommended working distance
and you will no need to adjust the length.
Table of contents
Other GCC Technologies Industrial Equipment manuals
Popular Industrial Equipment manuals by other brands

Badger Meter
Badger Meter Oval Gear FMS Compact user manual

Delta Membranes
Delta Membranes Hi-PowerMaxx2 Installation & operating manual

Seneca
Seneca Z109S-DI quick start guide

Eaton
Eaton DEX-LN1 Series Instruction leaflet

ABB
ABB HT587893 Operation manual

Titan
Titan 124 Installation, Maintenance, and Parts Manual

Tuchel
Tuchel Tuchel-Trac Trio operating manual

Rottler
Rottler SA Series Operation and maintenance manual

Chicago Pneumatic
Chicago Pneumatic M2501-5500-TL Safety information

AFM
AFM STC-WSN300-2M user guide

xsto
xsto DC Series Operation manual

Siemens
Siemens Sentron 3VA92 8-0VF30 Series operating instructions