GDU SAGA User manual

V3.0
QUICK START GUIDE
If you have any questions about this document , please contact GDU
after-sales center (+86 400-040-0266).
www.gdu-tech.com
Copyright ©2020 GDU-Tech Co., Ltd All Rights Reserved.
APP

1
Get to Know The Aircraft
The aircraft’s arms, propellers, and tripod are all foldable. The fully-
adaptable aircraft platform can be equipped with 4K camera, 4K*30x
automatic zoom camera, infrared camera, etc. The large- capacity
Lithium battery gives the aircraft a maximum ight time of 35 minutes.
The aircraft is equipped with an advanced intelligent vision system,
which supports intelligent obstacle avoidance, visual tracking, and
other advanced functions.
9
1
8
10
2
3
12
13
11
4
56
7
1. Aircraft Rear LED Indicator
8. Parameter /Data Adjustment Interface
2. Aircraft Front LED Indicator 9. Downward Vision System
3. Tripod 10. Gimbal Camera Mount Interface
4. Propellers 11. Power Button
5. Battery 12. LED Battery Level Indicator
6. Motor 13. Battery lock
7. Forward Vision System

2 3
Remote Control
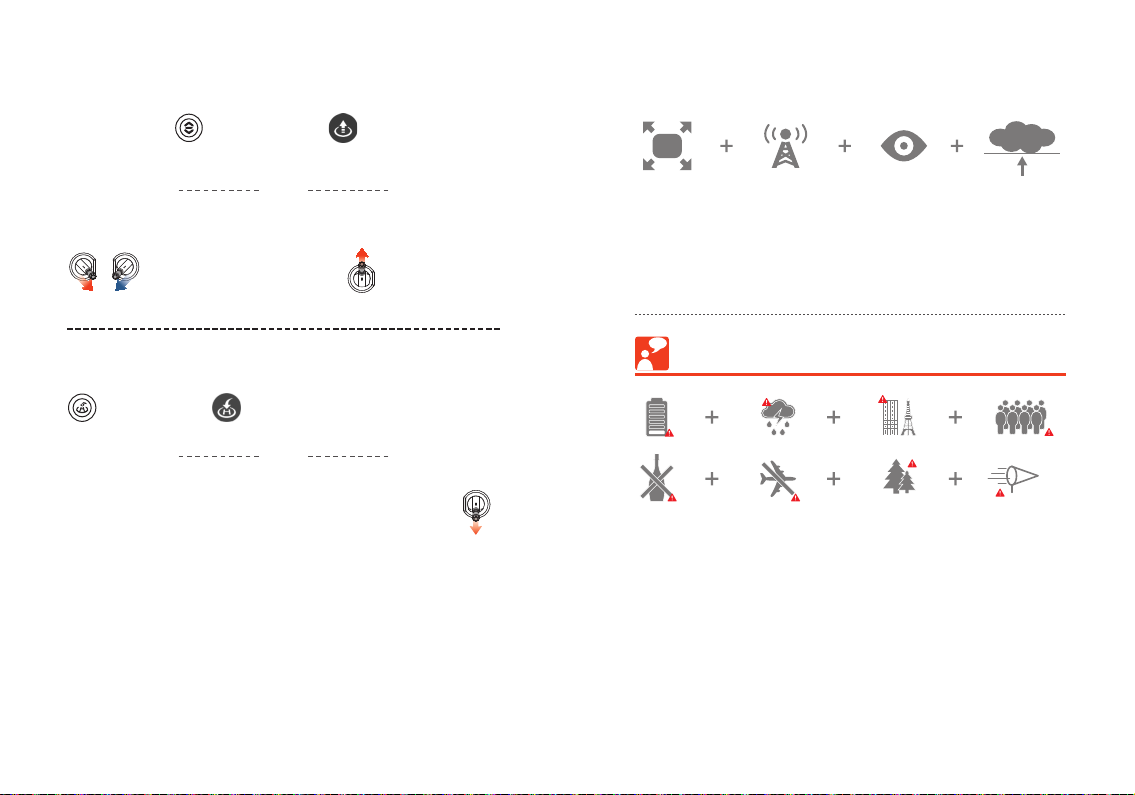
The remote control utilizes an advanced frequency hopping wireless
communication system, making the aircraft and camera easy to operate
and congure from within a maximum communication distance of 7km. The
remote control support secures the mobile device and, by using the App,
users can watch high-denition, real-time images on their mobile devices.
The number 19 is camera zoom when mounting a 10x or 30x zoom camera
gimbal.
The maximum flight time is tested under experimental conditions to
the12000mAH battery and may vary depending on environmental and ight
conditions.
1
4
5
2
3
11
12
13
14
15
6
7
8
10
16
17
18
19
20
21
9
Specications
Aircraft
Weight 2400 g (without load)
Max load 1000 g
Max take-o weight 3400 g
Max Ascent Speed 5 m/s(Sport mode)
Max Descent Speed 3 m/s
Max Horizontal Speed 15m/s (Sport mode, without wind)
Max Flight Altitude 3500 m (11482 feet)
Max Hovering Time 35 minutes(without wind)
Operating Temperature -10 ℃ to 50 ℃
Satellite Positioning system GPS/GLONASS (dual modules)
Gimbal
Detachable Mount Gimbal Type
4K Gimbal Camera,
4K×30X Zoom Gimbal Camera,
Infrared Gimbal Camera
Forward Vision System
Sensing range 0.5 to 15 m
Operating Environment
Obstacle avoidance system with clear
texture and adequate lighting ( lux >15
Common room lights)
Downward Vision System
Velocity Range ≤ 10m/S ( 8m above ground, adequate
lighting)
1. Mobile Device Support
2. Antenna
3. Control Sticks
4. One-Click Take-o
5. Power Button & Remote Control
Power Status Indicator
6. Gimbal Reset Button
7. Record Button
8. Gimbal Pitch Dial
9. Customizable Button C2
10. Handle
11. Strap Hole
12. RTH ( Return to Home) Button
13. Aircraft Battery Level Indicator
14. Remote Control Signal Strength
Indicator
15. Micro-USB (Charge port)
16. Holder lock
17.Flight Mode Switch
18. Shutter Button
19. Gimbal Yaw Dial
20. Customizable Button C1
21. USB Data Port
The remote control can reach its maximum transmission distance (FCC
standard) in a wide open area with no electro-Magnetic interference in good
weather conditions at a height of 120m (400 feet).

4 5
Hovering Range 0.3 to 8 m
Operating Environment Ground with clear texture and adequate
lighting ( lux>15 Common room lights)
Remote Control
Operating Frequency 2.4 GHz/5.8 GHz
Max Transmission Distance 7 KM*
Operating Temperature -10℃ to 40℃
Battery 5000 mAh
Working Voltage 8.4 V
Supported Connector Port USB Data Port
Charger
Voltage 16.8 V
Rated Power 68 W
Intelligent Battery
Capacity 12000 mAh
Rated Voltage 15.2V
Battery Type LiPo 4S
Energy 182.4Wh
Net Weight Approx 1078 g
The remote control can reach its maximum transmission distance (FCC
standard) in a wide open area with no electro-magnetic interference in
good weather conditions at a height of 120m (400 feet).
Notice:
In order to avoid property loss or personal injury, please read
through the following documentation carefully before using the
drone for the rst time:
Warnings:
• It is prohibited for those who are under 18 to use this product.
• It is prohibited to use this product in heavily populated areas.
• It is prohibited to use this product in legally restricted areas.
• Please put the product out of children’s reach.
• It is prohibited to use this product when you are tired, distracted, or
under the inuence of anything that could impair judgment and control
of aircraft.
• Please y the drone in a wide open area in good weather conditions.
• All the images shown in this document are for reference only. Purchased
product may vary visually.

6 7
2. Charging the Battery
Remove the Aircraft Battery
Input voltage:
100~240V
Charging time:
12000mAh Battery
within 4 hours
Charging time:
Within 2.5 hours
1. Turning the Intelligent Battery On / O
Turning the Intelligent Battery of Aircraft On/O:
Press the power button once (without holding it down), then press
the power button and hold it for 2 seconds to turn on the aircraft's
power supply; repeat the short press once and press and hold for
another2 seconds to turn o the aircraft's power supply.
Turning the Remote Control’s Power On/O:
Press and hold the power button for 3 seconds to turn on the
remote control, and then press and hold the power button for 3
seconds to turn o the remote control. After turning on the remote
control, the power button LED light will indicate the battery level
of the remote control, and the power indicator under the remote
control will indicate the battery level of the aircraft.
②①
Indicator Lights Current Power
Level
Solid Green 40%~100%
Flashing Green 15%~40%
Solid Red 0%~15%
Low
Battery Level
High
3. Preparing the Remote Control
1) Insert the mobile device support vertically into the socket at
the top of the remote control.
Click!

8 9
②
①
1) Unfold the tripod in the
proper sequence.
2) Pull the arm to the stopped
pos-ition and unfold the
blades.
3) Remove the battery cover. 4) Insert the battery into the
aircraft ,and lock the buckle at
both ends of the battery.
2) Open the limiter and
secure the mobile device
carefully.
3) Use a USB cable to connect
the mobile device to the
remote control.
②
①
Click!
5. Preparing the Gimbal Camera
Before you mount the gimbal camera, turn o the aircraft's power supply.
The gimbal camera model shown in the gure is for illustration only.
Install the gimbal camera:
4. Preparing the Aircraft
Make sure that the tripod, arms, and blades are all in place. Check that the
arms are perpendicular with the corresponding blades (type a blade or
type b blade).
Please ensure that the battery and the body buckle are set in tightly and
seamlessly.
1. Please install the stands on the aircraft.
Click!

10 11
5. Please pull back the lock of the gimbal and press it tightly
3. Please insert a Micro SD card in the place shown on the
4. Please insert the front buckle in front of the gimbal into the hole
on the xing plate.
①
②
Click!
Control the Camera Gimbal:
The left dial of the remote control is used for the yaw operation of
the gimbal; the right dial of the remote control is used for the pitch
operation of gimbal.
2. Please remove the lens' protective cover and the gimbal

12 13
At the bottom of the camera are the shutter button, the gimbal
reset button, and the video record button; the C1 and C2 buttons
can be customized in the APP according to your needs.
Please calibrate the magnetometer when the aircraft is used
for the rst time, or the geographical area of the ight changes
greatly.
1) After turning on the remote control and the aircraft, the aircraft
will enter the self-check process and at this time will make
beeping sounds synchronously.
Calibration Method 1:
Wait for the beeping sounds to stop. Switch the remote control
"flight mode switch" several times. When the aircraft status
indicator light turns to solid yellow meaning the aircraft has
entered the magnetometer calibration mode.
7. Magnetometer Calibration
6. Prepare for Take o
Power on Remote Power on Aircraft Launch App
APP
Gimbal position reset
button
Camera button
Video Capture button

14 15
Calibration Method 2:
Wait for the beeping to stop, run the App, tap " start ", select "
- General Settings" or "Good to fly", click on the "Calibrate"
button, the Aircraft Status indicator light will then turn to solid
yellow according to the Calibration procedure instructions of the
App.
Tail light Status Description:
Magnetometer
Calibration
Status Description Head LEDs Tail LEDs
Start Calibration Yellow-ON Yellow-ON
Unmaintained
Horizontal Yellow-ON Yellow-Flashing
quickly
Horizontal
Calibration Success Yellow-ON White-Flashing
quickly
Start the Vertical
Calibration Yellow-ON White-ON
Vertical Calibration
Success Red-ON Green-ON
2) Please turn the machine
belly up and rotate the aircraft
clockwise hor-izontally.
3) Turn the nose downward
and rotate the aircraft
clockwise vertically.
The Head
Rotate the aircraft
clockwise for horizontal
calibration
Rotate the aircraft
clockwise for vertical
calibration
8. Flight
The default setting of the remote control is American mode.
The left stick controls the aircraft’s altitude and rotation, while
the right stick controls its forward, backward, left and right
movements.
Right Stick
Turn Left
Turn Right
Up
Forward
Backward
Left Right
Down
Left Stick
1) Switch the remote control
mode to "P" (GPS mode).
2) Please place the nose
outwards and maintain a safe
distance of 3 meters.
The Head

16 17
① Press the "One-Click Return Home" switch on the remote control
(or click the icon on the APP) to return the aircraft.
② Pull the control sticks down inwards to unlock the aircraft
① Press and hold the "One Click Launch" button 3S on the
remote control (or click the icon on the APP), and the
aircraft will take o to a height of 1.5 meters;
then push left stick to take o .
or
or
Landing:
② Pull the throttle lever downwards to ground the aircraft
and wait 2 seconds for the motor to stop.
3) Take o:9. Fly Safe
120M
· Please y the drone in wide-open areas with good weather and a
strong GPS signal, and always keep the drone within your sight.
· Keep the height under 120m (400 feet).
Open Areas Strong GPS Signal Keep Within Sight Height Under
120m (400
· Please do not use the product if you’re drunk, dizzy, or in other
poor conditions;
· Please do not y in crowded public areas.
· Please do not use the aircraft in places which are forbidden by
law or authoritative departments.
Information is subject to change without notice.
≥10m/s
For the safety of you and others around you and the environment,
it’s necessary to know the No Fly Zone and basic ight guidelines.
Please read the Disclaimer carefully.
After the ight is over, please turn o the aircraft and remote
control power.
Other manuals for SAGA
1
This manual suits for next models
1
Table of contents
Other GDU Drone manuals