Important Safety Instructions
WARNING—When using this
appliance, always exercise basic safety
precautions, including the following:
• Use this appliance only for its
intended purpose, as you will find described in
this guide.
• Use only powder or liquid detergents or wetting
agents recommended for use in a dishwasher.
Keep all washing detergents and wetting agents
out of reach of children, preferably in a locked
cabinet. Observe all warnings on container labels
to avoid personal injury.
• When loading items to be washed:
A. Locate sharp items so that they are not
likely to damage the door seal, and
B. Load sharp knives with the handles up
to reduce the risk of cut-type injuries.
•Do not wash plastic items unless marked
“dishwasher safe” or the equivalent. For plastic
items not so marked, check the manufacturer’s
recommendations.
•Do not touch the heating element during or
immediately after use.
•Do not operate your dishwasher unless all enclosure
panels are properly in place.
•Do not tamper with controls.
•Do not abuse, sit on, or stand on the door or dish
rack of the dishwasher.
•Close supervision is necessary if this appliance
is used by or near children. Do not allow children
to play inside, on or with this appliance or any
discarded appliance. Dispose of discarded
appliances and shipping or packing material
properly. Before discarding a dishwasher,
remove the door of the washing compartment.
Do not store or use combustible
materials, gasoline or other flammable
vapors and liquids in the vicinity of
this or any other appliance.
•Load light plastic items so they will not
become dislodged and drop to the bottom of
the dishwasher—they might come into contact
with the heating element and be damaged.
•To minimize the possibility of electric shock,
disconnect this appliance from the power supply
before attempting any maintenance. NOTE: Turning
the dishwasher off does not disconnect the appliance
from the power supply. We recommend
having a
qualified technicianservice your appliance.
• Do not attempt to repair or replace any part
of your dishwasher unless it is specifically
recommended in this guide. All other servicing
should be referred to a qualified technician.
GROUNDING INSTRUCTIONS
This dishwasher must be properly
installed and located in accordance
with the Installation Instructions
before it is used. If you did not receive
an Installation Instructions sheet with your
dishwasher, you can obtain one by calling, toll-free,
the GE Answer Center®, 800.626.2000.
•This appliance must be connected to a grounded
metal, permanent wiring system; or an equipment-
grounding conductor must be run with the circuit
conductors and connected to the equipment-
grounding terminal or lead of the appliance.
WARNING—Improper connection of
the equipment-grounding conductor
can result in a risk of electric shock.
Check with a qualified electrician or
service representative if you are in doubt whether
the appliance is properly grounded.
WARNING—HYDROGEN GAS
is produced by the chemical action
within your water heater. It can
accumulate in the water heater
and/or water pipes if hot water has not been used
for a period of two weeks or longer.
HYDROGEN GAS IS EXPLOSIVE. To prevent
the possibility of damage or injury, if you have
not used hot water for two weeks or more, or
moved into a residence in which the hot water
system may not have been used for some time,
turn on all hot water faucets and allow them to
run for several minutes before using any
electrical appliance which is connected to the hot
water system. This will allow any hydrogen gas
to escape. Also, since the gas is flammable, do not
smoke or use an open flame or appliance during
this process.
SAVE THESE
INSTRUCTIONS
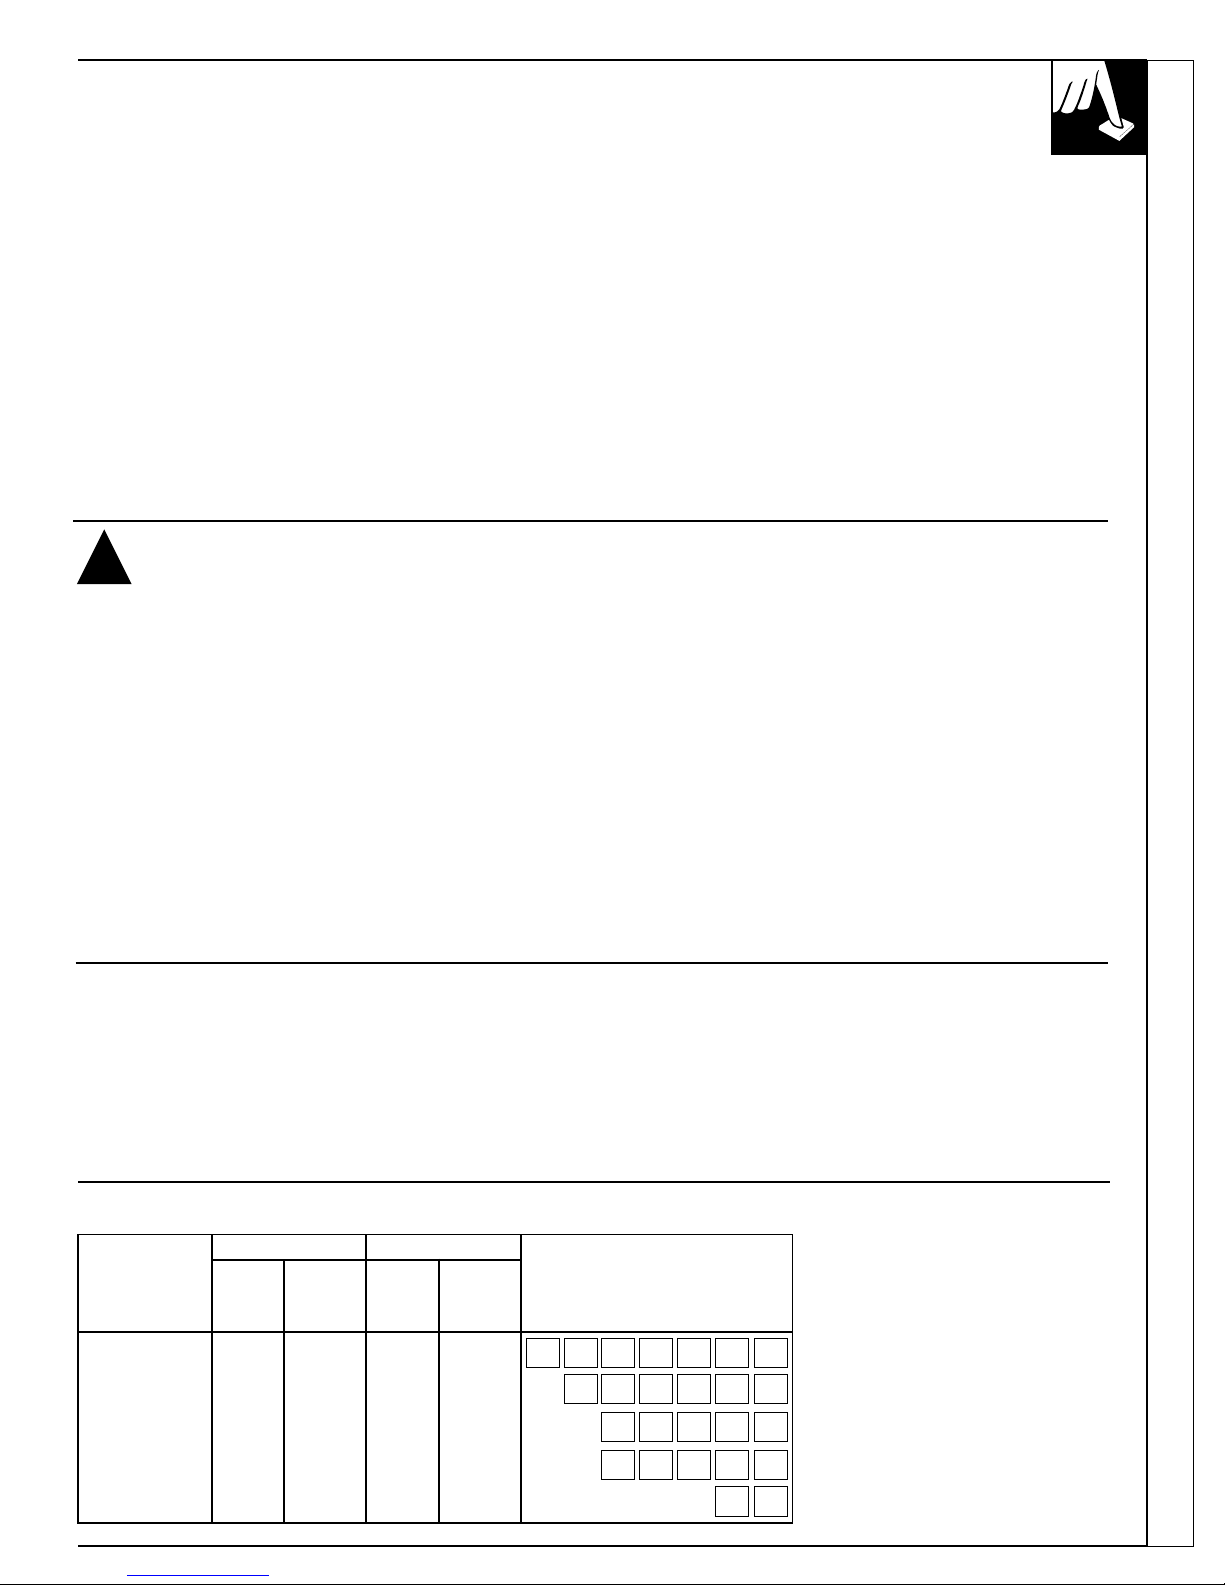
GAS
Potscrubber1125
Cycles Options
WATER
SAVER
POT-
SCRUBBERNORMAL
WASH RINSE
&HOLD HEATED
DRYENERGY
SAVER
WASHHEAT
BOOST
(NOHEATBOOST)
RINSING
OFF
START
WASHING
DELAYED
START
QuietPower
2
4
6
H
O
U
R
D
E
L
A
Y
S
DRYING
IMPORTANT SAFETY INSTRUCTIONS
Read all instructions before using this appliance.
3