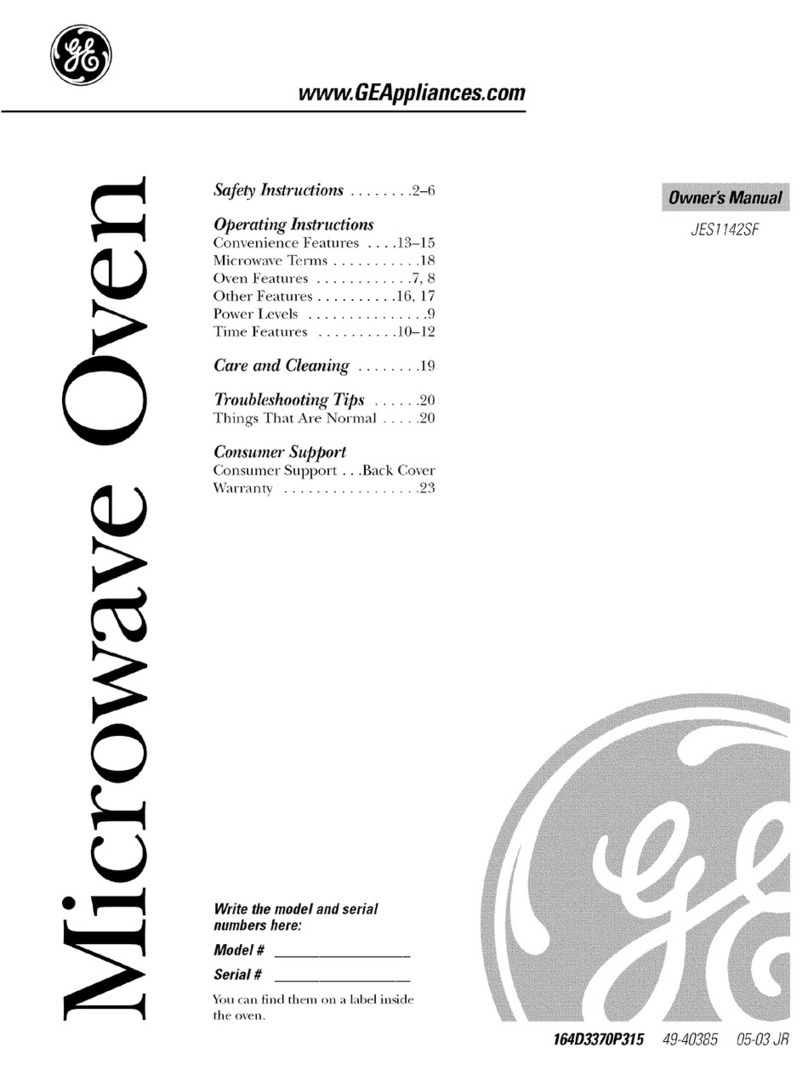
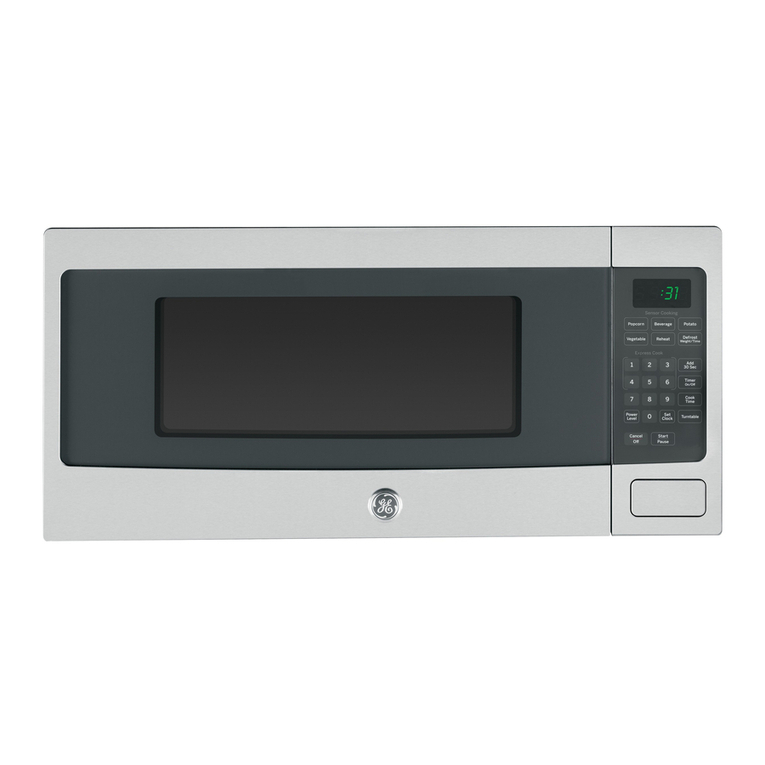
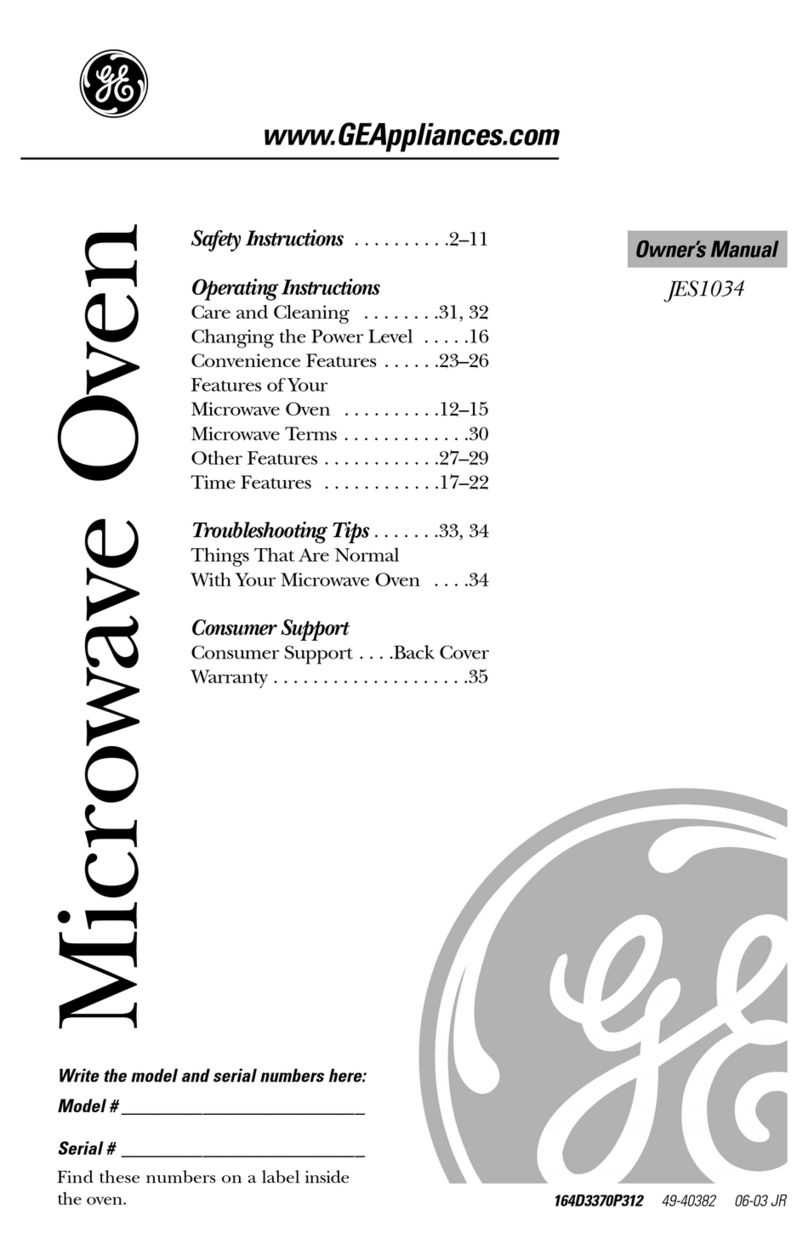
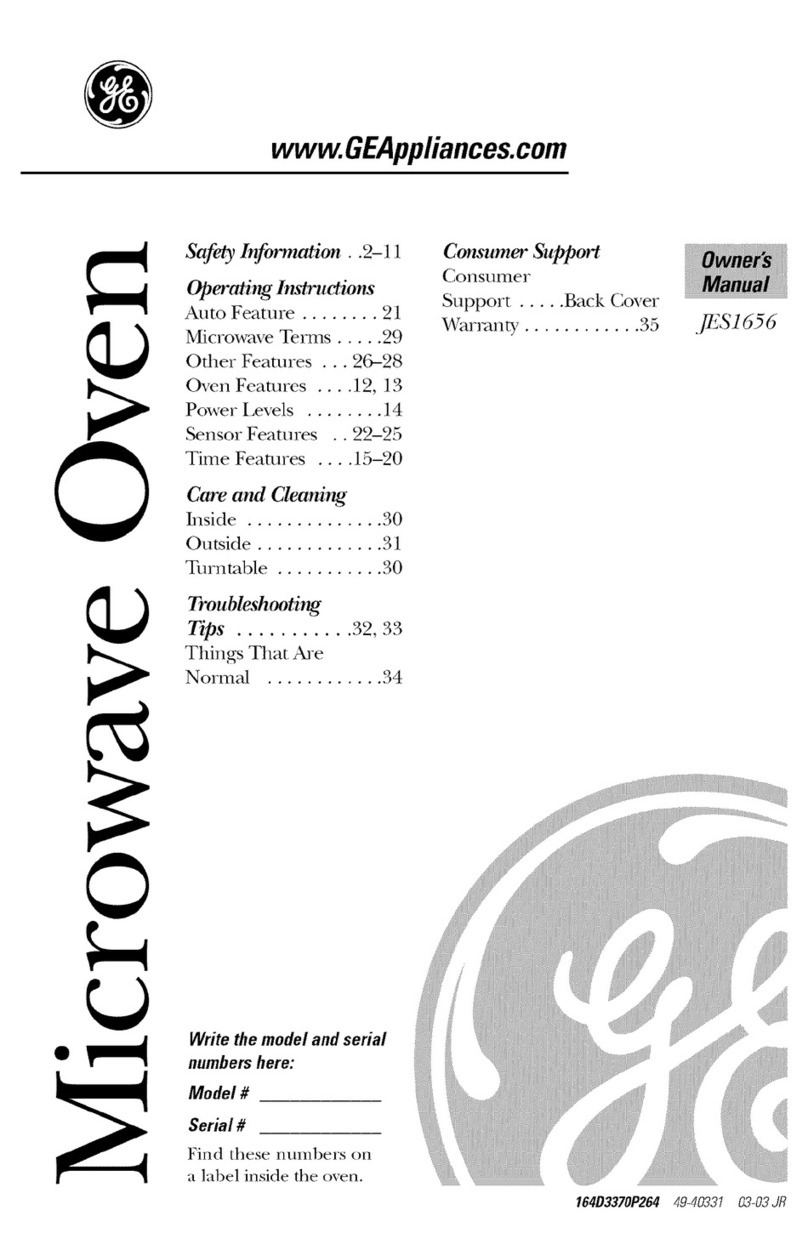
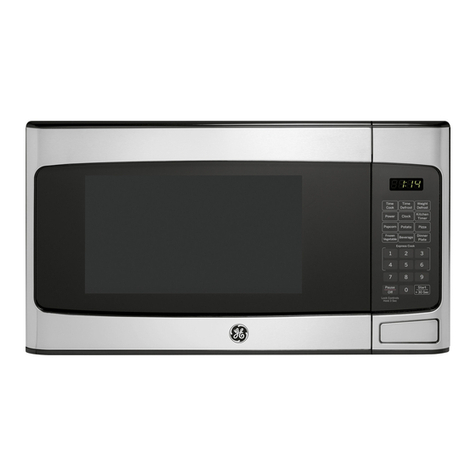
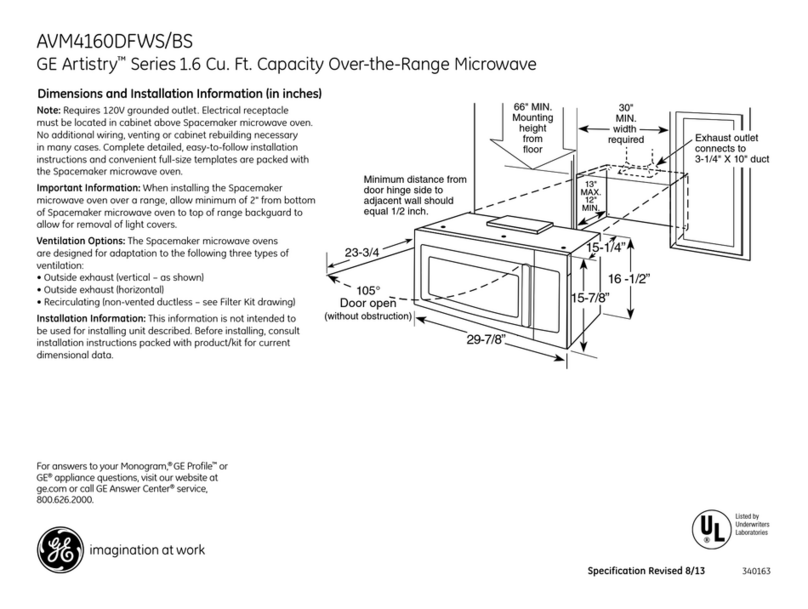
GE WES1130 User manual

ge, com
0
©
LJ
Safety Instrucd_ms .......... 2-10
Operating h_lructions
Ca,e and Cleaning ........ 31, 32
Changing the Powe_ i,evel ..... 16
Convenience Feam,es ..... 2,'3-26
Feam_es of You_
Mic,owave Oven .......... 12-15
Microwave Teuns ............. 30
Other Feam,es ............ 27-29
Time Feam,es ............ 17-22
Troubleshooting Tips ...... 33, 34
Things That Are No_mal
With You_ Microwave Oven .... 34
Com_mer Support
Consume_ Suppo_t . . .Back Cove_
Wa__anty . ................... 35
Write themodeland serial numbershere:
Model #
Serial #
Find these numbers on a label inside
the oven. DE68-O3426A
WI_2S1130
49-4056&1 02-08JR

IMPORTANTSAFETY/NFORMAT"10111.
READALLINSTRUCTIONSBEFOREUSING
WARNING!
Toreduce the risk of burns, electric shock, fire, injury
to persons, or exposure to excessive microwave energF
PRECAUTIONSTOAVOIDPOSSIBLE
since open<loot operation
can restflt in harmflfl
exposure to l//icr(_w:i;'e
ene%0_ It is impor/ant not
/o deicat or tamper with
the saic F interlocks.
Oo Not Place any ol?iect
between the oven fl'ont
t{_ce and the door or allow
soil or cleaner residue to
accumulate on sealing
Sllri{lces.
important that the o_en door
close properly and that there
is no damage to the:
do.,<l_ent),
hinges and latches
(broken or loosened),
do.,-se.ls.ndse.ling
:::::::::::::::::::::S/lrtilces,
The Oven ShouM Not
be at!lusted or repaired by
an}_)ne except properly
qualified service personnel.
SAFETYPRECAUTIONS
When using electrical appfiances basic safety
precautions should be followed, including the following:
Read m_d follow the specific Install or locate this appliance
precautions in the Precautions
toAvoid Possible Exposure to
Excessive Microwa ve Energy
section abox e,
This appliance must be
grounded. Connect only
to a properly grounded
outlet. See tile Grounding
Instructions section on page 8.
only in accor&mce with
the provided Installation
Instructions.
Be certain to place the flont
suriitce of the door three
inches or more back fl'om
tile countertop edge/o avoid
accidental tipping of the
appliance in normal usage.

_e.com
Use this appliance only for its intended purpose as described in this
Owner's Manual
This microwave oven is not approved
or tested fbr marine use.
Do not s/ore anything directly on top
of the microwave oven surthce when
the microwave oven is in ope_'afion.
Do not opeva/e this appliance if it has
a damaged power cord or plug, if it is
not working properly or if it has been
damaged or dr{_pped.
Do not cover or block any openings
on the appliance.
Use this appliance only tbr i/s
intended use as described in this
l//al-l/lal. Do not/Ise corrosive
chemicals or vapors in this appliance.
This microwmw oven is specifically
designed to heat, dWor cook food,
and is not inmnded for labovato W
or industrial use.
Do not s/ore this appliance outdoors.
Do not t_se this product near wamr--
tbr example, in a wet basement, near
a swimming pool, near a sink or in
similar locations.
Keep power cord away fl'om heated
s/Irf{tces.
Do not immerse power cord or
plug in water.
Do not let power cord hang over
edge of/able or coun/en
To reduce the risk of fire in the
oven caviw:
--Do not {_vercook tood. Careflflly
at/end appliance when paper, plasdc
or other combl_sdble materials are
placed inside the oven while cooking.
--P, emove wire twis/-ties and me/al
handles flom paper or plastic
containers before placing them in
the oven.
--Do not use the {wen tot s/o*vtge
purposes. Do not leave paper
pcoduc/s, cooking umnsils or tood
in the oven when not in ttse.
--Ifma/erials inside the oven igni/e,
keep the oven door closed, tm'n the
oven off and disconnect the power
cord, or shut off power at the fl_se or
ci,vuit breaker panel. If the door is
opened, the fire may spread.
See door surti_ce cleaning instructions
in the Care and cleaning of the
microwave even secdon of this manual.
GE does not support any servicing
of this microwave oven, except as
described by the Consmner Support
section of this manual. Do not
attempt to service the microwave oven
yoursel£ Ifse*Mce is desired, then this
appliance should be serviced only by
qualified service personnel. Contact
the nearest authorized service fhcili b
%r examination, repair or
a(!ills/n/en t.
As with any appliance, close
supervision is necessm y when
used by children.
3
IMPORTANTSAFETYINFORMATION.
READALLINSTRUCTIONSBEFOREUSING
a, WARNING!
ARCING
If you see arcing, press the CLEAR/OFFpad and correct
the problem.
Arcing is the microwm'e term
%r sparks in the oven. Arcing
is caused by:
Metal or foil t(mching t}/e
side of tile oxen.
Foil not molded to food
(upturned edges act like
antennas).
Metal, such as twist,ties,
pouhry pins or gol&rimmed
dishes, in tile microwaxe.
+;+;Recycled paper towels
containing small metal pieces
1)eing used in the microwaxe.
+7
iiiiiiiiiiiiiiiiiiiiiiiiiiiiiiiiiiiiiiiiiiiii_
FOODS
{{{iii+i;;;!
{{{iii+i;;;!
Do not pop popcorn in your
l/]icrowutve OVetl unless ill a
special microwave popcorn
accessory or unless }%)/1 use
popcorn labeled %r use in
l//ic roP_r_tve ovetls.
Some prodtmts such as
whole eggs and sealed
containers for example,
closed jars--are able to
explode and should not be
heamd in this micr(_wave
Oven. S/lch/lse of the
n/icrowave oven could
result in il_.jur,,<
Do not boil eggs in a
l/lie r(lP_r;tVe ()Veil. Pressure
will build up inside egg yolk
and will cause it/o burst,
possibly resulting in igjur,,<
{{{iii+i;;;!
Operating tile microwm'e
with no food inside for more
than a minute or t-wo may
cause damage to tile oven
and cotfld start a fire.
It increases the heat around
the magnetr(m and can
shorten tile lifb of tile oven.
Foods with unbroken outer
"skin" stmh as po/atoes, hot
dogs, sausages,/oma/oes,
apples, chicken livers and
other gible/s, and egg yolks
should be pie*red/o allow
steam/o escape during
cooking.

SUPERHEATEDWATER
Liquids,such aswater,coffee or
teaare able tobe overheated
beyond theboiling point without
appearingtobe boiling. Visible
bubbling or boiling when the
containeris removedfromthe
microwave ovenis not always
present. THISCOULDRESULT
IN VERYHOTLIQUIDS
SUDDENLYBOILING0VER
WHENTHECONTAINERIS
DISTURBEDORA SPOONOR
OTHERUTENSILISINSERTED
INTOTHELIQUID.
To reduce the risk of iqjury
to persons:
-- Do not oved]eat the liqtfid.
-- Stir the liquid both before
and halfkvay through
heating it.
-- Do not/Lse stlxdgh/-sided
containers with narrow necks.
-- After heating, allow the
container/o stand in the
l//icrOW;W_ oven _(ir a short
time bebre removing the
container.
-- Use extreme care when
inserting a spoon or other
u/ensil into the container.
_8.com
Avtlid heating baby %od in
glass jars, even with the lid oiE
Make sure all infimt food is
thortlughly cooked. Stir ibod
/o distribute the heat evenl',_
Be carefld/o prevent scalding
when warming formula. The
container m_w feel cooler
than the tormula really is.
Alwa>_s rest the formula
be%re tceding the baby.
Don't deflt istflt izen
beverages in narrow-necked
bottles (especially carbonamd
beverages). Even if the
container is opened, pressure
can build up. This can
cause the container/o bmst,
possibly resulting in iqjur_
Hot toods and s/cam can
cause burns. Be careflfl when
opening any containers of hot
food, including popcorn bags,
cooking pouches and boxes.
To prevent possible iqjur'4
direct steam aw, w fl'om hands
and fitce.
Do not twercook po|;_toes.
They could dehyd,vtm and
catch fire, causing damage
R) )'our oven.
Cook meat and poultl T
thoroughly--meat to
at least an INTERNAI,
mmpecamre of l(';()°F
and poultry to at least an
INTERNAl, temperature
of 180°E Cooking/o these
mmperatures ttsually protects
against foodborne illness.
5

iMPORTANTSAFETY/NFORMAIION.
READALLiNSTRUCTiONSBEFOREUSING
WARNING!
MICROWAVE-SAFECOOKWARE
Make sure all cookware used in
your microwave oven is sui/able
for microw, Mng. Most glass
casseroles, cooking dishes,
measuring cups, custard cups,
potte_), or china dinnerware
which does not have me/allic
trim or glaze with a metallic
sheen can be used. Some
cookware is labeled "sui/able
for microw:Mng."
If you are not sure if a dish is
microw, tve-saf_', use this lest:
Place in the oven both the
dish you are/esfing" and a
glass measuring cup filled
with 1 cup of water--set the
measuring cup either in or
next/o the dish. Microwm'e
] minu/e at high. If the dish
heals, it should not be used
%r microw_Mng.
If the dish remains cool
m3d only the water in the
cup heats, then the dish
is microwave-sate.
If you use a meat
thermome/er wi3ile cooking,
make sure it is safe %r use
in n/icrow_tve ovens.
{{{{ii_i;;;!
{{{{ii_i;;;!
{{{{ii_i;;;!
Do not use recycled paper
produc/s. Recycled paper
rowels, napkins and waxed
paper can con/ain me/al
flecks which m_gcause arcing
or ignim. Paper produc/s
con/aining nylon or nylon
filamen/s should be ax_)ided,
as they m_Walso ignim.
Some s/2vrotoam ways (like
those that meat is packaged
on) have a thin strip ofme/al
embedded in the bot/om.
When microwaved, the me/al
can burn the floor of the
oven or ignim a paper rowel.
Do not/lse the n/Jclowa_,e
to dr,,, newspapers.
Not all plastic w_'ap is suitable
_(}1"/lse Jl-I l//Jcl'owa_,e o_,ens.
Check the package tbr
proper use.
Paper rowels, waxed paper
and plastic wrap can be used
/o cover dishes in order/o
re/ain mois/ure and prevent
spattering. Be sure R) vent
plastic wrap so smam can
escape.
Cookwarc m_Wbecome hot
because of heat w, mstcrred
fi'om the heamd food. Pot
holders m_Wbe needed/o
handle the cookware.

_e.com
"Boilable" cooking pouches
and dghfly dosed plastic bags
should Lyeslit, pierced or
vented as directed by package.
If they are not, plastic could
burst during or immediately
after cooking, possibly
resulting in il_]ury. Also,
plastic storage containers
should Lyeat least partially
uncovered because they form
a tight seal. When cooking
with containers tightly
covered with plastic wrap,
remove covering carefldly
and direct s/cam aw_gfhm_
hands and time.
Use foil only as direc/ed in
this gMde. TV dinners m_Wbe
microwm'ed in foil ways less
than 3/4" high; remove the
top foil cover and return the
tlvg to the box. When ttsing
foil in the microwave oven,
keep the foil at least ]" aw_g
ibm/the sides of the oven.
Plastic cookware--Plasfic
cookware designed for
microwave cooking is ve_T
usefld, but should Lyeused
careflfil> Even microwave-sate
plastic m_Wnot Lyeas/olemnt
of overcooking conditions as
arc glass or ceramic materials
and lm Wsoften or char if
subjecmd to short periods
of overcooking. In longer
exposures to overcooking,
the food and cookware
could ignim.
Follow these guidelines."
Use ly/ic rowan, e-saf_
plastics only and
use them in strict
compliance with the
cookware n/an/tf{tctllrer's
retort/n/endations.
'i2Don,,,n icro..veen ly ;
:::::::::::::::::::::containers.
Do not permit children
to use plastic cookware
without complete
supervision.

iMPORTANTSAFETYINFORMATION.
READALLiNSTRUCTiONSBEFOREUSING
WARNING!
Improper use of the grounding plug can result in a risk of
electric shock.
GROUNDINGINSTRUCTIONS
This appliance must be grounded. In the exent of m3 electrical short
circuiL grounding reduces the risk of electric shock by providing m3
escape wire fbr the electric current.
This appliance is equil)ped with a power cord having a grounding
wire with a grounding plug. The plug must be ph_gged into m3 outlet
that is prol3erly installed m3d grounded.
Consuh a qualified electrician if the grounding instructions are not
completely understood, or if doubt exists as to whether the appliance
is properly grounded.
If the outlet is a standard E-pc( ng wall outlet, it is )our personal
responsibili b and obligation to hme it replaced with a proped)
grounded .3-prong wall, outlet.
Do not under any circumstances cut or remoxe tile third (ground)
prong flom tile power cord.
We do not recommend using an extension cord with this appliance.
If tile power cord is/oo short, have a qualified electrician install an
outlet near tile appliance. (See VVARN[NG-- EXTENSION CORDS
section.)
For best open_tion, plug this appliance into its own electrical outlet
to pre_ent flickering of lights, blowing of fl_se or tripping of circuit
breaker.

go.corn
ADAPTERPLUGS
Usagesituations where appliance'spowercordwill he disconnected
infrequently,
Because of potential salc/y
hazards under certain conditions, (Adapterp/ugsngt
westrongly recommendagainstthe perm!ttedz_ca_ad_)
use of an adapter plug, Howe_er, Align{age { (_ II
if>o.stillelectto.se prorW L. III
where local (()des permit,
be made to a properly grounded
2-prong wall receptacle 1)y the t_se of TEMPORARY and firmconnection
a UL listed adapter which is available METHOD beforeuse.
at most local hardware stores.
The larger slot in the adapter retest be aligned with the larger slot in
the wall receptacle to provide proper polafi Vin the connection of
the power cord.
CAUTION:A achingtheadaptergroundterminalto
the waft receptacle cover screw does not ground the appliance unless
the cover screw is metal,and not insulated, and the waft receptacle is
groundedthrough the house wiring.
_¢m should have the circuit checked by a qualified electrician to
make sure the receptacle is properly grounded.
When disconnecting the power cord fl'om the adapter, alway_s hold
the adapter with one hand. If this is not done, the adapter gr(mnd
terminal is vcl_ ' likely to break with repeated use. Should this
happen, DO NOT USE the appliance until a proper ground has
again been established.
Usagesituations where appliance'spowercordwill he disconnected
frequently,
Do not use an adapter plug in these situations because fl'equen t
disconnection of the power cord places undue stlxdn on the
adapter and leads to eventual fidlure of the adapter ground
terminal. \kin should have the E-prong" wall receptacle replaced
with a 3-prong (grounding) receptacle by a qualified electrician
be%re using the appliance.
9

IMPORTANTSAFETY/NFORMAT"10111.
READALLINSTRUCTIONSBEFOREUSING
Z_WARNING!
EXTENSIONCORDS
A short power supply cord is provided to reduce the risks resulting
fi'om becoming entangled in or tripping over a longer cord.
Extension cords may be used if you are careflfl in using them.
If an exmnsion cord is used--
Them.rkedelectric.1..i,_of_hee_e,_sio,_cordsho,,d1,e
at least as great as the electrical _-ating of the appliance;
'i2 Thee_,e,,sio,,cordl,,,,s,,,e._ro,,,,di,_trpe%wirecord.,,d
it must be phtgged into a %slot outlet;
Thee_,e,,sio,,cordsho.|d|,e.r_.n_edso_h._.wi||,,o,d_,,pe
over the countertop or tabletop where it can be pulled on by
chikiren or tripped over unintendonall_
If you t_sean extension cord, the interior light may flicker and the
blower sound may vary when the microwm'e oven is on. Cooking
times may be longer, too.
7O
Z_WARNING!
PACEMAKERS
All microwave ovens must meet Federal DHHS and FCC
requirements. However, the operation of some pacemakers
may be altccmd by microwaves. Cognizant of this problem,
most pacemaker mamlfitcturers have taken steps to minimize
the susceptibility of their products to exmrnal inmrDrcnce,
including microwaves. Most new pacemakers (] 982 and lamr)
are now protected fl'om n/icrow:tve interfbrcnce. Howeve*; prior
to using your microwm'e oven it is recommended that persons
with pacemakers consuh the mamflhcturer of the device for
additional infimnafion and/or their ph>ician to ensure their
pacemaker will not be affected by microwaves.

ge.com
flEAOANt2FOLLOWTHISSAFETY
INFOflMATION6AflEFULLY_
SAVETHESEINSTRUCTIONS
//

Aboutthefeaturesofyourmicrowaveoven.
Throughout this manual, features and appearance may vary from your model
11ooWatts _t
l?'
!
............................................._2

ge.com
Featuresof the Oven
0
@
@
0
0
0
DoorLatches.
Window with Metal Shield. Screen _dlows cooking to be
viewed while keeping microwaves confined in d_e o_en.
ConvenienceGuide.
Touch Control Panel Display.
Door LatchRelease. Press latch release _o open door.
Removable Turntable. Tumt,d)le and support must be
in pl_ce when using the oven. The turntable m_y be
removed fbr cleaning.
NOTE."Ratingplate,ovenvent(s)andovenlight arelocated onthe
inside walls ofthe microwave oven.
13

Aboutthefeaturesofyour microwaveoven.
Throughout this manual, features and appearance may vary from your model
Youcan microwave by time or with the convenience features.
T_ME
COOK
TIME
DEFROST
POWER ADD
LEVEL 30 SEC
_-x#ress coo_
I 2 3
POPCORN BEVERAGE REHEAT
COOK
AUTO
DEFROST
s 0 O
O
iiiiii;ii/ii!iii!iiii!iiiiii!iiiii

go.corn
CookingControls
Check the Convenience Guide before you begin,
0Time Features
Press Enter
TIMECOOK Amountof cookingtime
Pressonceortwice
TiMEDEFROST Amountof defrostingtime
ADD30SEC, Startsimmediately!
EXPRESSCOOK Startsimmediately!
POWERLEVEL Powerlevel1-10
Convenience Features
Press Enter Option
POPCORN Startsimmediately! 3.5oz.or3oz.
Pressonceortwice
BEVERAGE Startsimmediately! 8oz.,12oz.,16oz.
Pressonce,twice, or4oz.
threeorfourtimes
REHEAT Foodtype1-4 Servingsize
COOK Foodtype1-6 Servingsize
AUTODEFROST Foodweight
0
75

+iiiii;ii/ii!i+i!+iii!iiii+i!i+iii
Aboutchanging the power level.
The power level may be entered or chm_ged
immediately after entering the fca[ure time for
7TreeCook, time Defrost +,r Express Cook. The power
POWER ,;> ,. •,. • ) )
LEVEL level may el:( be clmnged during rune c( tmtd( wn.
........... _ Press TIME COOg+,r TIME DEFROST.
1 2 3 _ Enter cooking or deti"osting time.
456_Press POWERLEVEL
789 _ Select desired power level 1-10.
0:N Press STARTPAUSE.
START
PAUSE Variable power levels add flexibili b' U) microwm'e
cooking. The power levels on the microwm'e oven
can be compared u) the surii_ce units on a range.
Each power level gives you microwave energy a certain
percent of the time. Power level 7is microwave energ_,i
70% of the time. Power level 3 is energy 30% of the
time. Most cooking will be done on High(powerleve110)
which gixvs you 100% pt)_svl; Power level 10 will cook
tipster but tbod may need more f_'equent stirring,
rotating or turning over. A lower setting will cook
more exvnly and need less stirring or rotating of the
tbod. Some tbods may have better fla_+m texture or
appem_ance if one of the lower settings is used.
Use a lower power level when cooking %ods that have
a mndency 1o boil over, such as scalloped potatoes.
Rest periods (when the microwm'c enerKs cycles off)
give time for the food 1o "equalize" or w, msfcr heat to
the inside of the %od. An example of this is shown with
power level 3_the dei_'ost cycle. K microwm'e energy/
did not cycle off; the omside of the fbod would cook
1)efbre the inside was def_osmd.
Here are some examples of uses for various power levels:
High I0: Fish, bacon, vegetables, boiling liquids.
Mad-High 7." Gentle cooking of meat and poultl),;
baking casseroles and reheating.
Medium 5: Slow cooking and mnderizing fbr stows and
less tender cuts of meat.
LOW2 or3: Deii"osting; simmering; delicate sauces.
Warm I: Keeping food warm; softening butter.
16

Aboutthe time features, gooom
Time Cook
i
4
7
TIHE
COOK
Ex_res_coo_
2 3
56
8 9
0
START
PAUSE
]7me Cook I
Allows you to microwme tot m_y time up to 99 minutes
and 99 seconds.
Power level I0 (High) is automatically set, but you may
change it for more flexibility.
PressrIMEcook
_i Ell ter cookil,_" ti//le.
'(Press POWER LEVEL.Select a desired power level
1-10.)
PressSr,,RVP,,US_.
_x_mmay open the door during _me Cook to check
the tood. Close the door m_d press STARTto resume
cooking.
]7me Cook R
I.c/s you change power levels au/omafically during
cooking. Here's how/o do it:
_:PressTIMEcook
Enter the first cook time.
Change the power le_,el if you don't want fhll power.
.......................(Press POWER LEVEL.Select a desired power le_,el
1-10.)
!:_ Press TIME COOK again.
!i_ Enter the second cook time.
Change the power le_,el if you don't want fhll power.
.......................(Press POWER LEVEL.Select a desired power lexel
1-10.)
PressStARt/PAUSE
At the end of time Cook/, time CookRcoums down.
/7

iiiiii;ii/ii!{ii!iiii!i{iiii!iiiii
18
Aboutthe time features.
CookingGuide for time Cook
NOTE: Usepower level High (10)unless otherwise noted.
amo..t Time Comme.ts
Me&High (7) dish, place ]/4 cup water.
(frozen spears) lO-oz, package
Beans
(fresh green) 1 lb. cut in haft
(frozengreen) 10-oz. package
(frozenlima) lO-oz, package
Beets
(fresh, whole) 1 bunch
4 to 7 mha. In ]-<It. casserole.
10 to 15 mhl.
4 to 8 mha.
4 to 8 mha.
In 1½-<it. casserole, place
]/2 cup water
In ]-<it. casserole, place
2 tablespoons water
In l-<it, casserole, place
]/4 cup water
16 to 22 rain. In 2-<it. casserole, place
]/2 cup water.
Broccoli
fresh cut) 1 bunch 5 to 9 mh_.
(PA to 11½lbs.)
(freShspears) 1 bunch 7 to 11 rain.
(PA to PA lbs.)
(frozen, 10-oz. package 4 to 7 rain.
chopped)
(frozen spears) lO-oz, package 4 to 7 nlfin.
Cabbage
(fresh) mediumhead 6to lOmin.
(about 2 lbs.)
(we@es) 5 to 9mha.
Carrots
(fresh, sliced) 1lb.
(frozen) 10-oz. package
Cauliflower
(flowerets) 1 medium head
(fresh, whole)1 medium bead
(frozen) 10-oz. package
In 2-<it. casserole, place
]/2 cup water.
In 2-<it. oblong glass baldng dish,
place 1/4 cup water.
In ] -<it. casserole.
In 1-<1t. casserole, place
3 tablespoons water.
In 1½-or 2-<it.c_tsserole, place
]/4 cup water.
In 2-or ?_lt. casserole, place
]/4 cup water.
4 to 8 rain.
3 to 7 rain.
In 1½-<lt.casserole, plume
]/4 cup water
In ]-<it. casserole, place
2tablespoons water
7 to 11 rain.
7 to 15 rain.
3 to 7 rain.
In 2-<it. casserole, place
]/2 cup water.
In 2-<it. casserole, place
]/2 cup water.
In ]-<it. casserole, place
2tablespoons water

ge.com
Amount Time Comments
(frozen kernel)1e-oz, package 2to 6 rain. In I<it. casserole, place
2 tablespo(ms water.
Corn on thecob
(fresh) 1to 5 ears 15/4 to 4 rain.
per ear
(frozen) 1 ear 3 to 6 rain.
2to 6ears 2to 3 rain.
per ear
In 2<it. glass baking dish, place
corn. ff corn is in husk, use no
water; if corn has been husked,
add 1/4 cup water. Rearrange
atter half of time.
Place in 2<it. oblong glass
baking dish. Cover with venmd
plastic wrap. Rearrange after
half of time.
Mixed
vegetables
(frozen) I 0-oz. package 2 to 6 rain. In I<it. casserole, place
3 tal)lespo(ms water.
Peas
(fresh, shelled) 2 Ibs. unshelled 7 to 10 rain.
(frozen) lO-oz, package 2 to 6 rain.
Potatoes
(fresh, cubed, 4 potatoes
white) (6 to 8 oz. each) 9to 12 rain.
2 to 4 rain.
(fresh,whole, 1 (6 to 8 oz.)
sweet or white)
In 1<it. casserole, place
1/4 cup water:
In 1<it. casserole, place
2 tablespoons water.
Peel and cut into l-inch cubes.
Place in 2<it. casserole with 1/2
cup wamr. Stir after half of time.
Pierce with cooking tork. Place
in center of the (wen. Let stand
5 minutes.
Spi.aeb
(fresh) 10 to 16 oz. 3 to 6 rain.
(frozen, chopped 10-oz. package 3 to 6 rain.
and leaf)
(fresh,summer 1 lb. sliced 3 to 5 rain.
and yellow)
(winter, acorn 1 or 2squash 5 to 9 rain.
(about 1 lb. each)
In 2<it. casserole, place washed
spinach.
In 1<it. casserole, place
3 tablespoons wamr.
In 1½<it. casserole, place 1/4
Clip W;del:
Cut in half and remove fibrous
membranes. In 2<it. oblong
glass baking dish, place squash
cut-side<town. Turn cut-side-up
after 4 minutes.
19

Aboutthe time features.
1
4
7
TIME
DEFROST
e_r_ cooJ
2 3
5 6
8 9
0
START
PAUSE
TimeDefrost
Allows you to defi'ost tbr a selected length of time.
See the Defrosting Guide forsuggested times.
Press TIME BEFROST
_i Enter defl'osting time.
PressSrARVPmSe.
r
Power level is au/omatically set at 3, but can be changed.
\ira can defl'ost small imms quickly by raising the power
level after entering the time. Power level 7cms the/o/al
deflosfing time in about half:, power level I0 cms the
to/al time to approximamly 1/3. However, food will
need more Dequent attention than usual.
A dull thumping noise may be heard dudng deflosting.
This is normal when oven is not operating at Highpower.
2O
Oe_s_gBps
{{{iii_i;;;!
Foods flozen in paper or plastic can be defl'os/ed in
the package. Closed packages should be slit, pierced
or vented AFTER tood has partially defl'os/ed. Plastic
s/orage containers should be partially uncovered.
Family-size, prepackaged flozen dinners can be
deflosted m_d microwmed. If the food is in a foil
container, to,rosier it to a microwave-safe dish.
Foods that spoil easily should not be allowed to sit
out for more than one hour after deflosting. Room
temperature l)romotes the growth of harmfi_l
bacteria.
{{{iii_i;;;!
For more exen deflosting of larger toods, such as
roasts, use _oto Oefrost Be sure large meats are
completely deflosted 1)efore cooking.
_\]_en defl'osted, tbod should be cool but softened
in all areas. If still slightly ic,,, return to the microwave
very 1)deft}, or let it stand a few minutes.
Other manuals for WES1130
2
Table of contents
Other GE Microwave Oven manuals

GE
GE JEM31 User manual

GE
GE JEM31 User manual

GE
GE JE1034T User manual

GE
GE CVM517P2RS1 User manual

GE
GE Spacemaker CVM2072 User manual

GE
GE JEM31BF - Spacemaker II Microwave Oven User manual

GE
GE PEB7226EH1ES User manual

GE
GE JE89 Installation instructions

GE
GE Spacemaker JNM1541SMSS User manual

GE
GE PVM9225 User manual

GE
GE Spacemaker JVM1650BH User instructions

GE
GE Spacemaker 49-4492 User manual

GE
GE JE1465K User manual

GE
GE JHP69GJ User manual

GE
GE Spacemaker 164D2966P142 User manual

GE
GE JE43 Installation instructions

GE
GE JES1034WF001 User manual

GE
GE PVM2188 User manual

GE
GE JE47A User manual

GE
GE Spacemaker PVM2070 User manual