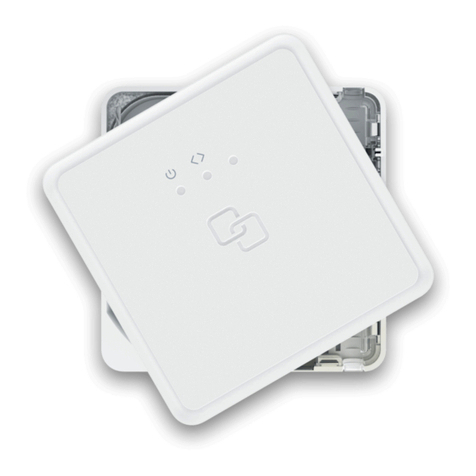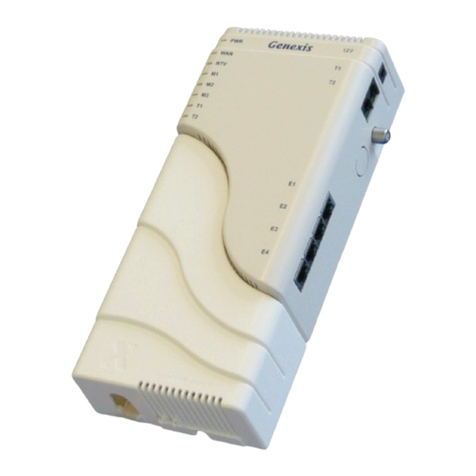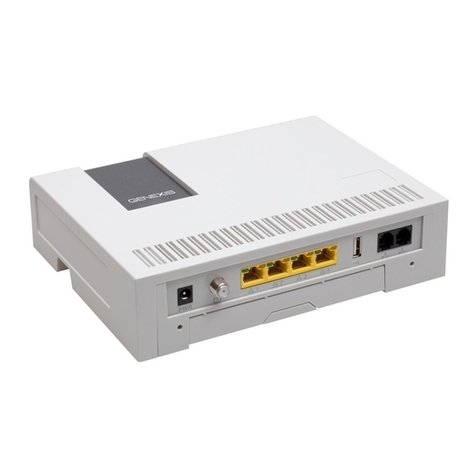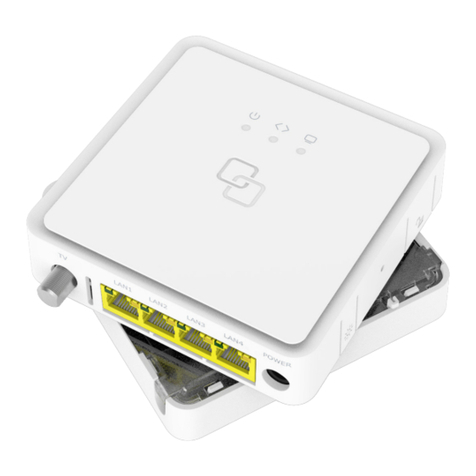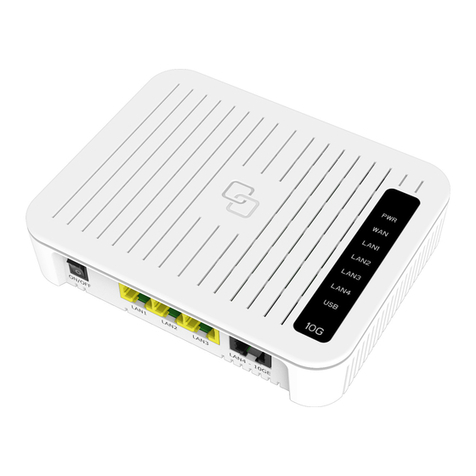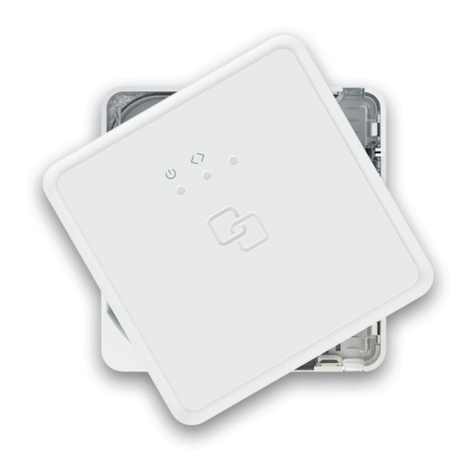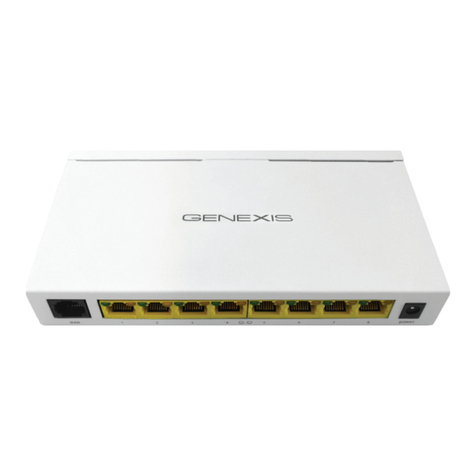
Pure ED500 can be connected to an Ethernet based broadband network
through WAN interfaces DSL (grey) and Ethernet WAN (red).
Getting started
Check if the following items are in
the giftbox:
• Genexis Pure ED500
• Power adapter
• RJ45 Network cable (red, large connector)
• RJ11 DSL cable (grey, small connector)
• Vertical stand
• Labels (self-adhesive, 2x)
• Rubber feet (self-adhesive, 4x)
• Plugs & screws (2x)
Placement
Pure supports two placement options;
standing and mounted to a wall. It is
recommended to place the device ‘away’
from obstacles and objects.
Standing
1.Attach the four rubber feet to the
bottomside of the vertical stand.
2. Slide the vertical stand onto the bottom
of the Pure ED500.
3. Place the device on a flat surface.
Wall mount
1.Download and print the drilling guide from
https://genexis.eu/download-portal/#pure
2. Use the drilling guide to drill the holes,
insert plugs and put screws into place.
3. Use the wall mount points on the back of
the Pure ED500 to mount the device to
the screws.
Warning: do not cover the device with
anything, this will interfere with the
ventilation of the Pure.
Operation Temperature 0°C ~ 40°C
Multiple languages of this document and additional product information are availableon
https://genexis.eu/download-portal/#pure
Installation guide
Setting up the Pure
1.Connect a RJ45 network cable between
your broadband outlet and the Pure
ED500 WAN port (WAN). Or connect the
grey RJ11 telephone cable to the DSL port
(DSL) if you use xDSL.
2. Plug the DC adapter into an electrical
socket and connect it to ”POWER” at the
back of the Pure ED500.
3. Press the power button at the back of the
Pure ED500 to turn on the device.
4. The colored LEDs on the Pure ED500
panel will start blinking. Please wait for 2
minutes for this process to complete.
5. If the device is connected properly, the
Status, Uplink and Internet LEDs will have
a fixed green color.
Connecting the Wireless Local Area
Network (WLAN)
Pure supports two ways to create a wireless
connection with your personal devices; via
WPS or manually. For personal devices that
support WPS, this will be the easiest method.
WPS
1.Make sure the WiFi icon on the front panel
is lit. If not, press the Mode button for 10
seconds until it gets lit.
2. Press and hold the Mode button for 3
seconds. The WiFi indicator LED will
start flashing.
3. Follow the instructions of your personal
device to complete the connection process.
Manual setup
1.Make sure the WiFi icon on the front panel
is lit. If not, press the Mode button for 10
seconds until it gets lit.
2. Perform a search for available wireless
networks using the personal device i.e.
laptop or mobile device.
3. Compare the list of wireless networks with
the network name which is shown on the
Pure ED500 label.
4. Connect by clicking on the corresponding
network name and provide the password,
which is shown on the Pure ED500 label
called “WiFi-Key”.
Power saving options
Power saving options are available via the
web interface. For more information please
visit http://router
