Genicom Co., Ltd. 2018-rev.1-SA.HAN
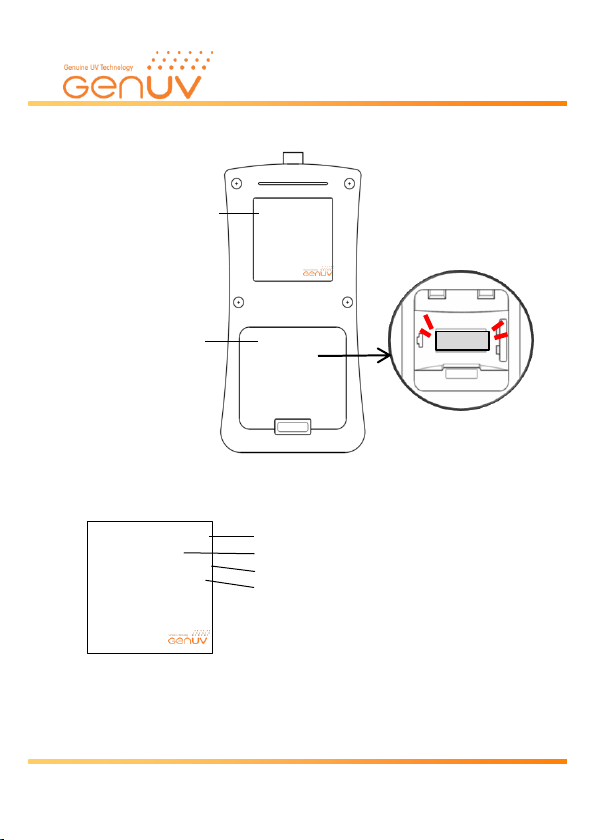
①Product Information Sticker
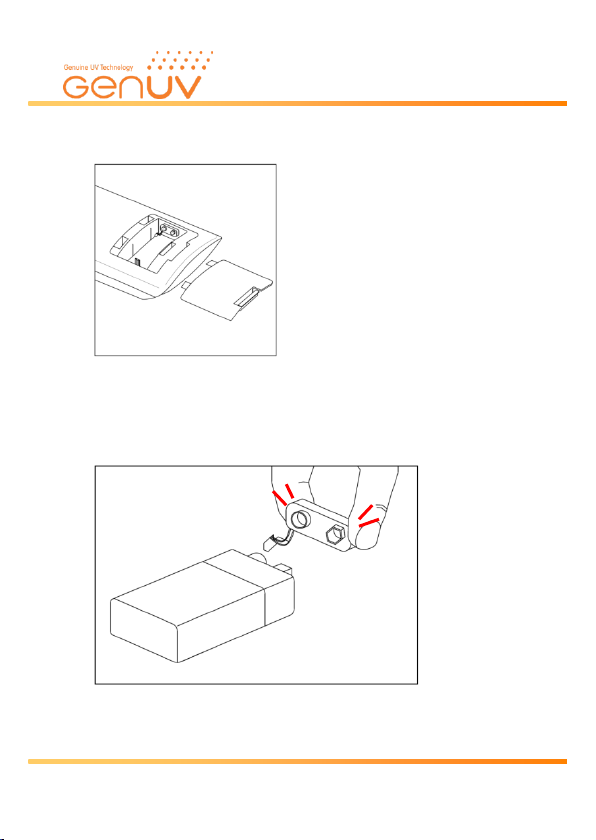
②Battery Cover
This is a 9V battery cover.
Open the battery cover to insert and replace the battery.
③Inside of Battery Cover
Serial number can be checked inside of battery cover.
[UV Radiometer 7.1 back side]
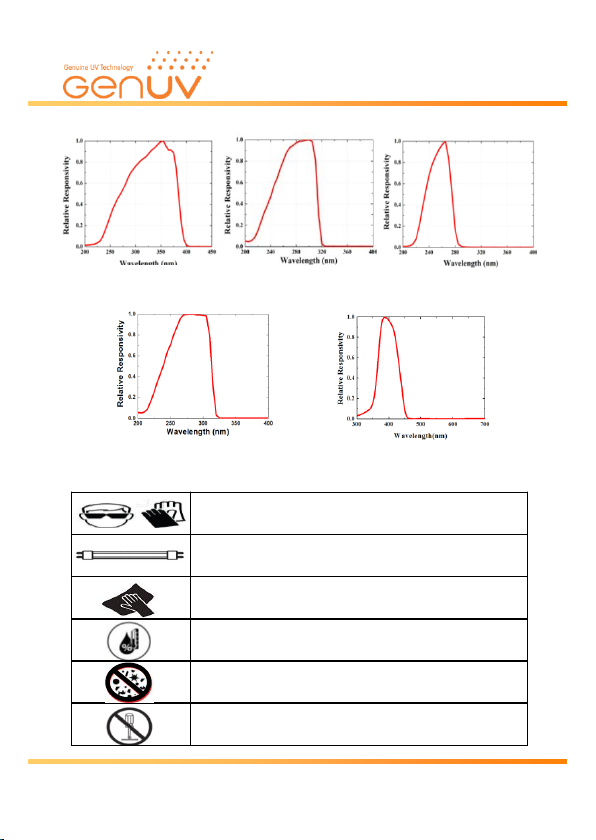
Model name
Product name
Wavelength measuring range
①Product Information Sticker
②Battery Cover
Model No. : GUVX-T1XS7.1-L
Type : UV Index Meter
Detection Range : XXX-XXX nm
Power Range : 0~100.0 ㎽/㎠
NIST Traceable
Made in KOREA by
Genicom Co., Ltd.
www.geni-uv.com
Light power measuring range
Model No. : GUVX- T1XS7.1 -L
Type : UV Index Meter
Detection Range : XXX-XXX nm
Power Range : 0~100.0 mW/㎠
NIST Traceable
Made in KOREA by
Genicom Co., Ltd.
www.geni-uv.com
4-2) Back side
S7.1-001
③Inside of Battery Cover
Page 7