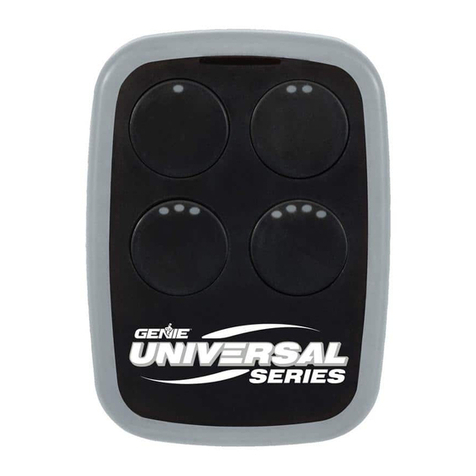
NO SE DEBE UTILIZAR CON NINGÚN ABREPUERTAS DE GARAJE FABRICADO ANTES DE 1993. LOS
DETECTORES DE SEGURIDAD (FOTOCÉLULAS) DEBEN ESTAR INSTALADOS Y OPERACIONALES.
COSAS QUE SE DEBEN SABER ANTES DE COMENZAR:
- El abrepuertas de garaje puede funcionar durante la programación. Es importante cerciorarse
de que no haya gente ni ninguna obstrucción en la abertura de la puerta del garaje.
- No oprima el botón de aprendizaje LEARN por más de los 2-3 segundos indicados, ya que eso puede hacer que ya
no funcionen sus controles remotos y teclados presentes y operacionales.
Abajo están las marcas y especicaciones con las cuales este control remoto es compatible y los métodos
disponibles que se pueden utilizar para programarlos. Consulte el Cuadro A para determinar la compatibilidad y el
método, luego continúe con el PASO 1.
NOTA: Durante la programación, el abridor de la puerta del garaje funcionará.
Asegúrese de que la abertura de la puerta del garaje esté libre de personal o cualquier
obstrucción.
CUADRO A
INSTRUCCIONES
REMOTAS UNIVERSALES
Genie® e Intellicode® son marcas registradas de The Genie Company. Todo otro nombre y marca indicadas son propiedad
de sus propietarios respectivos.
Para examinar estas instrucciones del interruptor DIP, visite www.geniecompany.com*
¡ADVERTENCIA!
LA PUERTA EN MOVIMIENTO PUEDE OCASIONAR LESIONES GRAVES O LA MUERTE.
•NO instale el transmisor (teclado) a menos que el dispositivo de seguridad del operador de la
puerta funcione como es requerido por el manual del operador de la puerta.
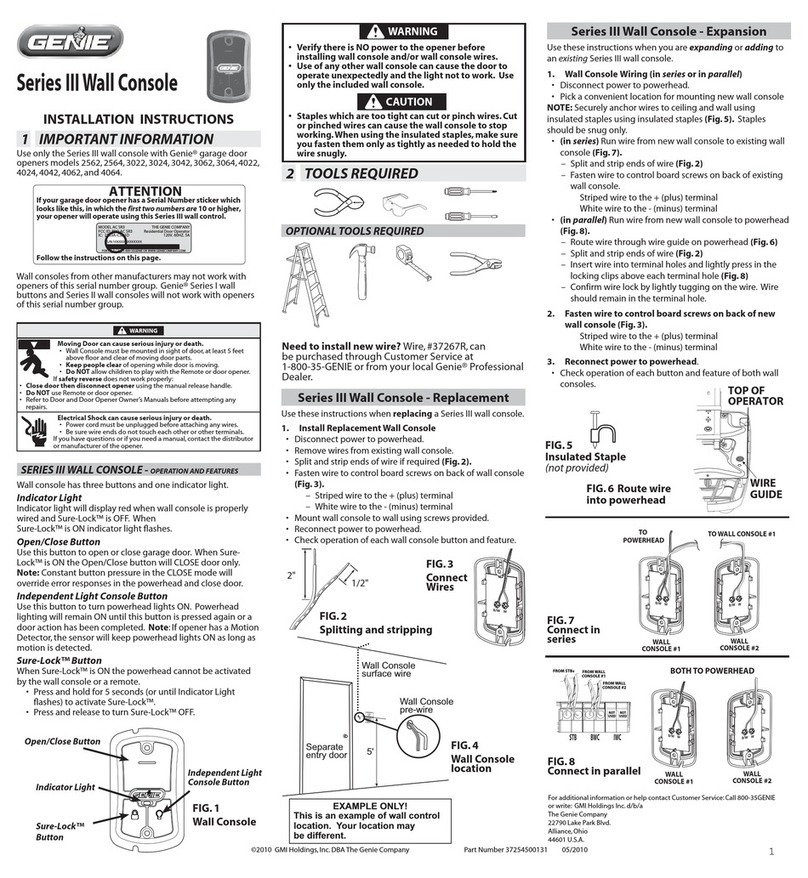
•La Consola de Pared debe ser montada a la vista de la puerta, por lo menos 5 pies arriba del piso y
alejada de las partes en movimiento de la puerta.
•Evite que las personas se acerquen mientras la puerta está en movimiento.
•NO permita que los niños jueguen con el transmisor o el operador de la puerta.
•Si la función inversa de seguridad no funciona correctamente:
•Cierre la puerta y después desconecte el abridor utilizando la manija de liberación manual.
•NO utilice el transmisor o el operador de la puerta.
•Consulte los Manuales del Propietario de la Puerta y del Abridor de la Puerta antes de intentar
cualquier reparación.
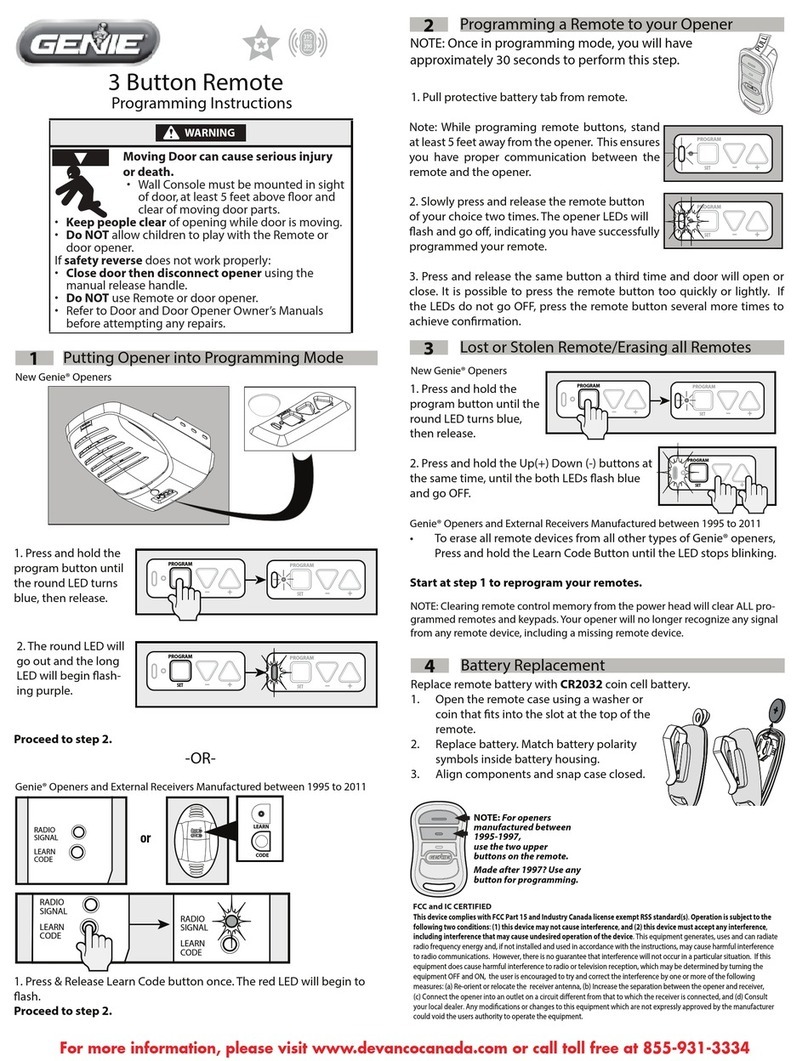
PASO 1 - ENCUENTRE LAS ESPECIFICACIONES Y EL BOTÓN DE APRENDIZAJE
1. Ubique la marca y las especicaciones del abrepuertas/receptor para su aparato consultando la
etiqueta en el abrepuertas/receptor, el manual de instrucciones, los controles remotos actuales
para el abrepuertas o el fabricante original del abrepuertas/receptor.
2. Encuentre el botón de aprendizaje/programación LEARN/PROG en su aparato - el formato, color
y nombre de este botón puede variar según la marca. Para abrepuertas de garaje, no deje de
chequear debajo de las tapas de las luces. Para abrepuertas comerciales o de portones, este botón
puede estar en el tablero de circuitos del abrepuertas. En ciertos casos, este botón también podría
estar en un receptor externo montado sobre o cerca del producto. Consulte el manual de los
aparatos si es necesario.
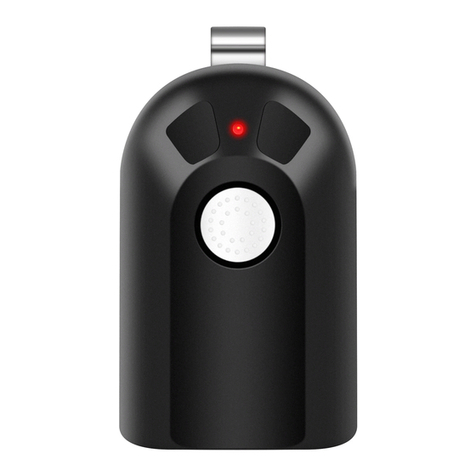
Lengüeta de activación: Tire de la lengüeta para activar el
control remoto.
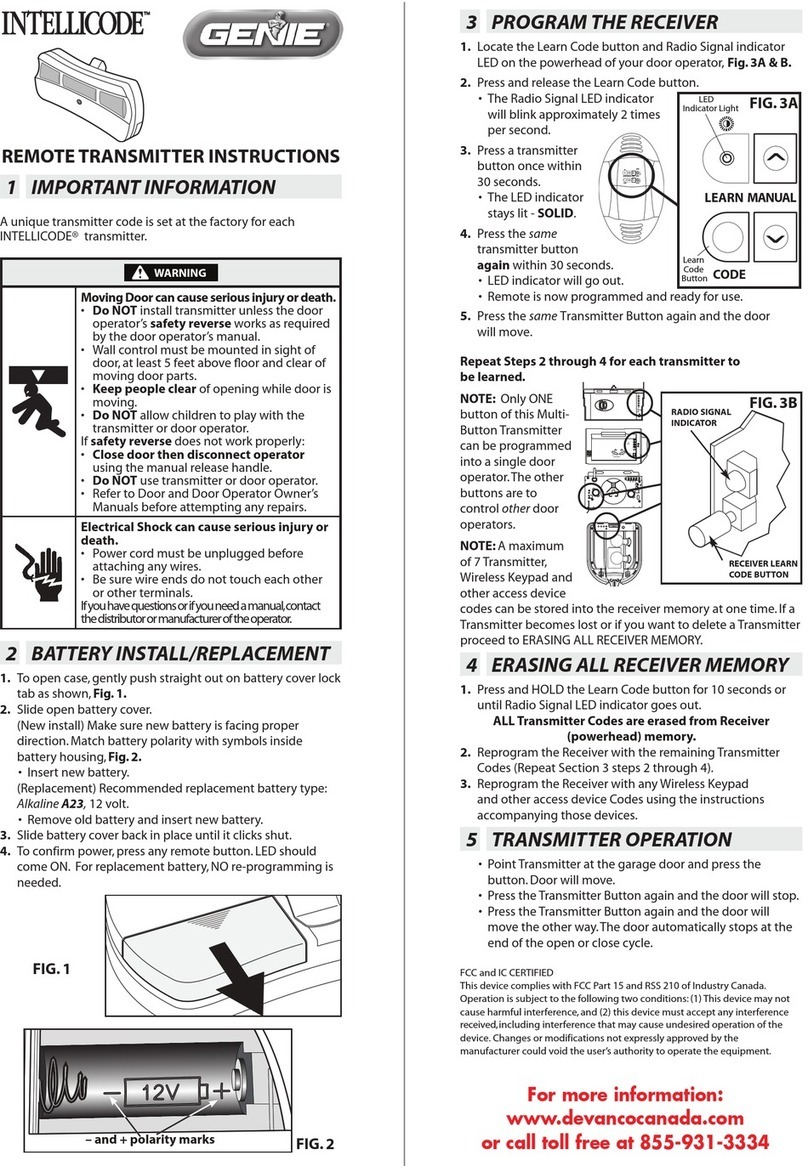
PASO 2 - ACTIVE LA CONFIGURACIÓN Y EL LED DEL
CONTROL REMOTO/BOTÓN
LED - El LED se iluminará cada vez que se oprima el
botón y también se iluminará cuando se oprima el botón
durante modos de programación diferentes.
1 2
3 4
FIG. 1
PRGM
SET
RADIO
SIGNAL
LEARN
CODE
CODE
LEARN
Receivers
EJEMPLOS:
*Para los abrepuertas Marantec®, consulte el manual del operador para programar controles remotos
al cabezal de operación.
RECEPTORES DE
COMPUERTAS
PASO 3 - PROGRAMACIÓN DEL CONTROL REMOTO
Revise el Cuadro A para encontrar sus especicaciones y las opciones de programación disponibles. Cada botón
se puede programar individualmente para operar 4 marcas diferentes de abrepuertas de garaje y receptores de
compuertas.
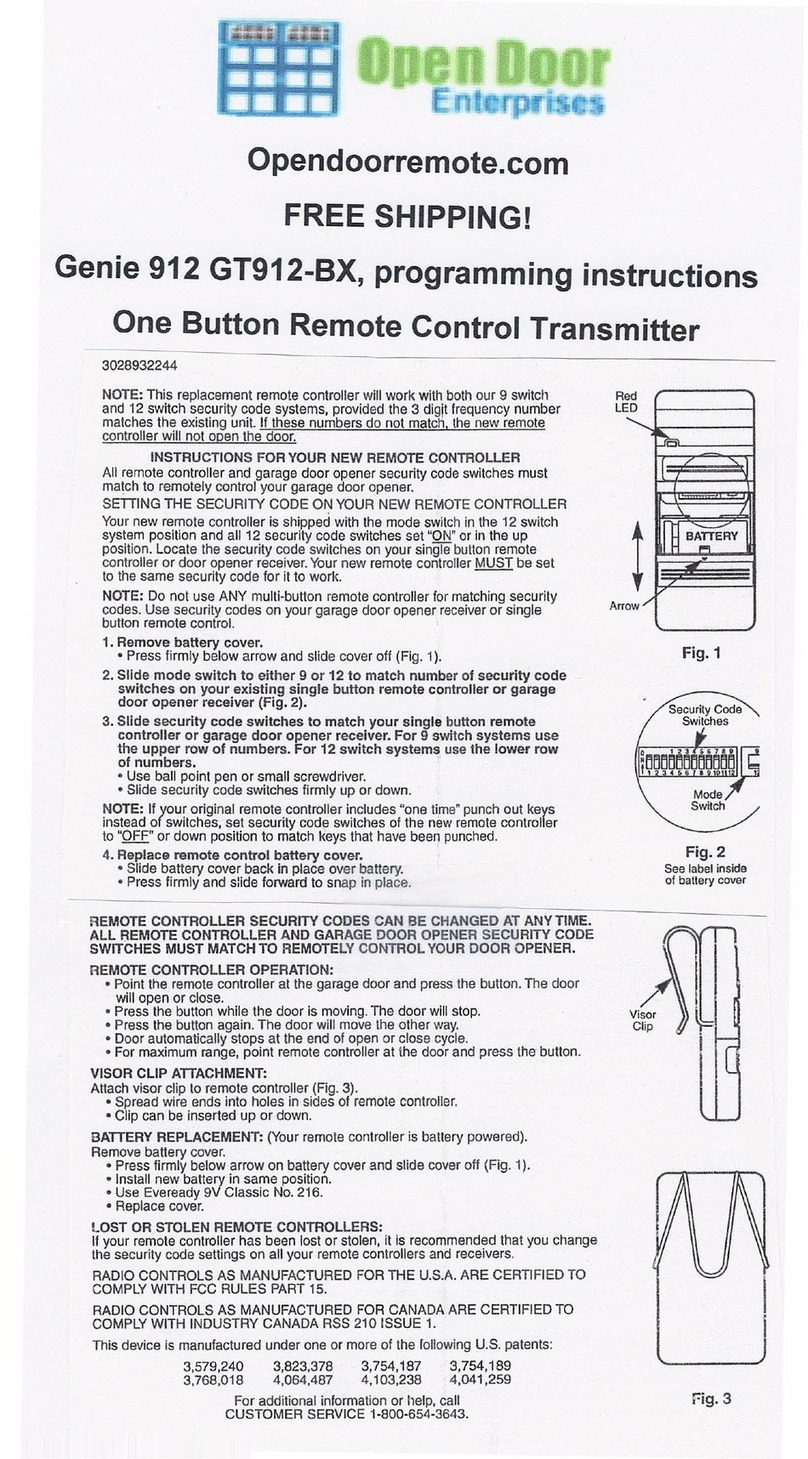
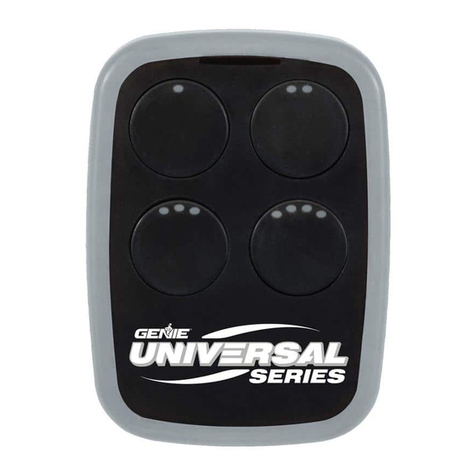
1. En el control remoto universal, oprima y mantenga oprimido el botón No. 1
2. Mientras continúa oprimiendo el botón No. 1, oprima el botón No. 2 en el control remoto universal cuatro
veces.
3. Suelte ambos botones - el LED BLANCO comenzará a parpadear lentamente.
4. Coloque el control remoto presente operacional y el control remoto universal a 4”(10.16 cm) de distancia entre
sí.
5. Mantenga oprimido el botón operacional del control remoto original. No lo suelte hasta que el parpadeo del
nuevo control remoto universal cambie de destellos BLANCOS lentos a destellos AZULES rápidos. Tendrá 20
segundos para completar la tarea.
SUGERENCIA: Si el control universal remoto no reconoce la transmisión, pruebe diferentes distancias entre 0”-4”
(0 - 10.16 cm) del lado del control remoto universal más cercano a los botones números 1 y 3.
6. Cuando el LED AZUL del control remoto universal esté parpadeando rápidamente, oprima el botón de su
elección en el control remoto universal UNA VEZ lenta y deliberadamente. La luz del LED AZUL se volverá rme
y se apagará.
7. En el abrepuertas, oprima el botón de APRENDIZAJE/PROGRAMACIÓN por 2-3 segundos y luego suéltelo.
8. Oprima y suelte el botón que acaba de programar una vez cada 2 segundos hasta que el abrepuertas de garaje
funcione. Haga una prueba con el botón.
9. Se ha completado la programación.
SUGERENCIA: Permita que la luz LED en el transmisor universal deje de parpadear antes de la próxima pulsación
del botón.
MÉTODO DE APRENDIZAJE (RECOMENDADO)
1. Encuentre y recuerde la cantidad requerida de pulsaciones del botón (ID#) en la columna de MÉTODO DE
APRENDIZAJE próxB6:B13ima a sus marcas/especicaciones en el Cuadro A.
IMPORTANTE: Para el Botón de aprendizaje amarillo ID No.4 Chamberlain®/LiftMaster®/Craftsman® SOLAMENTE -
pase inmediatamente a las instrucciones a la derecha. Para todos los otros números de ID, continúe abajo.
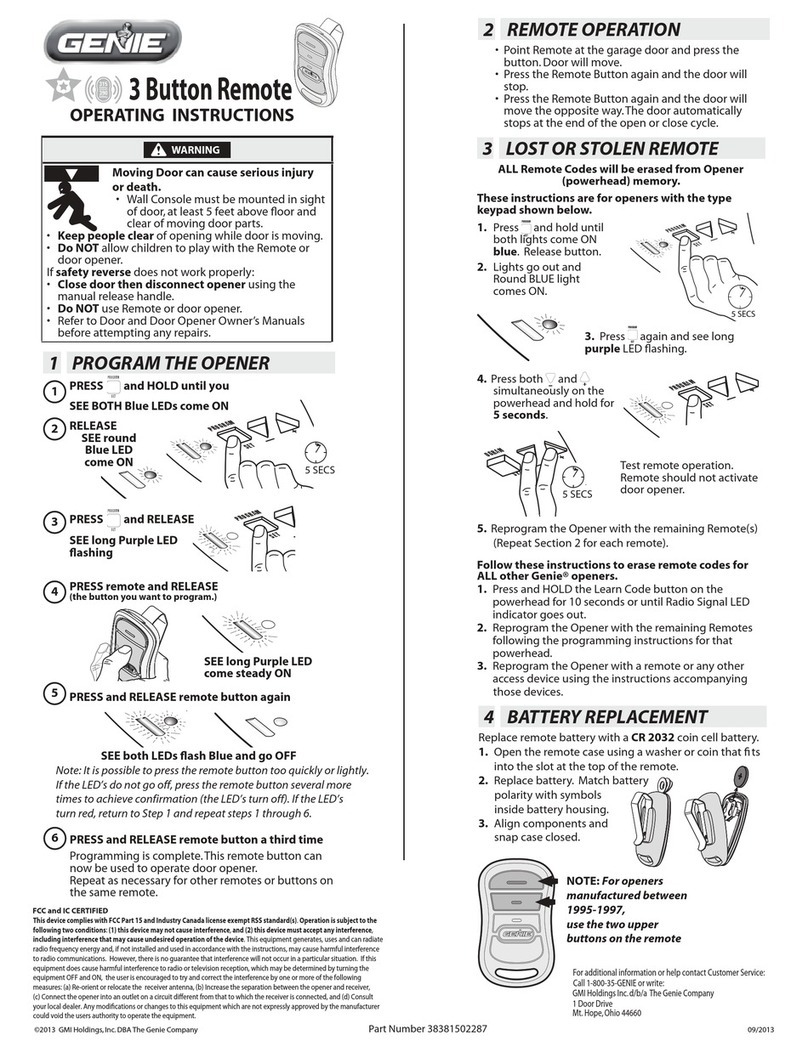
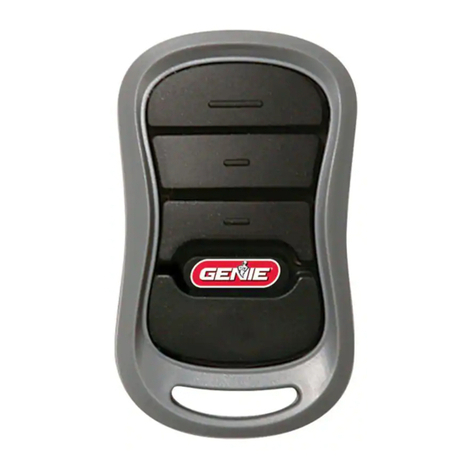
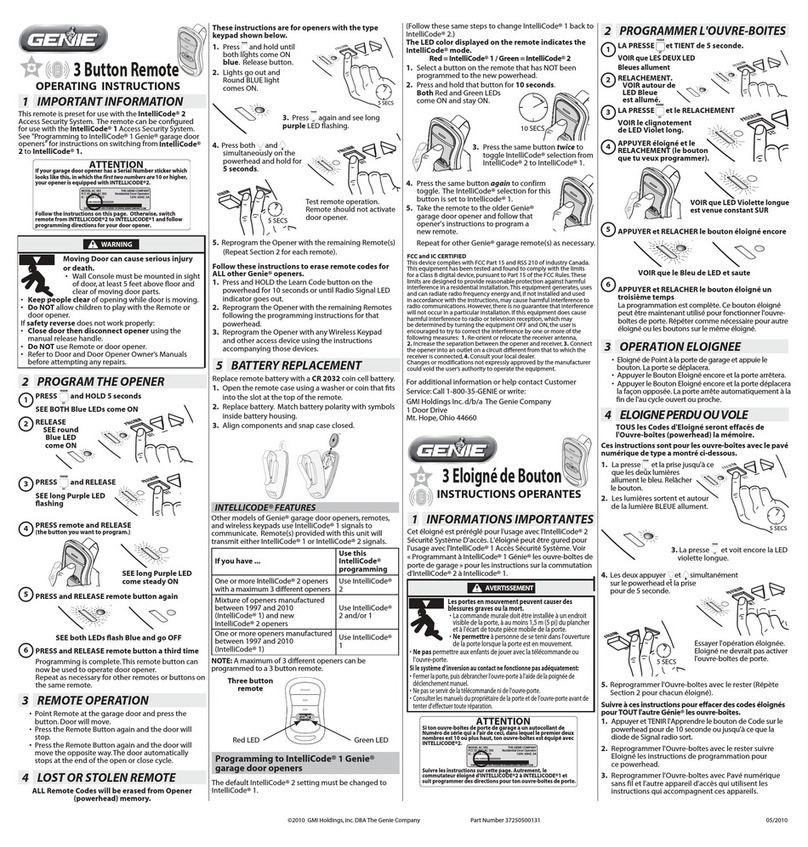
2. En el control remoto, oprima y mantenga oprimido el botón No. 2. (Referencia FIG. 1)
3. Mientras continúa oprimiendo el botón No. 2, oprima el botón No. 4 en el control remoto cuatro veces.
4. Suelte ambos botones - el LED AZUL comenzará a parpadear.
5. En el control remoto, oprima el botón de su elección tantas veces como se requiera en base al Paso 1. Tendrá 15
segundos para completar esta tarea.
6. Espere el resto de los 15 segundos - el LED AZUL dará un parpadeo largo y se apagará.
7. En el abrepuertas, oprima el botón de APRENDIZAJE/PROGRAMACIÓN por 2-3 segundos y luego suéltelo.
8. Oprima y suelte el botón que acaba de programar una vez cada 2 segundos hasta que el abrepuertas de garaje
funcione. Haga una prueba con el botón
9. Se ha completado la programación.
SUGERENCIA: Permita que la luz LED en el transmisor universal deje de parpadear antes de la próxima pulsación
del botón.
PIEZAS
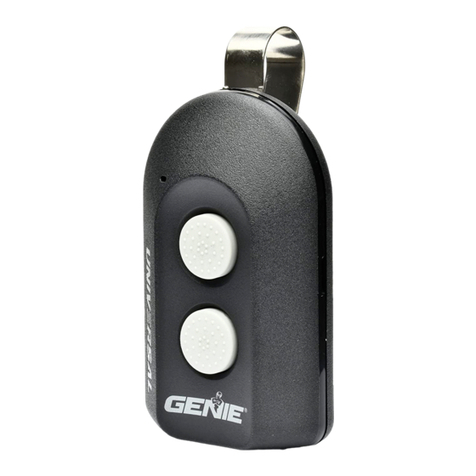
Clip para la
visera
Sujetador
para la visera
Llavero
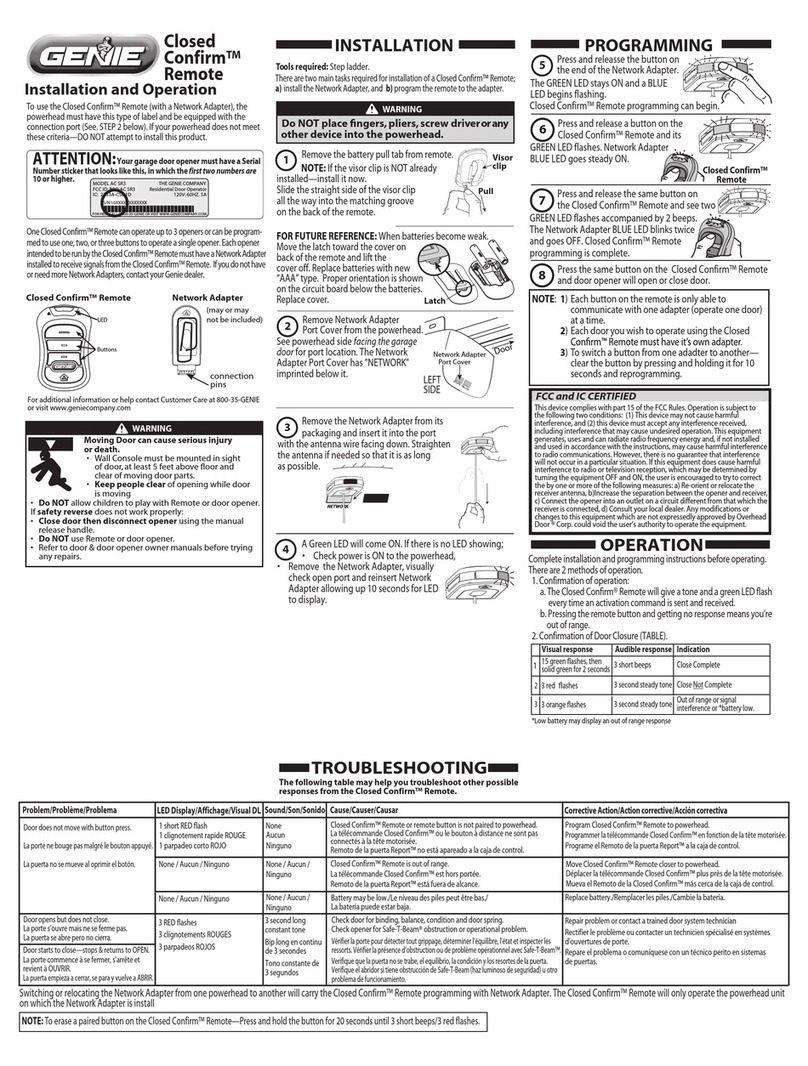
Cambio de pila:
Retire el pequeño tornillo
posterior con cabeza en cruz.
Abra el compartimiento
empujando con una moneda
pequeña o un destornillador.
Cambie la pila por una pila tipo
moneda CR2032.
ASISTENCIA DE PROGRAMACION:
Si el abrepuertas no se activa después de haber completado los pasos que se ilustran,
repítalos o contáctese con el departamento de Atención al Cliente, a través del
chat por internet (www.geniecompany.com) o por teléfono, al 1-800-354-3643 para
obtener ayuda con la programación. También puede escanear este código QR para
obtener información adicional y enlaces.
For Patent Information: www.geniecompany.com/patents,
©2020 The Genie Company
Declaración FCC Parte 15.21:
Los cambios o modicaciones que no estén aprobados expresamente por la parte responsable del
cumplimiento podrían anular la autoridad del usuario para operar el equipo.
Declaración FCC / IC:
Este dispositivo cumple con las normas de la Parte 15 de FCC y las normas de exención de licencia de RSS
de Industry Canada. La operación está sujeta a las dos condiciones siguientes: (1) este dispositivo no podrá
ocasionar interferencias dañinas, y (2) este dispositivo tiene que aceptar cualquier interferencia que sea
recibida, incluyendo las interferencias que podrán ocasionar la operación indeseada del dispositivo.
1. En el control remoto, oprima y mantenga oprimido el botón No. 2 (Referencia FIG. 1)
2. Mientras continúa oprimiendo el botón No., 2, oprima el botón No. 4 en el control remoto cuatro veces.
3. Suelte ambos botones - el LED BLUE comenzará a parpadear.
4. En el control remoto, oprima el botón de su elección cuatro veces. Tendrá 15 segundos para completar la tarea.
5. Espere el resto de los 15 segundos - el LED AZUL da un parpadeo largo y se apaga.
6. Oprima y mantenga oprimido el mismo botón que escogió por 5 segundos.
7. Suelte el botón después de que el LED BLANCO parpadee 3 veces y se apague.
8. En el abrepuertas, oprima el botón de APRENDIZAJE/PROGRAMACIÓN por 2-3 segundos y luego suéltelo.
9. En el control remoto, oprima el botón que escogió UNA vez. El abrepuertas hará clic.
10. Repita los PASOS 8 y 9 nuevamente. Haga una prueba del botón - se ha completado la programación.
SUGERENCIA: Permita que la luz LED en el transmisor universal deje de parpadear antes de la próxima pulsación del
botón.
Método de Enseñar y Emparejar (Método alternativo de programación)
1. En el control remoto universal, oprima y mantenga oprimido el botón No. 1
2. Mientras continúa oprimiendo el botón No. 1, oprima el botón No. 2 en el control remoto cuatro veces.
3. Suelte ambos botones - el LED BLANCO comenzará a parpadear lentamente.
4. Coloque el control remoto presente operacional y el control remoto universal a 4”(10.16 cm) de distancia entre sí.
5. Mantenga oprimido el botón operacional del control remoto original. No lo suelte hasta que el parpadeo del
nuevo control remoto universal cambie de destellos BLANCOS lentos a destellos AZULES rápidos. Tendrá 20
segundos para completar la tarea.
SUGERENCIA: Si el control universal remoto no reconoce la transmisión, pruebe diferentes distancias entre 0”-4”
(0 - 10.16 cm) del lado del control remoto universal más cercano a los botones números 1 y 3.
6. Cuando el LED AZUL del control remoto universal esté parpadeando rápidamente, oprima el botón de su elección
en el control remoto universal UNA VEZ lenta y deliberadamente. La luz del LED AZUL se volverá rme y se
apagará.
7. Oprima y mantenga oprimido el botón que acaba de escoger en el control remoto universal por 5 segundos.
8. Suelte el botón después de que el LED BLANCO parpadee 3 veces y se apague.
9. En el abrepuertas, oprima el botón de APRENDIZAJE/PROGRAMACIÓN por 2-3 segundos y luego suéltelo.
10. En el control remoto, oprima el botón que escogió UNA vez. El abrepuertas hará clic.
11. Repita los PASOS 8 y 9 nuevamente. Haga una prueba del botón - se ha completado la programación.
SUGERENCIA: Permita que la luz LED en el transmisor universal deje de parpadear antes de la próxima pulsación del
botón.
Método alternativo de programación - Método de Enseñar y Emparejar
ID #. 4 SOLAMENTE: Instrucciones para el botón de aprendizaje amarillo Chamberlain®/LiftMaster®/
Craftsman®
METODO DE PROGRAMA DISPONIBLE MÉTODO DE APRENDIZAJE ID#
Nombre de la
marca
Notas de especicaciones sobre el Abrepuertas de
Garaje o el Receptor de Compuertas
Número de
Prensas de botones (ID#)
Genie® 315/390 MHz, Intellicode® I, 1995-current 1
Overhead Door® 315/390 MHz, CodeDodger® I, 1995-current 1
Chamberlain®
LiftMaster®
CraftsMan®
Purple Learn Button, Security +®, 2006-2014, 315 MHz 2
Orange/Red Learn Button, Security +®, 1996-2005, 390 MHz 3
Yellow Learn Button, Security +2.0®, 2011-current, 390 MHz 4
Green Learn Button, Billion Code®, 1993-1995, 390 MHz 5
Genie® 315/390 MHz, Intellicode® II, 2010-2011 6
Overhead Door® 315/390 MHz, CodeDodger® II, 2010-2011 6
Sommer® 310 MHz, Rolling Code 7
Linear® 318 MHz, Mega Code® 8
Wayne Dalton® 372.5 MHz, Rolling Code, 1999-current 9
Ryobi® 372.5 MHz, Rolling Code 10
Guardian® 303 MHz, Fixed Learn Code 11
Xtreme® brand 303 MHz, Fixed Learn Code 11
Marantec® 315 MHz, Fixed Learn Code 12
*Chamberlain® 390 MHz, 9 Switch/3 Position Dip Switch
*Stanley® 310 MHz, 10 Switch/2 position Dip Switch
FAAC® 433.92 MHz, Rolling Code (Teach & Pair Method Only)
*Genie® 390 MHz, 9 & 12 Switch/2 Position Dip Switch, 1993-1995
*Overhead Door® 390 MHz, 9 Switch/3 Position Dip Switch, 1993-1995
- ENSEÑAR Y SINCRONIZAR -
Debe tener un control remoto
presente y operacional.
Para examinar estas instrucciones
del interruptor DIP, visite
www.geniecompany.com*
