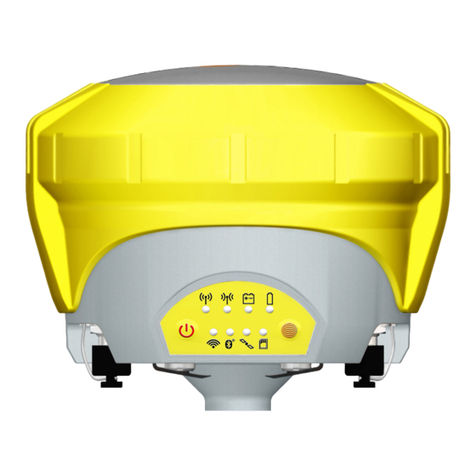
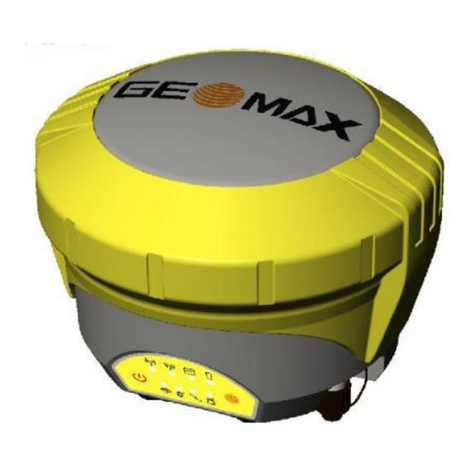
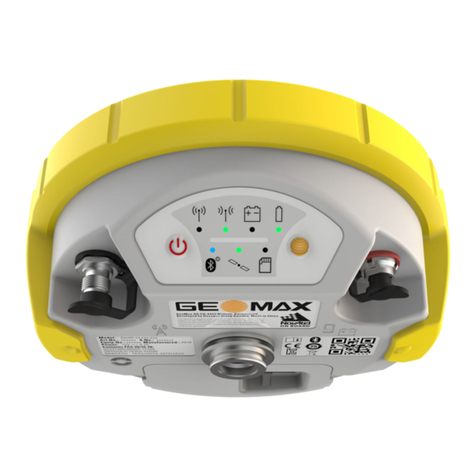
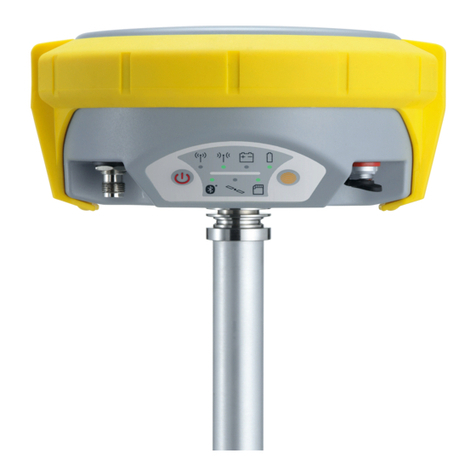
GeoMax Zenith16 Series User manual

Zenith16/40 GNSS Series - 1 -
Installation Guide © 2019 GeoMax AG, Widnau Switzerland
GeoMax GNSS
Zenith16 & 40 Series
Installation Guide
Version 1.00
English

Zenith16/40 GNSS Series - 2 -
Installation Guide © 2019 GeoMax AG, Widnau Switzerland
Table of Contents
1INTRODUCTION
2GENERAL PREPARATION
2.1 Copy Zenith16/40 Firmware on MicroSD card
2.2 Battery Charging
3PREPARATION OF THE GNSS RECEIVER
3.1 Connecting to the PC
3.2 Receiver connection with Zenith Manager
3.3 Checking the receiver firmware version
3.4 Receiver configuration
3.5 Antenna Management
3.6 Installation of licences
3.7 Disconnecting from the PC
4EQUIPMENT SETUP
4.1 Rover setup
4.2 Base setup

Zenith16/40 GNSS Series - 3 -
Installation Guide © 2019 GeoMax AG, Widnau Switzerland
1INTRODUCTION
This guide provides complete step-by-step instructions for preparing the Zenith16/40 GNSS
series for measuring work. The instructions cover all the required installation tasks for the
Zenith GNSS receiver and Zenith Manager PC software.
Only the tasks required for the initial setup of a new Zenith16/40 system are described in
this document. For further information regarding the operation of the Zenith16/40
components, please refer to the respective User Manuals.
The User Manual for the GNSS receiver and the Field Controllers are available from the
GeoMax Partner Area.
2GENERAL PREPARATION
2.1 COPY ZENITH16/40 FIRMWARE ON MICROSD CARD
Visit GeoMax Downloads to check for the current versions of both System and GNSS
firmware’s. Download the files and store them on the provided MicroSD card in the SYSTEM
folder.
2.2 BATTERY CHARGING
Before using the receiver, the included ZBA201 batteries should be charged. Insert a battery
into the ZCH201 charger and plug the adapter into an AC supply. Do not disconnect from
power until the green FULL indicator flashes, indicating that the battery is fully charged.
3PREPARATION OF THE GNSS RECEIVER
3.1 CONNECTING TO THE PC
Previously to connect the receiver to the PC the USB cable driver must be installed.
Download the USB cable driver installer Setup_GeoMax_USB_32bit.exe from GeoMax
Downloads. For 64-bit versions of Windows use the installer named
Setup_GeoMax_USB_64bit.exe. Run this file to install the USB port software by following
the instructions of the Windows installer wizard.
Zenith16/40 GNSS Series - 4 -
Installation Guide © 2019 GeoMax AG, Widnau Switzerland
In addition to installing the USB port software the Windows Mobile Device Centre (WMDC)
will also be installed, which is going to show whether the receiver is connected or not.
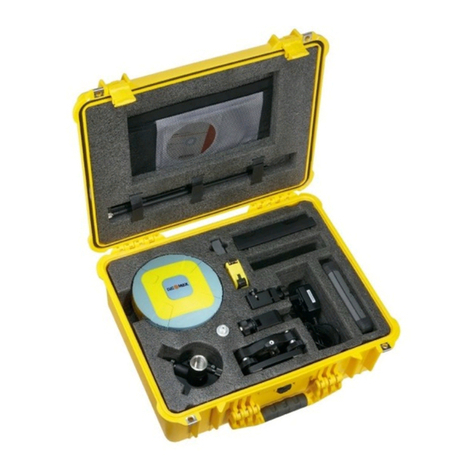
Locate the USB cable in the yellow container. Insert a fully charged battery into the GNSS
receiver and switch it on. Connect the cable to the Lemo port of the receiver. When
connecting the cable to a USB port of the PC, the cable's drivers will be initialized
automatically and the aforementioned WMDC will appear showing that the receiver is
connected.

Zenith16/40 GNSS Series - 5 -
Installation Guide © 2019 GeoMax AG, Widnau Switzerland
3.2 RECEIVER CONNECTION WITH ZENITH MANAGER
Locate the Zenith Manager software on the Zenith16/40 folder on the GeoMax partner area
and download it to your PC. Run Setup_Zenith_Manager.exe and follow the instructions
of the installer.
Click on the Zenith Manager icon of your desktop to launch it.
To connect to your Zenith16/40, click on the CONNECT button on the top-left side of the
menu bar and choose the preferred connection type, USB (cable) or Bluetooth. To connect
via USB, the receiver must be connected to the PC with the USB cable.

Zenith16/40 GNSS Series - 6 -
Installation Guide © 2019 GeoMax AG, Widnau Switzerland
3.3 CHECKING THE RECEIVER FIRMWARE VERSION
Before using the receiver, it should be checked that the loaded firmware is the latest
version. Once connected with Manager, the installed firmware’s can be seen on the
Information panel in the left side.

Zenith16/40 GNSS Series - 7 -
Installation Guide © 2019 GeoMax AG, Widnau Switzerland
If the firmware is older as the one downloaded from the GeoMax partner Area, it is
recommended to perform an update. To update the receiver firmware, download the
respective *.FW file, copy to the SYSTEM directory on a MicroSD card and insert it into the
Zenith16/40 receiver. Select Firmware Upload from the bottom menu. The contents of
the SYSTEM directory are displayed. Choose the required file and click Upload to install the
firmware onto the receiver.
The upgrade takes a while. After the upgrade the receiver switches off and on automatically.
Once this is done a message will be shown, that the instrument upgraded the fw
successfully. To check whether the latest version has been successfully installed, the new
firmware version should be displayed in the info panel.

Zenith16/40 GNSS Series - 8 -
Installation Guide © 2019 GeoMax AG, Widnau Switzerland
3.4 RECEIVER CONFIGURATION
To configure the receiver either as a base or as a rover using the internal UHF radio or the
internal GPRS, select Configure from the bottom of the configuration panel and the GNSS
configuration window will appear. There it will be possible to configure the Zenith16/40 as
needed.

Zenith16/40 GNSS Series - 9 -
Installation Guide © 2019 GeoMax AG, Widnau Switzerland
To meet country radio licence requirements, the internal UHF radio must be set before use
to legally allowed local frequencies as defined by local or governmental authorities. Use of
forbidden frequencies may lead to prosecution and penalties.
The following procedure defines the configuration of the internal UHF radio. After choosing
in the GNSS configuration panel the receiver as a base or as a rover and selecting the
internal radio configuration, the settings for the internal radio will be displayed. Up to 15
different frequencies can be set. A choice of required frequencies can be entered into the
channel table. Check with your country specific local authorities, what frequencies and
channel spacing may be used. At the Radio Settings field the internal radio can be
configured with default channel, protocol type, channel spacing, transmission power and
correction format.

Zenith16/40 GNSS Series - 10 -
Installation Guide © 2019 GeoMax AG, Widnau Switzerland
The last step (the same for all configurations) will allow to enter the antenna height, the
cut-off angle, to enable or disable the available satellite systems and choose the position
update frequency.
Click Finish to configure the receiver with the selected settings.

Zenith16/40 GNSS Series - 11 -
Installation Guide © 2019 GeoMax AG, Widnau Switzerland
The following procedure defines the configuration of the internal GPRS. Before proceeding
with the configuration, a SIM card must be inserted into the slot located in the battery
compartment of the receiver. The PIN must be disabled before using it. The configuration
follows the same workflow as before, on the third step the settings regarding a GPRS
configuration have to be entered, a provider with the information of the SIMCard network
and a server with the NTRIP network credentials must be created. The mountpoint, network
type and format can be chosen afterwards.
After choosing the rest of the settings click Finish to configure the receiver.
To start receiving corrections select Connect GPRS at the bottom in the status panel.

Zenith16/40 GNSS Series - 12 -
Installation Guide © 2019 GeoMax AG, Widnau Switzerland
3.5 ANTENNA MANAGEMENT
All available GeoMax GNSS antennas are currently supported in the antenna management
by default. If your Base-Rover set up will include a non GeoMax device, you should make
sure the base antenna is recognised on the Zenith16/40. To do that, it’s needed to add
this specific antenna manually with the Zenith Manager. See how to do it below:
With the receiver connected to Manager, select Antenna from the bottom menu.

Zenith16/40 GNSS Series - 13 -
Installation Guide © 2019 GeoMax AG, Widnau Switzerland
To add new antennas, there are two options:
-By uploading an .ant* file located in the PC (can be created with Infinity).
-By adding manually the following values. Enter the IGS name of the base antenna
and the vertical, east and north phase centre offset for L1 and L2 in meters (m).
See the next example to know how to add a new antenna manually. The antenna used is a
GS16 from Leica:
-IGS name for GS16: LEIGS16
-L1 vertical PCO value in meters: 0.0887
-L1 east PCO value in meters: -0.0002
-L1 north PCO value in meters: -0.0002
-L2 vertical PCO value in meters: 0.0887
-L2 east PCO value in meters: 0

Zenith16/40 GNSS Series - 14 -
Installation Guide © 2019 GeoMax AG, Widnau Switzerland
-L2 north PCO value in meters: 0.0018
To identify which value is each, see the below image with the description. Note that the
values are in mm.
3.6 INSTALLATION OF LICENCES
If optional receiver licenses such as 20Hz output frequency were additionally ordered, they are
not activated before delivery. Therefore, when the equipment is first received, the licences still
need to be installed onto the receiver. These options are activated by means of a NovAtel
licence key file that would have been emailed to you at delivery of the Zenith16/40.
The licence key file can be uploaded onto the receiver by using Zenith Manager. With the

Zenith16/40 GNSS Series - 15 -
Installation Guide © 2019 GeoMax AG, Widnau Switzerland
receiver connected to Manager, click Advanced from the bottom menu and then Upload
Key. Select the key file L_xxxxxxx.key (where xxxxxxx is the receiver serial number)
located in the PC and click Upload. A confirmation message will be shown once the option
has been activated.
Note:
•A manual entry of the license key is NOT supported. The files must be uploaded!
•Same principle applies for Galileo and Beidou licenses.
3.7 DISCONNECTING FROM THE PC
Once the receiver is completely configured, it can be disconnected from the PC. From the
Manager’s top menu, select the USB or the BT icon (depending how the receiver is
connected) to disconnect it and click on Yes. If the connection was via cable, it may now
be removed and the Zenith16/40 is ready for use.

Zenith16/40 GNSS Series - 16 -
Installation Guide © 2019 GeoMax AG, Widnau Switzerland
4EQUIPMENT SETUP
4.1 ROVER SETUP
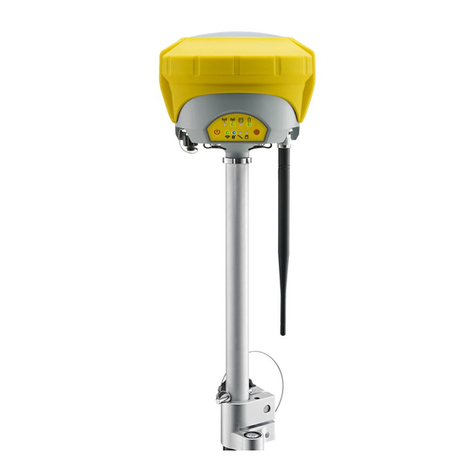
For a RTK rover, the Zenith16/40 equipment can be setup on a pole as shown above.
When working with the UHF radio, ensure the correct frequency and protocol are set as
described in section 3.5. Attach a radio antenna suitable for the set frequency. The following
UHF antennas can be ordered from GeoMax:

Zenith16/40 GNSS Series - 17 -
Installation Guide © 2019 GeoMax AG, Widnau Switzerland
4.2 BASE SETUP
The Zenith16/40 equipment can also be setup as a base station for the transmission of RTK
corrections as shown below.
Attach the UHF radio antenna to the 760275 ZAR200 antenna arm. The arm has a 5/8”
thread for mounting onto a telescopic pole or a tripod setup with threaded carrier. The
antenna is connected to the Zenith16/40 using the 760266 ZDC202 cable. The required
RTK output message can be configured using Zenith Manager or by field software.
For long range RTK, a high powered radio can be used at the base station. Available from
GeoMax is the 789359 Satel EASyPro 35W radio. This radio is connected to the receiver and
an external power supply, with the 797024 ZDC225 cable. The cable needs to be connected
to the Lemo port of the receiver. When other UHF radio types are used, a suitable cable
needs to be obtained from the respective radio supplier.
Other manuals for Zenith16 Series
1
This manual suits for next models
1
Table of contents
Other GeoMax Receiver manuals

GeoMax
GeoMax Zenith35 Pro Series Administrator Guide

GeoMax
GeoMax Zenith10/20 SERIES User manual

GeoMax
GeoMax Zenith15 User manual

GeoMax
GeoMax Zenith35 Pro Series User manual

GeoMax
GeoMax Zenith 16 Series User manual

GeoMax
GeoMax Zenith15 User manual

GeoMax
GeoMax Zenith15 User manual

GeoMax
GeoMax Zenith35 Pro Series User manual

GeoMax
GeoMax Zenith35 Pro Series User manual

GeoMax
GeoMax Zenith35 Pro Series User manual