1.1 2.1
This common interface digital satellite receiver with installed 80GB hard drive digital video
recorder is your "Window to the World" giving you the opportunity to view and record free to
air and scrambled programs. Enjoy the rich choice of thousands of available channels,
broadcasting a large range of culture, sports, cinema, news, events, etc. This receiver is
assembled with the highest qualified electronic parts to provide unsurpassed performance.
This receiver is a technical masterpiece, assembled with the highest qualified electronic
parts.
1.2
ȞFully compliant with MPEG-2 and DVB standards
Ȟ2MB Flash Memory for faster channel changes
ȞIntegrated COMMON INTERFACE
ȞDigital recording and playback function
ȞMulti-access with twin card reader for Common Interface
ȞMulti-lingual user friendly operating Menu and On-Screen Graphic menu
ȞEasy to use EPG (Electronic Program Guide) for program and recording reservations
ȞAge protection lock function
ȞRenameable Channel groups
ȞAutomatic satellite and transponder search
ȞFirmware updating and satellite, transponder and channels management via RS-232
ȞDiSEqC 1.0, 1.1, 1.2 and USALS compatible
ȞPowerful channel control and sorting functions
ȞOn Air Download or OTA (Over The Air) updating of the Glorystar channel list and firmware
2Introduction
Introduction Safety Precautions
3
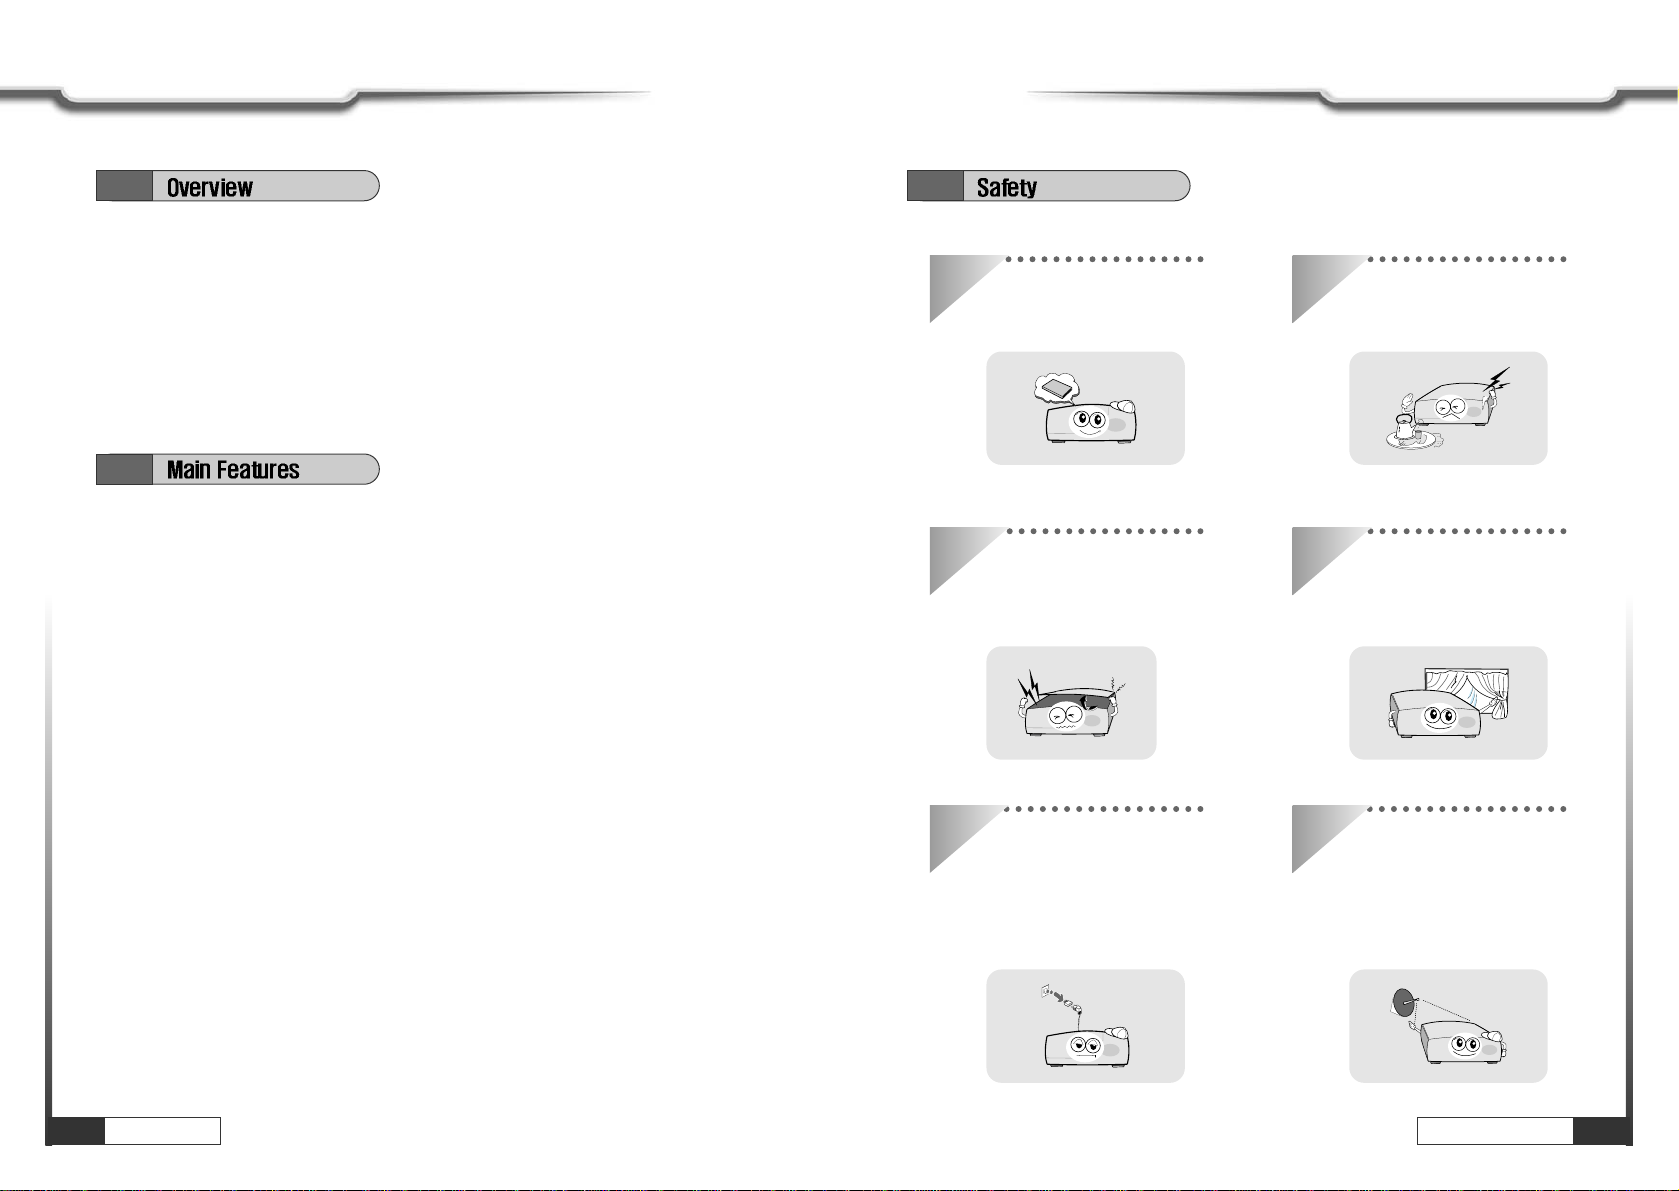
Safety Precautions
Be sure to read the user's manual
before starting the operation of
the unit.
Do not touch the power cord with
wet hands as it may cause electric
shock.
Never open the cover. It is very
dangerous to touch the inside of
the unit due to possible electric
shock.
Place the unit in a well ventilated
and no-heat environment.
When you do not use this unit for a
long time, make sure that power
cord is pulled out from the outlet.
Also do not use a damaged
power cord as it may cause fire or
electric shock.
A professional installation is
suggested.
If reception is interrupted, contact
your local service centre.