Continued on the reverse
4Accessing the GV-Fisheye IP Camera
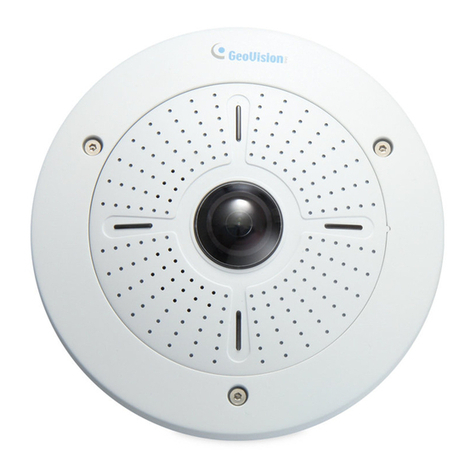
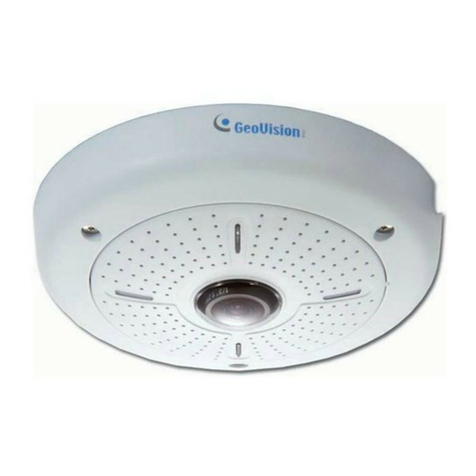
Once installed, your GV-Fisheye IP Camera is accessible on a network.
Make sure your PC has good network connection, and meet this system
requirement:
By default, the camera has a default IP address of 192.168.0.10. However,
when GV-FE420 / 421 / 520 / 521 or GV-FER521 connects to the LAN with
a DHCP server, a dynamic IP address will be assigned instead of
192.168.0.10. If no DHCP server exists, the default IP address will be
applied and you can follow the steps below to assign a static IP address.
Note: If you are using Microsoft Internet Explorer 8.0, additional settings
are required. Please refer to Settings for Internet Explorer 8, Appendix A,
GV-Fisheye IP Camera User Manual.
• Microsoft Internet Explorer 7.x or later
1. Open your web browser, and type the default IP address:
http://192.168.0.10. The computer must be under the same network
as the camera.
2. In both Login and Password fields, type the default value admin.
Click Apply.
3. In the left menu, select Network and then LAN to begin the network
settings.
• If Dynamic IP Address or PPPoE is enabled, you need to know which
IP address the camera will get from the DHCP server or ISP to log in. If
your camera in installed in a LAN, use the GV-IP Device Utility to look
up its current dynamic IP address. See Checking the Dynamic IP
Address, Chapter 2, GV-Fisheye IP Camera User's Manual.
If your camera uses a public dynamic IP address via PPPoE, use the
Dynamic DNS service to obtain a domain name linked to the camera’s
changing IP address first. For dynamic DNS server settings, see
Advanced TCP/IP, Chapter 4, GV-Fisheye IP Camera User's Manual.
• If Dynamic IP Address or PPPoE is enabled and you cannot access
the camera, you may have to reset it to the factory default settings and
then perform the network settings again. Refer to section 7 to see how
to restore to factory default settings.
IMPORTANT:
4. Select Static IP address. Type IP Address, Subnet Mask,
Router/Gateway, Primary DNS and Secondary DNS in the Configure
connection parameters section.
5. Click Apply. The camera is now accessible by entering the assigned
IP address on Internet Explorer 7.x or later.
6. To enable the updating of images in Microsoft Internet Explorer, you
must set your browser to allow ActiveX Controls and perform a
one-time installation of GeoVision’s ActiveX component onto your
computer.


