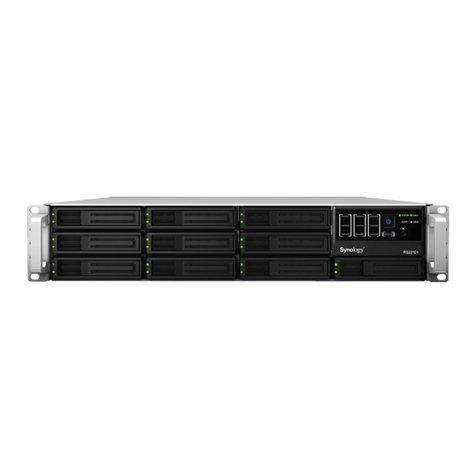
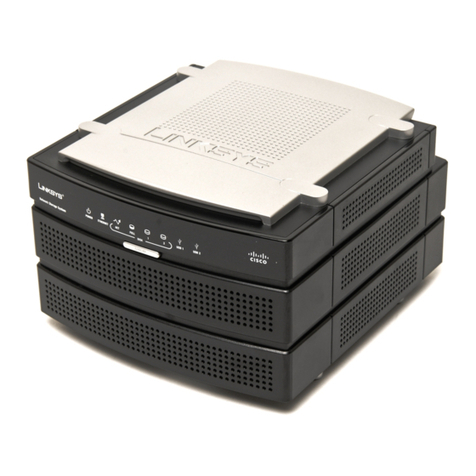
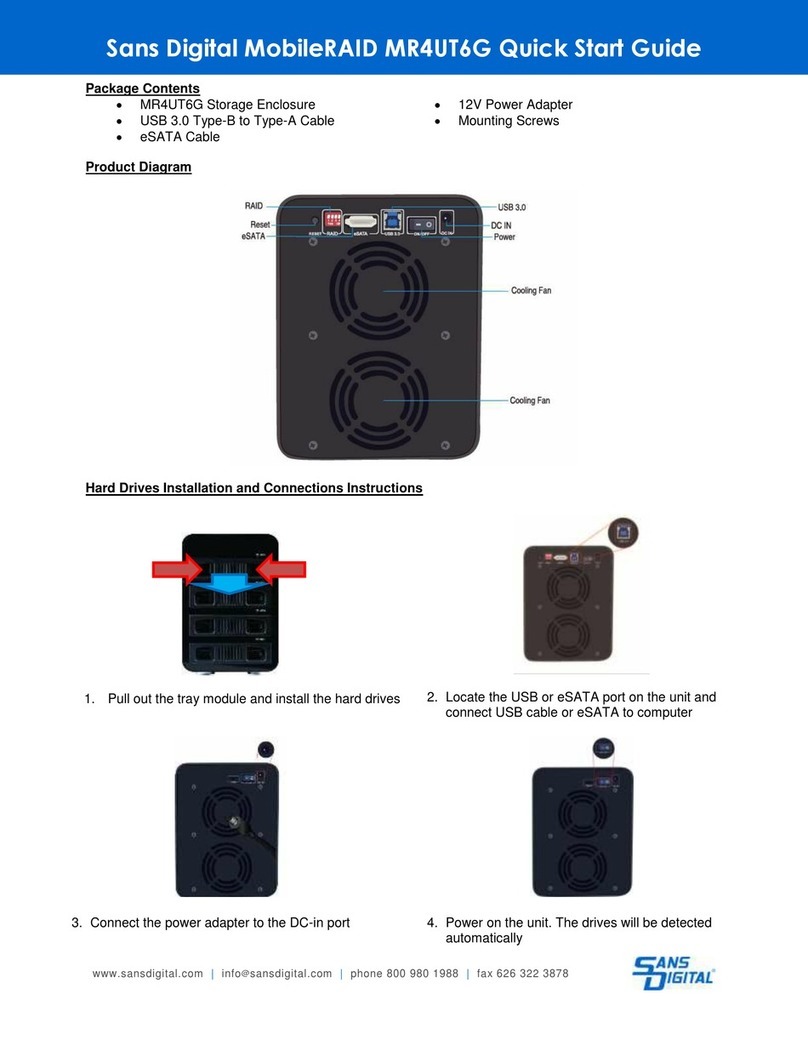
GeoVision GV-NAS2008 User manual

Before attempting to connect or operate this product,
please read these instructions carefully and save this manual for future use.
User's Manual
GV-NAS System
NASV101-UM-A

© 2015 GeoVision, Inc. All rights reserved.
Under the copyright laws, this manual may not be copied, in whole or in part, without the
written consent of GeoVision.
Every effort has been made to ensure that the information in this manual is accurate.
GeoVision, Inc. makes no expressed or implied warranty of any kind and assumes no
responsibility for errors or omissions. No liability is assumed for incidental or consequential
damages arising from the use of the information or products contained herein. Features and
specifications are subject to change without notice.
GeoVision, Inc.
9F, No. 246, Sec. 1, Neihu Rd.,
Neihu District, Taipei, Taiwan
Tel: +886-2-8797-8377
Fax: +886-2-8797-8335
http://www.geovision.com.tw
Trademarks used in this manual: GeoVision, the GeoVision logo and GV series products are
trademarks of GeoVision, Inc. Windows and Windows XP are registered trademarks of
Microsoft Corporation.
May 2015

i
Contents
Chapter 1 Introduction ..................................................................................................... 1
1.1 Models..................................................................................................................... 2
1.2 Features .................................................................................................................. 3
1.3 Packing List and Package ....................................................................................... 4
1.3.1 GV-NAS System Single Package.............................................................. 4
1.3.2 Bundled Package for GV-NAS2008 .......................................................... 4
1.4 System Requirements ............................................................................................. 5
Tested and Suggested Web Browsers and Versions ............................................ 5
Recommended Hard Disks .................................................................................. 5
Supported IP Cameras......................................................................................... 5
1.5 Panel Overview ....................................................................................................... 6
Front Panel .......................................................................................................... 6
Rear Panel........................................................................................................... 7
1.6 Installing the Hard Disks .......................................................................................... 9
Chapter 2 Getting Started................................................................................................11
2.1 Looking Up the IP Address .....................................................................................11
2.2 Accessing the GV-NAS System ..............................................................................11
2.3 The GV-NAS System Utility ....................................................................................12
2.4 Creating RAID ........................................................................................................14
2.5 The Web Interface (Desktop)..................................................................................18
2.6 Network Settings ....................................................................................................21
2.6.1 Setting Up a Fixed IP Address .................................................................21
2.6.2 DDNS Settings ........................................................................................22
2.7 Recording GV-IP Cameras to GV-NAS System ......................................................24
2.8 Playing Back Recordings from GV-NAS System.....................................................27
2.8.1 Playing Back on a Computer ...................................................................27
2.8.2 Playing Back on a Mobile Device.............................................................29
Chapter 3 System Administration...................................................................................33
3.1 Basic Settings.........................................................................................................33
3.1.1 System ....................................................................................................33
3.1.2 Date & Time.............................................................................................34
3.1.3 Language ................................................................................................35
3.2 Network ..................................................................................................................36
3.3 Firmware Upgrade..................................................................................................36
3.4 System Config File .................................................................................................37

ii
3.5 Mail Notification ......................................................................................................38
Chatper 4 Management Applications .............................................................................39
4.1 Disk & RAID Management......................................................................................39
4.1.1 Disk & Volume .........................................................................................39
4.1.2 Disk Info ..................................................................................................39
4.2 Access Rights Management ...................................................................................40
4.2.1 Users.......................................................................................................41
4.2.2 Group ......................................................................................................43
4.2.3 Shared Folder..........................................................................................45
4.2.4 Quota.......................................................................................................47
4.3 Network Services....................................................................................................48
4.4 Ajaxplorer ...............................................................................................................50
4.5 DLNA Media Server................................................................................................51
4.6 iTunes Media Server...............................................................................................53
4.7 Web Server.............................................................................................................54
4.8 Power Management................................................................................................57
4.8.1 Power Service .........................................................................................57
4.8.2 Hard Drive Setting ...................................................................................58
4.8.3 Fan Mode ................................................................................................59
4.9 External Device ......................................................................................................60
4.9.1 USB Disk .................................................................................................60
4.9.2 USB Printer..............................................................................................61
4.10 System Status.......................................................................................................62
4.10.1 System Information................................................................................62
4.10.2 System Log............................................................................................63
Specifications.....................................................................................................................64
Hardware ........................................................................................................................64
Software..........................................................................................................................65
Appendix A – Default Settings...........................................................................................68

1
Chapter 1 Introduction
GV-NAS System is a Linux-based, network-attached storage device designed to store GV-IP
Camera recordings. GV-NAS System features RAID to ensure data security, rendering data
recovery possible. Allowing access from multiple users over multiple platforms (mobile
devices and desktop), user accessibility is customizable, keeping your data secure.
Management over a mass number of GV-IP Cameras is made easy with GV-Edge Recording
Manager, which provides an integrated interface where you can assign recordings to the
designated folder in GV-NAS Systems.
Figure 1-1

2
1.1 Models
The GV-NAS System is available in four models. Their major differences are detailed below.
Product Description
Model Number Product Photo No. of Bay Data Storage Type Max. No. of
Channels
GV-NAS2008 2 RAID 0/1/JBOD 8
GV-NAS2016 2 RAID 0/1/JBOD 16
GV-NAS4008 4 RAID 0/1/JBOD 8
GV-NAS4016 4 RAID 0/1/5/JBOD 16

Introduction
3
1
1.2 Features
Models
Features
GV-NAS2008 GV-NAS2016 GV-NAS4008 GV-NAS4016
Low power consumption
Compact size
LCD display
Recording assigned by
GV-Edge Recording Manager
Hot-swappable drive bays 2 2 4 4
Max. storage capacity (TB) 8 8 16 16
Data storage type RAID 0, RAID 1, JBOD RAID 0, RAID 1,
RAID 5, JBOD
Max. no. of recording channels 8 16 8 16
Smart device access for
playback
3rd Party IP Cameras Recording
Note: The maximum numbers of recording channels are based on 5 minute recording
interval, default recording quality setting (Good) and a constant bitrate 6 Mbit at maximum.

4
1.3 Packing List and Package
You can choose to purchase a GV-NAS System package or a bundled package which also
includes 4 GV-Target IP Camera of your choice and a GV-PoE switch.
Package Options:
Single Package
Bundled Package
1.3.1 GV-NAS System Single Package
GV-NAS System
1 M network cable
DC 12V, 5A power adapter
Power cord
Software CD
GV-NAS System Quick Start Guide
1.3.2 Bundled Package for GV-NAS2008
GV-NAS System Package x 1
Target IP Camera x 4
GV-POE400 x 1
Note: For the Target IP Camera, select any 4 models from GV-EBL1100 / 2100,
GV-EBX1100 / 2100, GV-EDR1100 / 2100, GV-EFD1100 / 2100. For more information,
contact our sales representatives.

Introduction
5
1
1.4 System Requirements
Tested and Suggested Web Browsers and Versions
Internet Explorer 8 or later
Google Chrome 33.0.1750.154
Mozilla Firefox 28
Safari for Windows 5.1.7
Safari for MAC 6.0.5
Recommended Hard Disks
For system efficiency, we recommend the following enterprise level hard disk drives. Avoid
using desktop level or green HDD which may affect system efficiency.
WD RE series
Seagate Constellation ES.3 series
HGST Ultrastar series
Note: GV-NAS is designed for 3.5’’ hard drive disks (2.5’’ ones are not supported), each at
the maximum of 4 TB.
Supported IP Cameras
GV-NAS System supports the following IP cameras.
GV-EBL1100 / 2100 (GV-Target Series V1.02 or later)
GV-EBX1100 / 2100 (GV-Target Series V1.02 or later)
GV-EDR1100 / 2100 (GV-Target Series V1.02 or later)
GV-EFD1100 / 2100 (GV-Target Series V1.02 or later)
GV-IP Camera (V3.00 or later)
3rd Party IP Cameras with NAS Recording Function (See Supported IP Cam List on our
website.)

6
1.5 Panel Overview
Front Panel
1
2
3
1
2
3
GV-NAS2008/2016 GV-NAS4008/4016
Figure 1-2
No. Name Description
1. LCD Panel Displays the device’s IP address, port setting, MAC address,
motherboard temperature and CPU temperature. Press the power
button to switch the displayed information.
2. Power Press the power button to turn the device on.
3. Drive Bays Load hard disk drives. The GV-NAS2008/2016 is equipped with 2
drive bays and the GV-NAS4008/4016 is equipped with 4 drive bays.
The blue LED turns on when the holder is loaded with a hard disk.
The red LED (GV-NAS2008/2016) or orange LED
(GV-NAS4008/4016) turns on when files are being accessed or
written.

Introduction
7
1
Rear Panel
1 2 3
5
4
13
5
4
GV-NAS2008 GV-NAS2016
1 3
5
4
LAN POWER MODE USB DEFAULT
2
1 3
5
4
GV-NAS4008 GV-NAS4016
Figure 1-3

8
No. Name Description
1. Gigabit LAN Connects to 10/100/1000 Mbps Ethernet.
2. Power Mode Sets the system status (on or off) when power resumes after a
power failure. Press Switch 1 up to have the system turned on
when power resumes; press Switch 1 down for the system to
remain off when power resumes. Switch 2 is not functional.
3. USB Port Connects to external USB storages or USB printers.
4. DC 12V Port Connects to power.
5. Default Press for 10 seconds to reset the device to default settings. The
device will restart while loading default settings.

Introduction
9
1
1.6 Installing the Hard Disks
The GV-NAS System’s disk drives are hot-swappable. You can install or replace hard drives
while the system is running. Follow the steps below to install a hard disk.
1. Press and pull out the disk holder. For GV-NAS4008/4016, the top of the disks should
face the right.
Figure 1-4 Two-Bay GV-NAS System Figure 1-5 Four-Bay GV-NAS System
2. Remove the clips on both sides.
Figure 1-6
3. Put the hard drive into the disk holder. Your hard disk should fit perfectly with the
connector pins facing the back.
Connector pins
Figure 1-7

10
4. Re-install the clips to secure the disk to the holder. Press the middle of the clip first and
then the sides.
Press the
middle part first
Figure 1-8
5. Follow step 1 to re-install the disk holder.

11
Chapter 2 Getting Started
2.1 Looking Up the IP Address
By default, the IP address of GV-NAS System is assigned by the DHCP server when the
system is connected under a LAN environment. To find the IP address:
look up from the system’s LCD panel, or
browse for the device using the GV-NAS System Utility included in the software CD
2.2 Accessing the GV-NAS System
1. Find the system’s IP address from the LCD panel or using the GV-NAS System Utility.
For details, see 2.3 The GV-NAS System Utility.
2. Type the IP address into your Web browser and press Enter. This page appears.
Figure 2-1
3. Type the user name, password and the verification code to log in. The default user name
and password are both admin.
Note: If the GV-NAS System is installed behind a firewall or router, you may need to open
these default ports: HTTP port 80, FTP port 21, Ajaxplorer port 8090, Web Server port 8060,
Cloud Printing Service port 9100 and E-mail notification port 465 (for example: Google’s
SMTP).

12
2.3 The GV-NAS System Utility
You can also use the utility software included on the software CD to find the IP address.
1. Execute the file GV-NAS System Utility.exe. This dialog box appears.
Figure 2-2
2. Click Search to start searching the GV-NAS System under the same LAN. This dialog
box appears, showing the devices found and the network settings (IP address).
Figure 2-3
3. If your device does not show up, click Search again to browse again.

Getting Started
13
2
4. To configure the GV-NAS System’s network settings, device date and time, click Setup
and type the password.
Figure 2-4
Note: This setup will take you through the basic configurations of the device without an
Internet browser. Be advised the system must have at least one formatted volume in order to
proceed or this window will appear:
Figure 2-5

14
2.4 Creating RAID
GV-NAS System supports single disk formatting, linear (JBOD), RAID 0, RAID 1 and RAID 5
setup. Follow the steps below to format or create RAID to your disk drives.
Note: RAID 5 is only supported by GV-NAS4016.
1. Upon entering the user interface, you are prompted to format the inserted hard disks.
The applications (except the Disk & RAID Management) are only accessible with at least
one formatted disk.
Figure 2-6

Getting Started
15
2
2. Click OK on the warning message. This window appears. The Single / RAID column
indicates the status of the mounted hard disks. In this case, they have not been
formatted yet.
Figure 2-7
3. To create RAID, you have two options:
Automatic setup: RAID is created based on the number of inserted disks. A single
disk will be formatted individually; two disks will be formatted to RAID 1; three disks
or more will be formatted to RAID 5. Click One Click RAID Creation to start this
setup.
Manual setup: Manually select the hard disk drives and then click Single Disk
Volume, Linear Volume, RAID 0,RAID 1 or RAID 5.
Figure 2-8

16
Data Storage Description
Single Disk
Volume
The selected disk drive will be formatted individually.
This mode requires only one disk at a time.
If a 1 TB and a 3 TB disk are formatted individually, forming two
logical disk volumes, at a total storage space of 4 TB.
Linear Volume
(JBOD)
Two or more disk drives are combined to form one logical volume.
This mode requires two or more disks at a time.
The storage capacity will be the total disk space of all disk drives.
For example, a 1 TB and a 3 TB disk will form one logical disk
volume with 4 TB storage capacity.
RAID 0 Mode The storage is striped in which data is spread evenly across two or
four drives to provide a better system performance.
This mode requires two or four disks at a time.
The storage capacity will be the capacity of the smallest disk drive
times the number of disk drives. For example, a 1 TB and a 3 TB
disk will form one logical disk volume with 2 TB storage capacity (1
TB x 2 disks = 2 TB).
RAID 1 Mode The storage is mirrored in which the data is saved to one drive and
duplicated to another drive. This mode provides data protection
when one hard drive fails.
This mode requires at least two disks.
The storage capacity will be the capacity of the smallest disk drive.
For example, a 1 TB and a 3 TB disk will form one logical disk
volume with 1 TB storage capacity.
RAID 5 Mode This mode offers data protection while minimizing storage waste.
Data are carefully arranged and spread evenly into all the RAID 5
drives, in case when one drive fails, data can be rebuilt using the
remaining working drives.
This mode requires at least 3 disks. Note this mode only allows
one drive failure. If more than one drive fails, data will not be
recoverable.
The storage capacity will be (the size of the smallest drive) x
(number of drives -1). For example, if you have three 2 TB drives
and one 1 TB drive, the total capacity will be 1 TB x (4 – 1) = 3 TB. It
This manual suits for next models
3
Table of contents
Other GeoVision Network Storage Server manuals