Germfree VersaFlow User manual

Germfree - VersaFlowTM Compounding Aseptic Isolator User Manual - v1.0 - 15SEP2021 - RMH
VersaFlowTM Compounding Aseptic Isolator
User Manual

VersaFlowTM
Compounding Aseptic Isolator
User Manual
2
Contents
Receiving Instructions .................................................. 4
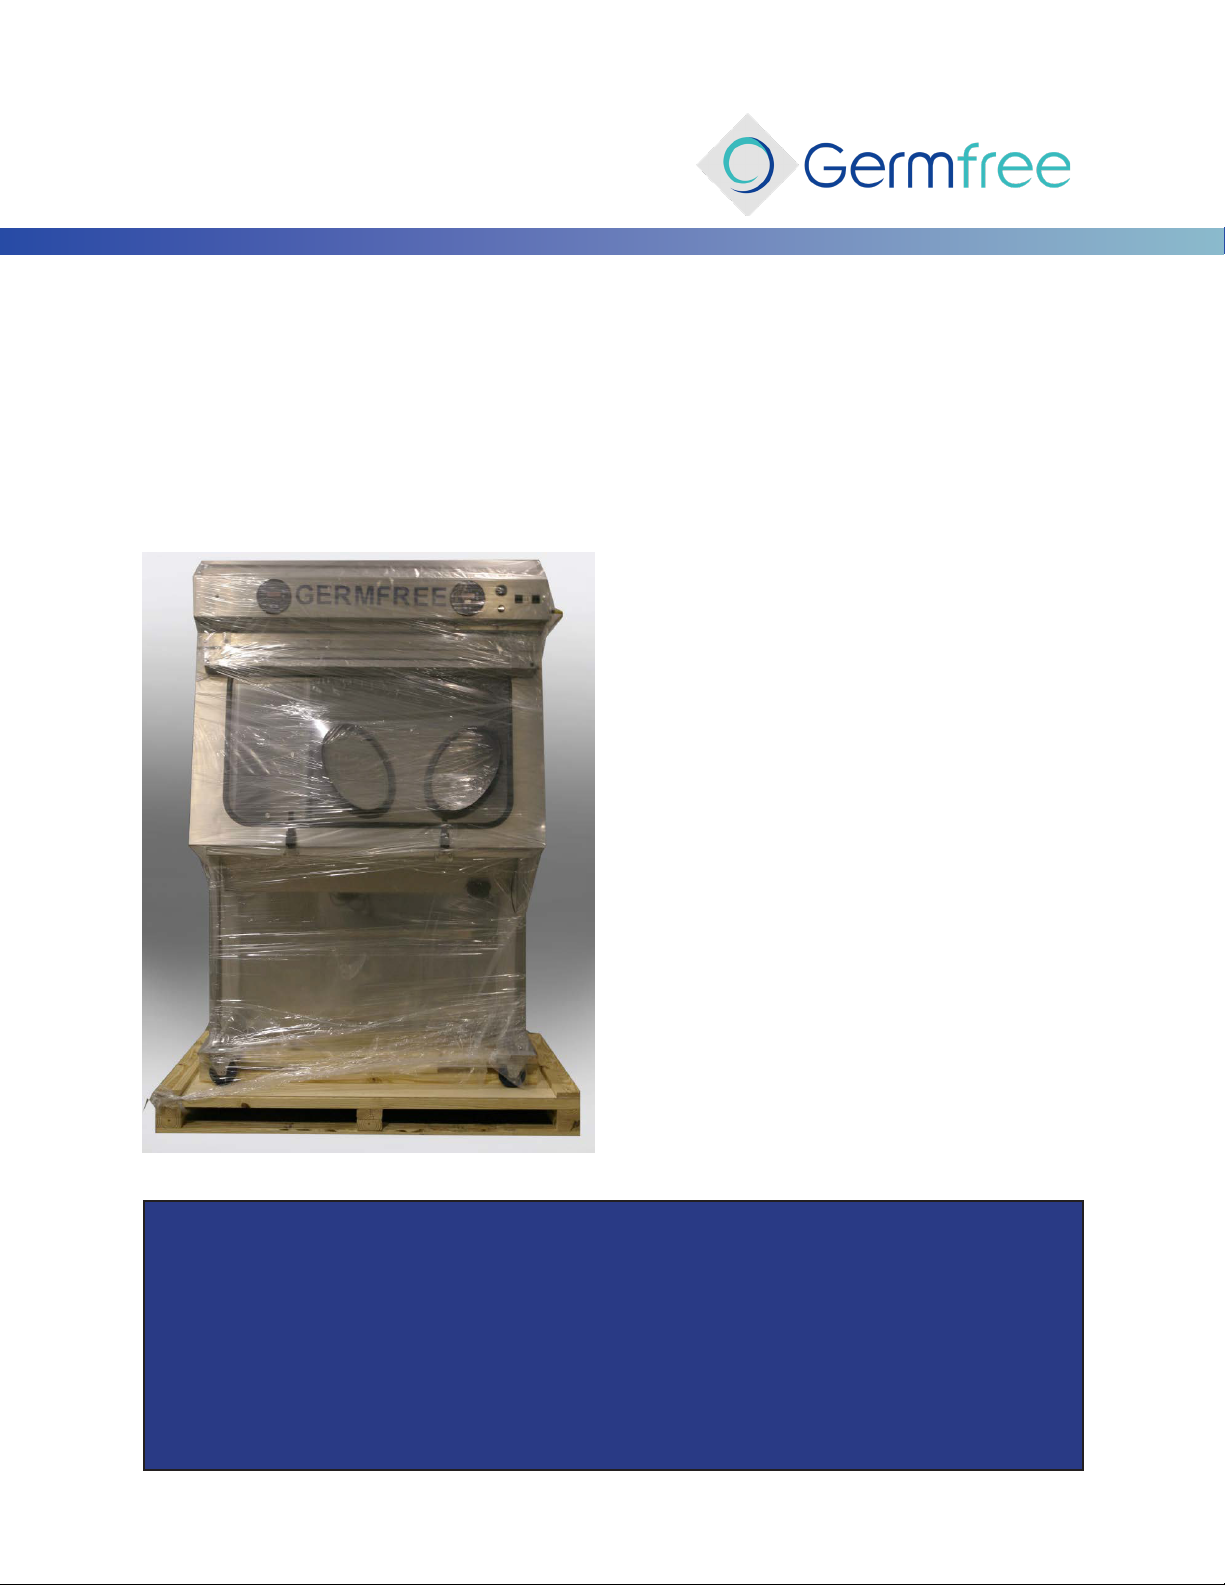
Packaged VersaFlow.............................................. 4
Unpacking the VersaFlow ......................................... 4
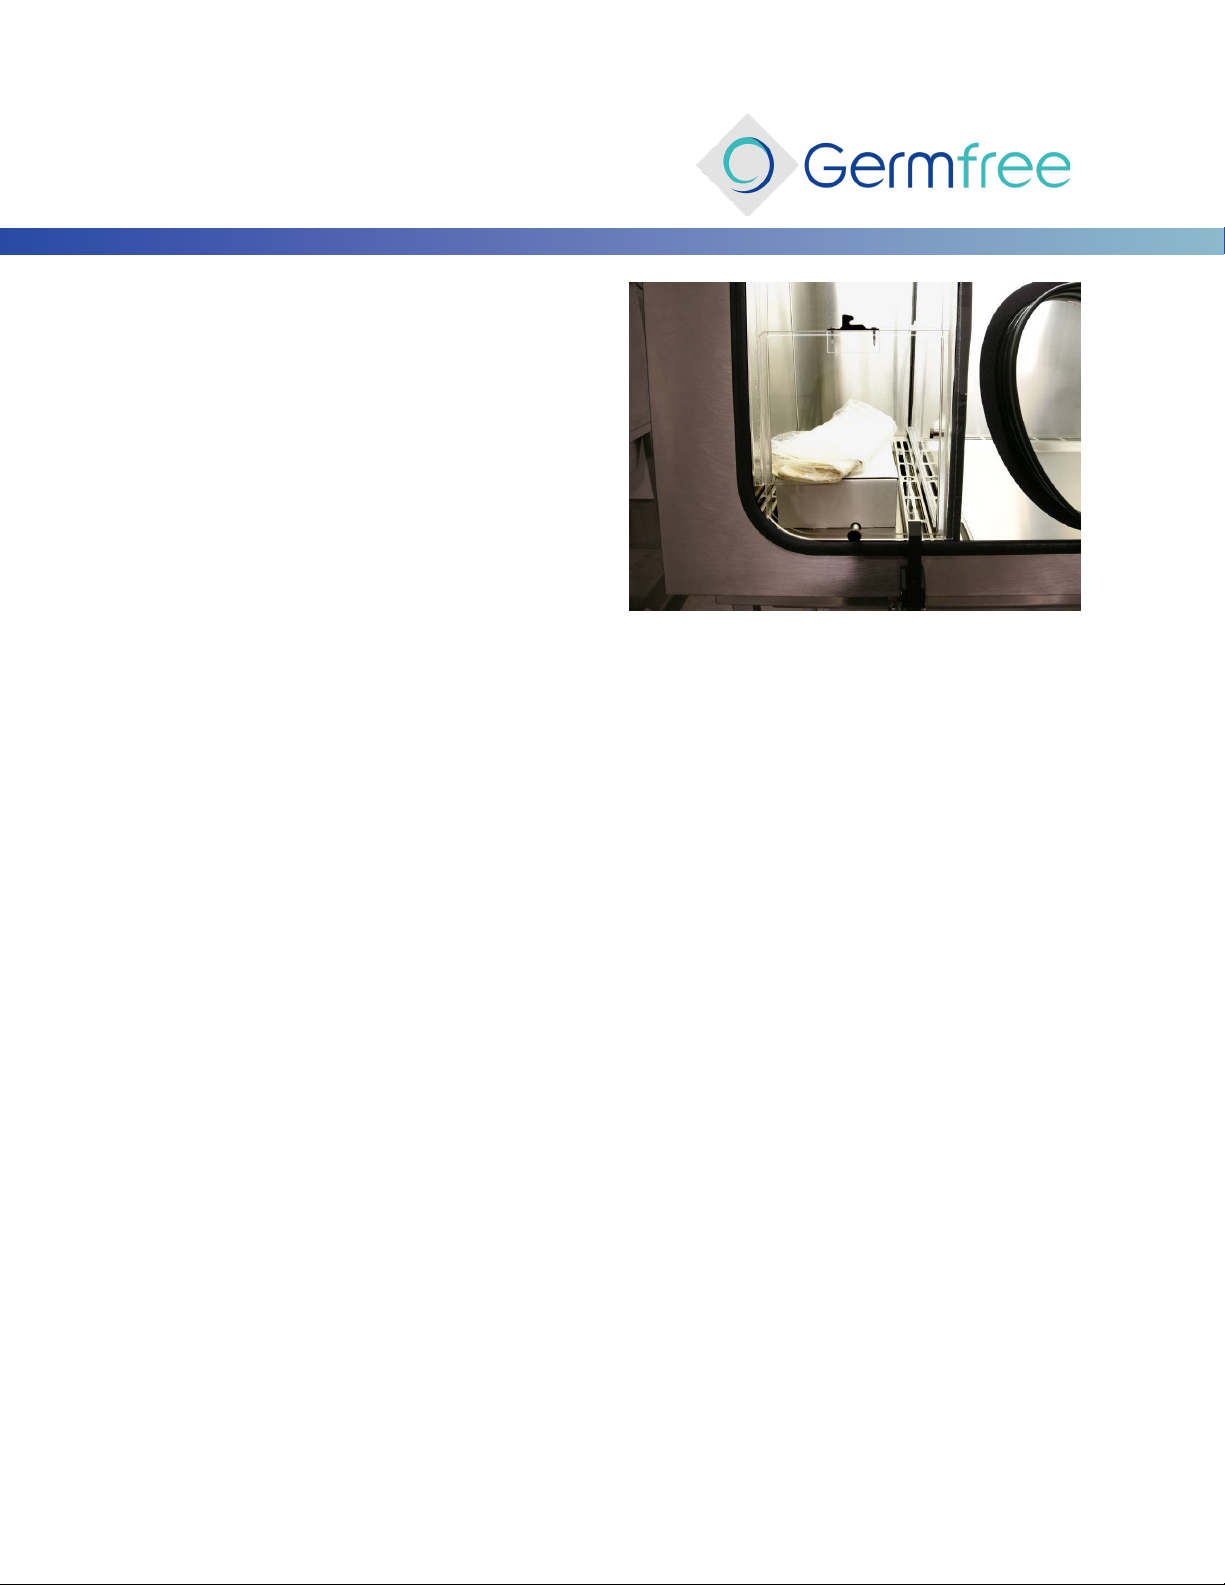
Contents Packed in Interchange Chamber .......................... 5
Electrical Requirements................................................. 6
Certification ........................................................... 7
Safety, Operation and Additional Professional Training .................... 8
Product Protection ............................................... 9
HEPA Filtration Theory .................................................. 10
Unidirectional (Laminar) Air Flow ........................................ 11
Components Identifier. . . . . . . . . . . . . . . . . . . . . . . . . . . . . . . . . . . . . . . . . . . . . . . . . . 12
Front of VersaFlow................................................ 12
Inside the Work Area ............................................. 12
Control Panel .................................................... 14
Side View ....................................................... 14
Initial Cleaning. . . . . . . . . . . . . . . . . . . . . . . . . . . . . . . . . . . . . . . . . . . . . . . . . . . . . . . . . 15
Exterior ......................................................... 15
Interior.......................................................... 15
Operation ............................................................. 16
Proper Aseptic Technique ............................................... 17
Cleaning the VersaFlow - Heavy Duty (Rigorous) .......................... 18
Exterior ......................................................... 18
Interior.......................................................... 18
Inside the Interchange Chamber .................................. 19
Cleaning the VersaFlow Between Preparations (Light) ..................... 20
Cleaning Agents ....................................................... 21
Cleaning Terms ........................................................ 22
Light Bulb Replacement ................................................ 23

VersaFlowTM
Compounding Aseptic Isolator
User Manual
3
Filters ................................................................. 24
Gloves ................................................................ 25
Changing Gloves While Maintaining Containment .................. 29
Alarm ................................................................. 30
Troubleshooting for Alarm Sounding............................... 30
Available Options ...................................................... 31
Electronic Height Adjusting Stand ................................. 31
Sealed Data Port ................................................. 31
Additional Options ............................................... 31
Parts List .............................................................. 32
Quality Statement ..................................................... 33
Our Company ......................................................... 33
Germfree’s Mission .................................................... 33
Appendix A - Sensocon User Manual

VersaFlowTM
Compounding Aseptic Isolator
User Manual
4
Receiving Instructions
The Compounding Aseptic Isolator is shipped fully assembled in a single crate. All equipment must be inspected
immediately upon receipt. If there is visible damage to the container or unit it must be noted on the receiving
documents by the driver. The carrier must then be notified to arrange for an immediate inspection to verify the
damage to the equipment. If damage to the unit is found aer it is uncrated (concealed damage), the receiver
should notify the delivering carrier at once. Do not move the equipment or discard any of the shipping materials
until a concealed damage inspection is performed. If the carrier will not perform this service, please contact
our factory immediately at +1 386.265.4300, ask for the shipping department. Without this inspection of the
equipment and packing materials, the freight company may not accept a claim for damage or loss and take the
position that the damage occurred aer delivery.
Contact Germfree Customer Service
+1 386.265.4300
Packaged VersaFlow
• The VersaFlow is on a skid with a riser to prevent
movement during shipment.
• The unit is stretch wrapped and strapped to the
skid.
• Protected by corrugated cardboard.
• The skid is accessible for a pallet jack.
Unpacking the VersaFlow
• Remove the corrugated cardboard.
• Remove the metal strapping.
• Remove stretch wrap.
• 3-4 people may be needed to li the VersaFlow off
the skid.
**Caution: The VersaFlow is top heavy**
• Unlock the casters and roll the VersaFlow to its final
destination.

VersaFlowTM
Compounding Aseptic Isolator
User Manual
5
Contents Packed in Interchange
Chamber
1. Pre-assembled Sleeves and Gloves
2. Maintenance kit (the white box):
• User Manual
• Stoppers for Waste & Sharps Tubes
• Keys for Front Lock
• Complimentary set of Gloves
• Yellow Electrical Outlet Cord
3. Alcohol Wipes
4. Any additional purchased sleeves

VersaFlowTM
Compounding Aseptic Isolator
User Manual
6
Electrical Requirements
VersaFlow-4USP 115V, 60 Hz, 15 amp, 10’ hospital grade power cord for standard wall outlet
VersaFlow-6USP 115V, 60 Hz, 15 amp, 10’ hospital grade power cord for standard wall outlet
It is essential that the equipment be properly grounded; it is a violation of your warranty to operate without.
For service to the unit it is essential that the power cord outlet be easily accessible.
If the Electrical Height Adjustment option was purchased it requires its own power receptacle and a 15 amp
circuit on all sized units.

VersaFlowTM
Compounding Aseptic Isolator
User Manual
7
Certification
The Compounding Aseptic Isolator is a complete and self-contained unit whose performance was tested and
documented before shipping. It requires certification aer the unit has been installed and prior to operation.
This is especially important aer transportation of the VersaFlow from our factory to your facility. The purpose of
this retesting is to verify that the HEPA filter, airflows and pressures are within limits and the unit is performing
properly.
It is always a good idea to review basic operation of your new VersaFlow with the certification company
personnel due to their knowledge of this type of equipment.
The VersaFlow certification needs to be performed by a company that has the proper equipment and training
needed to test and measure HEPA filter performance. Recertification of the VersaFlow needs to be performed
every 6 months or as regulations dictate.
For a certifier listing in your area if you do not already have service, go to www.Germfree.com and visit our
Hospital Pharmacy Resource Center. For any additional information please contact Germfree at +1 386.265.4300.

VersaFlowTM
Compounding Aseptic Isolator
User Manual
8
Safety, Operation and Additional Professional
Training
The VersaFlow provides a contained environment that allows for greater protection for both personnel and
product than traditional open front laminar flow equipment. However, this protection can only be achieved
through proper technique. The following is a list of topics that may apply to your operation. Many of these items
may require additional professional study and practice beyond the information found in this manual.
1. Operation of the VersaFlow
2. Understanding HEPA particulate filtration
3. Proper operator technique
4. Understanding chemical compatibilities for proper glove selection
5. Understanding chemical compatibilities for proper “cleaning” and “sterilization”
6. Understanding chemical compatibilities for proper “decontamination”
7. Understanding sterile product preparation and aseptic technique
8. Understanding hazards associated with the products handled in the VersaFlow
9. Understanding proper maintenance and initial and periodic certification
10. Understanding Federal, State and Local applicable professional regulations.
To obtain this information and understanding may require additional professional training. If you need
assistance in finding Professional Pharmacy Organizations offering additional training for any of the above items
please call Pharmacy Equipment Sales at Germfree, +1 386.265.4300.

VersaFlowTM
Compounding Aseptic Isolator
User Manual
9
Product Protection
The Compounding Aseptic Isolator offers the highest level of product protection by providing vertical
unidirectional (laminar) flow HEPA filtered air to the complete work environment. The unit utilizes a full width
and depth supply HEPA filter above the work surface. This provides a beer than ISO Class 5 particulate-free
environment. Particulates generated by manipulations are continuously removed, maintaining ISO Class 5 or
beer conditions when operational. All air entering the VersaFlow is twice filtered, once by the pre-filter then by
the supply HEPA filter.

VersaFlowTM
Compounding Aseptic Isolator
User Manual
10
HEPA Filtration Theory
The Compounding Aseptic Isolator uses HEPA (High Efficiency Particulate Air) filters to provide the highest
level of product protection. These filters are the laminar flow supply HEPA filter, which filters all air passing over
the entire work area. All filters are rated to remove particulates and aerosols 0.3 micron in size with a minimum
efficiency of 99.99%. These filters are even more effective at removing particulates both larger and smaller than
0.3 microns as the graph below depicts. Personnel and product protection from gas and fumes are not provided
by HEPA filtration.
HEPA filters are recognized as one of the finest forms of mechanical air filtration available for this application.
HEPA filters improve or become more efficient as they load under use. There are a number of mechanisms
involved in HEPA filtration which is briefly presented below:
1. Impingement - Large particulates, e.g. dust, are captured by the filter fibers as the air stream flows
around the fibers.
2. Interception - Particulates follow air stream around filter fibers and become captured (physical
interference between particles and fibers).
3. Diffusion - Very small “particles” are bombarded by gas molecules causing them to move erratically
(Brownian motion) and contact the filter fibers.
4. Straining - Occurs when the smallest dimension of the particulate is greater than the distance between
adjoining filter media fibers.
5. Electrostatic attraction - Enhances mechanical capture through attraction of oppositely charged
particles.

VersaFlowTM
Compounding Aseptic Isolator
User Manual
11
Unidirectional (Laminar) Air Flow
The Compounding Aseptic Isolator offers the highest level of product protection by providing vertical laminar
flow HEPA filtered air to the complete work environment. This is the same technology used in Laminar Flow
Workstations and Biological Safety Cabinets. The Compounding Aseptic Isolator utilizes a full width and depth
supply HEPA filter above the work surface. Any particle-laden air is swept from the work area with a wash of
HEPA filtered air. Filtered air washes over the work area into the front and rear grilles. Particles that are generated
by the work are immediately washed into the returns and out of the work zone. Internal cross-contamination
from compounding different products in the same work area is drastically reduced.

VersaFlowTM
Compounding Aseptic Isolator
User Manual
12
Components Identifier
Front of VersaFlow
1. Prefilter Housing
2. Control Panel
3. Light Housing
4. Gloveports
5. Viewing Panel
6. Interchange Chamber
7. Door Latch
8. Optional Electric Lift Height Adjustment
Switch
9. Casters
Inside the Work Area
1. IV Bar
2. Inner Interchange Chamber Door
3. Work Tray

VersaFlowTM
Compounding Aseptic Isolator
User Manual
13
1. Diffuser Screen
2. Electrical Outlet
3. Optional Sealed Data Port

VersaFlowTM
Compounding Aseptic Isolator
User Manual
14
Control Panel
1. Digital Pressure Gauge
2. Low Pressure Alarm
3. Low Pressure Pilot Light
4. Main Blower Switch
5. Circuit Breaker Switch
6. Light Switch
7. Light Cable
8. Speed Control (for certifier use only)
9. Audible Alarm On/Off Switch*
10. Interchange Chamber Purge Timer
*Audible Alarm should remain on at all times during
operation
Side View
1. Supply HEPA Filter and Motor Housing
2. Main Power Cord
3. Junction Box for Work Area Electrical Outlet
4. Gas Shock Window Lift
5. Optional Sealed Data Port

VersaFlowTM
Compounding Aseptic Isolator
User Manual
15
Initial Cleaning
Exterior
The outside of the VersaFlow can be cleaned at any time while the unit is closed and the procedure does not
require Personal Protective Equipment (PPE) additional to that normally used when operating the VersaFlow.
The stainless steel should be cleaned using a 70% isopropyl alcohol solution or a solution specifically designated
for the cleaning of stainless steel. The acrylic front should be cleaned with a so cloth and a mild detergent, or
a solution specifically designated for the cleaning of acrylic surfaces. Do not use ammonia based cleaner on the
acrylic.
It is important to never use abrasive cleaners or organic solvents on the acrylic components. Additionally, the
acrylic should not be cleaned with any solution stronger than 50% ethyl or 70% isopropyl alcohol.
Interior
Open the front access window and allow the VersaFlow to continue running during the cleaning process. A
water-based, high pH, disinfectant cleaner should be used, followed by 70% alcohol. This cleaning method,
when properly performed, prevents dripping of dirty solution onto cleaned surfaces and does not carry
contaminants from surfaces near the open front of the work area to the rear.

VersaFlowTM
Compounding Aseptic Isolator
User Manual
16
Operation
The VersaFlow must be certified before use.
It is recommended to perform several trial runs in the Compounding Aseptic Isolator before initiating
preparation.
1. Ensure the prefilter is fitted properly in its housing at the top of the unit.
2. Ensure the VersaFlow is plugged into a functioning outlet.
3. Turn on the main power switch. The low pressure alarm will sound until adequate pressure is achieved.
4. A minimum of 10 minutes for start-up time is needed to achieve ISO Class 5 cleanliness.
5. Turn on the light switch.
6. Open the viewing panel and inspect under the work tray. Make sure there is nothing below the work
trays. Remove any foreign objects from the work area.
7. Push the end of the electrical outlet into the receptacle located at the top right corner of the work area
and tighten the retaining ring.
8. Install Sleeves and Gloves. Please refer to the section Procedure for Glove Changes.
9. Inspect Gloves and Sleeves for any tears. Please refer to the section Two-Part Glove System. If
appropriate, change gloves to the preferred type and size.
10. Ensure both interchange chamber doors are closed.
11. If purchased the optional Electrical Height Adjustment, adjust the height of the unit to a comfortable
working height.
12. Be sure the inner interchange chamber door is closed. Always close one interchange chamber door
before opening the other.
13. Place compounding elements into the interchange chamber, wipe down.
14. Remove hands from the interchange chamber and close.
15. Wait at least 10 seconds before bringing compounding elements into work area.
16. Begin preparation.
17. Dispose of waste through the sliding interchange chamber door using the sealed bag method.
18. Remove completed preparation from the work area through the interchange chamber.
For safe and efficient use of the Compounding Aseptic Isolator you should take into account the equipment
and materials necessary for the proposed operation and list the procedural details for each operation. The best
way to accomplish this is through the use of a checklist and/or protocol that includes all equipment, apparatus,
tools, products and supplies necessary for each specific procedure. The list should include the order of events
in enough detail to successfully carry out the proposed operation. This list needs to include such items as initial
cleaning equipment, spill control equipment and even extra gloves in case a change is required in the middle of
the operation.
Always operate with critical sites in first air. This may take practice since the source of the HEPA filtered air is now
above the user instead of in front, as in the commonly used Horizontal Laminar Flow Workstation.
The VersaFlow is not a substitute for good aseptic technique. It will provide a clean environment for
compounding but can be defeated with poor technique and disregard for cleaning and operational procedures.

VersaFlowTM
Compounding Aseptic Isolator
User Manual
17
Proper Aseptic Technique
The Isolator family of equipment is no different than that of the Laminar Flow Workstation or the Biological
Safety Cabinet- the equipment is a tool to aid the operator in maintaining a clean environment for the
compounding of preparations. The equipment will never be a substitute for proper aseptic technique. If the
environment is not cleaned well or the operator’s technique is poor, an aseptic media fill test will usually reveal
the inadequacies.
Never block air grills, do not operate without gloves or sleeves, or place anything other than compounding
elements in the work area or this will compromise the workability of the unit.
During operation be sure to disinfect and sanitize the work area at the beginning and end of each shi and aer
any large spills. Change your hand gloves regularly. Use the proper glove size to maximize operator comfort and
follow all existing internal procedures and policies.

VersaFlowTM
Compounding Aseptic Isolator
User Manual
18
Cleaning the VersaFlow - Heavy Duty (Rigorous)
Exterior
The outside of the VersaFlow can be cleaned at any time while the unit is closed. The procedure does not require
Personal Protective Equipment additional to that normally used when operating the VersaFlow. The stainless
steel should be cleaned using a 70% alcohol solution or a solution specifically designated for the cleaning of
stainless steel. The acrylic front panel should be cleaned with a so cloth and a mild detergent, or a solution
specifically designated for the cleaning of acrylic surfaces.
It is important to never use abrasive cleaners or organic solvents on the acrylic components. Additionally, the
acrylic should not be cleaned with any solution stronger than 50% ethyl or 70% isopropyl alcohol. Do not use
glass cleaner with ammonia.
Work from top to boom. Do not remove or spray the prefilter at the top of the unit.
NEVER spray any type of cleaner directly at the control panel located on the front top where the gauges are.
Always spray onto a clean wipe and then wipe the surface, switches and knobs.
Interior
A water-based, high pH, disinfectant cleaner should be used, followed by 70% alcohol. This cleaning method,
when properly performed, prevents dripping of dirty solution onto cleaned surfaces and does not carry
contaminants from surfaces near the open front of the work area to the rear.
1. Open the front access window.
2. Spray disinfectant cleaner on a lint-free cleaning wipe. Wipe the filter diffuser in the top of the work
area wiping from side to side, overlapping strokes. Work outward from back to front.
3. Do not spray cleaners directly toward the Supply HEPA filter- always spray the cleaner onto the cleaning
wipe then clean the filter protector surface.
4. Spray the back wall of the work area. Wipe the wall beginning at the top and wipe top to bottom using
overlapping strokes working downward toward the work surface and wipe the rear air return grill. Work
sideways from left to right.
5. Spray the sides of the work area. Using overlapping strokes, wipe top to bottom working downward
toward the work surface. Be sure to clean the entire interchange chamber door surface that is exposed
to the inside of the work area, including the handle.
6. Lift the work tray, spray the inside and wipe in an overlapping strokes from side to side and back to
front.
7. Remove glove sleeves and spray the inside of the open front access window. Using overlapping strokes,
clean from top to bottom.
8. Spray a clean wipe with disinfectant cleaner and use it to clean glove ports.
9. Spray a clean wipe with disinfectant cleaner and use it to clean IV hanging bar and hooks.
10. Spray a clean wipe with disinfectant cleaner and wipe the front air return grill.
11. Close the front window. Clean the glove sleeves and gloves and replace on the front window.
12. Open the front window and repeat steps 1-13, without removing the sleeves and gloves, with sterile

VersaFlowTM
Compounding Aseptic Isolator
User Manual
19
water to rinse away any disinfectant.
13. Turn on the VersaFlow and close the front access window.
14. Spray 70% IPA directly on all surfaces of the rest of the work area, under sliding work trays, the inside of
the front access window, gloves and sleeves.
15. Allow the VersaFlow to run for 10 minutes before use.
Inside the Interchange Chamber
1. Follow the same steps as cleaning the inside of the VersaFlow.

VersaFlowTM
Compounding Aseptic Isolator
User Manual
20
Cleaning the VersaFlow Between Preparations
(Light)
Sanitizing the VersaFlow work area between preparations is recommended to reduce the chances of cross
contamination. 70% Isopropyl Alcohol is the most recommended agent for this task.
1. Open only the outer door of the interchange chamber. Spray a clean wipe with alcohol and wipe the top
and back HEPA filter covers.
2. Spray the remaining surfaces, including the tray with alcohol and wipe with overlapping strokes.
3. Leave the spray bottle in the interchange chamber and close the outer interchange chamber door.
4. Open the inner interchange chamber door and remove the spray bottle.
5. Spray all vertical surfaces in the work area with alcohol and wipe from top to bottom with clean wipes.
Use overlapping strokes moving left to right.
6. Spray the air grills and work surface with alcohol and wipe from left to right with overlapping strokes
moving back to front.
7. Spray the sleeves and gloves with alcohol and rub together, then wipe off.
8. Spray the same surfaces lightly and allow to air dry.
If all materials are wiped down prior to placement in the interchange chamber, it should remain clean for a
number of preparations in a row.
Table of contents
Other Germfree Industrial Equipment manuals
Popular Industrial Equipment manuals by other brands

Big Daishowa
Big Daishowa BBT30 Operation manual

Pfeiffer Vacuum
Pfeiffer Vacuum TPG 361 Translation of the original instructions

GAC
GAC EEG7500 manual

Deitz
Deitz PHARMAFILL CS10 Operation manual

Tennsmith
Tennsmith PR16 Installation, operation, parts & maintenance manual

VALLEY CRAFT
VALLEY CRAFT F88565C7 instruction manual