GHM Greisinger GIA 010 N User manual

E42.X.1X.6C-02 Operating Manual GIA 0420 N / GIA 010 N page 2 of 10
Index
1DESIGNATED USE...................................................................................................................................................2
2GENERAL NOTE ......................................................................................................................................................2
3SAFETY REQUIREMENTS.......................................................................................................................................3
3.1 GENERAL SAFETY ADVICES....................................................................................................................................3
3.2 SKILLED PERSONNEL ............................................................................................................................................3
4DISPOSAL NOTES...................................................................................................................................................3
5ELECTRIC CONNECTION........................................................................................................................................4
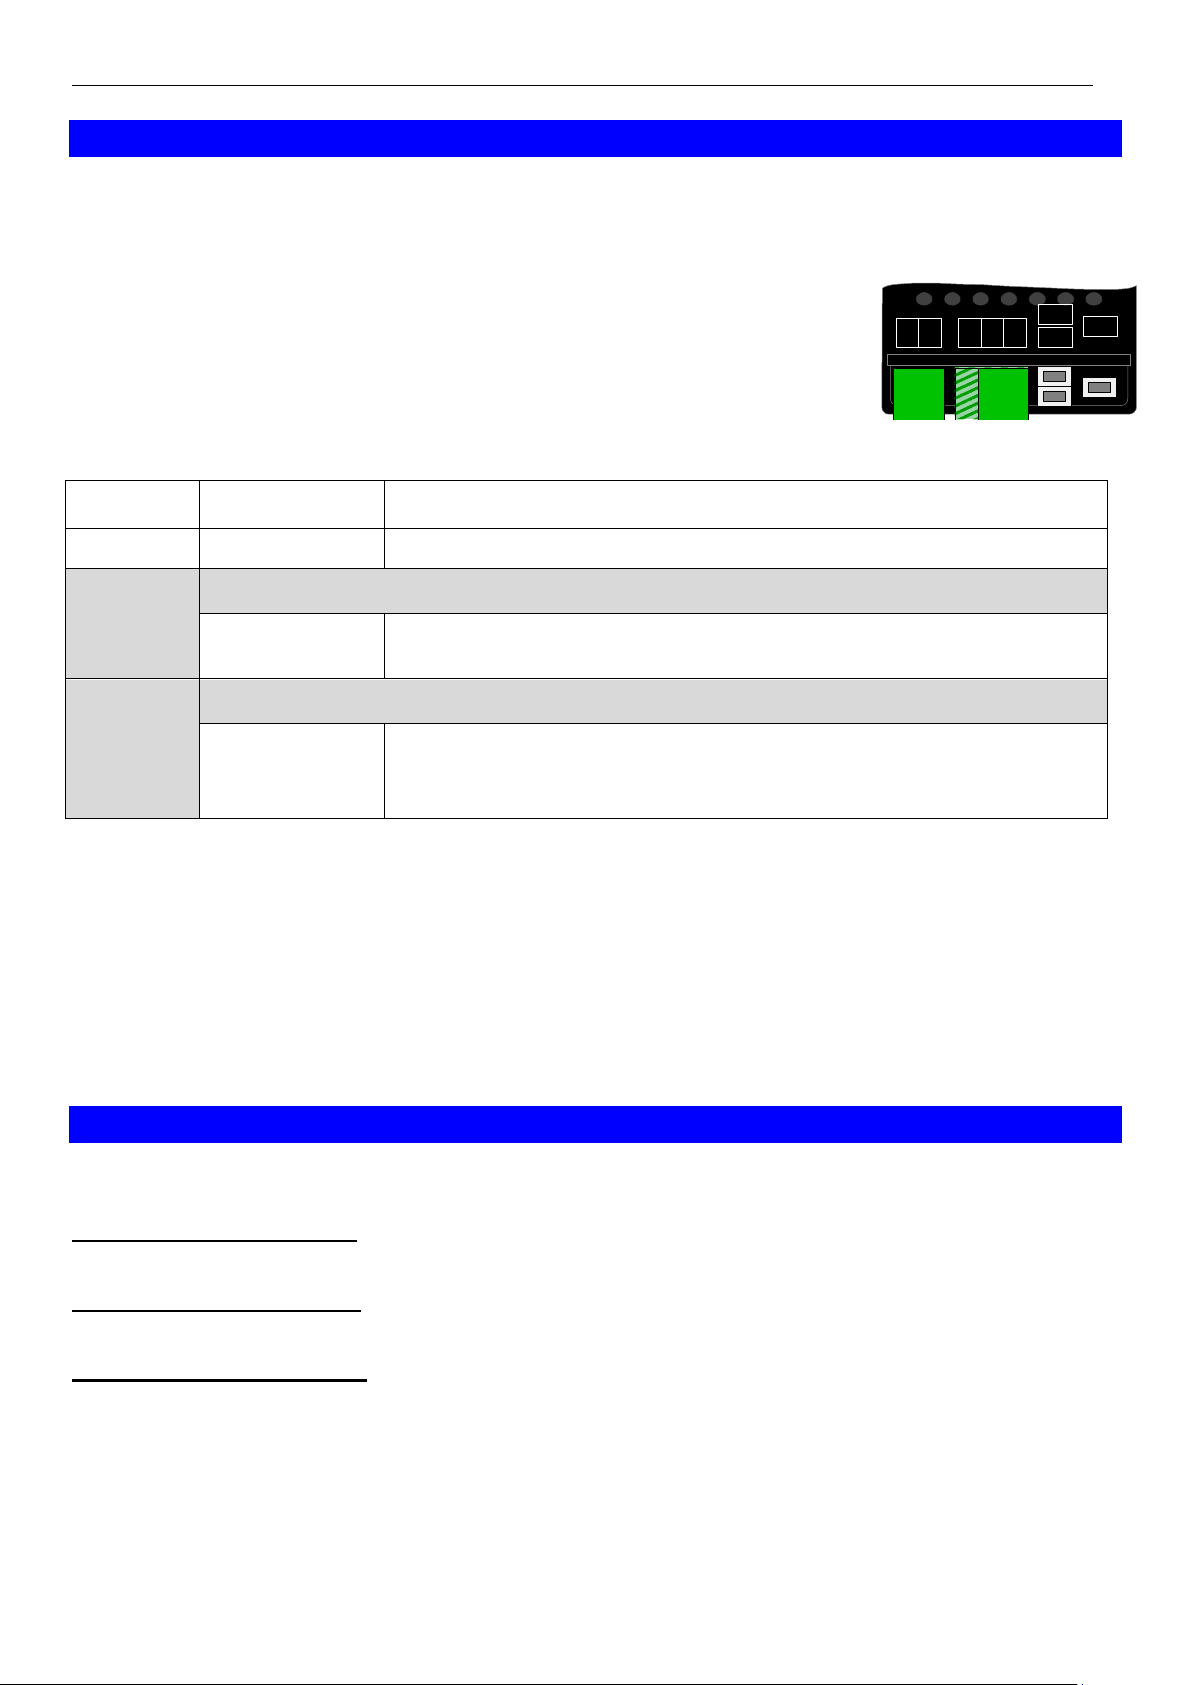
5.1 TERMINAL ASSIGNMENT.........................................................................................................................................4
5.2 CONNECTION EXAMPLE FOR OPTIONALLY SWITCHING OUTPUT .................................................................................4
5.2.1 Example assignment for switching output (i.e. switching of relays)............................................................4
6CONFIGURATION.....................................................................................................................................................5
7SELECTION OF SWITCHING AND ALARM POINTS .............................................................................................7
8OFFSET AND SLOPE ADJUSTMENT.....................................................................................................................8
9MIN-/MAX- VALUE MEMORY ..................................................................................................................................8
10 ERROR CODES ........................................................................................................................................................9
11 SPECIFICATIONS...................................................................................................................................................10
1 Designated Use
The GIA 0420 N and GIA 010 N are microprocessor controlled display devices.
The different design types of the device have an input for:
- standard signal 4 –20 mA (GIA 0420 N)
- standard signal 0 –10 V (GIA 010 N)
The measuring value is displayed on a 4-digit LCD display with max. display area ranging from -1999 to +9999 digits.
The device additional features a switching output (NPN-output) which can be configured as 2-point controller or min-
/max alarm. The state of the output is displayed with an arrow at the LCD.
The GIA 0420 … is designed for the connection of any measuring transducers (with a 4 to 20 mA output).
This design type doesn't need an auxiliary supply as it is supplied by the measuring current.
The GIA 010 … is designed for the connection of any measuring transducers (with a 0 - 10 V output).
The parameters and limit values can be input by buttons accessible at the rear side.
The operating range of the display device can be directly adjusted to the transmitter without any additional accesso-
ries by simply entering the maximum and minimum measuring range limits as well as the decimal point position.
All programmable parameters of the device are saved in an EEProm. In case of a current failure they will remain there
for at least 10 years.
The device is equipped with a self-diagnosis system continuously monitoring the essential parts of the device for their
perfect functioning. Both the self-diagnosis and the measuring sensor monitoring for values exceeding or falling below
permissible limits ensure maximum operational reliability of the device.
Prior to delivery the device will be tested and completely calibrated.
However, prior to you starting your operation make sure to configurate the device for your application.
Please also refer to chapter "Configuration".
2 General Note
Read this document carefully and get used to the operation of the device before you use it. Keep this document within
reach for consulting in case of doubt.

E42.X.1X.6C-02 Operating Manual GIA 0420 N / GIA 010 N page 3 of 10
3 Safety Requirements
3.1 General safety advices
This device has been designed and tested in accordance with the safety regulations for electronic devices.
However, its trouble-free operation and reliability cannot be guaranteed unless the standard safety measures and
special safety advises given in this manual will be adhered to when using the device.
1. Trouble-free operation and reliability of the device can only be guaranteed if the device is not subjected to any
other climatic conditions than those stated under “Specification”.
2. Standard regulations for operation and safety for electrical, light and heavy current equipment have to be ob-
served, with particular attention having to be paid to national safety regulations (e.g. VDE 0100).
3. When connecting the device to other devices (e.g. PC) the interconnection has to be designed most thoroughly as
internal connections in third-party devices (e.g. connection GND with protective earth) may lead to undesired volt-
age potentials.
4. If there is a risk whatsoever involved in running it, the device has to be switched off immediately and to be marked
accordingly to avoid re-starting.
Operator safety may be a risk if:
- there is visible damage to the device.
- the device is not working as specified.
- the device has been stored under unsuitable conditions for a longer time.
In case of doubt, please return device to manufacturer for repair or maintenance.
5. The buttons at the rear side are necessary for the configuration of the device.
The device is ESD sensitive at this area!!
The configuration must be done considering adequate ESD safety measures!
6. Warning: Do not use these products as safety or emergency stop devices or in any other application where failure of
the product could result in personal injury or material damage.
Failure to comply with these instructions could result in death or serious injury and material damage.
7. This device must not be used at potentially explosive areas! The usage of this device at potentially explosive areas
increases danger of deflagration, explosion or fire due to sparking.
8. This device is not constructed for use in medical applications.
9. This device must not be run with a defective or damaged power supply unit. Danger to life due to electrical shock!
3.2 Skilled Personnel
Are persons familiar with installation, commissioning and operation of the product and have professional qualification
relating to their job.
For example:
•Training or instruction resp. Qualification to switch on or off, isolate, ground and mark electric circuits and devices
or systems.
•Training or instruction according to the state.
•First-aid training.
4 Disposal Notes
The device must not be disposed in the unsorted municipal waste!
Send the device directly to us (sufficiently stamped), if it should be disposed.).
We will dispose the device appropriate and environmentally sound.

E42.X.1X.6C-02 Operating Manual GIA 0420 N / GIA 010 N page 4 of 10
5 Electric connection
The GIA ... N is connected via screw-type/plug-in terminals on the rear side.
General Note: Screw-type/plug-in terminals have to be mounted while they are still loose and plug them in only
afterwards. Soldering lands may be damaged in case of improper assembly of already plugged
terminals.
Please use applicable screwdriver and do not forcibly tighten the screws.
Supply voltage: GIA 0420 N device takes power from measuring current
GIA 010 N 12 ... 28 V or according device declaration
Electric connection and commissioning of the device must be carried out by trained and skilled personnel.
Wrong connection may lead to the destruction of the display device, in which case we cannot assume any warranty!
! Mind for the GIA 0420 … the maximum input current rating of 40mA under any circumstances !
5.1 Terminal assignment
GIA 0420 N GIA 010 N
connection
number
GIA 0420 N
GIA 010 N
1
signal +
supply +
2
signal -
supply -, GND
3
--- (inexistent)
signal +
4
switching output +
switching output +
5
switching output -
switching output -
5.2 Connection example for optionally switching output
Please note: The max. permitted voltage and switching current of the switching output must not be exceeded (even
not for a short time).
5.2.1 Example assignment for switching output (i.e. switching of relays)
Assignment as low-side switch Assignment as high-side switch
Output +
Input mA -
Input mA +
Output -
T1
T3
T2
54 2 1
3
n.c.
Output +
Input mA -
Input mA +
Output -
T1
T3
T2
54 2 1
3
n.c.
Output +
GND / -Uv
+Uv
Output -
0 - 10 V
Switching output +
Switching output -
supply
supply
Switching output +
Switching output -

E42.X.1X.6C-02 Operating Manual GIA 0420 N / GIA 010 N page 5 of 10
6 Configuration
Note: The device can be ESD sensitive at the area of the buttons.
The configuration must be done considering adequate ESD safety measures!
Please note: measuring current should be at least 4 mA during configuration of a GIA 0420 N!
Follow these instructions to configure the device:
Press button 2 for 2 seconds during actual value display, „dP“ is displayed.
Set parameter value with button 2 and button 3.
Save the set with button 1, the parameter name is displayed again.
Proceed to the next parameter with button 1, the name of that parameter is dis-
played.
If there is no key pressed within 60 seconds the configuration is cancelled.
The settings already entered are lost.
Parameter
Value
Description
Button 1
Button 2 and 3
DP
Position of decimal point
----
Max. display range: -1999 …9999
---.-
Max. display range: -199,9 …999,9
--.--
Max. display range: -19,99 …99,99
-.---
Max. display range: -1,999 …9,999
D,.LO
Lower display range limit (display low)
-1999 ... 9999
This value is displayed for input signal = 4mA.
D,.X,
Upper display range limit (display high)
-1999 ... 9999
This value is displayed for input signal = 20mA.
L,
(Measuring range) limit
OFF
deactivated:
Exceeding of the measuring range limit is tolerable as long as value is within
measuring range (p.r.t. note).
ON.ER
active, (display error):
The measuring range limit is exactly bounded by the input signal.
When exceeding or short falling the input signal the device will display an error
message.
ON.RG
active, (display measuring range limit):
The measuring range limit is exactly bounded by the input signal.
When exceeding or short-falling the input signal the device will display the se-
lected lower/upper display value.
e.g. humidity: when shortfalling or exceeding, the device will display 0% or 100%.
Note: When exceeding the measuring range, the device will always display an error message (.Err.1. or .Err.2.)
independent of the current limit settings.
The measuring range is from approx 3,7 and 20,8 mA respective 10.5 V (a falling below 0V will not detected).
FILT
Filter
OFF
Filter deactivated
0. 1
... 2.0
Filter active: Prevents “jumping” of the last digit and filters short noise pulses.
Higher numbers imply stronger filtering
Attention: this causes higher response times of the switching functions!
T1
T3
T2
54 2 1
3

E42.X.1X.6C-02 Operating Manual GIA 0420 N / GIA 010 N page 6 of 10
OVTP
Output function
NO
No output, device used as display
2P
2-point-controller
AL.F 1
Min- / max- alarm, together
Depending on the selected output function further parameters have to be adjusted. The configuration menu automati-
cally skips parameters not needed for the selected output function. The following diagram shows which parameters
are successively displayed for each output function.
A description of the single parameters follows afterwards.
Parameter
Value
Description
Button 1
Button 2 and 3
1.ON
only at outP = 2P
Switch-on point of output 1
D,.LO …D,.X,
Value at which output 1 should be switched on.
Value has to be between upper and lower measuring range limit set at the be-
ginning of the configuration menu.
1.OFF
only at outP = 2P
Switch-off point of output 1
D,.LO …D,.X,
Value at which output 1 should be switched off.
Value has to be between upper and lower measuring range limit set at the be-
ginning of the configuration menu.
1.DEL
only at outP = 2P
Delay of switching function of output 1
0.0 …999.9
The set value is the time [in seconds] the device waits at least after switching-
off output 1 to switch it on again.
1.ERR
only at outP = 2P
Preferred position of output 1
ON, OFF
If an error occurs, the device switches output 1 to “active” (on) or “inactive” (off)
AL.X,
only at
outP = A
L.F
1
Max-alarm point
AL.LO …D,.X,
Value, at which max-alarm should be triggered.
Value has to be between upper and lower measuring range limit set at the be-
ginning of the configuration menu.
AL.LO
only at
outP = A
L.F
1
Min-alarm point
D,.LO …AL.X,
Value, at which min-alarm should be triggered.
Value has to be between upper and lower measuring range limit set at the be-
ginning of the configuration menu.
A.DEL
only at
outP = A
L.F
1
Alarm delay
0…9999
The set value is the alarm delay in seconds.
The alarm case has to last for the set time to trigger the alarm.
After having set and confirmed the last point (depending on the selected output function) the configuration is done.
Press button 1 one more time after the input of the last parameter to close the configuration menu.
The devices restarts (segment test).

E42.X.1X.6C-02 Operating Manual GIA 0420 N / GIA 010 N page 7 of 10
7 Selection of switching and alarm points
Note: The device can be ESD sensitive at the area of the buttons.
The configuration must be done considering adequate ESD safety measures!
Note: All relevant switching and alarm points can be set at this menu.
(Preferred output position and delay of the output can only be set at configuration menu)
Depending on the selected output function different parameters have to be adjusted.
The configuration menu automatically skips parameters not needed for the selected output function.
Note: The menu cannot be called if output function is set off.
Follow these instructions to adjust switching and alarm points:
Press button 1 for 2 seconds during actual value display, „1.on“ or „AL.Hi“ is
displayed.
Set parameter value with button 2 and button 3.
Save the set with button 1, the parameter name is displayed again.
Proceed to the next parameter with button 1, the name of that parameter
is displayed.
If there is no key pressed within 60 seconds the configuration is cancelled.
The settings already entered are lost.
Parameter
Value
Description
Button 1
Button 2 and 3
1.ON
only at outP = 2P
Switch-on point of output 1
D,.LO …D,.X,
Value at which output 1 should be switched on.
Value has to be between upper and lower measuring range limit set at the be-
ginning of the configuration menu.
1.OFF
only at outP = 2P
Switch-off point of output 1
D,.LO …D,.X,
Value at which output 1 should be switched off.
Value has to be between upper and lower measuring range limit set at the be-
ginning of the configuration menu.
AL.X,
only at
outP = A
L.F
1
Max-alarm point
AL.LO …D,.X,
Value, at which max-alarm should be triggered.
Value has to be between upper and lower measuring range limit set at the be-
ginning of the configuration menu.
AL.LO
only at
outP = A
L.F
1
Min-alarm point
D,.LO …AL.X,
Value, at which min-alarm should be triggered.
Value has to be between upper and lower measuring range limit set at the be-
ginning of the configuration menu.
A.DEL
only at
outP = A
L.F
1
Alarm delay
0…9999
The set value is the alarm delay in seconds.
The alarm case has to last for the set time to trigger the alarm.
After having set and confirmed the last point (depending on the selected output function) the configuration is done.
Press button 1 one more time after the input of the last parameter to close the configuration menu. The devices re-
starts (segment test).
T1
T3
T2
54 2 1
3

E42.X.1X.6C-02 Operating Manual GIA 0420 N / GIA 010 N page 8 of 10
8 Offset and slope adjustment
Note: The device can be ESD sensitive at the area of the buttons.
The configuration must be done considering adequate ESD safety measures!
The offset and slope-adjustment function can be used for compensating the tolerance of the used sensor, resp. for
vernier adjustment of the used transducer / transmitter.
Follow these instructions to run the offset and slope adjustment of the device:
Press button 3 for 2 seconds during actual value display, „OFFS“ is displayed.
Set parameter value with button 2 and button 3.
Save the set with button 1, the parameter name is displayed again.
Proceed to the next parameter with button 1, the name of that parameter is dis-
played.
Parameter
Value
Description
Button 1
Button 2 and 3
OFFS
Offset
-5.00 …5.00
The offset in digit
The set offset value is subtracted from measured value.
SCAL
Scale
-5.00 …5.00
The scale in %.
The displayed value is calculated according to the following formula:
Display = (measured value - offset - di.Lo) * (1 + slope adjustment [% / 100] ) + di.Lo
Example for offset and slope adjustment:
Connection of pressure transmitter.
The device displays without offset and slope adjustment: at 0 bar = 0.08, at 20 bar = 20.02
From this calculated: offset: 0.08
slope: 20.02 –0.08 = 19.94
difference: 0.06 (= ideal slope –actual slope = 20.00 - 19.94)
Therefore this values should be set: offset = 0.08
scale = 0.30 (= difference / actual slope = 0.06 / 19.94 = 0.0030 = 0.30% )
9 Min-/max- value memory
The device features a minimum/maximum-value storage. In this storage the highest and lowest performance data is
saved.
Calling of the minimum value:
Press button 3 shortly: the device will display “Lo“ briefly, after that the min-value is displayed for about 2 sec.
Calling of the maximum value:
Press button 2 shortly: the device will display “Hi“ briefly, after that the max-value is displayed for about 2 sec.
Erasing of the min/max values:
Press button 2 and 3 for 2 sec.: The device will display “CLr“ briefly, after that the min/max-values are set to the cur-
rent displayed value.
T1
T3
T2
54 2 1
3

E42.X.1X.6C-02 Operating Manual GIA 0420 N / GIA 010 N page 9 of 10
10 Error Codes
When detecting an operating state which is not permissible, the device will display an error code.
The following error codes are defined:
Err.1:
Exceeding of measuring range
Indicates that the valid measuring range of the device has been exceeded.
Possible causes: - Input signal to high
- Sensor shorted (at 0(4)-20mA)
Remedies: - The error-message will be reset if the input signal is within the limits.
- Check transmitter and device configuration (e.g. input signal).
Err.2:
Values below measuring range
Indicates that the values are below the valid measuring range of the device.
Possible causes: - Input signal is to low or negative
- Current below 4mA
- Sensor broken (at 4-20mA)
Remedies: - The error-message will be reset if the input signal is within the limits.
- Check transmitter and device configuration (e.g. input signal).
Err.3:
Display range has been exceeded
Indicates that the valid display range (9999 digit) of the device has been exceeded.
Possible causes: - Incorrect scale
Remedies: - The error-message will be reset if the display value is below 9999.
Err.4:
Values below display range
Indicates that display value is below the valid display range of the device (-1999 digit).
Possible causes: - Incorrect scale
Remedies: - The error-message will be reset if the display value is above -1999.
Err.7:
System error
The device features an integrated self-diagnostic-function which checks essential parts of the device
permanently. When detecting a failure, error-message Err.7 will be displayed.
Possible causes: - Actual temperature is below / above the valid temperature range
- Device defective
Remedies: - Stay within valid temperature range
- Exchange the defective device.
Er.11:
Value could not be calculated
Indicates a measuring value, needed for calculation of the display value, is faulty or out of range.
Possible causes: - Incorrect scale
Remedies: - Check settings and input signal

E42.X.1X.6C-02 Operating Manual GIA 0420 N / GIA 010 N page 10 of 10
11 Specifications
GIA 0420 … GIA 010 …
Input signal: 4 ... 20 mA (2-wire) 0 ... 10 V (3-wire)
Voltage load: 3.0 –3.5 V (typ.)
Input resistance: approx. 100 kOhm
max. permissible input: 25 mA (40mA short time) 15 V
Supply voltage: 12 - 28 V
Supply current: from current loop < 10 mA
Display: approx. 10 mm high LCD-display
Display range: limits freely adjustable
Max. display value: 9999 digit
Min. display value: -1999 digit
Recommended range: < 2000 digit
Decimal point: any position
Accuracy: (at 25°C) < 0.2% ±1 digit
Temperature drift: < 100 ppm / K
Measuring rage: approx. 5 measurements / second
Filter: adjustable
Operation: via 3 buttons
Min-/max-value memory: callable via buttons
Switching output: 1 electrically isolated open collector output,
Test voltage: 50 V
Switching point, hysteresis: freely adjustable
Switching voltage: max. 28 V
Switching current: max. 50 mA
Please note: the switching output is not short-circuits protected
Reaction time: < 250 ms
Nominal temperature: 25 °C
Working conditions: -20 ... 50 °C, 0 ... 80 % (non condensing)
Connection: via 2- or 3-pin screw-type/plug-in terminal
max. wire cross selection: 1.5 mm²
Housing: glass fibre reinforced noryl, front panel PC
24 x 48 x approx. 65 mm (H x W x D)
Panel cut-out: 21.7+0.5 x 45+0.5 mm (H x W)
IP rating: IP20
by front-flush mounting: front side IP54 (IP65 by means of additional silicone o-rings)
EMC: The instruments confirm to following European Directives:
2014/30/EU EMC Directive
2011/65/EU RoHS
Applied harmonized standards:
EN 61326-1 : 2013 emissions level: class B
emi immunity according to table 3 and A.1
Additional fault: <1%
When connecting long leads adequate measures
against voltage surges have to be taken.
The device is ESD sensitive at the area of the but-
tons at the rear side
EN 50581 : 2012
This manual suits for next models
1
Table of contents
Other GHM Transmitter manuals