Gigafast EE102-AEX User manual

CardBus
10/100M Ethernet card
User Manual
Version 1.2


Regulatory compliance
This equipment has been tested and found to comply with the limits for
a Class B digital device pursuant to Part 15 of the FCC Rules. This
equipment also complies with CE EN55022 Class B and VCCI V3 Class
B specifications. These limits are designed to provide reasonable protec-
tion against harmful interference when the equipment is operated in a
commercial environment.
This equipment generates, uses, and can radiate radio frequency energy
and, if not installed and used in accordance with the instruction manual,
may cause harmful interference to radio communications. Operation of
this equipment in a residential area is likely to cause harmful interfer-
ence in which case the user will be required to correct the interference at
his own expense.
Changes or modifications not expressly approved by the parties respon-
sible for compliance could void the user¡¦s authority to operate the
equipment.
About this manual
This user¡¦s manual decribes how to install and operate your CardBus
Ethernet card. Please read this manual before you install the product.
This manual includes the following topics:
„ƒProduct description, features and specifications.
„ƒHardware installation procedure.
„ƒSoftware installation procedure.
„ƒTrouble shooting procedures

CardBus Ethernet card user manual
ii
Table of contents
Regulatory compliance .........................................................................i
About this manual.................................................................................i
Table of contents..................................................................................ii
CHAPTER 1 4
Introduction 4
Features ..................................................................................................... 4
CHAPTER 2 5
Hardware installation 5
What¡¦s in the packag .................................................................................5
Hardware description...................................................................................5
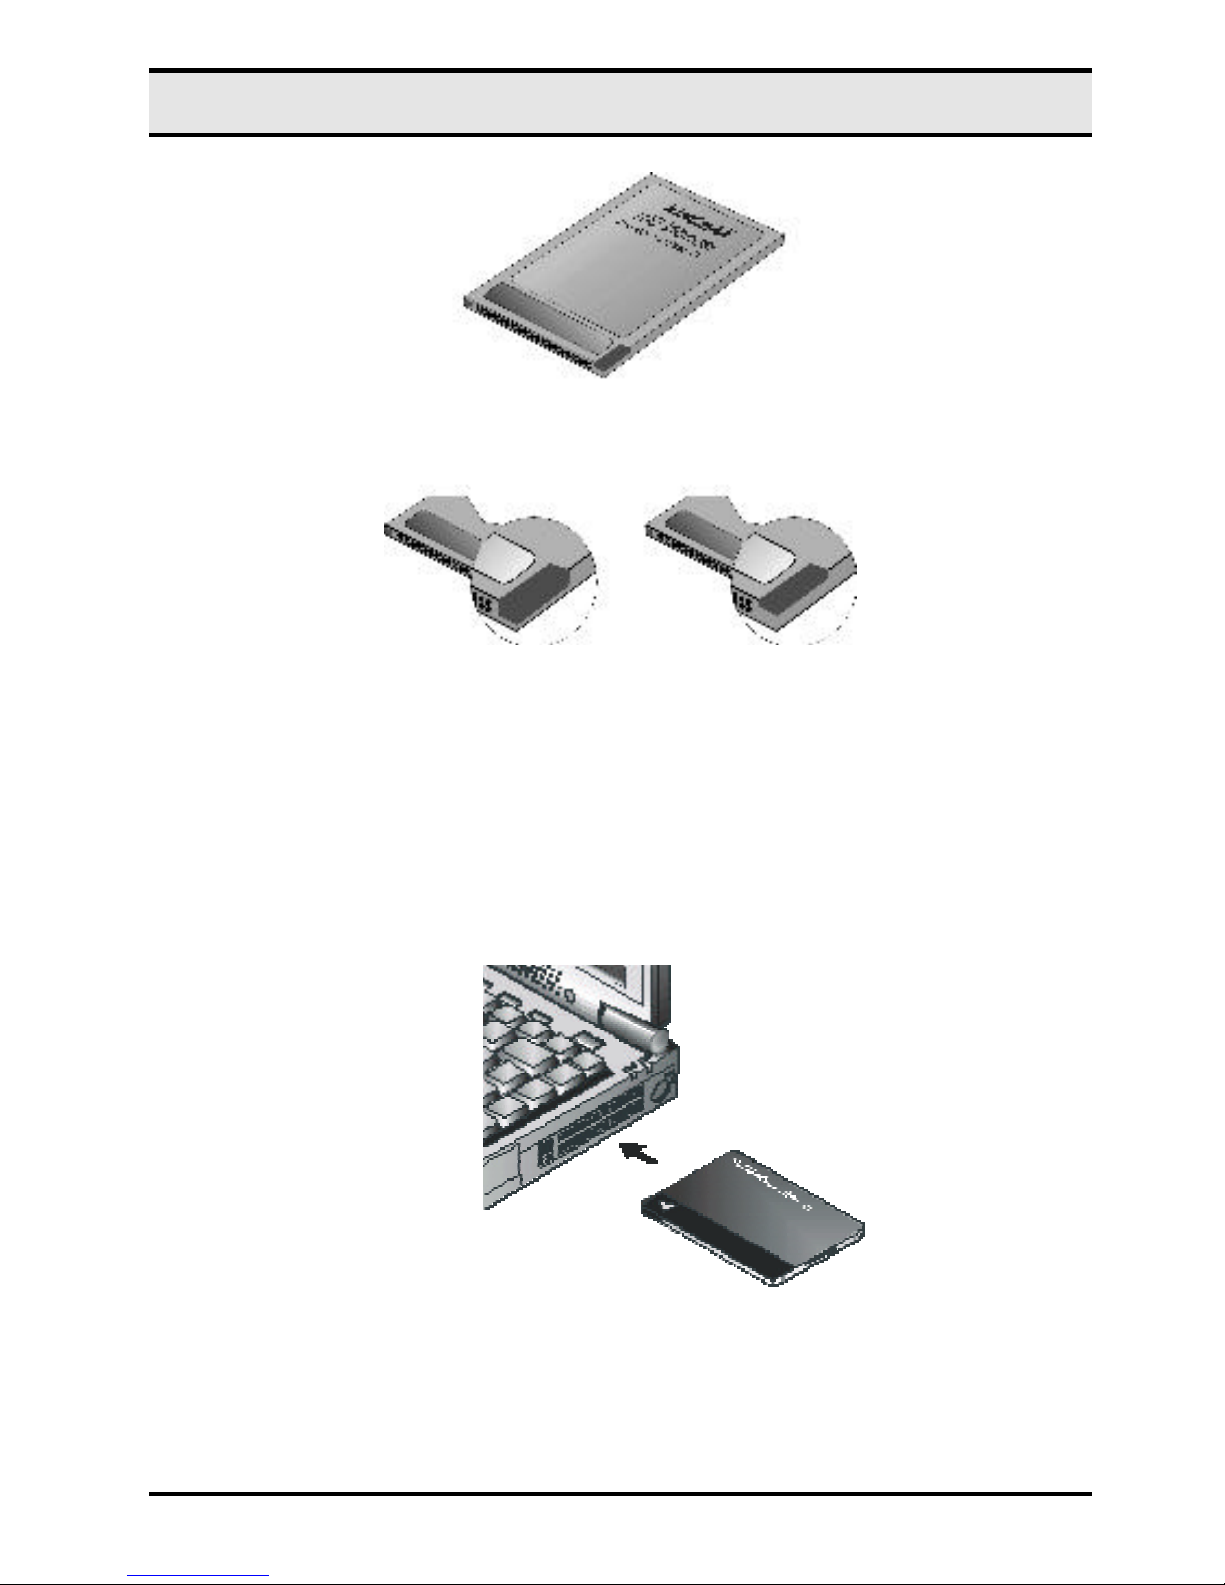
Inserting the CardBus Ethernet card.............................................................6
Ethernet Card RJ-45 connector LEDs...........................................................7
Disconnecting the Ethernet Card..................................................................8
CHAPTER 3 11
Driver installation for Win 95/98/2000/ME/NT 11
Driver installation for Windows 95.....................................................12
Driver installation for Windows 98.....................................................14
Driver installation for Windows 2000.................................................17
Driver installation for Windows ME...................................................21
Driver installation for Windows NT 4.0..............................................24
CHAPTER 4 28
Driver installation for DOS environments 28
System Requirements ................................................................................28
Driver installation..............................................................................28
Driver installation program........................................................................28
Quick installation......................................................................................29
The Install program...........................................................................30
Using the Install program...........................................................................30
Auto configuration.....................................................................................32
Custom configuration.................................................................................34
Manual installation............................................................................36
Enablers....................................................................................................36
Driver installation..............................................................................38
Microsoft Windows for Workgroups 3.11...................................................38
Netware 3.X/4.X client..............................................................................39
Microsoft LAN Manager............................................................................39

¿ù! ©|¥¼©w¸Preface
iii
Artisoft LANtastic version 6.0 ...................................................................40
CHAPTER 5 41
Installation for Linux 41
Before Installation.....................................................................................41
Install Driver.............................................................................................42
APPENDIX A 45
Troubleshooting 45
Q&A for Windows environments.........................................................45
Windows 95/98 .........................................................................................45
Windows NT 4.0 .......................................................................................46
Windows 2000 ..........................................................................................46

4
Chapter 1
Introduction
Thank you for purchasing the CardBus 10/100Mbps Ethernet Card.
This high-speed Ethernet network adapter card complies with the PCMCIA
Type II standard and uses a female RJ-45 adapter to connect to the network.
The Ethernet Card is switchless and software configurable. An enabler pro-
gram is used to set up the card for your operating system; even without the
card and socket service drivers for the CardBus controller installed, you will
still be able to use the card by running the enabler program.
Features
5.0 mm Type II credit card size
Complies to IEEE 802.3 10Base-T and IEEE 802.3u 100Base-TX
Complies to PCMCIA 1995 PC Card Standard
PC Card standard 68-pin 32-bit CardBus Interface
10/100Mbps auto-sensing capability
Full/Half-duplex auto-negotiation supported for both 10Base-T and
100Base-TX
15-pin flat connector to media coupler
Switchless configuration setting
Diagnostics LED indicators: LNK, 100M, Act
Hot Swap card insertion and removal
3.3V low power consumption

Hardware installation
5
Chapter 2
Hardware installation
This chapter covers inserting your Ethernet Card in the notebook's CardBus
port, and connecting the card to a network.
What's in the package
Please ensure that the following items are included in your package. If any
items are missing, contact your dealer.
CardBus 10/100Mbps Ethernet Card
Ethernet media coupler with 15-pin flat connector at one end and
female RJ-45 connector at the other end.
Quick installation guide
Driver and this user's manual
Hardware description
The CardBus 10/100Mbps Ethernet Card is encased in a stainless compact frame that
is easily transportable. It has a 68-pin connector and a 15-pin flat connector for attach-
ing to the Notebook and Ethernet adapter cable respectively.
Please take note that the hardkey of a CardBus card is different from that of the tradi-
tional 16-bit PCMCIA card. This mechanism can protect the 3.3V CardBus card from
mis-insertion to 5V 16-bit PCMCIA slot.

CardBus Ethernet card user manual
6
Figure 2-1: Hardkey of 5/3.3V Traditional PCMCIA Card (left) and 3.3V CardBus Card (right)
Inserting the CardBus Ethernet Card
Follow the procedure below to install the Ethernet Card.
1. With the card's 68-pin connector facing the notebook's CardBus slots, slide
the card all the way into an empty slot. Do not force the connection!
Figure 2-3: Inserting the Ethernet Card
2. Plug the RJ-45 adapter into the Ethernet Card's 15-pin connector.

Hardware installation
7
Figure 2-4: Connecting the RJ-45 adapter
3. Connect the RJ-45 adapter to the network.
4. You can connect the Ethernet adapter cable to a port on a hub or to a RJ-45
phone jack with another male-to-male RJ-45 line or connector.
Connecting to a RJ-45
phone jack
Connecting to a hub
Figure 2-5: Connecting to the network
After you have inserted the Ethernet Card, you must install the drivers. If your oper-
ating system is Windows 98, Window 95, Windows NT 4.0, or Windows 2000 refer
to Chapter 3. If your operating system is DOS environment network operating sys-
tem, refer to Chapter 4. If your operating system is Linux, refer to Chapter 5.
Ethernet Card RJ-45 connector LEDs
The following illustration shows the Ethernet Card RJ-45 connector LEDs:

CardBus Ethernet card user manual
8
Figure 2-6: RJ-45 connector LEDs
The following table describes the meaning of the LEDs:
LED MEANING
ACT Indicates transmit or receive activity. It is normally off. When there is
packet transmit or receive activity, this LED is on.
100M Indicates the connection speed. When off, the connection speed is
10 Mbps. When on, the connection speed is 100 Mbps.
LNK Indicates whether the link is active or not. When lit, indicates that the
link is active. When off, indicates that the link is inactive.
Disconnecting the Ethernet Card
The Ethernet Card RJ-45 connector is designed to lock in place when connected
to the Ethernet Card. The following illustration shows the location of the clips:
Figure 2-7: Disconnecting the RJ-45 cable

Hardware installation
9
WARNING: Do not pull on the RJ-45 cable to disconnect the RJ-45 con-
nector from the card. You may damage the RJ-45 connector pins as well as
the Ethernet Card.
After you have disconnected the RJ-45 cable, you can eject the Ethernet Card from
the notebook's PC Card slot.
NOTE: In Win 95/98/2000 operating systems, you do not have to
power down the notebook to remove the card. The card is hot-
swappable—you can remove the card when the notebook is
powered on. However, Microsoft recommends that you stop the card.
Refer to your Win 95/98/2000 online help for information on stopping
the Ethernet Card.
Most notebooks have an eject lever or button for ejecting PC cards from the PC ports.
Consult your notebook's user's manual for details.
NOTE: Do not eject the Ethernet Card when a data transmission is taking
place. Exit your communications program normally, stop the card if necessary,
and then remove the card.

CardBus Ethernet card user manual
10
N
NO
OT
TE
ES
S

11
Chapter 3
Driver installation for
Win 95/98/2000/ME/NT
The following sections cover CardBus Ethernet card driver installa-
tion in the Windows 2000/98/95/NT/ME operating systems.
Before Installation
To identify the version of Windows 95, you can check the General
system properties. To get the general system properties, double-
click the System icon from the Control Panel.
The version of Windows 95 OSR2 is 4.00.950 B. Make sure the
version of your Windows 95 is correct.
Next, check whether your notebook PCMCIA controller supports
CardBus. You can check it from Device Manager. If the PCMCIA
socket is shown to be PCIC or TCIC compatible Controller, then
the notebook cannot support CardBus.

CardBus Ethernet card user manual
12
Driver installation for Windows 95
Installation of the CardBus Ethernet card is just the same as for any
normal Windows 95 Plug & Play device. Follow the steps below to
install the driver in Windows 95.
1. Insert the CardBus Ethernet card into an available CardBus
slot in your notebook
2. After Windows 95 detects the card, the Update Device
Driver Wizard window appears:

Win 95/98/2000/ME/NT
13
3. Insert the driver disk and click Next to continue the installa-
tion. Windows searches for the driver and the following
screen appears:
4. Click Finish to continue, Windows 95 copies driver files to
the hard disk.

CardBus Ethernet card user manual
14
5. Windows 95 prompts you to restart the system. Click Yes
to complete the installation.
Driver installation for Windows 98
Follow the steps below to install the CardBus Ethernet card drivers
for Windows 98.
1. Insert the CardBus Ethernet card into an available CardBus
slot on your notebook
2. After Windows 98 detects the CardBus Ethernet card, the
Add New Hardware Wizard window appears:
3. Click Next to continue the installation. A screen appears
prompting you to select an installation method:

Win 95/98/2000/ME/NT
15
4. Select Search for the best driver for your device. (Recom-
mended) and click Next. The following screen appears:
5. Ensure that the floppy disk drive box is checked.
6. Insert the driver disk into your floppy drive and click Next.
The following screen appears:

CardBus Ethernet card user manual
16
7. Click Next. Windows 98 copies files to your hard disk drive,
and you see the following screen:
8. Click Finish.
Note! Windows 98 may need to copy re-
quired system files and will prompt you

Win 95/98/2000/ME/NT
17
to input the path to the files. Follow
the instructions on your screen, then
click OK to continue.
You should reboot your system to finish the installation.
Driver installation for Windows 2000
Follow the steps below to install the CardBus Ethernet card drivers
for Windows 2000.
1. Insert the CardBus Ethernet card into an available CardBus
slot on your notebook
2. After Windows 2000 detects the CardBus Ethernet card, the
Found New Hardware Wizard window appears:
3. Click Next to continue the installation. A screen appears
prompting you to select an installation method:

CardBus Ethernet card user manual
18
4. Select Search for a suitable driver for my device (rec-
ommended) and click Next. The following screen appears:
5. Ensure that the Specify a location box is checked and click
Next. The following screen appears:
Table of contents
Other Gigafast Network Card manuals