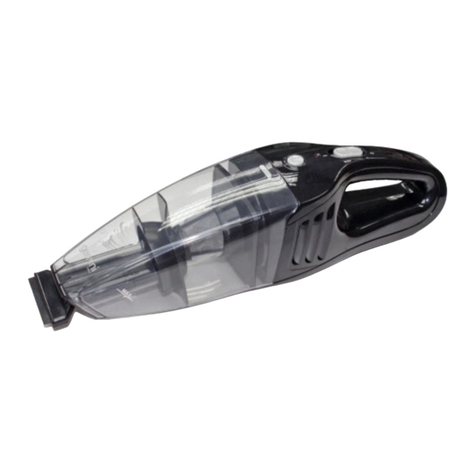
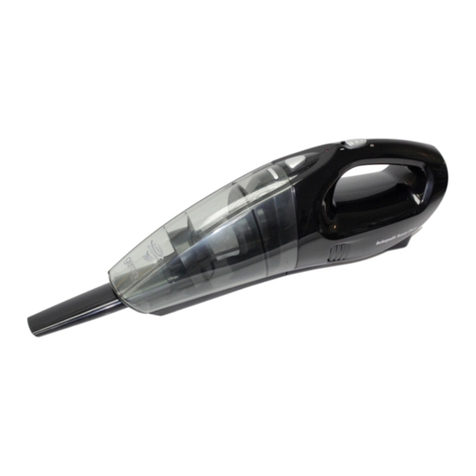
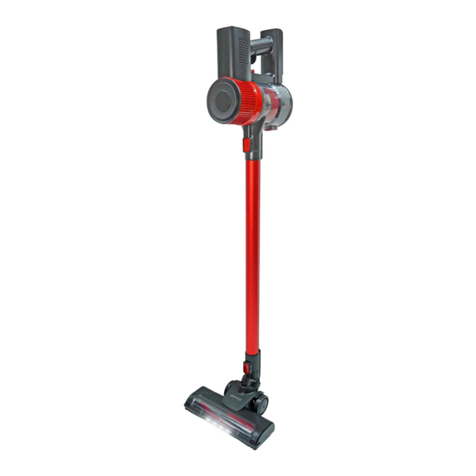
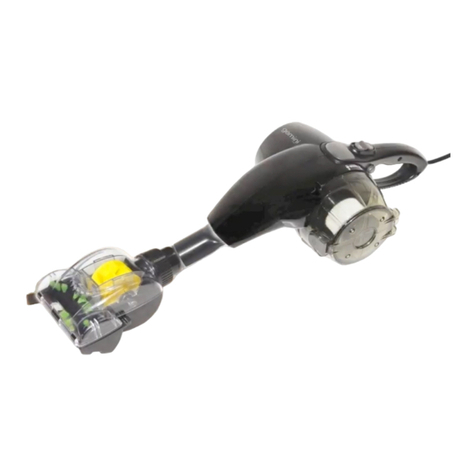
GILMAN Gemini GVC90UV User manual

1
MODEL NO 型號: GVC90UV
450W
3-IN-1 UV
DUst MItE rEMOVING
HaNDHELD/stICk
VaCUUM CLEaNEr
3合1 UV震動拍打除塵
蟎手提/直立式吸塵機
A GILMAN GROUP BRAND

2
1. The appliance can be used by children aged from 8 years and above and persons with
reduced physical, sensory or metal capabilities or lack of experience and knowledge
if they have been given supervision or instruction concerning used of the appliance
in a safe way and understand the hazards involved. Children shall not play with the
appliance. Cleaning and user maintenance shall not be made by children unless they
are older than 8 and supervised.
2. Do not leave appliance when plugged in. Unplug from power socket when not in use.
3. Do not use outdoors or on wet surfaces.
4. Children should be supervised to ensure that they do not play with this appliance.
5. Using the vacuum cleaner according to this instruction manual. Do not use other parts
which are not provided by manufacturer.
6. Do not use the appliance with damaged cord or plug. Do not use vacuum if it has been
dropped, damaged, left outdoors, or dropped in water. Please contact our after sales
service center for repair.
7. Do not pull or carry the cord, use cord as a handle, or pull the cord around sharp
edges or corners
8. Do not damage the power cord of appliance. Keep the cord away from all heat surfaces.
9. Do not unplug the machine by pulling out the cord. To unplug, please grasp the plug
instead of the cord.
10. Do not handle plug or appliance with wet hands
11. Do not put any object into the unit’s inlet. Avoid to block the unit’s inlet; keep free of
dust, lint, hair and anything that may reduce air ow.
12. Keep hair, loose clothing, ngers, and all parts of body away from unit’s inlet and
moving parts
13. Do not use the vacuum cleaner for vacuuming the things that is burning or smoking,
such as cigarettes and ashes.
14. Switch off all function button before unplug the machine.
15. Pay attention when it used to clean on stairs.
16. Do not use the vacuum cleaner for vacuuming the ammable or combustible liquids
such as gasoline or use in areas where they may be present.
17. Look on your vacuum and follow all label and marking instructions.
18. Do not exposure to eyes of human and animals when the UV light is on.
19. Assembly the telescopic extension tube and main unit with care, to avoid get hurt hu-
man face and body.
20. Do not use the vacuum cleaner without dust tank and lter in place.
21. Always unplug this appliance before connecting or disconnecting vacuum tube or
accessories.
IMPORTANT SAFE GUARDS
When using an electrical appliance, basic safety precautions should always be observed,
including the following
READ ALL INSTRUCTIONS BEFORE USING YOUR VACUUM CLEANER
WARNING: To reduce the risk of re, electrical shock, or injury, please pay attention to
the followings:
3
1. Handle
2. Wire hook
3. Telescopic extension tube
4. Release button of
telescopic extension tube
5. UV head brush release
button (Left & Right)
6. Floor brush
7. ON/OFF button
8. Dust tank lock
9. Dust tank
10. Air outlet
11. Crevice tool
12. Vibration button
13. UV Sterilization button
14. LED head lights
15. UV lamp
16. Vibration device
17. Filter
18. Extension button of
telescropic tube
22. Store the vacuum cleaner indoors.
23. Using improper voltage may result in damage to the motor and possible injury to the
user. Correct voltage is listed on the rating label.
24. Use only on dry, indoor surfaces.
25. Do not use for any purpose other than described in this user’s guide.
26. If the supply cord is damaged, it must be replaced by the manufacturer, its service
agent or similarly qualied persons in order to avoid a hazard.
HandheldStick vacuum
UV head brush (Top view)
UV head brush (Bottom view)
PARTS
16
7
8
9
12
13
14
15
17
10
11
1
32
4
5
6
18

4
ASSEMBLE THE VACUUM CLEANER
Handheld unit and UV head brush assembly
Operation with UV head brush
The unit and UV head brush assembly
Push the unit into UV head brush until hearing
a “CLICK” sound.
1. Connect the power plug to the supply socket.
2. Press the ON/OFF button of handheld unit to turn on the machine.
Remove the UV head brush
ON/OFF
button
Push the UV head brush release buttons together at the back
of handheld unit, then pull out the handheld unit gently.
UV head brush
release button
(right)
UV head brush release
button (left)

5
3. Press the function button to turn on UV Sterilization and/or Vibration modes.
4. When cleaning is nished, press the ON/OFF button again to switch off the machine.
Unplug the machine.
Handheld unit with crevice tool installation
Insert the crevice tool into the inlet of
handheld unit.
Pull out the crevice tool after cleaning.
Bottom view of
handheld unit
Crevice tool
Vibration
UV Sterilization
Wheel
Wheel
To activate the functions of UV sterilization and LED
head lights, please make sure to fulll both of the TWO
conditions as follow.
a. When the machine is placed on top of the object, the
wheels will be pressed inward automatically (Fig 1);
b. The machine must be used horizontally and level to
the ground.
NOTE: The UV sterilization function and LED head lights
will not be lighted up for security reason. (Fig 2)
(Fig 1) (Fig 2)

6
Stick vacuum cleaner assembly
Insert the handle with telescopic extension tube to the end of handheld, then install the
oor brush into the inlet to form the stick vacuum cleaner.
Push this button to adjust
the length of the telescopic
extension tube
Handle
Floor brush
Handle lock button
Press the handle lock button to take out the handle with telescopic extension tube. Take
out the oor brush from the inlet of handheld unit.
Insert the plug to power supply socket. Press the ON/OFF button to turn on the stick
vacuum cleaner.

7
1. Press the dust tank lock button on the
handheld unit to remove the dust tank
Dust tank lock
1. Always turn off the power and disconnect the power
cord from the power outlet before cleaning.
2. Wipe off the dirt from the protect grill by using a dry and
soft rag.
3. Do not use soap powder, detergent , solvents and spray
type cleaners to clean the UV lamp and the brush.
3. Clean the dust tank and the lter by
water. Make sure the lter and tank are
completely dry before assembly
2. Take out the lter inside the dust
tank
4. Assemble the dust tank and lter to
the main unit in the right position until
hearing a “CLICK” sound
CLEANING THE APPLIANCE
CLEANING THE UV LAMP TUBE
& HEAD BRUSH
protect grill
UV lamp tube

8
Model No.: GVC90UV
Voltage: 220-240V
Frequency: 50/60Hz
Power: 450W
Suction power: 14 kPa
UV lamp power: 6W
UV radiation wave length: 253.7 nm (UV-C type)
PRODUCT SPECIFICATION

9
當使用本機時,基本的安全防範措施要始終得到遵守,包括以下內容,
當使用此吸塵機前,請仔細閱讀此說書及指示:
警告:為了減少可能的火災風險、觸電或傷害,請遵守以下規則
1. 本機在給與在給與監督和認識危險下,可以給8歲以上兒童、體弱或智力弱、欠
缺經驗或知識的人仕使用,兒童不可以把玩本產品,清潔和維修不可給沒有監
督下的兒童處理
2. 電源通電時請不要離開,不使用時請把插頭從電源插座上拔下。
3. 請不要在室外或潮濕的地方使用本機。
4. 小孩需被指導及確保不可玩弄本機。
5. 請按使用說明書正確使用本機。只可用製造商提供的附件。
6. 電線或插頭有破損時,請不要使用本機。如果本機有摔過,損壞,曾留在戶外
或掉進水裡,請不要再使用。請將本機送到本司的客戶服務中心進行檢查。
7. 不要把電源線當作手柄形式使用;不要把它夾在門縫裡或鋒利的邊角上拉以免
損傷 。
8. 本機開動時不要破壞或壓過電源線;保持遠離所有加熱 /發熱體的表面。
9. 請勿拉著電源線拔下插頭,需拿著插頭拔下。
10. 手濕時不要抓電源線或本機,以免觸電。
11. 不要把任何物體塞入吸塵機的入風口。不要使入風口堵塞 ;保持入風口不會被塵
或大量頭髮和任何可能堵塞入風口的物體塞住 。
12. 使用時,避免頭髮、鬆身衣服、手指和其他身體部位接觸入風口或可移動的部
件,防止被吸住或纏繞。
13. 不要讓本機吸入燃燒物或冒煙的東西,如香火柴灰。
14. 拔掉插頭前,請關閉本機的開關按鈕。
15. 清掃樓梯時需格外小心。
16. 不要讓本機吸入易燃物或液體,如汽油。
17. 遵照吸塵機上的指示標貼使用 。
18. 切勿把UV吸扒直接接觸或照射人體和動物眼睛。
19. 保持接管等開口遠離臉部和身體。
20. 若未安裝塵筒及過濾網時,請勿使用/開啟吸塵機。
21. 連接或更換配件前,請先關閉本機,拔掉插頭。
22. 吸塵機需存放在室內。
23. 使用不正確的電壓會損害本機的馬達或組件和對使用者有危險。本機的銘牌上列
有正確的電壓標示 。
安全使用指南

10
1. 手柄
2. 電線掛鉤
3. 伸縮管
4. 伸縮管鎖扣
5. UV吸扒釋放按鈕
(左及右方)
6. 地刷
7. 開/關按鈕
8. 塵筒鎖扣
9. 塵筒
10.出風口
11.窄縫吸嘴
12.震動按鈕
13.紫外光滅菌按鈕
14.LED照明燈
15.UV燈
16.震動拍打器
17.過濾網
18.伸縮管調節按鈕
部件
手提式主機直立式吸塵機
UV 吸扒 (頂部)
UV 吸扒 (底部)
24. 僅在室內及乾燥的環境使用。
25. 不可作說明書以外用途,使用本機。
26. 如果電源線損壞,為了防止傷害事故必須聯絡售後服務部進行維修。
16
7
8
9
12
13
14
15
17
10
11
1
32
4
5
6
18

11
吸塵機配UV吸扒的安裝方法
手提式吸塵機與UV吸扒裝配次序組裝
UV吸扒操作
手提式吸塵機與UV吸扒組裝
手提式吸塵機與UV吸扒分離
將手提式吸塵機插入UV吸扒直至聽到
“
口
卡
”一聲
按下UV吸扒釋放按鈕(左及右一起按住)
後,將手提式吸塵機從UV吸扒輕輕拉出
1.將吸塵
機
插頭連接電源插座
2.按下主機的
開/關
按鈕,本機開始啟動
UV吸扒釋放按鈕(左方)
UV吸扒釋放按鈕
(右方)
開/關按鈕

12
3.按下UV吸扒上的“UV Sterilization (殺菌)”或/和“Vibration(震動拍打)”
按鈕可啟動其工作模式。
4.清潔完成後,再按下開/關按鈕來關機,然後拔出插頭。
窄縫吸嘴的安裝及移除方法
於箭端方向插入窄縫吸嘴 於箭端方向拆下窄縫吸嘴
本機體底部
窄縫吸嘴
Vibration
UV Sterilization
使用時,請按照以下指示並需同時符合兩項操作條件才
可啟動UV殺滅功能及LED照明燈:
a.當吸塵機底面朝下貼近物體表面時,兩個滾輪的開關
裝置才能啟動(圖1);
b.吸塵機必需處於水平狀態下使用
註:在
(圖 2)
狀態下,滾輪離開水平面時,
UV殺滅及
LED照明燈
兩個功能會熄滅,達到保護眼睛的作用。
(圖1) (圖2)
滾輪
滾輪

13
直立式吸塵機的組裝方法
如下圖所示,需將手把及伸縮管插入本機底部的位置,再於本機塵筒口位置安上地
刷轉為直立式吸塵機。
按住下圖的伸縮管鎖扣,將手把向上拉從本機底部拔出。地刷則從本機塵筒口位置
上向下拉即可拔出。
組裝後才插入電源,按下開/關按鈕啟動本機。
按伸縮管調節按鈕可
上下調節伸縮管長度
伸縮管鎖扣

14
清洗主機
清潔UV燈管及吸扒
1.按下塵筒鎖扣,沿箭頭所示
方向拆開本機和塵筒。
塵筒鎖扣
1.清潔UV燈管及吸扒前,謹記關閉本機的開關按鈕,
拔掉插頭。
2.清潔UV燈管時,使用清潔的絨布擦拭保護欄內的UV
燈管。
3.不要使用洗衣粉、清潔劑、去垢劑及一般清潔噴霧清
洗UV燈管及吸扒。
3.將過濾網及塵筒的灰塵倒入
垃圾桶內,再以清水沖洗。請
確保過濾網及塵筒完全乾透
後,再進行組裝。
2.取出塵筒內的過濾網。
4.清潔完畢後,將塵筒及過濾網
安裝回原本位置,再裝回主機。
(如圖)
保護欄
紫外光燈管

15
型號.: GVC90UV
電壓: 220-240V
頻率: 50/60Hz
功率: 450W
吸力: 14 kPa
紫外線燈功率: 6W
紫外線燈波長: 253.7 nm (UV-C波段)
產品規格

16
太平家庭電器
Table of contents
Other GILMAN Vacuum Cleaner manuals

GILMAN
GILMAN Gemini GVC45F User manual

GILMAN
GILMAN Gemini GVC2000 User manual

GILMAN
GILMAN gemini GVC3P User manual

GILMAN
GILMAN gemini GVC222R User manual

GILMAN
GILMAN gemini GVC12 User manual

GILMAN
GILMAN gemini GVC14X User manual

GILMAN
GILMAN Gemini GVC9 User manual

GILMAN
GILMAN Gemini GVC22V User manual