GlassCrafters Chelsea GCCHE-2430-FM User manual

The Chelsea Collection
Illuminated Wall Mirrors Installation Instructions
Congratulations on your purchase of Americas nest Mirrored Cabinet Accessories by GlassCrafters, Inc.
World class engineering and state of the art design will enable you to enjoy your wall mirror & cabinet for many years to
come. We realize that the marketplace offers many choices and we thank you for selecting
GlassCrafters for your bath mirror and cabinet needs.
Please use extreme care while unpacking and handling your GlassCrafters’ Decorative Wall Mirror & Accessories.
Report any damage immediately to our GlassCrafters’ customer service team at 800-233-7362,
Monday thru Friday from 8:00 am to 5:00 pm (EST)
7/14/2020
GLASSCRAFTERS, INC
11 York Av.,West Caldwell, NJ 07006
1+(800) 233-7362 (F) 1+(888) 233-7362
To insure proper installation in complete compliance with your warranty, we recommend installation by a professional installer.
WARNING
All GLASSCRAFTERS
Illuminated Mirrors must be wired to a Class A 120V
AC 15-20 Amp GFCI circuit (Ground Fault Circuit
Interrupter) when used in bathrooms and all other
locations required by the National Electric Code.
This unit’s electrical connections
must be made by a
Licensed Electrician in a
manner that conforms to the
National Electric Code.
Frameless and Framed Illuminated Mirrors 24”x 30”, 24”x 36” ; 36”x 36”
TRIBECA Frames available in seven finishes: Polished Chrome (Plated), Polished Chrome (Anodized),
Polished Nickel (Plated), Polished Nickel (Anodized), Brushed Nickel (Anodized),
Satin Brass (Anodized), Matte black (Powder Coated)

The Chelsea Collection
Frameless and Framed Illuminated Mirrors
The following instruction sheets include the ALL FRAMLESS & FRAMED 24”, 30” AND 36” MODELS
Unpack all parts carefully and protect
components during installation.
Carefully review all parts and read the
installation instruction before you start.
To insure proper installation in complete compliance with your warranty, we recommend installation by a professional installer.
IMPORTANT SAFETY INSTRUCTIONS
When using the Illuminated Mirrors, basic precautions should
always be followed, including the following:
Read all instructions before using.
BEFORE CLEANING ALWAYS SWITCH OFF THIS
APPLIANCE.
DANGER - To reduce the risk of electric shock:
1. TURN POWER OFF at service panel before working on
wiring or to unmount and disconnect the unit.
2. DO NOT SPRAY LIQUID CLEANERS on the Mirrors.
For cleaning the mirror, we recommend using “ammonia
free” Sprayway brand glass cleaner, which is available at a
variety of retail outlets. To clean, apply Sprayway brand
glass cleaner to a clean cloth. www.spraywayinc.com/
content/glass-cleaner
WARNING:
Any servicing is to be performed by an authorized
service representative.
The unit has no user serviceable parts.
3. Supervision is required when the appliance is used by
children or disabled persons.
4. Use this appliance only for its intended use as described
in these instruction. Do not use or modify in any way not
recommended by the manufacturer.
5. Never operate this appliance if it has a damaged cord; if it
is not working properly; it if has been dropped or damaged;
A. Safety Glasses --
should be worn
at all times
B. Tape Measure
C. Level
D. #2 Phillips Head
Screw Driver
E. Power Screw Driver
Tools Required for Installation
GlassCrafters recommends the following tools to
properly and safely install your Illuminated Mirror.
2
USE WITH DIMMER SWITCH.
Glasscrafters’ products work best with these
recommended dimmer switches:
•Maestro® C•L® Dimmer from LUTRON®, MODEL # MACL -153M
http://www.lutron.com/TechnicalDocumentLibrary/369613a.pdf
•DIVA® C•L ® Dimmer fromLUTRON®, MODEL # DVCL -153P
http://www.lutron.com/TechnicalDocumentLibrary/369682.pdf
It is recommended that the dimmer be within reach of your mirror so you can
adjust the brightness.
For on/off (no dimmer) operation, a standard wall switch may be substituted
in place of the the dimmer.
or submerged in water. Return the appliance to a service center
for inspection and repair.
6. Where Applicable: Keep the cord away from heated surfaces.
7. Where Applicable: Never operate the appliance with the air
openings blocked. Keep the air opening free of lint, hair and dust.
Never insert any tool or object into any opening in the appliance.
8. Do not use outdoors.
9. Where Applicable: Do not operate where aerosol (spray)
products are being used or where oxygen is being administered.
WARNING:
All GLASSCRAFTERS Illuminated Mirrors must be wired to a
Class A 120V AC 15-20 Amp GFCI circuit (Ground Fault
Circuit Interrupter) when used in bathrooms and all other
locations required by the National Electric Code.
SAVE THESE INSTRUCTIONS
7/14/2020

“Z”Bracket ( not to scale)
Wall Anchor
D8 x 36
(4)
Wall Screw
ST 4.2 x 45
(4)
Wall Anchor
D8 x 36
(4)
Wall Screw
ST 4.2 x 45
(4)
Framed Mirror “Z” Bracket with ShimFrameless Mirror “Z” Bracket
Shim
with Double Faced Tape
(tape side faces in to Bracket)
ILLUMINATED MIRROR SIZES
PARTS FOR INSTALLATION
3
FRAMELESS — 24” x 30”*; 24” x 36”*; 36” x36”
(*May be installed Portrait or Landscape)
FRAMED — 24” x 30”*; 24” x 36”*; 36” x36”
(*May be installed Portrait or Landscape)
24''x30'' , Z bar — 400mm (15.74'')
24''x36'' , Z bar — 400mm (15.74'') or
for Landscape — 500mm (19.68'')
36''x36'' , Z bar on wall is 600mm (23.62'')

ELECTRICAL WIRING AND OUTLET LOCATION
SWITCH OFF THE ELECTRICAL
SUPPLY TO THE CIRCUIT BEFORE
BEGINNING.
Unit is designed to be installed in a lighting circuit
with a dimmer switch. Pre-wire as shown or run
new wire from the new dimmer switch, which is
dedicated to just this unit’s operation. (120V), 14
Guage AWM).
The new outlet must be planned to the proper
location behind the mirror so that the 90º plug
from the unit installs easily without any tension
on the cord. The extra cord should lay flat within
the recess in the back of the unit.
(See page 5 for Best Location of Outlet)
USE WITH DIMMER SWITCH.
20 A GFCI
BREAKER
Dimmer Switch
Use Single Grounded Outlet
Service Wire Typical
Vanity
Height
Wall Switch
Mark the
Mirror
Surface Mount
Location
Service Wiring
from
dimmer switch
to single outlet
This unit’s electrical connection from the
breaker box to the
dimmer switch to the wall outlet must be
made by a Licensed Electrician in a manner
that conforms to the National Electric
Code.
4
Glasscrafters’ products work best with these
recommended dimmer switches:
•Maestro® C•L® Dimmer from LUTRON®, MODEL # MACL -153M
http://www.lutron.com/TechnicalDocumentLibrary/369613a.pdf
•DIVA® C•L ® Dimmer from LUTRON®, MODEL # DVCL -153P
http://www.lutron.com/TechnicalDocumentLibrary/369682.pdf
It is recommended that the dimmer be within reach of your mirror so you can
adjust the brightness.
For on/off (no dimmer) operation, a standard wall switch may be substituted in
place of the the dimmer.
ETL Certified: Conforms to UL 962
SPECIAL NOTE: NEVER use this
appliance with a three prong adapter.

5
ELECTRICAL WIRING AND OUTLET LOCATION
DETERMINE THE LOCATION OF THE “Z” BRACKET
12” 12”
20.5”
17.5” 20.5”
18”
20.5”
17.5”
12”
12”
Back view of the units showing
vertical center line. Always try to
locate the outlet in the center of the
unit placed above the marked base
line of the unit as shown.
GC CHE - 3636
GC CHE - 2430 GC CHE - 2436
“Z” Bar set above base line
STEP 1 — Measure for the Mirror
location to determine the location of
the new outlet. Mark left and right.
The bottom of the mirror should be
at least 6 inches above the surface
of any vanity sink.
TABLE 1:
BASE LINE OF
THE “Z” BRACKET
FRAMELESS: above unit
base
30” high — 26.75”
36: high — 32.75”
Landscape format:
24” high — 20.75”
FRAMED: above unit base
30” high — 26.875”
36: high — 32.875”
Landscape format:
24” high — 20.875”
Reminder: the Z bracket for
the Framed models must use
the shim supplied to provide
the proper clearance for the
Hanger to slide into the “Z”
bracket.
STEP 2 — Run the new electric service from the dimmer switch to
the location for the outlet (as shown on page 4).The new outlet must
be planned to the proper location behind the mirror so that the 90º
plug from the unit installs easily without any tension on the cord. The
extra cord should lay flat within the recess in the back of the unit.

INSTALLATION OF THE MIRROR
STEP 3 — Confirm that installation marks are level.
Inspect the wall for imperfections and determine that
there are no water, drain or vent pipes or electrical wiring
in the areas to be drilled for the wall “Z’” bracket. Measure
the proper location for the “Z” bracket from the base line
mark in accord with the measurements in TABLE 1 on
page 5.
Affix the Shim as supplied (for Framed Models). Hold the
“Z” bracket on the wall with the level and mark the holes.
Wear eye protection, drill the required holes using a
6
24'' x 30'', net weight of mirror is 7.9kgs / 17.4 lbs
24'' x 36'', net weight of mirror is 9.36kgs / 20.6 lbs
36'' x 36'', net weight of mirror is 13.2kgs / 29.1 lbs
Wall
“Z” Bracket
Wall Shim
FRAMELESS MIRROR FRAMED MIRROR
Unit Structure
Frame
Hanger
Mirror
Mirror
“Z” Bracket
Unit Structure
Hanger
Wall
Screw into place with Wall Screws
Insert Wall Anchors
Framed Mirror “Z” Bracket with Shim
Attach Shim
with Double Faced Tape
to Z Bracket
Use a Level to position
Mark holes and Drill
Mark Holes and Drill
masonry bit for tile. Install the Wall anchors. Screw into
place with the screws supplied.
Note: the wall anchors and scews are engineered to
hold the weight of the units.
DO NOT SUBSITUTE OTHER PARTS.
Section view showing the “Z” Bracket as
used in the Frameless and the Framed
Models.
The extra thickness of the Frame requires
the Shim to offset the “Z” Bracket to
engage the Hanger that is factory installed
inside the Frame.

INSTALLATION OF THE MIRROR
STEP 4 — Hold the Mirror in the proper
orientation and rest the top against the wall.
*(Note for safety it is suggested that one person
hold the mirror while the other reaches behind
and plugs in the unit. Angle it as close to the
wall as needed so that the cord is not under
tension and you can easily plug it into the new
STEP 5 — Turn the electrical circuit on.
Test the light and defogger unit using the
dimmer switch.
• Be sure the unit is off after each use.
• Do not leave on for prolonged periods.
• Never cover the mirror.
• Clean with a soft dry cloth only when the
unit is turned off.
7
outlet. Feed the excess wire back into the
shallow space within the back of the mirror
while moving the mirror flush to the wall just
above the “Z” bracket. Slide the mirror down to
engage the Hanger in the “Z” bracket. Adjust
the mirror position for left to right.
Lower the unit flush
to the wall and slide down
to engage the hanger on
the “Z” Bracket.

WARRANTY
GlassCrafters, Inc. offers a Limited 3 Year Warranty on all illuminated
mirrored products. GlassCrafters’ warranty provides the original purchaser a guarantee that
it will replace or at its own discretion repair products shown to have substantial defects in
workmanship or materials. These claims must be filed with your dealer or professional
installer and forwarded in writing to GlassCrafters within three years of the delivery date to
the end user of the product. GlassCrafters shall not be responsible for any installation or
removal costs. This warranty does not apply to the following, chemical or natural corrosion
of the mirror. The use of abrasive cleaners or cleaners containing ammonia will cause
chemical damage to the mirror, voiding this warranty.
The GlassCrafters’ warranty does not cover product that is damaged in shipping, accidents
in handling during installation or if the reported defects are a result of faulty installation,
abuse, misuse, abnormal wear, poor maintenance, accident or repairs by service personnel
other than the original professional installer as authorized by GlassCrafters. After the three
year period GlassCrafters shall not have any further obligation, expressed or implied
including merchantability under the Limited Warranty.
GlassCrafters shall not have any liability for any consequential damages stemming
from or in connection with the use per performance of this product. Prevailing state law
on the limits of the implied warranty will apply.
The liability of GlassCrafters under any implied or expressed warranty, including
merchantability, is expressly limited to the terms of this warranty. Any claim under this
warranty must be made directly to the dealer of record.
Permission to return any merchandise under this warranty must be authorized in
writing by GlassCrafters and must include prepaid shipping by the purchaser.
GLASSCRAFTERS, INC
11 York Av.,West Caldwell, NJ 07006
1+(800) 233-7362 (F) 1+(888) 233-7362
Cleaning Recommendations:
If the mirror requires cleaning use a household liquid
glass cleaner. Do not spray cleaner directly on the mir-
ror, spray cleaner on a soft cloth or paper towel. Never
use abrasive cleaner or cleanser containing ammonia.
This may cause chemical damage to the mir-
ror and void the warranty.
For cleaning the mirror, we recommend using
ammonia free Sprayway brand glass cleaner,
which is available at a variety of retail outlets.
www.spraywayinc.com/content/glass-cleaner
7/14/2020
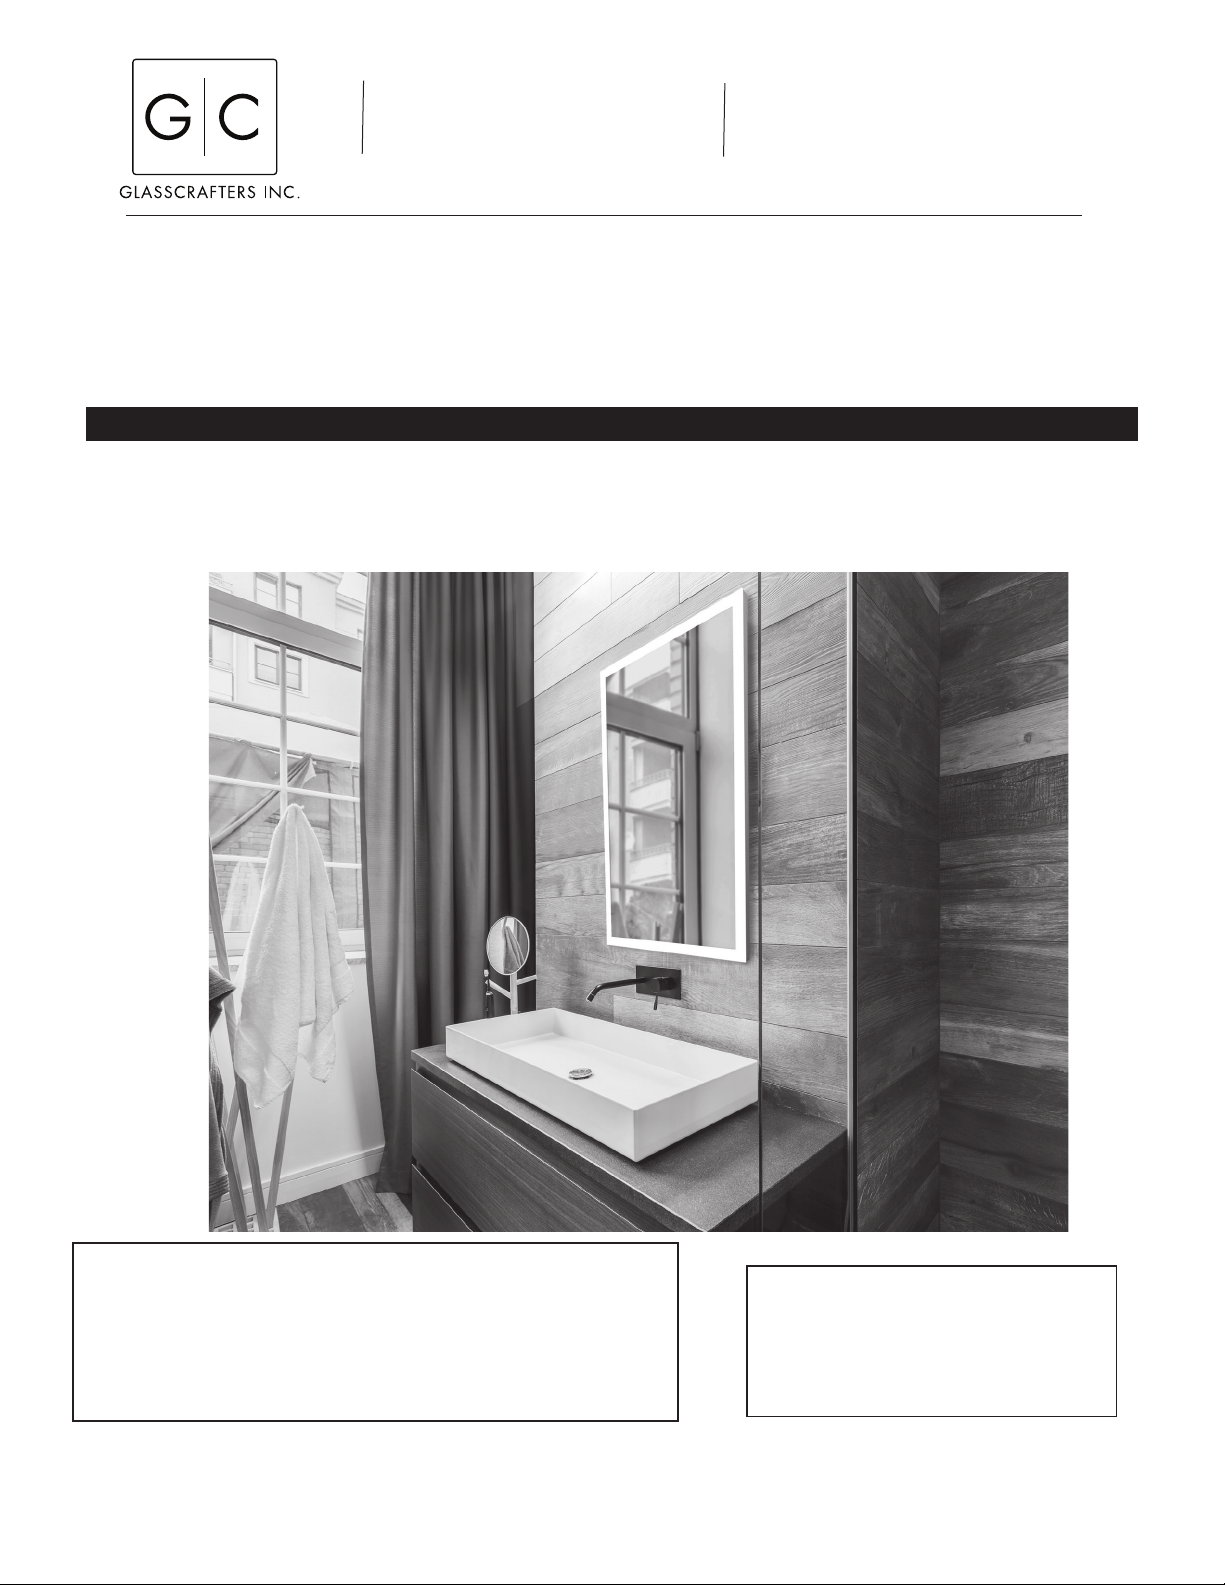
Chelsea Illuminated Mirror Models
8
With Tribeca Frame
Metal Finish Code
PC - Polished Chrome Plated
PCA - Polished Chrome Anodized
PN - Polished Nickle Plated
PNA - Polished Nickle Anodized
SB - Satin Brass Plated
BN - Brushed Nickel Anodized
IB - Black Iron Powder Coated
Catalog Number Metal Finish
GCCHE-2430-TR-PC Polished Chrome
GCCHE-2430-TR-PCA Polished Chrome Anodized
GCCHE-2430-TR-PN Polished Nickel
GCCHE-2430-TR-PNA Polished Nickel Anodized
GCCHE-2430-TR-BN Brushed Nickel
GCCHE-2430-TR-SB Satin Brass
GCCHE-2430-TR-IB Iron Black
GCCHE-2436-TR-PC Polished Chrome
GCCHE-2436-TR-PCA Polished Chrome Anodized
GCCHE-2436-TR-PN Polished Nickel
GCCHE-2436-TR-PNA Polished Nickel Anodized
GCCHE-2436-TR-BN Brushed Nickel
GCCHE-2436-TR-SB Satin Brass
GCCHE-2436-TR-IB Iron Black
GCCHE-3636-TR-PC Polished Chrome
GCCHE-3636-TR-PCA Polished Chrome Anodized
GCCHE-3636-TR-PN Polished Nickel
GCCHE-3636-TR-PNA Polished Nickel Anodized
GCCHE-3636-TR-BN Brushed Nickel
GCCHE-3636-TR-SB Satin Brass
GCCHE-3636-TR-IB Iron Black
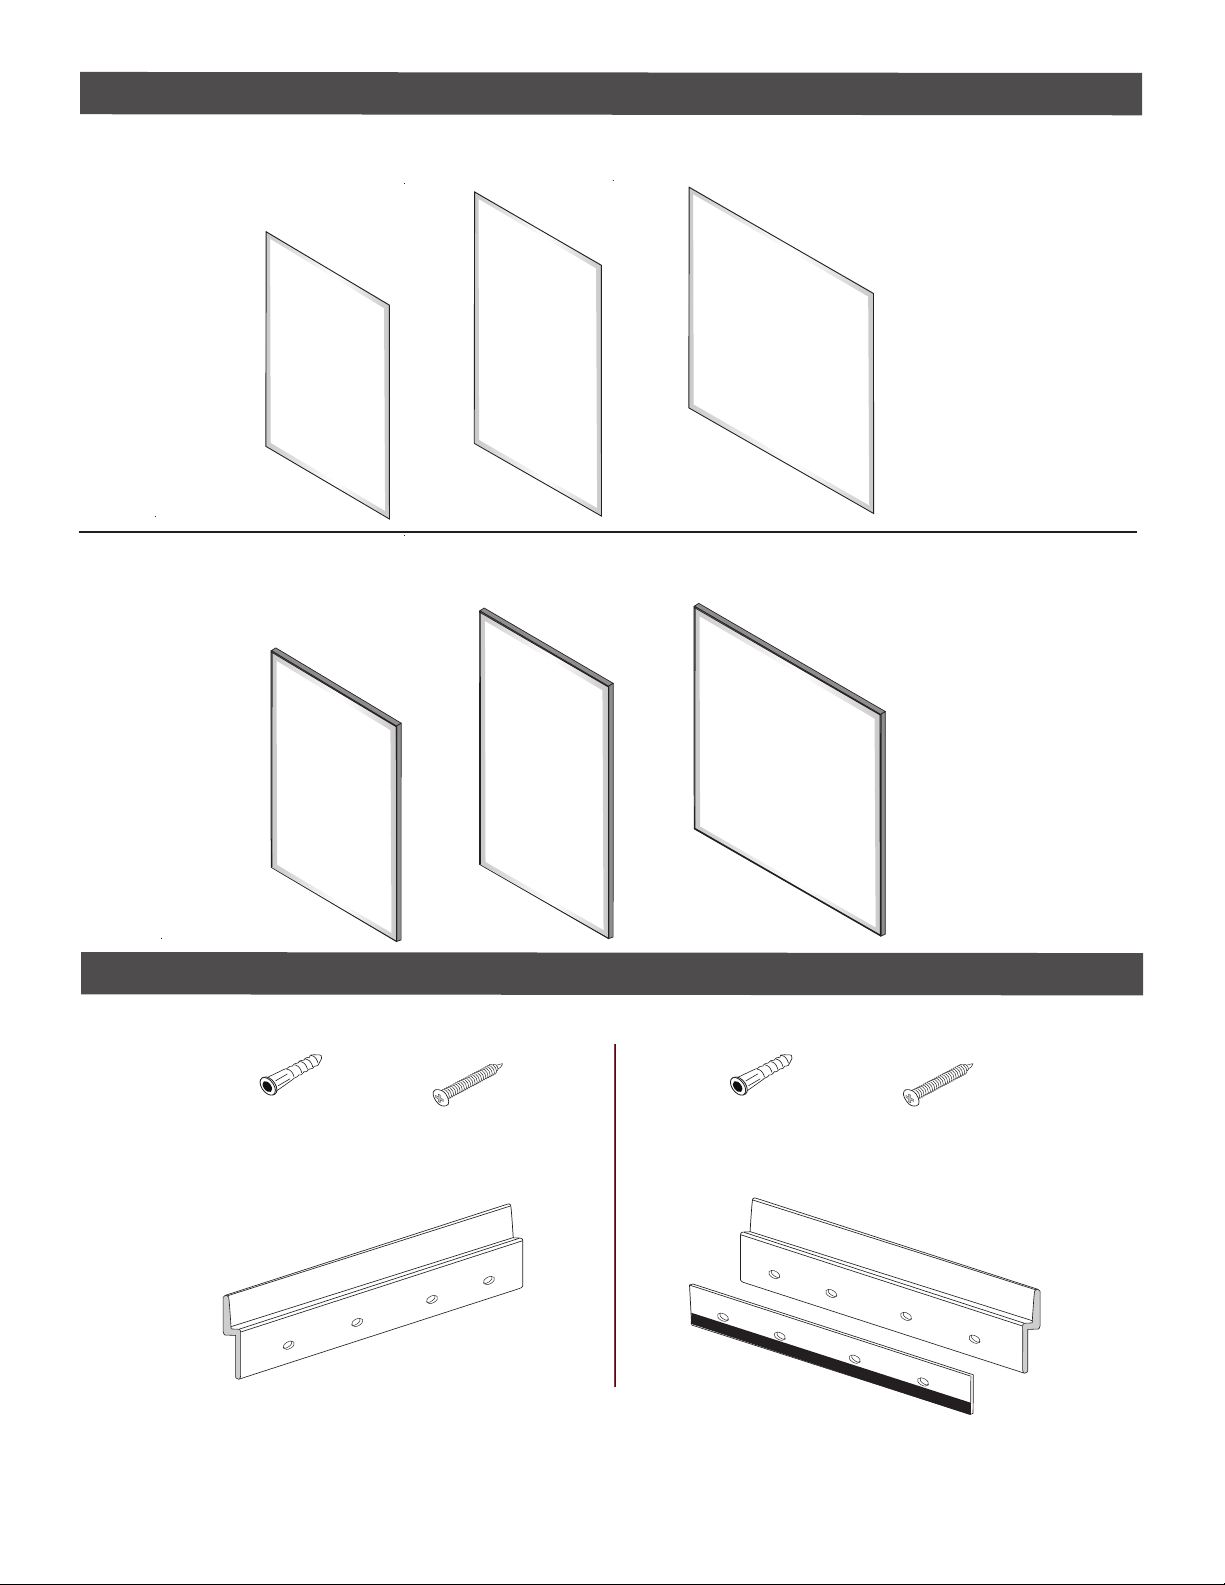
Frameless
Catalog Number
GCCHE-2430-FM— Satin Chrome Anodized
GCCHE-2436-FM— Satin Chrome Anodized
GCCHE-3636-FM— Satin Chrome Anodized
Illuminated Mirrors with Defogger
This manual suits for next models
23
Table of contents
Other GlassCrafters Personal Care Product manuals