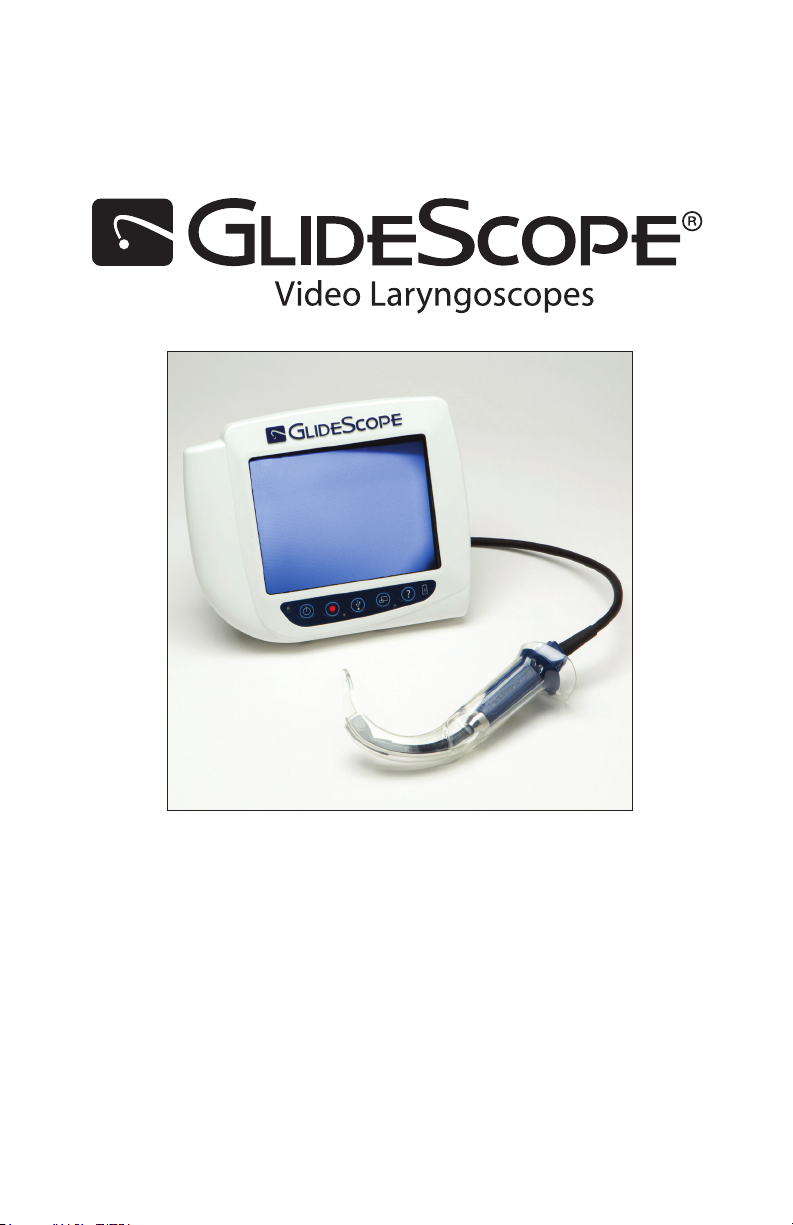
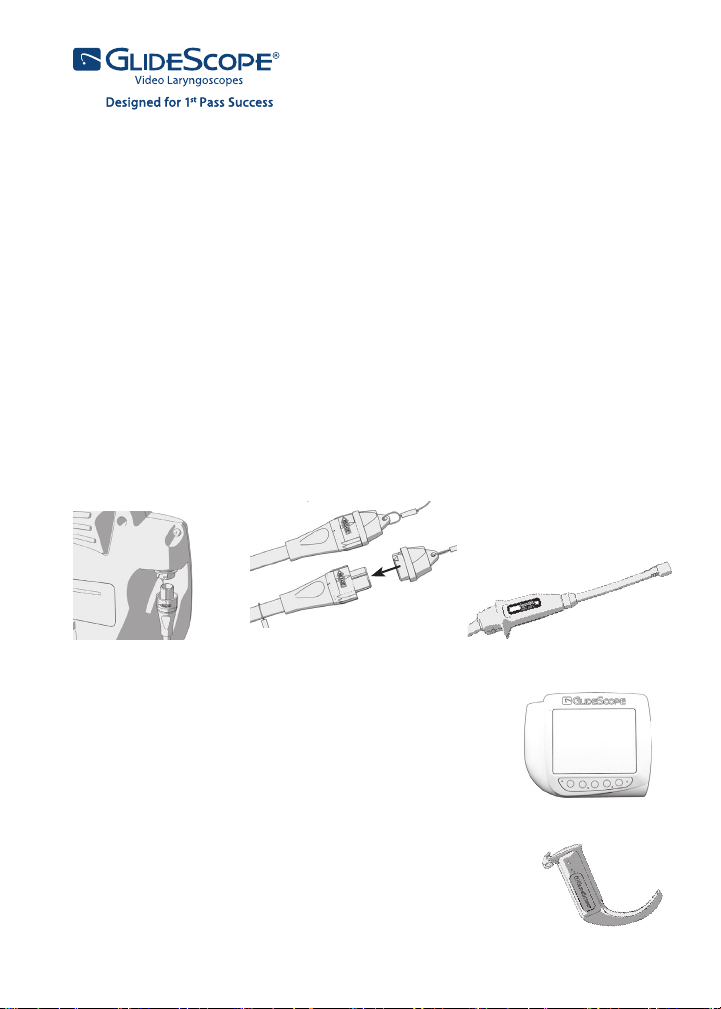
The main component of the GlideScope® Cobalt AVL System is the digital, full-color monitor.
The front of the monitor includes the buttons you use to operate the Cobalt AVL. There are also
indicator lights for different operation status of the system.
The back panel of the monitor includes the sockets and ports for connecting the power cord,
video baton cable, external video cable, and USB drive. There is also a mounting plate that you
use to attach the monitor to a mobile stand or IV pole.
verathon.com
0900-2670-00-60
Power: press and release to turn
on the Cobalt AVL. Press and
hold for three seconds to turn off
the Cobalt AVL.
Record: press to start and stop
recording. When you are record-
ing, the Record LED is on and
the record icon will be shown on
the screen.
Download Video: press to
access the video download menu.
External Video: press to display
the video on an external monitor.
The yellow indicator light denotes
the key has been activated.
Tutorial: press and hold for three
seconds to play the GlideScope®
4-Step Technique Tutorial.
Battery Status: shows the remaining battery
capacity. If blue, the battery is charged. If red, the
battery must be charged.
Cancel Operation: appears above the button
that cancels the current operation, moves to the
previous screen, or returns to the main menu.
Progress Conrmation: these animations show
the Cobalt AVL system’s progress when shutting
down or playing the tutorial video.
Download New: indicates button to press to
download all new recordings (not previously
downloaded).
Download All: indicates which button to press to
download all video.
Cancel Download: indicates which button to
press to cancel download.
USB Not Found: animation indicates that a USB
drive needs to be inserted into the USB port. If
the USB drive is connected, a progress bar will
display during download.
Save: appears to indicate that the system is sav-
ing the recorded le to internal memory.
Connect Video Baton: appears when the video
baton is not connected to the monitor.
Cobalt AVL Icons
Cobalt AVL Buttons
Corporate Headquarters:
Verathon Inc.
20001 North Creek Parkway
Bothell, WA 98011, USA
Tel: 800.331.2313 (US and Canada only)
Tel: 425.867.1348 Fax: 425.883.2896
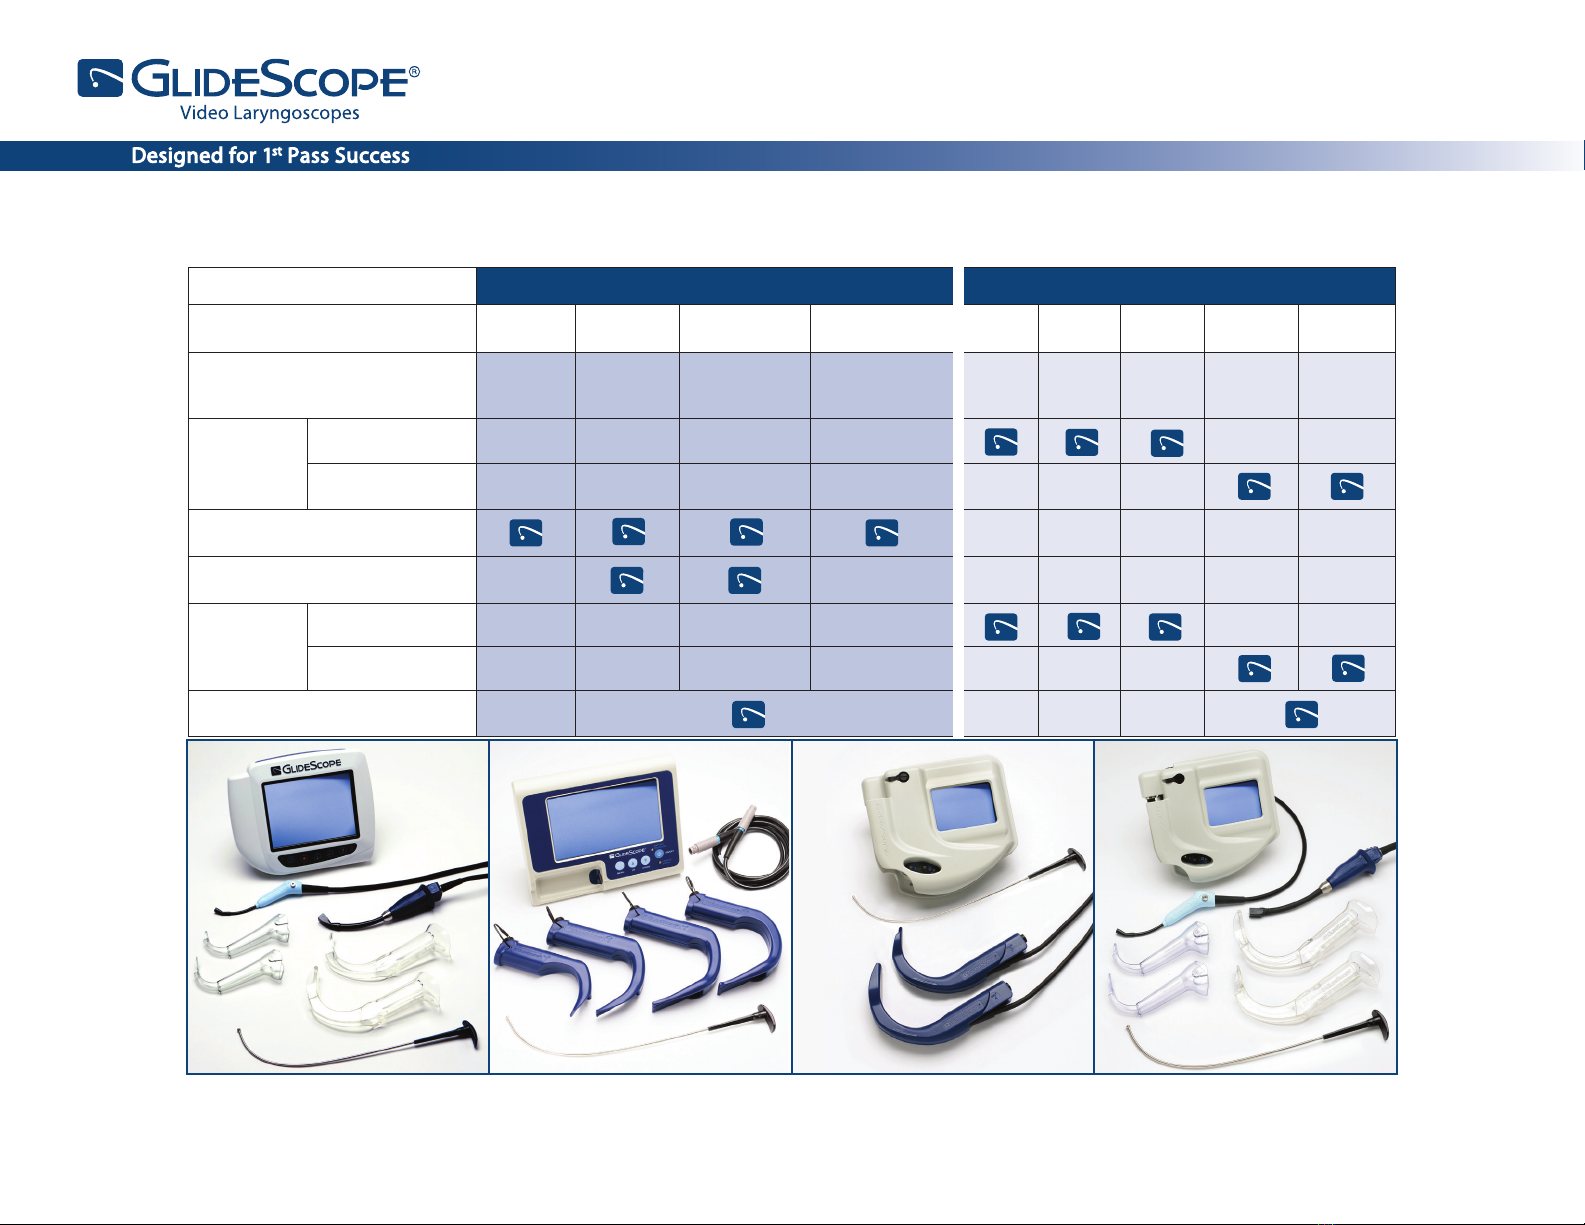
The GlideScope®Cobalt AVL
Buttons, Icons, and
Connections
GlideScope, GVL, GlideRite, and Verathon are trademarks of Verathon Inc. © 2009 Verathon Inc. All rights reserved.
Verathon Medical
(Canada) ULC
4224 Manor Street
Burnaby, British Columbia
Canada, V5G 1B2
Verathon Medical (Europe) B.V.
Boerhaaveweg 1
3401 MN lJsselstein Netherlands
Tel: +31.30.68.70.570
Fax: +31.30.68.70.512t