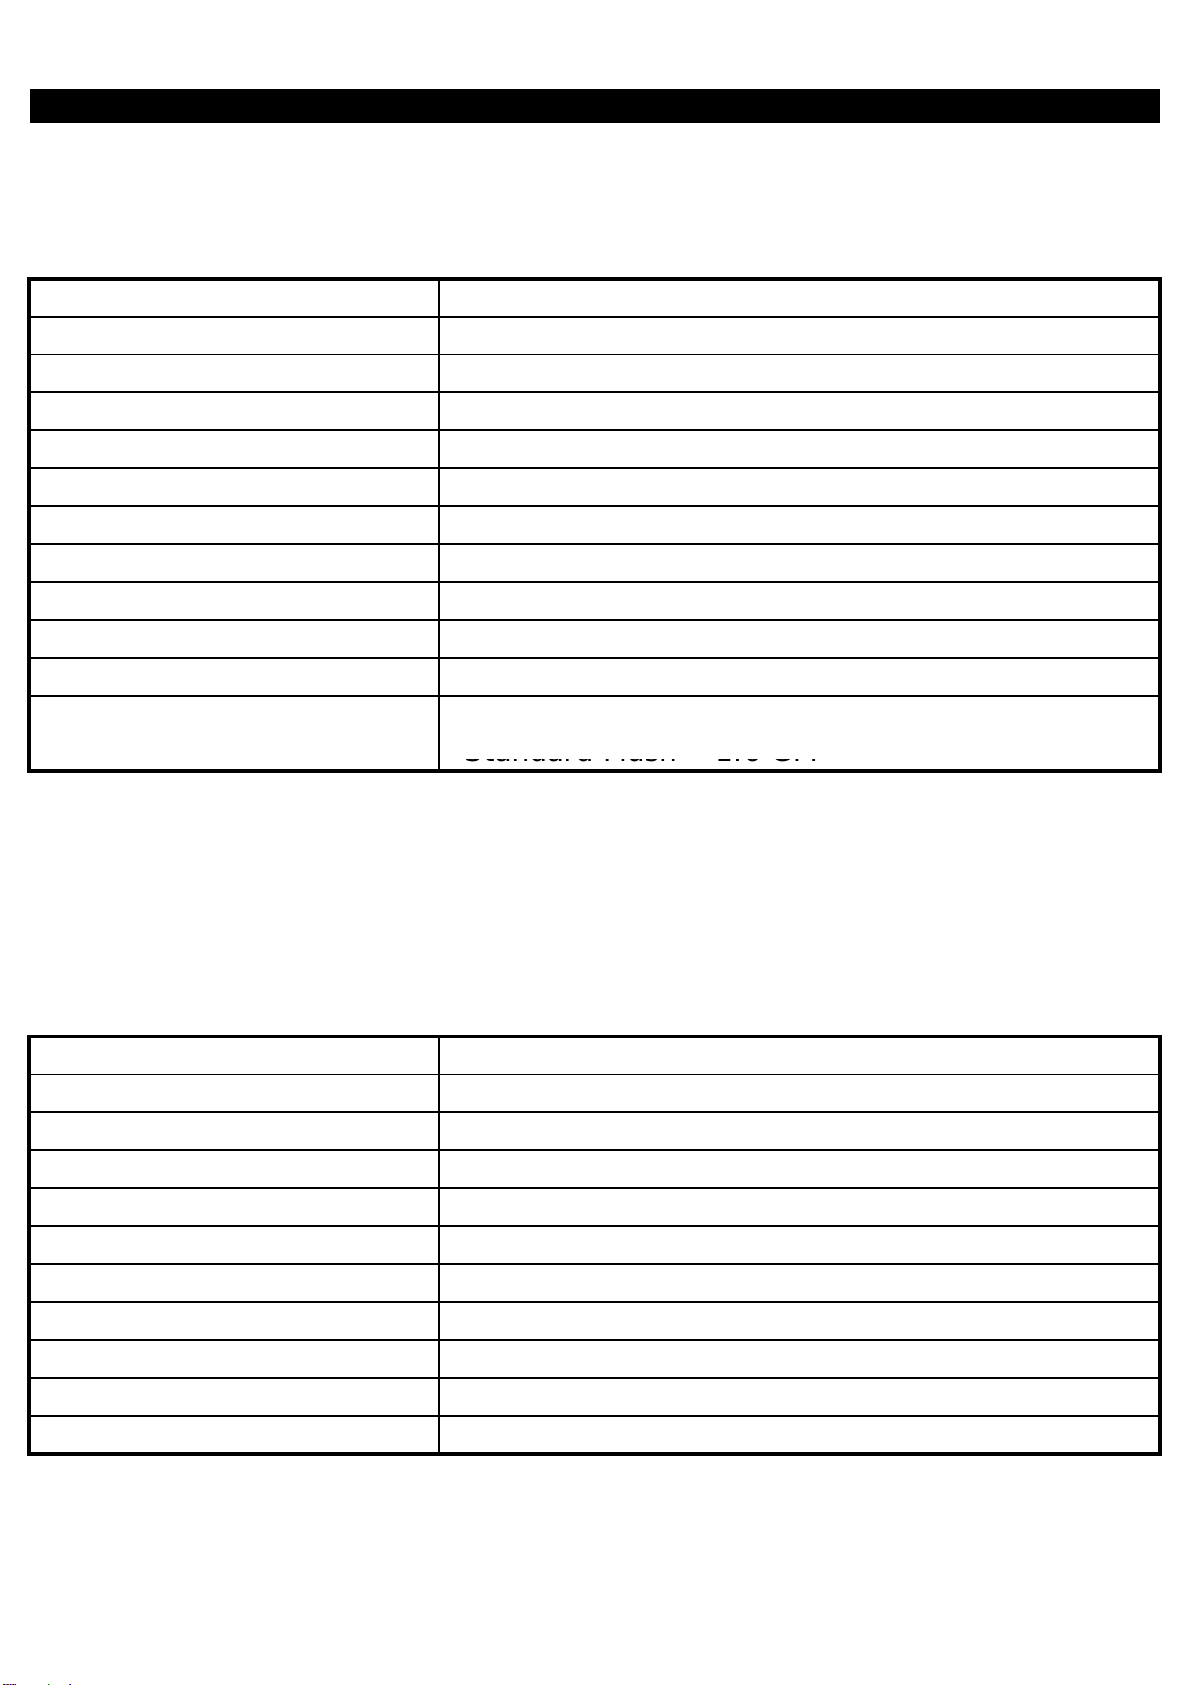
SPECIFICATION
Product Retrofit Kit for Water Closet Flush Valve
Casing Material Chrome Plated
Power Supply 4 AA Alkaline Batteries
Power Consumption 3W
Battery Life 3 Years (Based on 3,000 cycles per month)
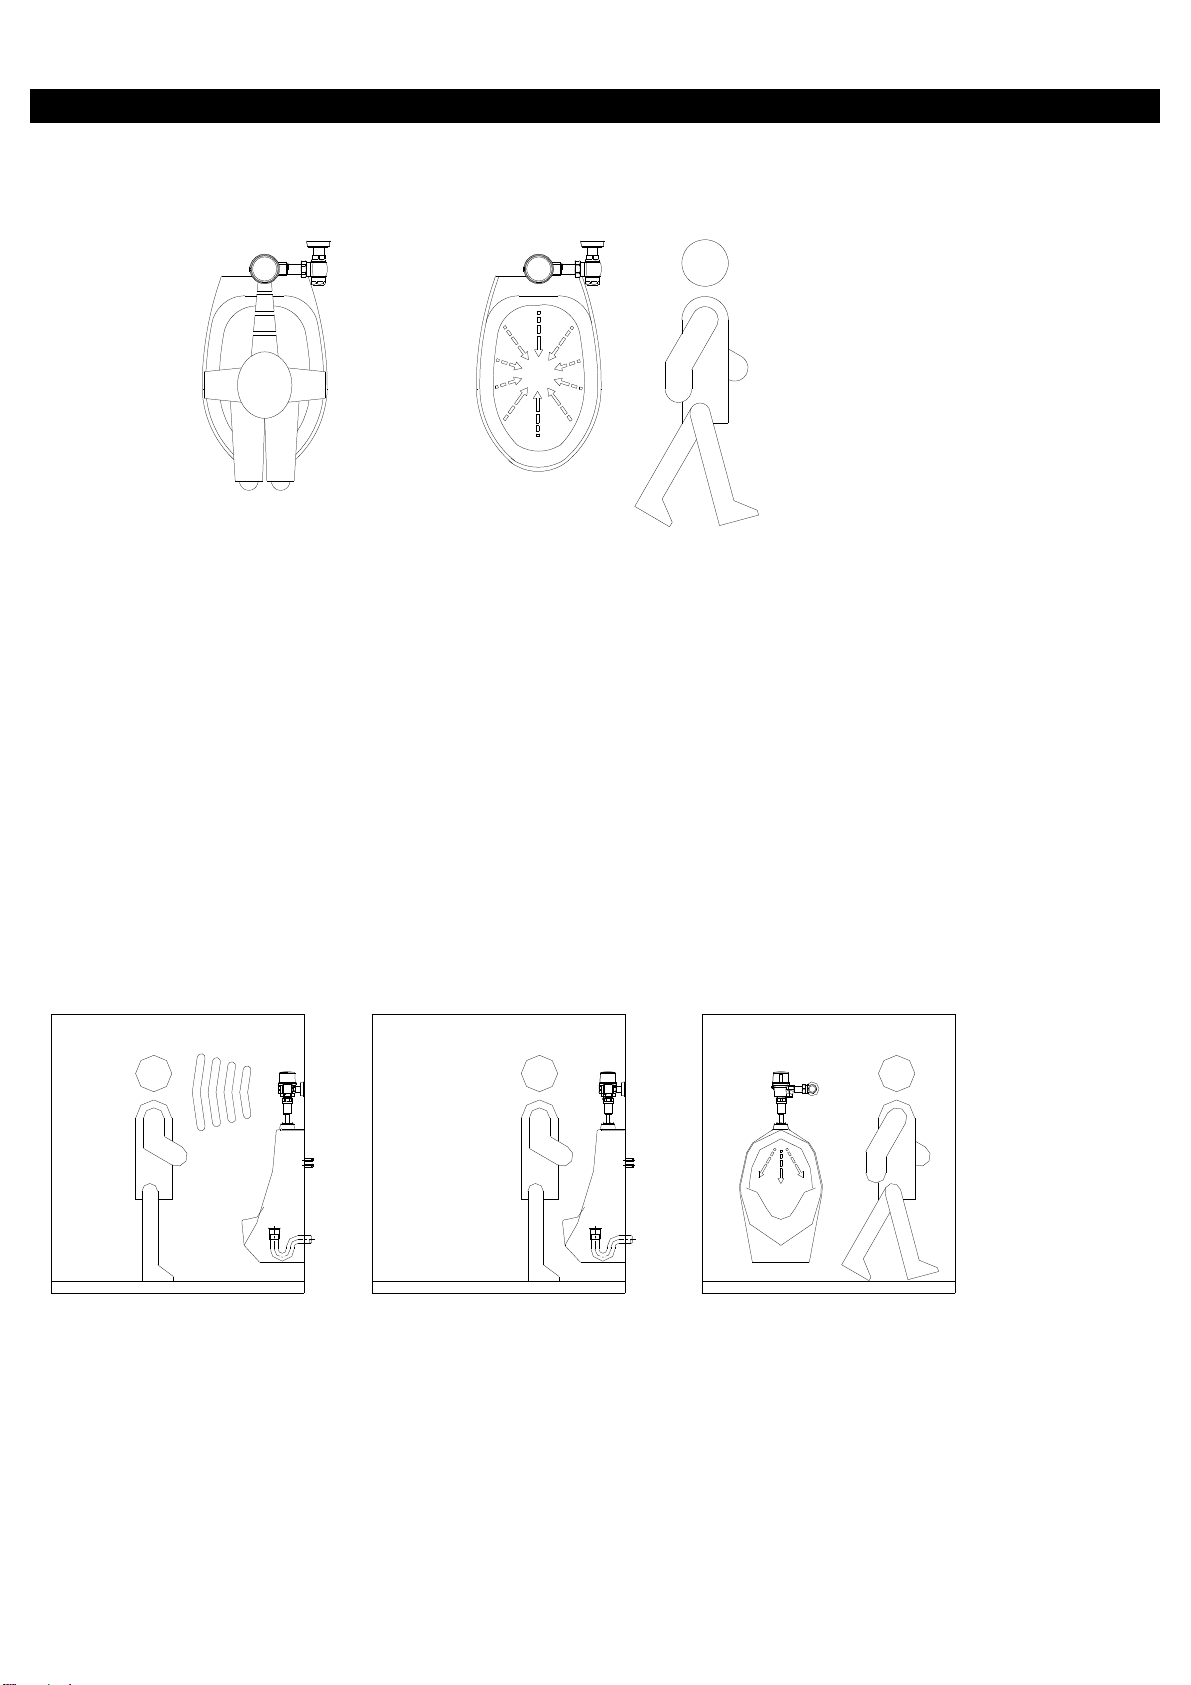
Sensing Distance Adjustable 1-9/16"~3-5/32" (40 - 80cm)
Minimum Detection Time 5 Seconds
Flush Delay Time 3 Seconds
Operating Pressure 15 ~ 100 PSI
Flush Volume Adjustable 1.28 / 1.6 / 2.4 GPF
Sanitary Flush Flushes after every 24 hours of non-use
Dual Flush Light Flush :1.1 GPF
Standard Flush :1.6 GPF
Product Retrofit Kit for Urinal Flush Valve
Casing Material Chrome Plated
Power Supply 4 AA Alkaline Batteries
Power Consumption 3W
Battery Life 3 Years (Based on 3,000 cycles per month)
Sensing Distance Adjustable 1-9/16"~3-5/32" (40 - 80cm)
Minimum Detection Time 5 Seconds
Flush Delay Time 1 Second
Operating Pressure 15 ~ 100 PSI
Flush Volume Adjustable 0.25 / 0.5 / 1.0 / 1.5 GPF
Sanitary Flush Flushes after every 24 hours of non-use
2