Model No. 8047D, 8048D, 8049D, 8050D, 8051D
Electric Fryers 8066, 8068, 8068FL, 8073, 8073BF, 8075
Page 2
gmpopcorn.com
SAFETY PRECAUTIONS
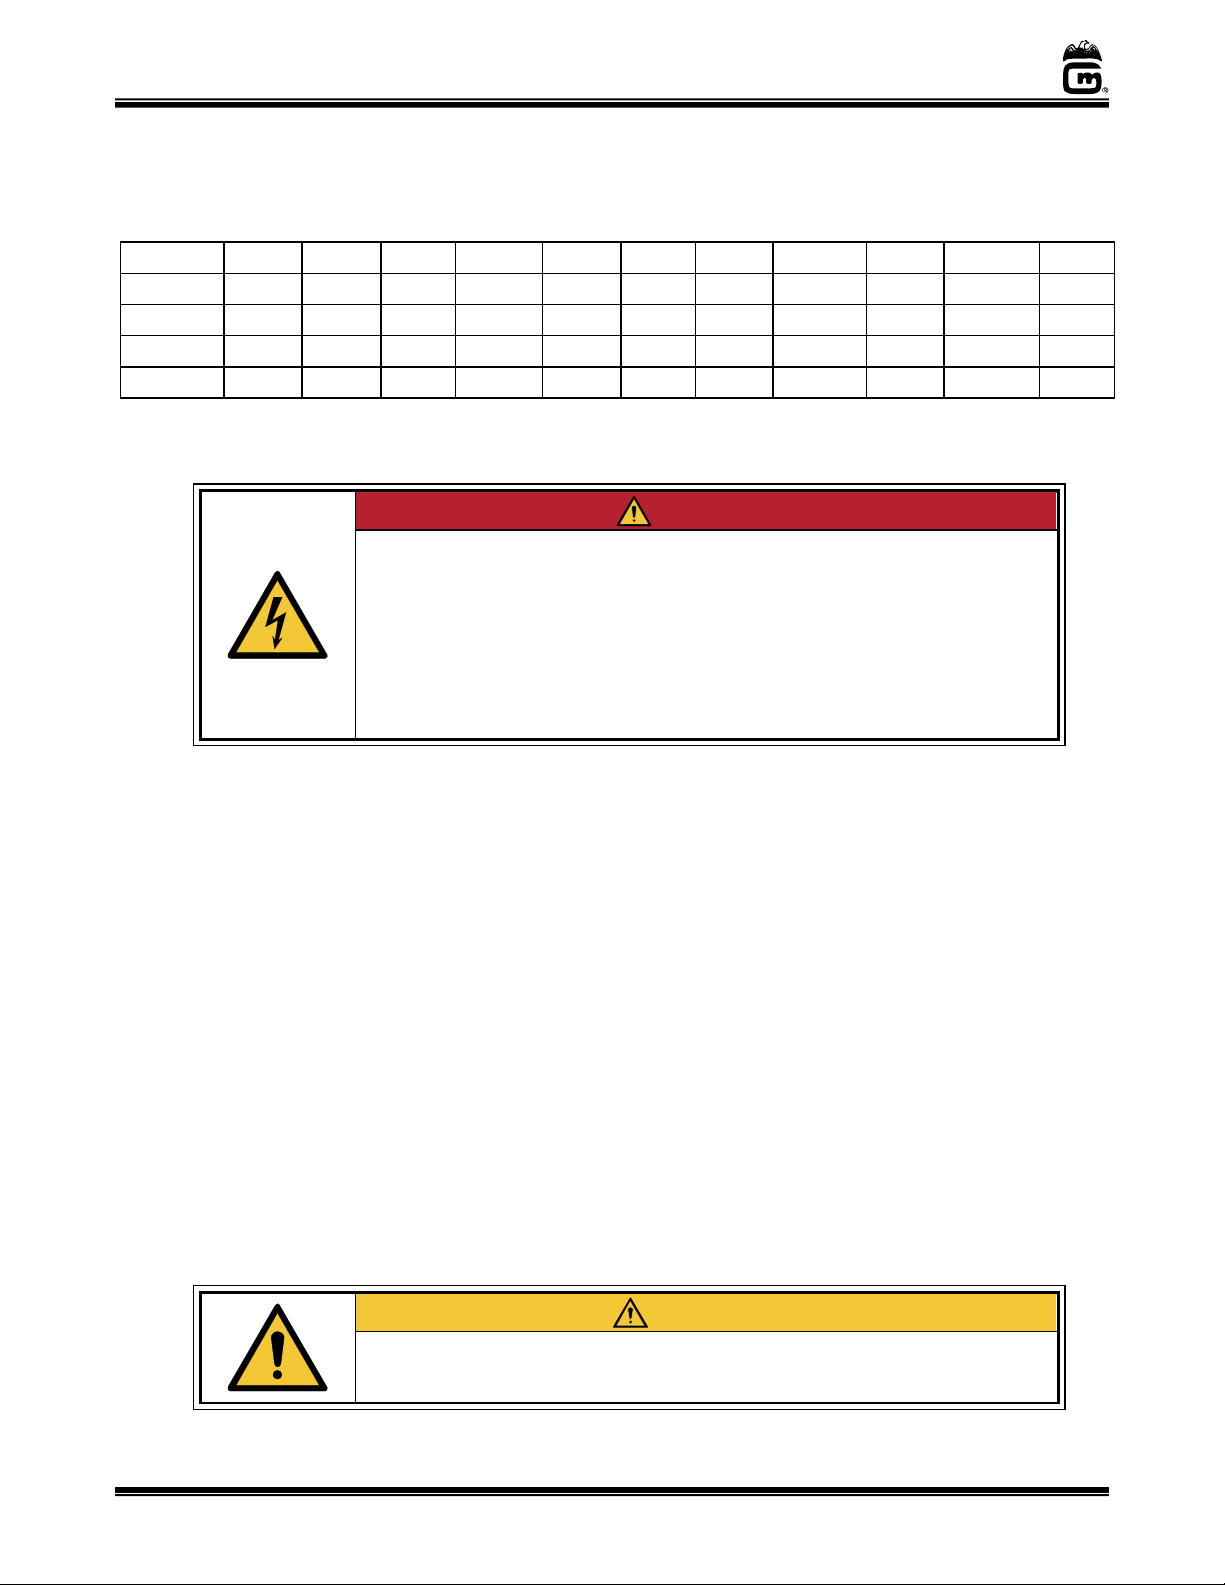
Machine must be properly grounded to prevent electrical shock to personnel.
Failure to do so could result in serious injury, or death.
DO NOT immerse any part of this equipment in water.
DO NOT use excessive water when cleaning.
Keep cord and plug off the ground and away from moisture.
Always unplug the equipment before cleaning or servicing.
Make sure all machine switches are in the OFF position before plugging the
equipment into the receptacle.
008_051514
Improper installation, adjustment, alteration, service, or maintenance can
cause property damage, injury, or death. Any alterations to this equipment
will void the warranty and may cause a dangerous condition. This appliance
is not intended to be operated by means of an external timer or separate
remote-control system. NEVER make alterations to this equipment. Read the
Installation, Operating, and Maintenance Instructions thoroughly before
installing, servicing, or operating this equipment.
014_020416
Never add water to hot oil. When water is added to hot oil a stream explosion
may ensue spattering hot oil resulting in serious burns or more seriously hot
oil in someone’s eyes.
024_010914
Hot oil is dangerous – severe burns can result when hot oil contacts the skin.
Hot oil is flammable – keep open flames away from hot oil and its vapors.
Keep a fire extinguisher near this unit.
Instruct personnel on what to do if there is a grease fire. DO NOT USE
WATER ON A GREASE FIRE! Use only fire extinguishers approved for
grease, oil, and electric fire.
002_102214
To avoid burns, DO NOT touch heated surfaces.
DO NOT place or leave objects in contact with heated surfaces.
009_092414