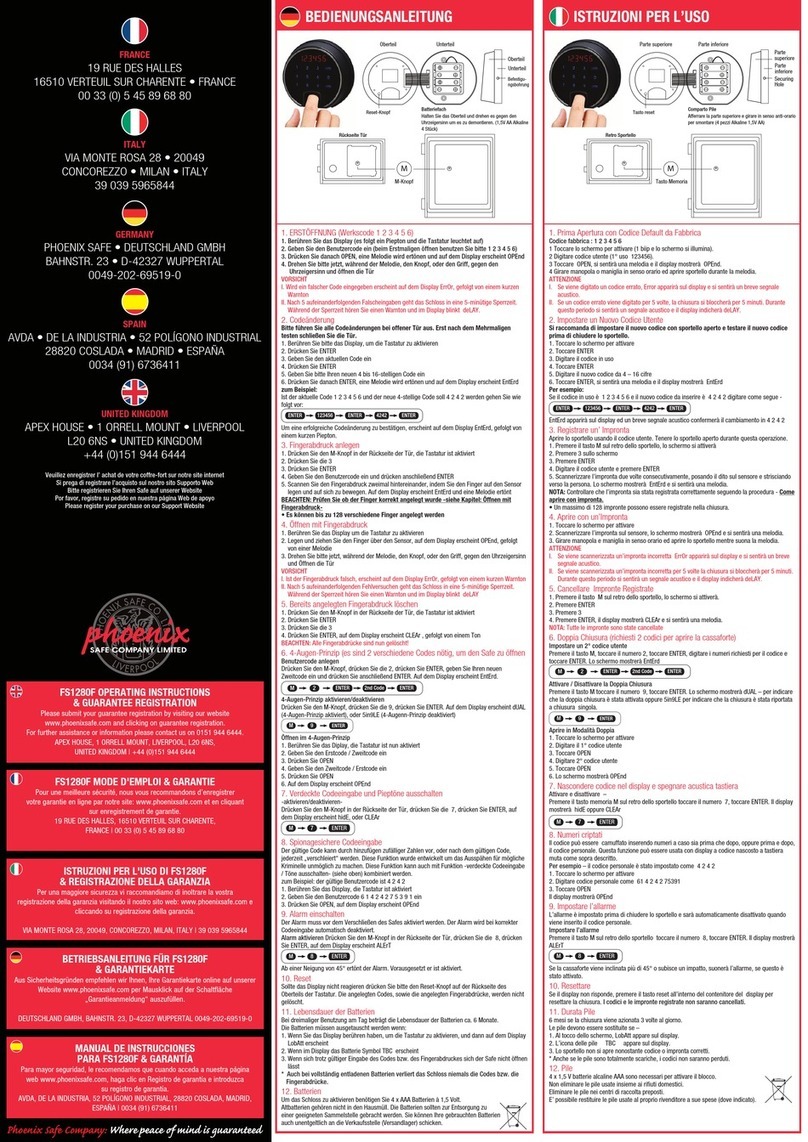
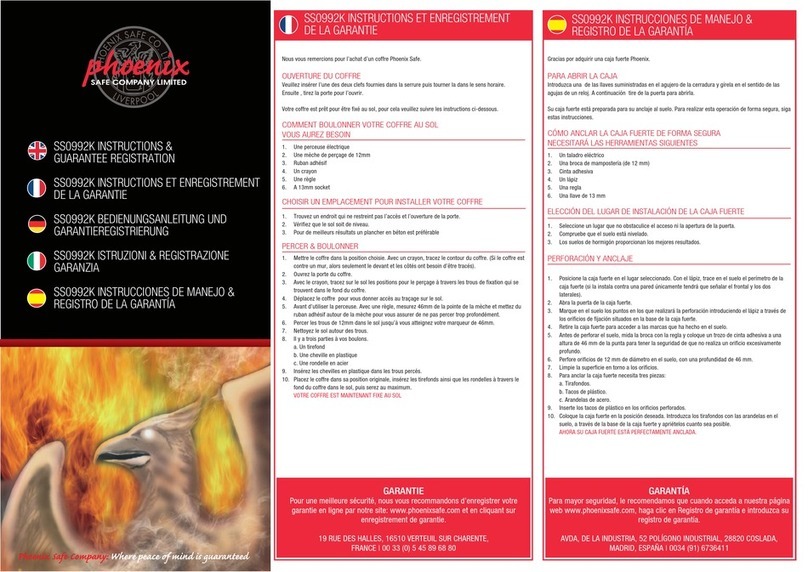
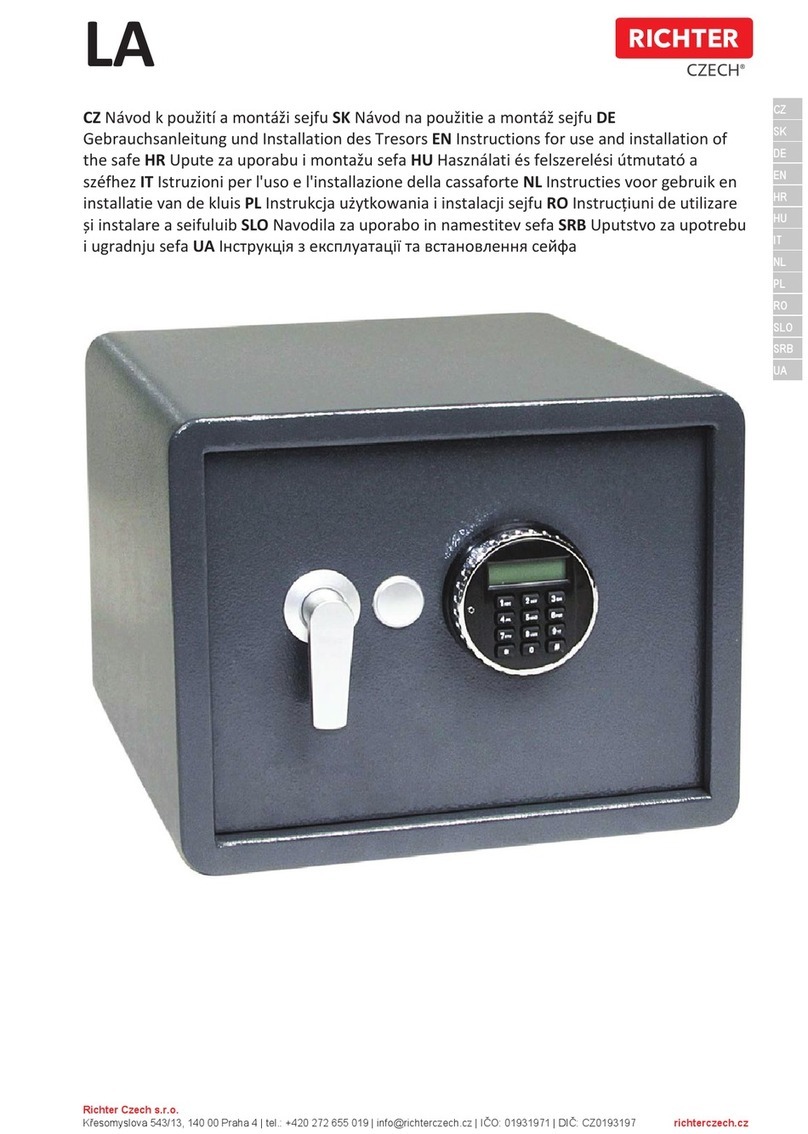
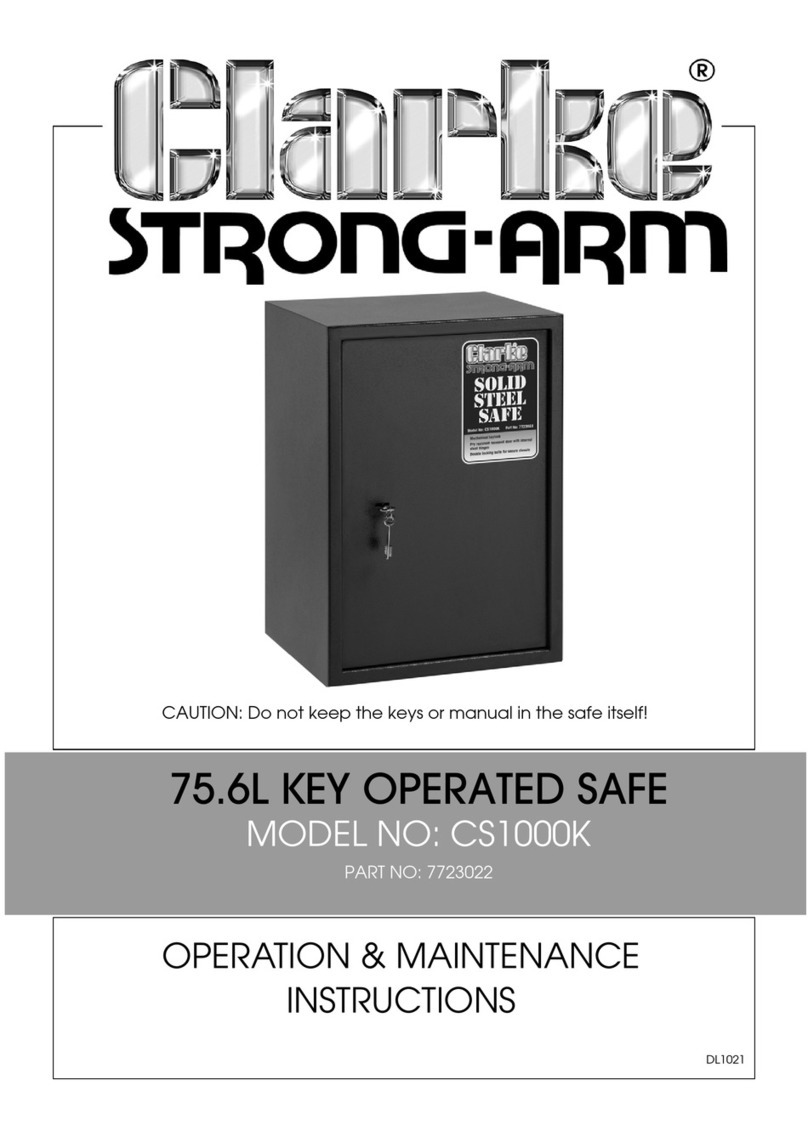
Go-On SFT-ENP User manual

SFT-(25)ENP
CH-Import & Distribution exklusiv durch:
Jumbo-Markt AG
Industriestrasse 34
8305 Dietlikon
Tel. +41 848 11 33 11
V190212

-1-
-
DE BEDIENUNGSANLEITUNG
ACHTUNG: Bewahren Sie den Tresorschlüssel nicht im Tresor selbst auf.
1. ERSTE ÖFFNUNG DES TRESORS
Entfernen Sie die Abdeckung “Z” (s. Abb. 2) auf dem Frontpanel, stecken Sie den
Schlüssel hinein und drehen Sie ihn gegen den Uhrzeigersinn, indem Sie gleich-
zeitig den Drehknopf im Uhrzeigersinn drehen. Öffnen Sie die Tür.
2. EINLEGEN DER BATTERIEN
Für diesen Tresor benötigen Sie 4 Batterien vom Typ “AA”(1.5 V).
Das Batteriefach Y (s. Abb. 1) befindet sich hinter der Tür. Entfernen Sie den
Batteriedeckel und legen Sie die Batterien ein. Bitte beachten Sie die Polarität.
Schliessen Sie das Batteriefach, nachdem Sie die Batterien eingelegt haben.
Vorzugsweise Alkalibatterien verwenden.
3. PROGRAMMIERUNG DES CODES
a. Entfernen Sie den Batteriedeckel und Drücken Sie die rote Taste “X” innerhalb
des Faches (s. Abb. 1), und lassen ihn wieder los. Sie hören zwei Signaltöne.
b. Drücken Sie jetzt eine Kombination aus 3 bis 8 Zahlen und danach zur Bestäti-
gung innerhalb von 15 Sekunden die Buchstaben “A” oder “B”.
c. Schreiben Sie sich die neue Kombination auf und prüfen Sie bei geöffneter Tür,
ob sie programmiert wurde oder nicht.
4. NUTZUNG DES TRESORS
Zum Öffnen des Tresors geben Sie Ihren persönlichen Code ein und bestätigen Sie
ihn, indem Sie entweder auf “A” oder “B” drücken. Es ertönt ein Piepton, das grüne
Licht leuchtet auf und Sie können die Tür unter Betätigung des Drehknopfes
innerhalb von 5 Sekunden öffnen.
Sollte eine unbefugte Person den falschen Code eingeben, wird sich die Tür nicht
öffnen. Wird der falsche Code drei Mal hintereinander eingegeben, müssen Sie 20
Sekunden vor dem nächsten Versuch warten. Wird dann erneut drei Mal hintere-
inander der falsche Code eingegeben, müssen Sie rund 5 Minuten vor einem
erneuten Versuch warten.
5. WARNHINWEIS BATTERIEWECHSEL
Sind die Batterien fast leer, geht als Warnhinweis die rote Anzeige (links) an. Um
die Batterien zu testen, geben Sie Ihren persönlichen Code ein und öffnen Sie die
Tür. Wenn die Batterien fast leer sind, leuchtet die rote Anzeige auf. Wenn nicht,
sind die Batterien in Ordnung.

-3-
Das Symbol mit der durchgestrichenen Abfalltonne bedeutet, dass das
Produkt getrennt vom Haushaltsabfall entsorgt werden muss. Das
Produkt muss gem.
der örtlichen Entsorgungsvorschriften der Wiederverwertung
zugeführt werden. Durch separate Entsorgung des Produkts trägen
Sie zur Minderung des Verbrennungs-oder Deponieabfalls bei und
reduzieren eventuelle negative Einwirkungen auf die menschliche
Gesundheit und die Umwelt.
-2-
Abb. 2
Z
6. BATTEREIN ERSETZEN
Für den Tresor benötigen Sie 4 Batterien vom Typ “AA” (1.5V). Öffnen Sie den
Tresor, entfernen Sie den Batteriedeckel “Y” (s. Abb. 1) auf der Türinnenseite und
ersetzen Sie die 4 leeren Batterien. Sie müssen den Code gemäss dem beschrie-
benen Prozedere neu programmieren. Vorzugsweise Alkalibatterien verwenden.
7. ANWEISUNG ZUR NOTÖFFNUNG DES TRESORS
Zu lhrer Sicherheit haben wir ein manuelles Notöffnungssystem für lhren Tresor
vorgesehen. Sollten Sie lhren Code vergessen oder verlegt haben, können Sie den
Tresor öffnen, indem Sie das zentrale Plättchen “Z” (s. Abb. 2) auf dem Frontpanel
entfernen, den Schlüssel in das Schlüsselloch stecken und ihn gegen den Uhrzei-
gersinn drehen, während Sie den Drehknopf im Uhrzeigersinn drehen.So können
Sie den Tresor auch jederzeit ohne Code öffnen.
8. EINBAU DES TRESORS
Um das Diebstahlrisiko des Tresors zu reduzieren, kann er entweder am Boden,
an der Wand oder in einem Schrank verankert werden. Hierzu sind sowohl in der
Unterplatte als auch in der Rückwand des Tresors Löcher vorgesehen (8 mm
Durchmesser), um ihn mit den mitgelieferten Spannbolzen zu befestigen. Bitte
berücksichtigen Sie, dass Wand oder ein anderer Montageort stabil genug sein
muss!.
ACHTUNG:
Der Tresor muss in horizontaler Lage eingebaut werden.
XY
Abb. 1

-
FR MODE D’EMPLOI
-4-
ATTENTION: Ne conservez pas les clés à l’intérieur du coffre-fort.
1.PREMIÈRE OUVERTURE DU COFFRE-FORT
Ôtez le couvercle “Z” (voir Fig. 2) de la porte, insérez la clé dans la serrure et
tournez-la dans le sens antihoraire tout en tournant la poignée de porte dans le
sens horaire et ouvrez la porte.
2.MISE EN PLACE DES PILES
Le coffre-fort nécessite 4 piles de type “AA” (1,5V).
Le compartiment des piles Y (voir Fig. 1) est situé au dos de la porte. Ôtez le
couvercle et installez les piles dans le compartiment en vérifiant la polarité.
Une fois les piles installées, fermez le compartiment des piles.
II est recommandé d’utiliser des piles alcalines.
3.PROGRAMMATION DU CODE
a) Ôtez le couvercle du compartiment des piles et appuyez sur le bouton rouge
«X» à l'intérieur du compartiment (voir Fig. 1), relâchez le bouton et deux bips
retentissent.
b) Composez à présent votre code de 3 à 8 chiffres et confirmez en appuyant sur
la lettre “A” ou “B” dans les 15 secondes.
c) Inscrivez votre code immédiatement et vérifiez si celui-ci a bien été programmé
en testant l’ouverture de la porte du coffre-fort.
4.UTILISATION DE VOTRE COFFRE-FORT
Pour ouvrir le coffre-fort, composez votre code et confirmez en appuyant sur la
lettre “A” ou “B”. Vous entendez un bip et le voyant vert s’allume, ouvrez ensuite la
porte à l’aide de la poignée dans les 5 secondes.
Si vous-même ou un intrus utilisez un code incorrect, le coffre-fort ne s’ouvrira
pas. Après avoir composé un code incorrect 3 fois de suite, vous devrez attendre
20 secondes avant toute nouvelle tentative et après 3 autres essais, vous devrez
attendre environ 5 minutes.
5.REMPLACEMENT DES PILES
Si les piles sont faibles, le voyant rouge sur la gauche vous avertira immédiate-
ment.
Pour tester les piles, composez simplement votre code afin d’ouvrir la porte. Si les
piles sont faibles, le voyant rouge s’allumera. S’il ne se passe rien, cela signifie que
les piles sont encore bonnes.
6.REMPLACEMENT DES PILES
Le coffre-fort nécessite 4 piles de type “AA” (1,5V). Ouvrez le coffre-fort, retirez le
couvercle “Y” (voir Fig. 1) protégeant les piles au dos de la porte et remplacez les
4 anciennes piles. Après cela, vous devez reprogrammer le code comme décrit
ci-dessus.
Il est recommandé d’utiliser des piles alcalines.
7.INSTRUCTION D’OUVERTURE ALTERNATIVE DU COFFRE-FORT
Pour votre facilité, nous avons conçu un système manuel d’ouverture alternative
de votre coffre-fort. Si vous avez oublié votre code ou que vous vous êtes trompé
de code, ôtez le couvercle “Z” (voir Fig. 2) au centre du panneau avant, insérez la
clé dans la serrure, tournez dans le sens antihoraire, puis tournez la poignée dans
le sens horaire. Ce système vous permettra d’ouvrir manuellement votre coffre à
tout moment.
8.MISE EN PLACE DU COFFRE
Afin de réduire le risque de vol du coffre-fort, celui-ci peut être fixé au sol, au mur
ou dans une armoire. Pour plus de facilité, des trous (Ø 8 mm) ont été prévus au
fond et au dos du coffre-fort; celui-ci peut donc être fixé avec les boulons fournis.
ATTENTION!
Lors de l’installation, le coffre-fort doit être placé horizontalement
-
-5-
Fig. 2
Z
XY
Fig. 1

-
IT ISTRUZIONI PER L’USO
AVVERTENZA: Le chiavi non vanno mai tenute dentro la cassaforte.
1.APERTURA DELLA CASSAFORTE PER LA PRIMA VOLTA
Rimuovere la piccola placca “Z” (vedi Schéma 2) dal pannello frontale, inserire la
chiave nella serratura e girarla in senso antiorario, girando allo stesso tempo la
manopola della porta in senso orario e aprire la porta.
2.INSTALLAZIONE DELLE BATTERIE
La cassaforte richiede 4 batterie formato “AA” (da 1,5V).
Il comparto batterie « Y » (vedi Schéma 1) si trova sul retro della porta. Rimuovere
il coperchio e inserire le batterie nel comparto. Assicurarsi che siano posizionate
secondo le corrispondenti polarità. Una volta installate le batterie, chiudere il
coperchio del comparto batterie.
Si raccomanda l’uso di batterie alcaline.
3.PROGRAMMAZIONE DEL CODICE
a) Rimuovere il coperchio e Premere il tasto rosso “X” all'interno del comparto
batterie (vedi Schéma 1), quindi rilasciarlo: sentirete due bip.
b) Ora comporre i numeri (da 3 a 8) che si desiderano utilizzare come combinazi-
one, e confermare premendo la lettera “A” o “B” entro 15 secondi.
c) Annotare immediatamente la nuova combinazione e verificare che sia stata
effettivamente programmata lasciando aperta la porta della cassaforte.
4.USO DELLA CASSAFORTE
Per aprire la cassaforte, introdurre il proprio codice personale e confermare
premendo la lettera “A” o “B”. Si udirà un bip e la spia verde si accenderà, a questo
punto aprire la porta con la manopola entro 5 secondi.
Qualora fosse introdotto un codice incorretto, la cassaforte non si aprirà. Qualora
venisse introdotta per tre volte di seguito una combinazione incorretta, occorrerà
attendere 20 minuti prima di riprovare. Se ancora una volta venisse introdotta per
tre volte di seguito una combinazione incorretta, occorrerà attendere circa 5
minuti prima di riprovare.
5.SPIA PER LA SOSTITUZIONE DELLA BATTERIA
In caso di batterie quasi scariche, la spia rossa (a sinistra) vi avvertirà immediata-
mente. Per testare le batterie, introdurre il proprio codice personale di apertura
della porta. Se le batterie sono scariche, si accenderà la spia rossa. Se non
succede nulla, le batterie sono in ordine.
-7-
Le pictogramme de la poubelle barrée indique que le produit doit faire
l’objet d’un tri. Il doit être recyclé conformément à la réglementation
environnementale locale en matière de déchets. En triant les produits
portant ce pictogramme, vous contribuez à réduire le volume des
déchets incinérés ou enfouis, et à diminuer tout impact négatif sur la
santé humaine et l’environnement.
-6-
CH-Import & Distribution exklusiv durch:
Jumbo-Markt AG
Industriestrasse 34
8305 Dietlikon
Tel. +41 848 11 33 11

6.SOSTITUZIONE DELLE BATTERIE
La cassaforte richiede 4 batterie formato “A A” (da 1,5 V). Aprire la cassaforte,
rimuovere il coperchio delle batterie “Y” (vedi Schéma 1) sul retro della porta e
sostituire le 4 batterie vecchie. È necessario riprogrammare il codice, ripetendo le
istruzioni precedenti. Si raccomanda l’uso di batterie alcaline.
7.ISTRUZIONI PER L’APERTURA DI EMERGENZA
Per vostra comodità, abbiamo progettato uno scavalcamento manuale per
l’apertura della cassaforte. In caso di combinazione perduta o dimenticata,
rimuovere la piccola placca sul pannello centrale “Z” (vedi Schéma 2), inserire la
chiave nella serratura e girarla in senso antiorario, girando allo stesso tempo la
manopola verso destra. Questa operazione vi permette di aprire la cassaforte
manualmente in qualsiasi momento.
8.INSTALLAZIONE DELLA CASSAFORTE
Per ridurre i rischi di furto, la cassaforte può essere fissata al pavimento, alla
parete o a un mobile. Vi sono già dei fori (diametro 8 mm) praticati sul fondo e sul
retro; la cassaforte può quindi essere fissata con le viti a espansione fornite.
AVVERTENZA:
La cassaforte va installata in posizione orizzontale.
-9--8-
Schéma 2
Z
Il simbolo del cassonetto barrato indica che il prodotto non può essere
eliminato con i comuni rifiuti domestici. Il prodotto dev’essere riciclato
nel rispetto delle
norme ambientali locali per lo smaltimento dei rifiuti. Separando un
prodotto contrassegnato da questo simbolo dai rifiuti domestici,
aiuterai a ridurre il volume dei rifiuti destinati agli inceneritori o alle
discariche, minimizzando così qualsiasi possibile impatto negativo sulla
salute umana e sull’ambiente.
XY
Schéma 1

-
EN OPERATING INSTRUCTION
-10-
CAUTION: Do not keep the keys in the safe itself.
1.OPENING THE SAFE FOR THE FIRST TIME
To open the safe for the first time, remove the small central cover “Z” (see Fig. 2)
between knob and keypad, insert the key into the lock and turn it counter-clock-
wise, at the same time, turn the doorknob clockwise and open the door.
2.INSTALLING THE BATTERIES
The safe requires 4 x size “AA”(1.5V) batteries.
The batteries compartment “Y” (see Fig. 1) is located on the back of the door.
Remove the battery cover and install the batteries into the compartment. Ensure
the batteries are fitted with the correct corresponding polarity.
Once the batteries are installed, close the battery compartment.
3.PROGRAMMING THE CODE
a. Remove the battery cover and press the red button “X” inside the battery
compartment (see Fig. 1), release it and you will hear two beeps.
b. Now press from 3 to 8 numbers that you wish to use as a combination, and
confirm by pressing the letter “A” or “B” within 15 seconds.
c. Write down your new combination immediately and check whether your new
combination has been programmed or not on conditions of the safe door open.
4.USING YOUR SAFE
To open the safe, enter your personal code and confirm by pressing the letter “A”
or “B”. You will hear a beep and the green light will be on, then open the door using
the knob within 5 seconds.
If you or an intruder uses the incorrect group of numbers, it will not open. If the
incorrect combination is used 3 times consecutively, you must wait for 20
seconds before reattempting. If again the incorrect combination is selected 3
times, you must wait approximately 5 minutes before reattempting access.
5.BATTERY REPLACEMENT WARNING
If the batteries are low, the red light (on the left) will warn you immediately. To test
the batteries, just input your personal numbers to open the door. If the batteries
are low, the red light will be on. If nothing happens, it means that the batteries are
in order.
6.REPLACING THE BATTERIES
The safe requires 4×size “AA” (1.5V) batteries. Open the safe, remove the battery
cover plate “Y” (see Fig. 1) on the back of the door and replace the 4 old batteries.
You must reprogram the code, using the above steps.
Use of alkaline batteries is recommended.
7.OVERRIDE INSTRUCTION TO OPEN THE SAFE
For your convenience, we have engineered a manual override system for your safe.
If you forget or misplace your combination, remove the small central cover “Z
“(see Fig. 2) between knob and keypad, insert the key into the keyhole and turn it in
a counter-clockwise direction, then turn the knob in a clockwise direction towards
the right. This will manually open your safe at any time.
8.INSTALLING THE SAFE
To reduce the risk of theft of the safe, it can be secured to floor, wall or in a
cupboard. For your convenience, there are holes (diameter 8mm) both in the
bottom and on the back; therefore it can be fixed by the expansion bolts supplied.
CAUTION:
The safe should be placed horizontally when installing the safe.
-11-
Fig. 2
Z
XY
Fig. 1

-12-
The crossed-out wheeled bin symbol indicates that the item should be
disposed of separately from household waste. The item should be
handed in for recycling in accordance with local environmental
regulations for waste disposal. By separating a marked item from
household waste, you will help reduce the volume of waste sent to
incinerators or land-fill and minimize any potential negative impact on
human health and the environment.
This manual suits for next models
1
Table of contents
Languages: