5
1. / IMPORTANT WARNING
1-1. / Safety instructions
,,
(,,)
.
.
.
,.
,
.
CS-S868 / INSTRUCTION MANUAL
.
.
.
.
.
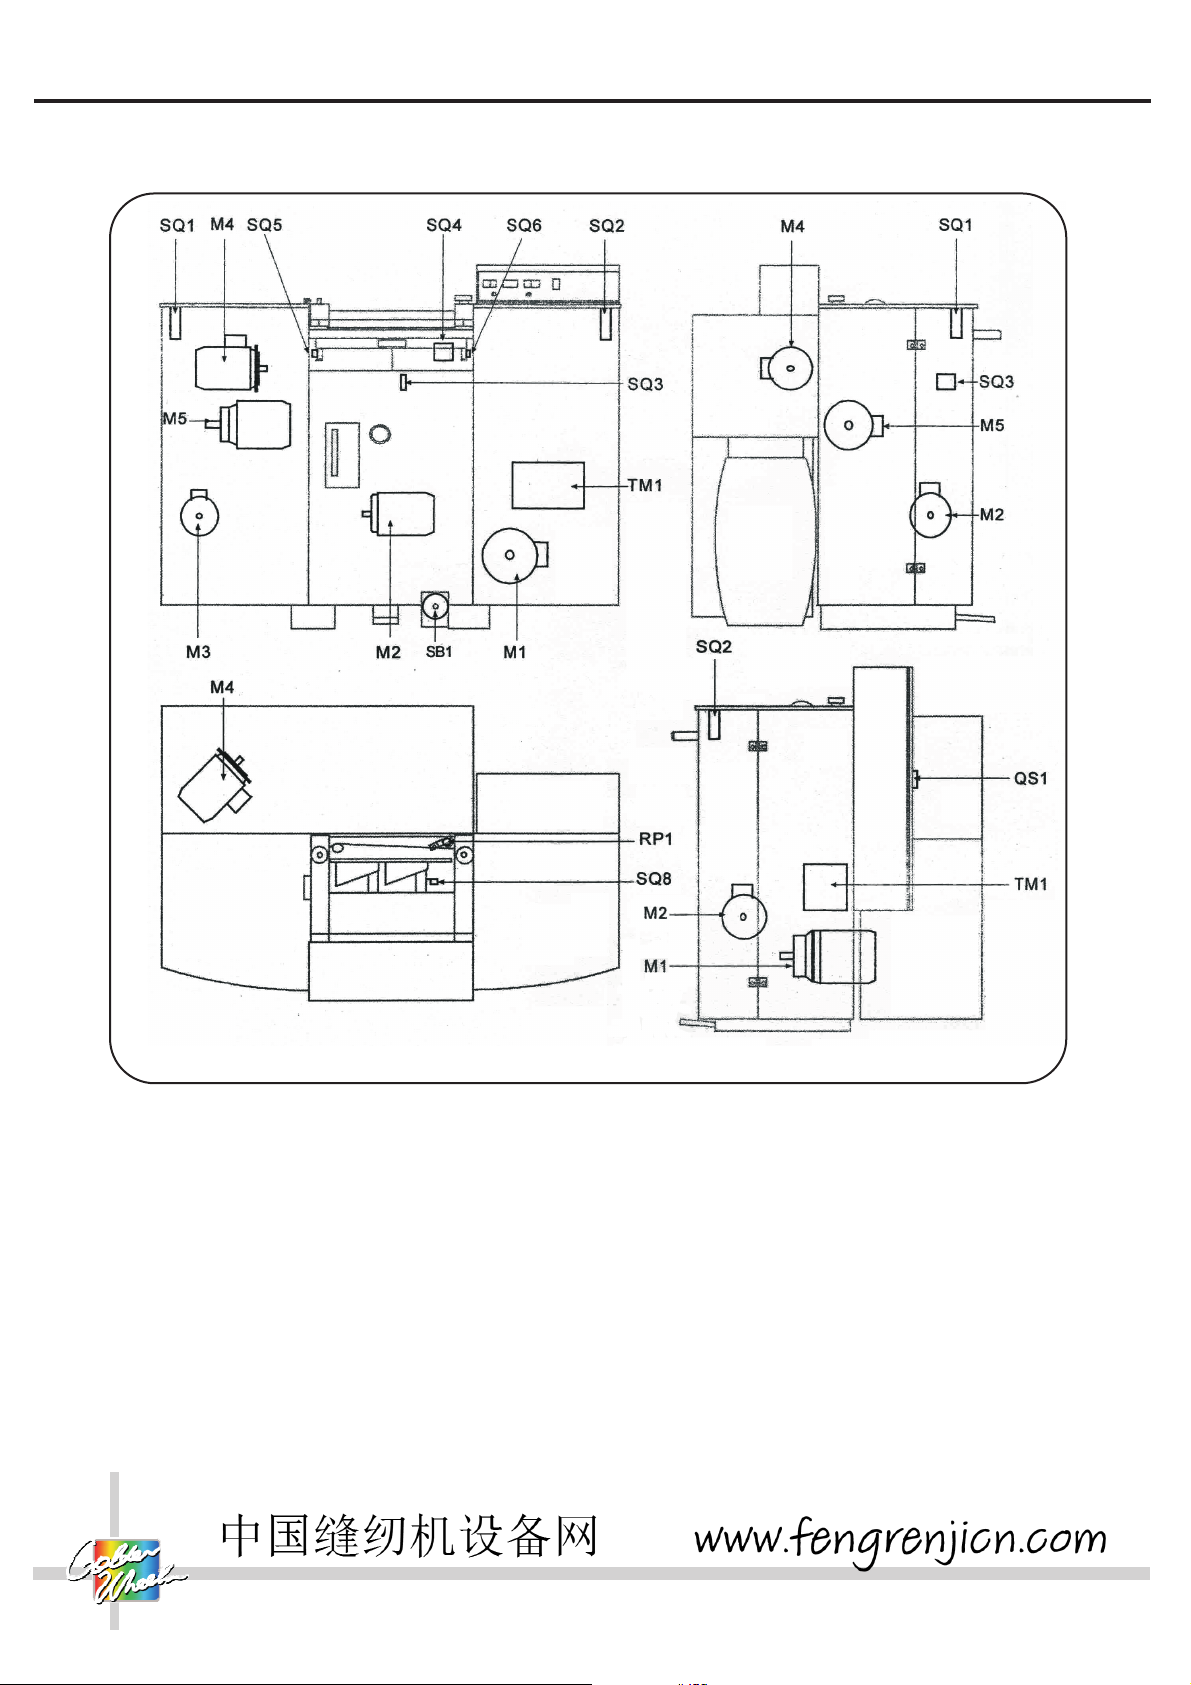
, QS1 .
, SA1 ,,,
,, HL1 .( Fig.1
Fig.2)
.
.
.
.
Equipped with Safety-Guard Device to avoid the accidents.
Be careful the movable parts & sharp knife edge while operating and maintenance.
Please observe the manual when install or use the machine.
Do not remove and destroy the Safety-Guard Device.
Maintenance must be done carefully by professional technician.
Do not clean and lubricate the machine when it is running.
Please observe and do under the manual when check and change the electric equipment
components.
Setting&maintenance must be done when the switch QS1 is turned off.
When set and maintain the machine, please turn off the power by pressing down the switch SA1.
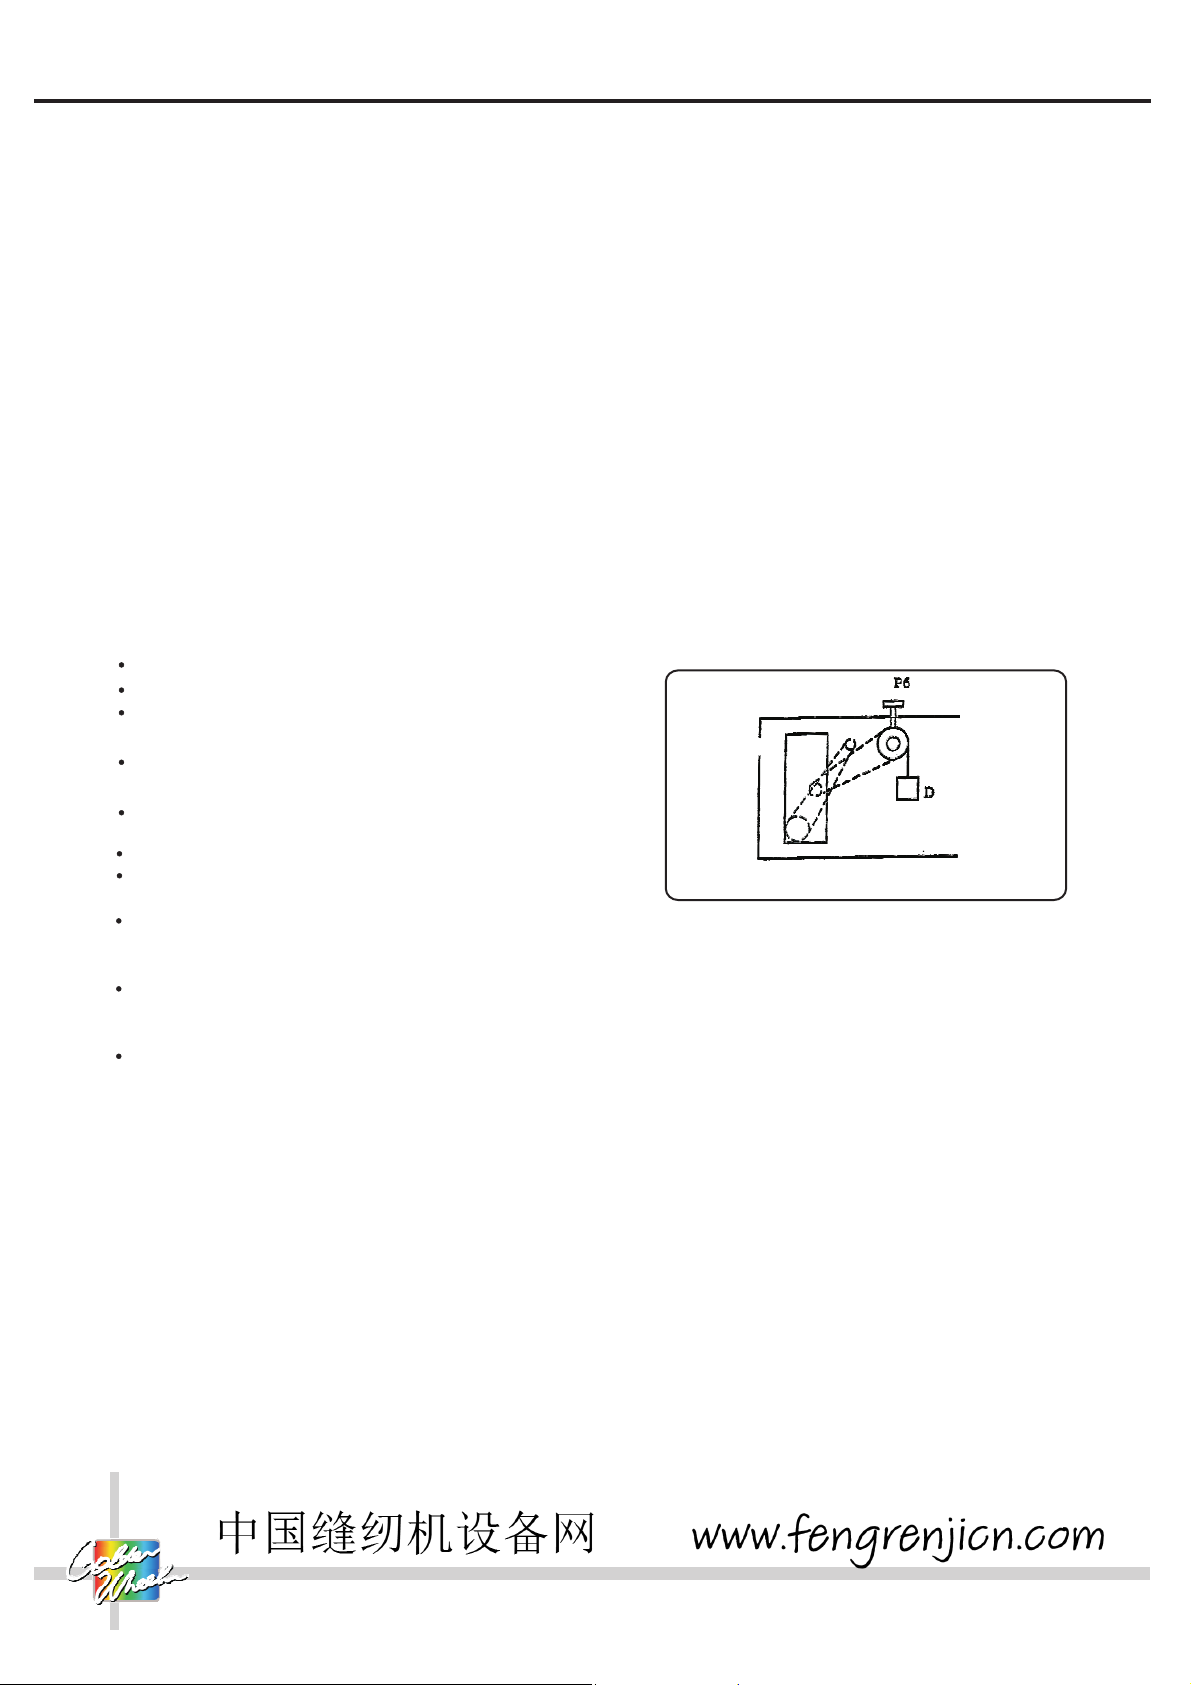
Turn on the machine, at this moment, the red light HL1 will
be lighted. Equipt the knife trend&exhaustrors for emery dust&working scraps, must be done by
professional technician.( Fig.1 & Fig.2 )
Please use proper tools.
Please use the safety-guard wrenches as safety-guard rules required.
Please operate the machine correctly and do strictly as the safety regulation to avoid unexpected
accident.
Check whether the safety equipments(protector, safety linkage,emergency switch) work normally
or not! And the safety equipments can't be removed or destroyed.
The machine operator must be trained enough!
The maintenance also must be done by trained person.
The work place must keep clean,and do not place anything on the table.
Please do as the instrucions when cleaning and maintenance, if any doubt or help, please
contact the Service After Sale Department of Chee Siang Co,.Ltd