10
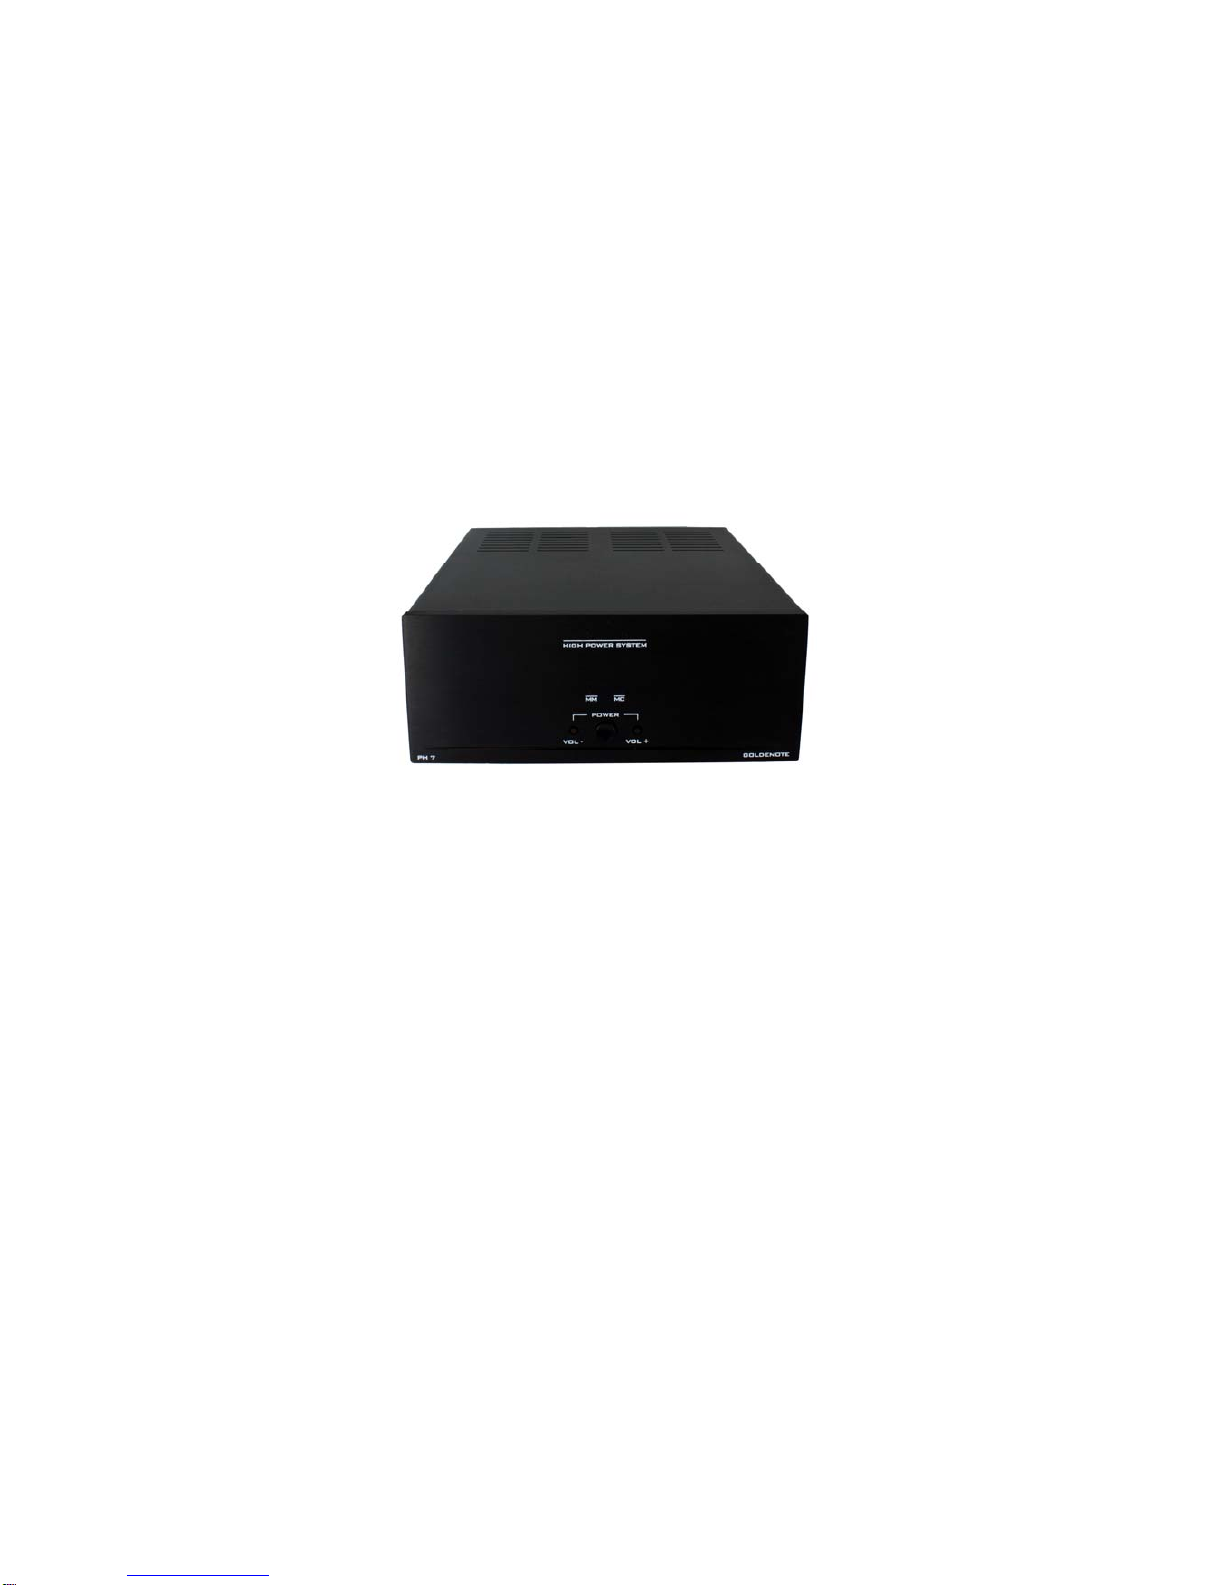
PHONO 2 Italian Prestige phono stage
F.A.Q.
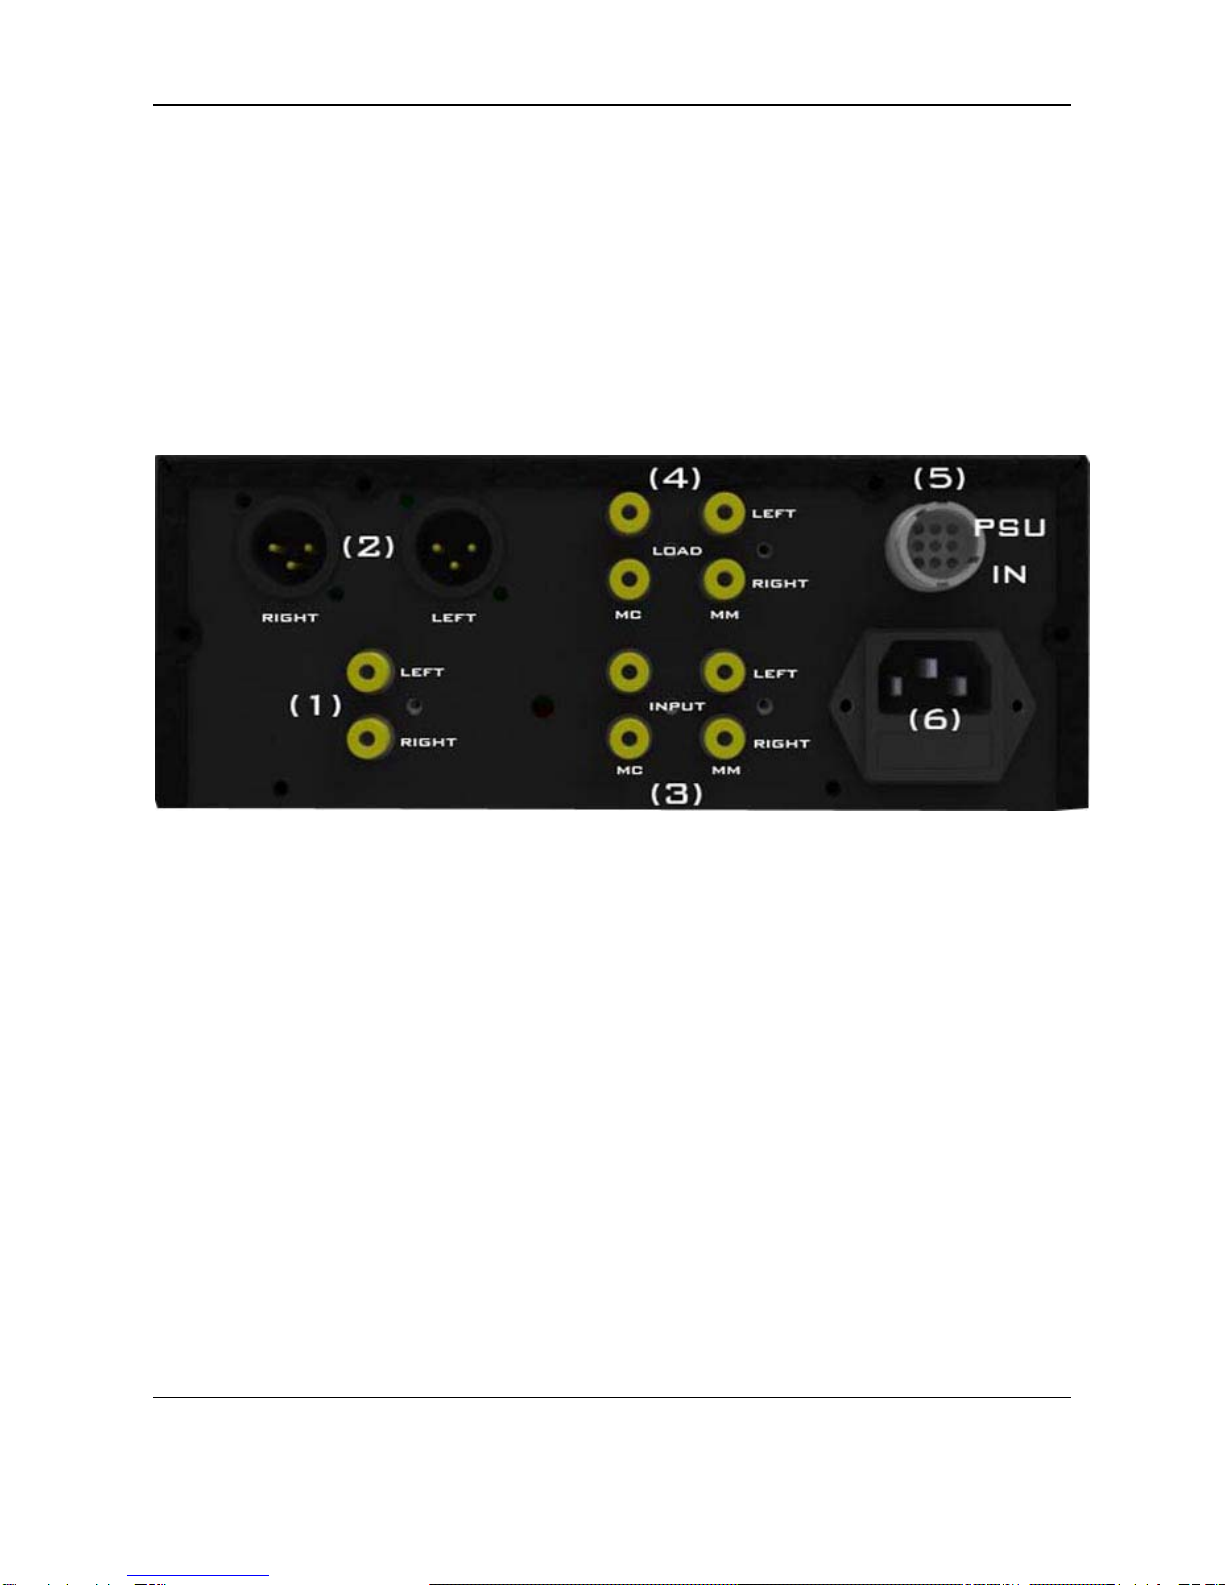
PHONO 2 Phono Stage
ACTION DESCRIPTION HOW TO ADJUST IT
MATCHING THE CARTRIDGE
IMPEDENCE •Your cartridge needs a
proper IMPEDANCE
matching to chose between
470ohm or 47Kohm.
•Once you disconnect the Phono Stage from
the AC plug Once you disconnect the
Phono Stage from the AC plug remove,
taking extreme care, the acrylic circular
bottom. The signal cables are soldered to
the connectors of such bottom so please
doing that operation with great attention.
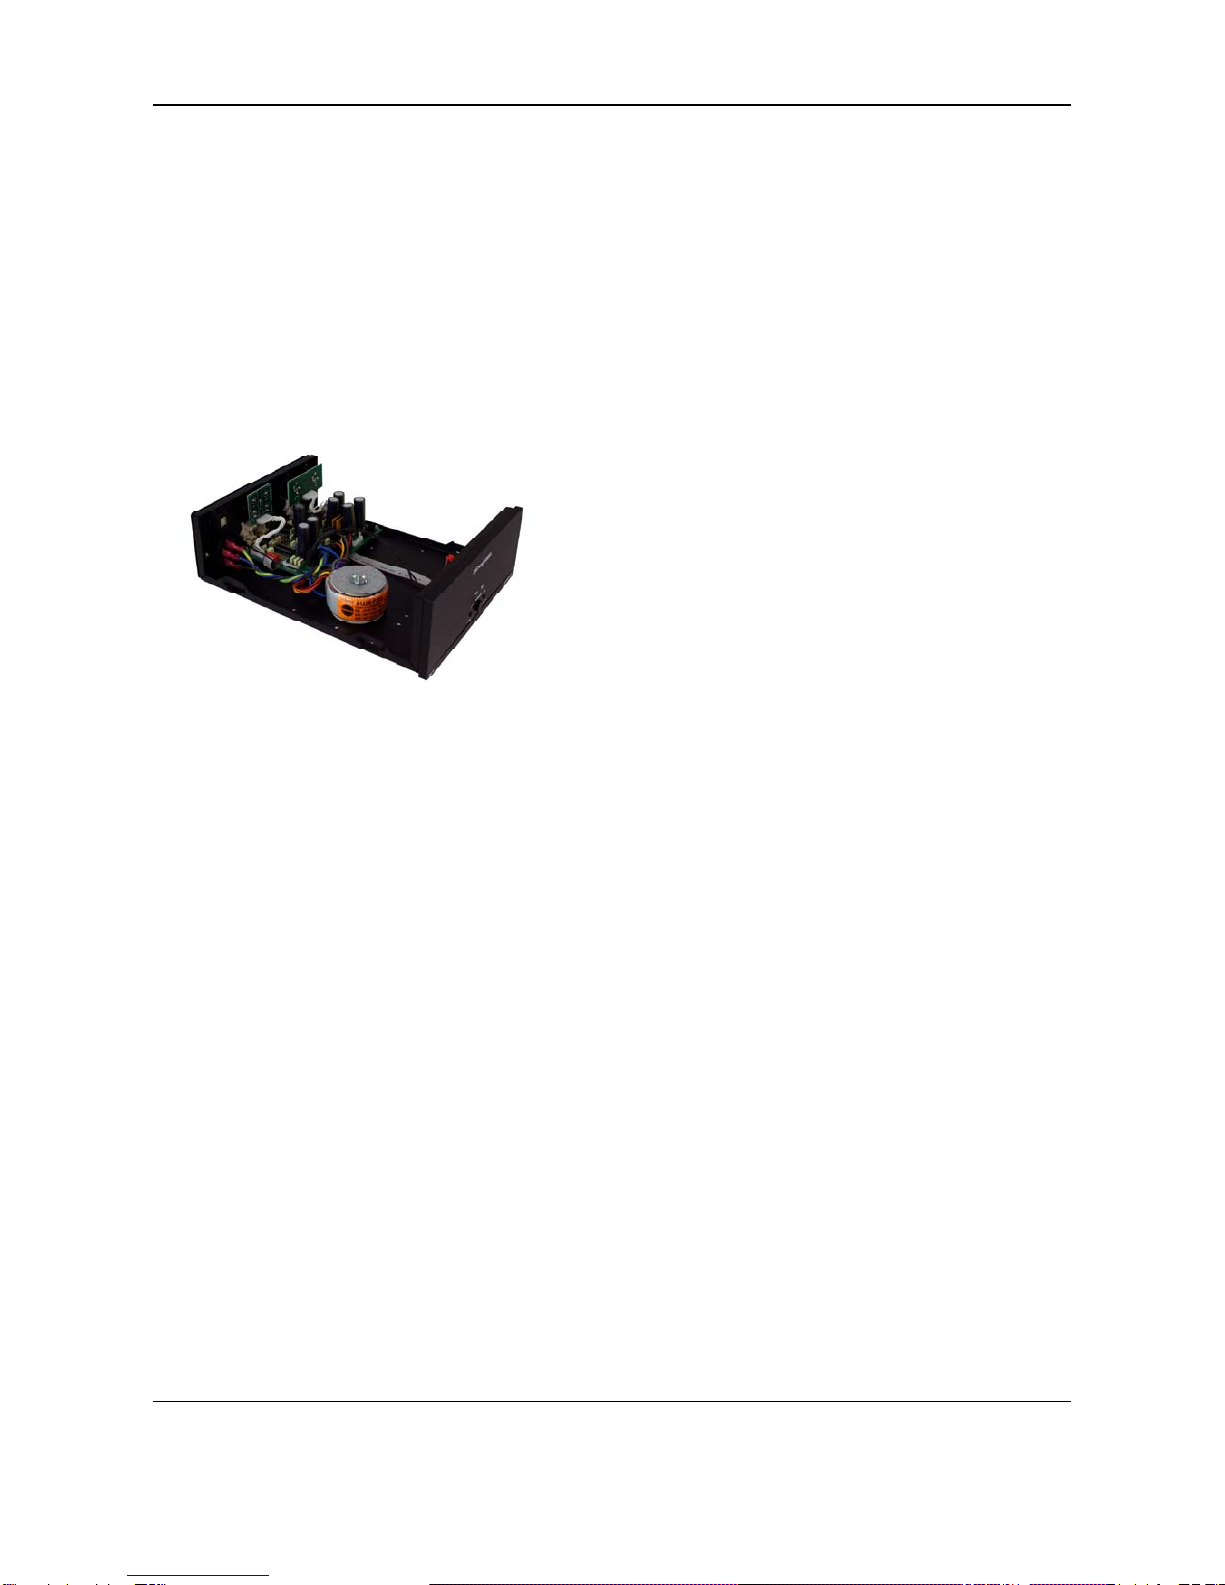
Inside the Phono stage is visible the RED
PCB where a DIPSWITCH with 4 switches
is installed. To have only move the
following 2 micro switches:
•470ohm (MC TYPICAL) impedance move
the 2, 3 switches towards the “ON”
labelled side.
•47Kohm (MM TYPICAL) impedance move
the 2, 3 switches towards the “2 & 3”
labelled side.
MATCHING THE CARTRIDGE GAIN •Your cartridge needs a
proper GAIN matching to
chose between MM or MC.
•Once you disconnect the Phono Stage from
the AC plug remove, taking extreme care,
the acrylic circular bottom. The signal
cables are soldered to the connectors of
such bottom so please doing that
operation with great attention. Inside the
Phono stage is visible the RED PCB where
a DIPSWITCH with 4 switches is installed.
To have only move the following 2 micro
switches:
•MC move the 1, 4 switches towards the
“ON” labelled side.
•MM move the 1, 4 switches towards the
“1 & 4” labelled side.
CLEANING THE PHONO STAGE •The Phono Stage is dirty
and needs to be cleaned •With EXTREME care use ONLY pure alcohol
and a very soft 100% cotton cloth to
sweep dust and stains out.
Any acid or not extremely soft cloth will
irreversibly damage the Phono Stage fine
aesthetic.
Do not use any alcohol to clean the Phono Stage
anodised label, or printed parts. Only dry cloth is
allowed
F.A.Q.