The Golight® Model 2020GT, 2021GT, 20204GT and 20214GT
spotlights are designed to be permanently attached to a vehicle
and operated by a hardwired dash remote. Each spotlight has
370° horizontal rotation and 135° vertical tilt.
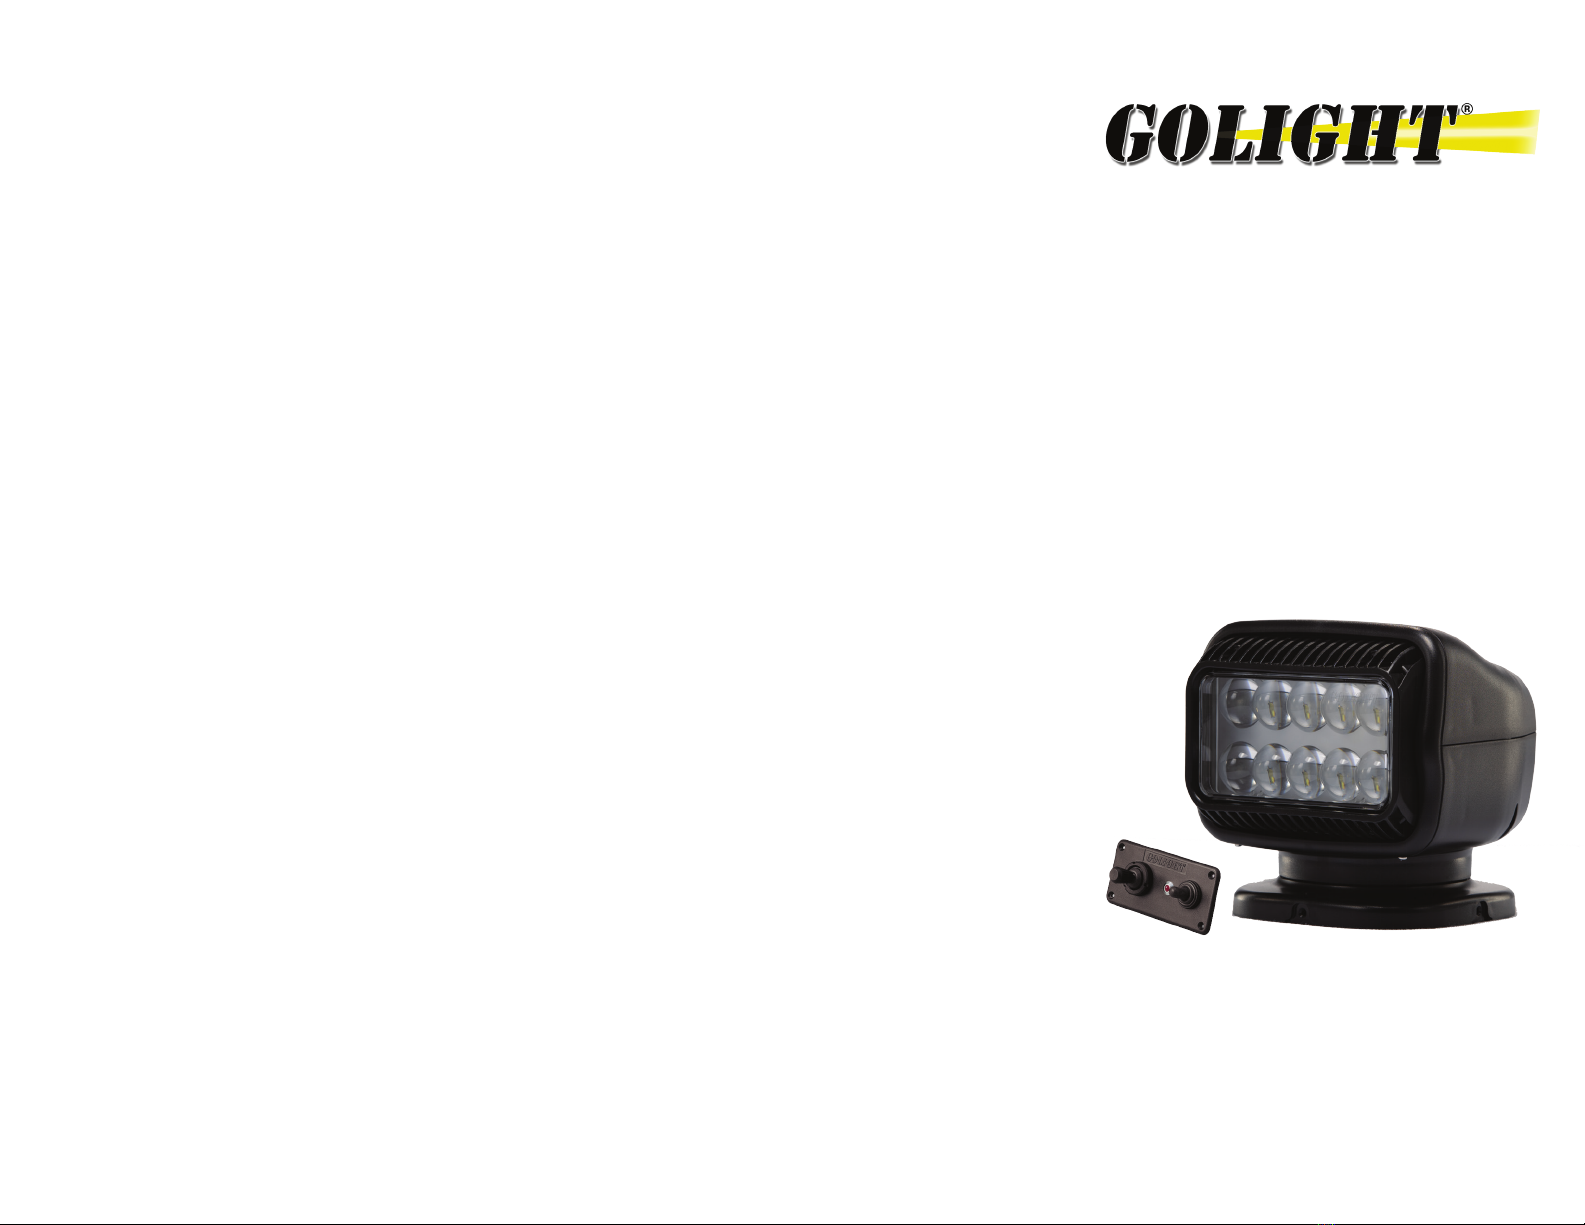
This Golight® includes:
• Golight® Spotlight
• Hardwired Dash Remote
• Wiring Harness – 20 foot (6 meter) long
(other lengths available)
• Stainless Steel Mounting Bracket and Black Rubber Mounting
Gasket
• Mounting Hardware Package with four round head sheet metal
screws and four flat head machine screws
• Rockguard (Models 2020GT and 2021GT only)
MOUNTING INSTRUCTIONS – DASH REMOTE
1. Determine a location for dash remote. Create an opening in
mounting surface for rearward facing components and drill
holes for screws of your choice. Remote dimensions are shown
in Figure 1.
Figure 1 – Dash Remote – Dimensions in mm
2. The red and black wire leads on the dash remote need to be
connected to a fused 12V DC power source on the vehicle. It
is critical that polarity be observed. Connect vehicle positive
(+) to red positive (+) wire. Connect vehicle chassis ground (-) to
black ground (-) wire. Use appropriate wire gauge and fuse for
your light and appropriate automotive wiring connectors.
3. Electrical requirements are as follows:
Halogen Models – 2020GT & 2021GT
Max Current Draw: 5.5A @ 13.8V
Recommended Fuse: 7.5A to 10A
LED Models – 20204GT & 20214GT
Max Current Draw: 3.5A @ 13.8V
Recommended Fuse: 5A
4. Connect the output connector on the rear of the remote to the
mating connector on the wiring harness.
5. Attach the remote to the mounting surface with screws of your
choice.
MOUNTING INSTRUCTIONS - SPOTLIGHT
1. Determine the location for the light on your vehicle. This should
be a flat surface. The small arrow on the base indicates the
normal forward direction of the light. The light will rotate to
the left of this arrow 185 degrees and to the right 185 degrees.
The lamp will tilt down 45 degrees and tilt up 90 degrees. The
location should take into consideration this range of motion to
maximize usability. Keep in mind the swing diameter is 261.4
mm (10.3 inches) from the center of the mounting plate – see
Figure 2. This allows for clearance as the light is rotating.
Figure 2 – Spotlight – Bottom View Looking Up – Dimensions in mm
2. Mounting bracket is designed to be mounted with either sheet
metal screws (outer pattern) or combination of cap screws,
nuts and washers (inner pattern). The sheet metal screws
are supplied. You should choose hardware appropriate to the
surface to which you intend to attach the light. Drill holes in
mounting surface for either type of hardware depending upon
your preference. Refer to Figure 3 for hole pattern dimensions
or use holes in mounting bracket as a guide.
Figure 2
Figure 3
Figure 1
Figure 3 – Steel Mounting Bracket – Dimensions in mm
3. Drill a center hole in mounting surface for passage of power
wiring harness. Minimum suggested diameter is 22 mm (7/8
inch).
4. Place the black mounting gasket under the mounting bracket
and attach the bracket and gasket to vehicle using preferred
hardware. Silicone or other like sealants should not be used
around the mounting gasket as it will limit the ability to drain
water properly.
5. Route the wiring harness from the remote through the vehicle
to the mounting bracket.
6. Connect electrical connector on spotlight to mating connector
on wiring harness.
7. Use silicone sealant to fill center hole around wiring harness.
IMPORTANT: Allow 75 mm (3 inches) of cord to remain under
light to ensure full 370 degrees rotation.
8. Seat spotlight base onto mounting bracket. Use four flathead
machine screws (included) to secure spotlight to mounting
plate. Press rubber tabs on mounting gasket into plastic base.
9. Mechanical and electrical installation of the spotlight is now
complete.
OPERATION OF GOLIGHT® SPOTLIGHT
1. Use the toggle switch on the dash control to turn the light on/
off. The red LED in the center of the dash control will light to
indicate that the lamp is on.
2. The 4-way joystick on the dash control rotates and tilts the
lamp to the desired position.
3. Spotlight must be on to rotate or tilt.