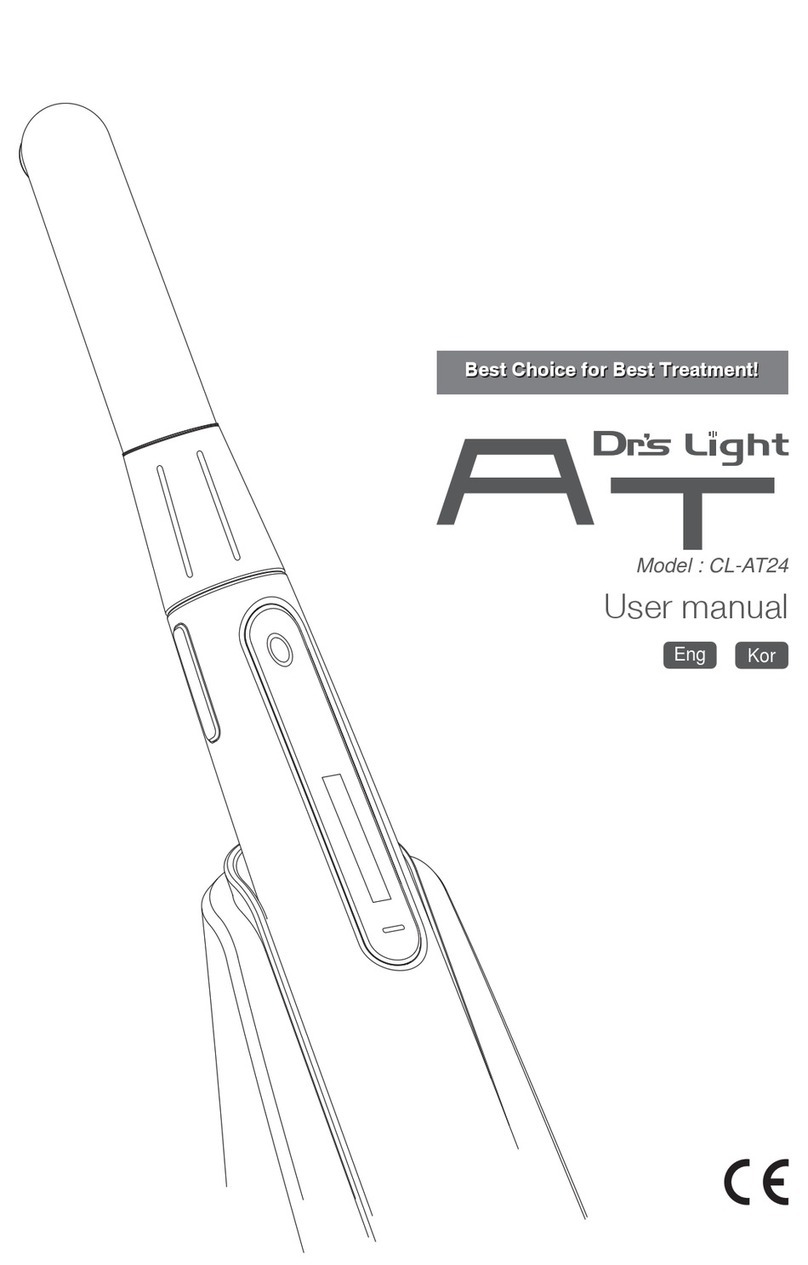
GoodDrs Dr's Light 2 User manual

M
aster o
f
D
enta
l
Ligh
t
KorEng
User manual

M
aster o
f
D
enta
l
Ligh
t
Eng
User manual

00
03
Contents
25
10. Accessories
25
11. Warranty
26
12. Warranty card
04
- Features
- Intended for use
- Overview
1. Introduction
09
3. List of components
10
4. Parts and functions
11
5. Installation
15
6. How to use
22
7. Maintenance
23
8. Trouble shooting
24
9. Specification
05
2. Safety information
- Warning and caution
- Notes and references
- Installation and connection
- Operation
- Maintenance

04 Master of Dental Light
1Introduction
Thank you for purchasing the device.
The instructions described below have been designed to provide the necessary information for the
successful operation, daily maintenance and safety for the use of this device.
Features
- High power intensity
- Dual wavelength LED (peak 405nm & 460nm)
- Adjustable intensity power
- Ortho mode
- Easy to ready color OLED screen
- 280˚ twistable head
- Adjustable handpiece angle
- Big capacity & Interchangeable battery
- Multi-purpose (caries detection, whitening accelerator, etc. / option)
Overview
Intended for use
- Polymerization of light-cure catalyst containing dental materials with a wavelength spectrum of
400 ~ 490nm.
Intended for use of optional heads
- FL head: Detect early carious on the teeth with fluorescence light technology.
- Trans head: Detect carious or crack on the teeth with trans illumination character of light.
- WA Kit: Whitening accelerator for the whitening gel.
CL head
Anti-glare shield
OLED display
Buttons
Handpiece
Battery
Charger
[ Option ]
FL head Trans head
WA Kit
WA grip
WA arm
Battery
WA head

05
Safety information2
It is important to understand the following information to use this product safely.
Warning and caution
Indicates a potentially hazardous situation which, if not avoided, may result in
serious injury or death.
Indicates a potentially hazardous situation which, if not avoided, may result in
minor/moderate injury or in damage of property.
Caution
Warning
Warning and caution used in this manual are shown below.
Notes and references used in this manual are shown below.
Indicates that potential malfunctions may occur if the description is ignored.
Supplementary information to facilitate better operation.
Reference
Note
Notes and references

06 Master of Dental Light
2Safety information
Installation and connection
- The adapter should be disconnected from charger before connect the power cable to
prevent an electric shock.
- Keep away from sources of ignition to avoid fire or explosion.
- Protect the handpiece, charger, and battery from any liquid to avoid electric shock or
functional error.
- Place the charger on a flat and stable surface. Do not drop handpiece and charger to
avoid internal defect that may cause overheating or fire.
- Do not place the electric cord near a as burner or sources of heat.
If the cord catch on fire, replace to new one to avoid short-circuit.
Warning
- Do not use or leave the unit in areas of high temperature or exposed to direct sunlight.
Internal circuit may cause overheat or fire.
- Securely connect the power plug to the outlet with dust-free.
- Use this device in well ventilated areas. Overheating may cause fire.
- Do not touch the terminal areas of charger or battery with fingers or conductive objects
such as metal wire or safety-pin. It may electric shock or fire.
- Do not use other charger, battery, or adapter. It may cause fire or device malfunction.
Caution

07
2Safety information
Operation
- Do not plug the power cord with wet hands. This may result in an electric shock.
- In case of fluid leak from battery or partial discoloration / deformation of the handpiece,
immediately stop use.
- Place the battery on correct direction when charging.
Wrong directed placing may cause malfunction, explosion, or fire.
- In case partial discoloration of the charger, immediately disconnected the power plug
and repair the charger.
- In case battery fluid contacts the eye, immediately flush with copious amount of clean
water and get medical attention.
- Do not use the device on patients with a history of cataract, retinal damage or allergic
reaction to light.
- Do not use this device on a person with a pacemaker as it may cause malfunction of
pacemaker.
- Avoid exposing the light on intraoral soft tissue as it may affect the soft tissue.
- Be careful when use the soft lens on the LED part to avoid detach on use.
And please use disposable cover on use.
- Do not put the battery on the charger upside down. This may cause an explosion or fire.
- Use disposable cover when use the device for patient to avoid cross-inpection.
Warning
- Disconnect the power cord by grasping the power plug. This may cause injuries or burns.
- Avoid damage or use of unnecessary force on the power cord.
This may cause an electric shock or fire.
- Should battery fluid contact the skin or clothes, immediately wash it off with copious
amount water to avoid skin damage.
- Take the battery out of from handpiece, if it won't use for more than one week.
- Do not use this product for any purposes other than dental use.
Caution

08 Master of Dental Light
2Safety information
Maintenance
- Use only the battery supplied to avoid fluid leak or explosion.
- Never disassemble or overhaul the product.
Unusual performance may cause inuires, electric shock, or fire.
- Ensure that charger and battery are always separated from the handpiece,
and disconnect adapter cable from electric source prior to cleaning.
Warning
- If the OLED screen malfunctions, remove the battery from the handpiece and reinsert it.
- Careful to avoid missing accessories like soft lens or etc.
- User must be in charge of operation, maintenance and check.
Caution

09
3List of components
WA KIT(Option)
Option head
Please check the contents described below when removing the contents from the original packaging.
* CL: Curing Light, FL: Fluorescence, Trans: Trans Illumination, WA: Whitening Acceleration
CL head Handpiece Charger
Anti-glare shield Adapter Power cable
Battery
WA head Battery WA Grip WA arm
User manual
FL head Trans head
Disposable cover
(x 100 pcs by weight)
x 2ea

10 Master of Dental Light
4Parts and functions
③
Anti-glare shield
⑥ Cramp
④ OLED display
⑦ Battery
⑧ Charger
⑨ Charging indictor
⑩ Charging port
⑤ Button
① Soft lens
② Head
- Twistable 280。degrees - Detachable
③ Anti-glare shield
④ OLED display
- Show the device states
⑤ Button
ⓐ Operation button
- Power on / off
- Light irradiation start / stop.
ⓑ Time button
- Time setting which set for each mode.
- On Power mode it is turn to Ortho mode.
ⓒ Mode button
- Mode selection
(Low → High → Turbo → Soft Start → Pulse → Low rotated)
ⓓ Hot key
- Go to Power mode with short click
- Go to Timer mode with long click
⑥ Cramp
- Change head angle (3 steps)
⑦ Battery
⑧ Charger
⑨ Charging indicator
- Red: On charging
- Blue: Full charged
⑩ Charging port
- Connect the AC adapter for charging
⑪ Adapter
⑫ Power cable
Option
FL: Fluorescence
Trans: Trans Illumination
WA: Whitening Acceleration
FL head Trans head WA head
⑫ Power cable
⑪ Adapter
① Soft lens
② Head
ⓐ Operation button
ⓒ Mode buttonⓓ Hot key
ⓑ Time button

11
5Installation
1. Connection between adapter and charger
Securely insert the connector of the adapter into the inlet
at the back of the charger
The adapter is able to use with a power outlet of
100V ~ 240V
When electric power is connected, red and blue light is
flashed instantly. It shown the charger works normally.
Use only supplied adapter.
If the adapter is not supplied one, it may make charger malfunction
Caution
Refer to the information supplied on safety precautions during installation and connection.
2. Inserting head
Connect the head with handpiece. Be careful the direction, and do not force much when connect the head.
Place the head to handpice as
upper direction.
Spin the head for arrow direction. Mount Anti-glare shield as
upper picture.
①
②
Other heads are same to attach with the body.
Reference
The head should be placed upside down to connect it.
Note
③

12 Master of Dental Light
5Installation
3. Inserting battery
Should use cramp when change the angle. If don’t the durability will be weaker.
Caution
Carefully insert the battery into the handpiece directed by
the arrow. Avoid forcing the battery.
4. Charging
Insert the handpiece into the vertical slot at the front of the
charger.
The charger light at the front of the charger will appear.
- Red light on: Charging in progress.
- Blue light on: Charging process is complete.
If the remaining battery is extremely low, red light may flickers while recharging,
which is not a malfunction.
It will take approximately 3~4 hours before the battery will be fully charged.
Note
5. Change the handpiece angle.
①
①
①
②

13
5Installation
<Installation>
7. WA Kit installation (Option)
6. Trans head installation (Option)
Before use trans head, cover disposable cover, and mount
trans tip on the trans head.
Example how to use.
①
②
Mount the WA grip to unit-chair, and tighten up a bolt
by screwdriver tightly.
<WA grip>
Mount silicon cover on the WA head. Mount silicon cover on the WA head.
①
②

14 Master of Dental Light
5Installation
Mount WA arm to WA grip hole, and tighten up the nut
tightly. (Put the washer between WA Arm and WA grip,
WA grip and nut)
- Mount the device on the robber holder.
- WA arm is adjustable & left, angle, and length.
- Fit the angle, and tighten the WA arm using by cramp.
Caution
- Read and check contents and manual before installation.
- Read and reference this manual. Careless on installation or of injury.
- Dropping this unit would lead to injury or device malfunction.
- Tighten kinds of bolt or nut surely to avoid accident.
- Check the bolt or nut whenever using to avoid accident.
- Manufacturer doesn't have any liability cause from misuse or user-careless.
<How to use WA arm>
Adjustable right & left
<Cramp>
adjustable angle.
Adjustable length
<Rubber holder>
Rotatable
<Example>
<Washer>
<Nut>
<WA Arm>
- There are Ortho mode with WA Head. Refer 06. How to use / 3.1 Ortho mode
Reference

15
6How to use
1. Operation button
- Power on / off
- Light irradiation start / stop.
2. Time button
- Time setting which set for each mode.
- On Power mode it rotate Ortho and Power mode
3. Mode button
- Mode selection
(High → Turbo → Soft → Pulse → Low rotated)
4. Hot key
- Go to Power mode with short click
- Go to Timer mode with long click
1. Button description
Option heads
1) Operation button
- Power on /off
- Light irradiation start / stop
2) Time button: Intensity decrease
3) Mode button: Intensity decrease
4) Hot key: Go to timer mode
with long click.
1. FL head & Trans head
1) Operation button
- Power on / off
- Light irradiation start / stop.
2) Time button: Set the time.
(10, 15, 20, 25, 30 Minutes rotated.)
3) Mode button: Click and hold for 3
seconds, it turn to Ortho mode.
4) Hot key: Go to timer mode
with long click.
2. WA head
3. Mode button
4. Hot key
1. Operation button
2. Time button
2. Activating handpiece
- Insert battery and click operation button. Then OLED screen will turn on with beep sound.
Intro display Last selected mode

16 Master of Dental Light
6How to use
When turn on the device, the mode and time are set for last selected one when turn off.
Reference
① Show the light irradiation level by visually.
② Show selected mode.
③ Show set time.
④ Show residual time.
⑤ Show residual battery electric capacity.
- OLED screen
12
4
3
5
4. Battery indicator
This icon indicates the Power remaining of battery.
Recharge or replace the battery pack when "LOW BATTERY" sign appears
on the display screen, and turn off the device.
3. Start of exposure
Press operation button to start exposure with the selected mode.
Press any button if you wish to end the irradiation process.
Reference

17
6How to use
5. Selection of curing mode
Warning
In Power mode, do not expose soft tissue for more than 5 seconds.
Power mode exposure time set is fixed for 3 seconds.
Time / Sec.
Output
mW/cm2 Power mode
(3 Sec.)
Turbo mode
(5, 10 Sec.)
Low mode
(20, 30 Sec.)
5 101520
High mode (10, 20 Sec.)
SoftStart mode
(20 Sec. fixed)
Output
mW/cm2
Time / Sec.
Pulse mode
(20, 30 Sec.)
Ortho mode
(2 Sec. x 5 times)
5 101520
0.1 Sec 0.05 Sec
2 Sec 1 Sec
- Six curing programs are available in this device.

18 Master of Dental Light
6How to use
Be careful when take off the soft lens to avoid damage for the case.
To prevent decrease light intensity, be careful from contamination.
Caution
6. Replace the soft lens
In case of soft lens get damage or contamination on use, user can replace the soft lens
Auto display off or power off function doesn't work during irradiation.
Reference
8. Auto display off & Auto power off
- In case of no button click for 30 seconds, the display will be turn off to save electric power.
To turn on the display, shake the device.
-
In case the device doesn't operated for 1 hour. The device will power off. To turn on, click operation button.
Take off the soft lens with some tool.
Put the soft lens on the head.
Check the hook of soft lens and hole of head.
7. Reset
In case the device seems work abnormally, try to device reset.
To reset the device, take off the battery. And re-insert the battery after 5 seconds.

19
6How to use
Reference
9. Timer mode
This device has timer function. Long click hot key. Then device is turn to timer mode.
Selected figure is shown by blue letter.
Minimum setting time is 10 seconds, and maximum setting time is 59 minutes 50 seconds.
Reference
4. Hot key
1) Operation button
- Start timer
2) Time button
- Decrease the figure (Min: - 1 minute, Sec. - 10 seconds)
3) Mode button
- Increase the figure (Min: +1 minute, Sec. +10 seconds)
4) Hot key
- Sort click: Select figure (Min. 10 -> Min. 1 -> Sec. -> Min. 10 / rotation)
- Long click: Get out to previous mode.
1. Set the time with buttons.
3. In case the residual time is reach 00:00. device makes beep sound for 1 minute.
Click any button beep sound is stop and turn to timer with set time.
4. To get out the timer mode, long click the hot key.
- Press any button if you wish to end the progress.
- Beep sound make per every 10 seconds.
2. Click operation button, then the time is reduced till 00:00 from set time.

20 Master of Dental Light
6How to use
10. Option heads
1. FL head
1) When connect FL head OLED screen is show FL mode standby.
2) Click operation button, the light is irradiated. Irradiate time is 1 minute.
To stop the irradiation, click any button.
2. Trans head
1) When connect Trans head OLED screen show Trans mode standby.
2) Click operation button, the light is irradiated. Irradiate time is 1 minute.
To stop the irradiation, click any button.
Table of contents
Other GoodDrs Dental Equipment manuals
Popular Dental Equipment manuals by other brands

Profi Care
Profi Care PC-DC 3031 instruction manual

3M ESPE
3M ESPE Elipar operating instructions

Ultradent
Ultradent Valo manual

VERDER
VERDER Carbolite Gero CDF 15/1b Installation, operation & maintenance instructions

Aseptico
Aseptico ALU-40TC Operation and maintenance instruction manual

orangedental
orangedental spot-on nxt Instructions for use

vita
vita YZ Series Instructions for use

Renfert
Renfert Kulzer Dynamix speed 2 quick start guide

DARAY
DARAY SL730LW Operating & installation manual

Great Lakes
Great Lakes Biostar Scan Operation manual

Dentsply Sirona
Dentsply Sirona MIDWEST AUTOMATE Instructions for use

Ticonium
Ticonium Premium 100 TECHNIQUE MANUAL