1
TABLE OF CONTENTS
SAFETY INFORMATION ............................................................................................ 2
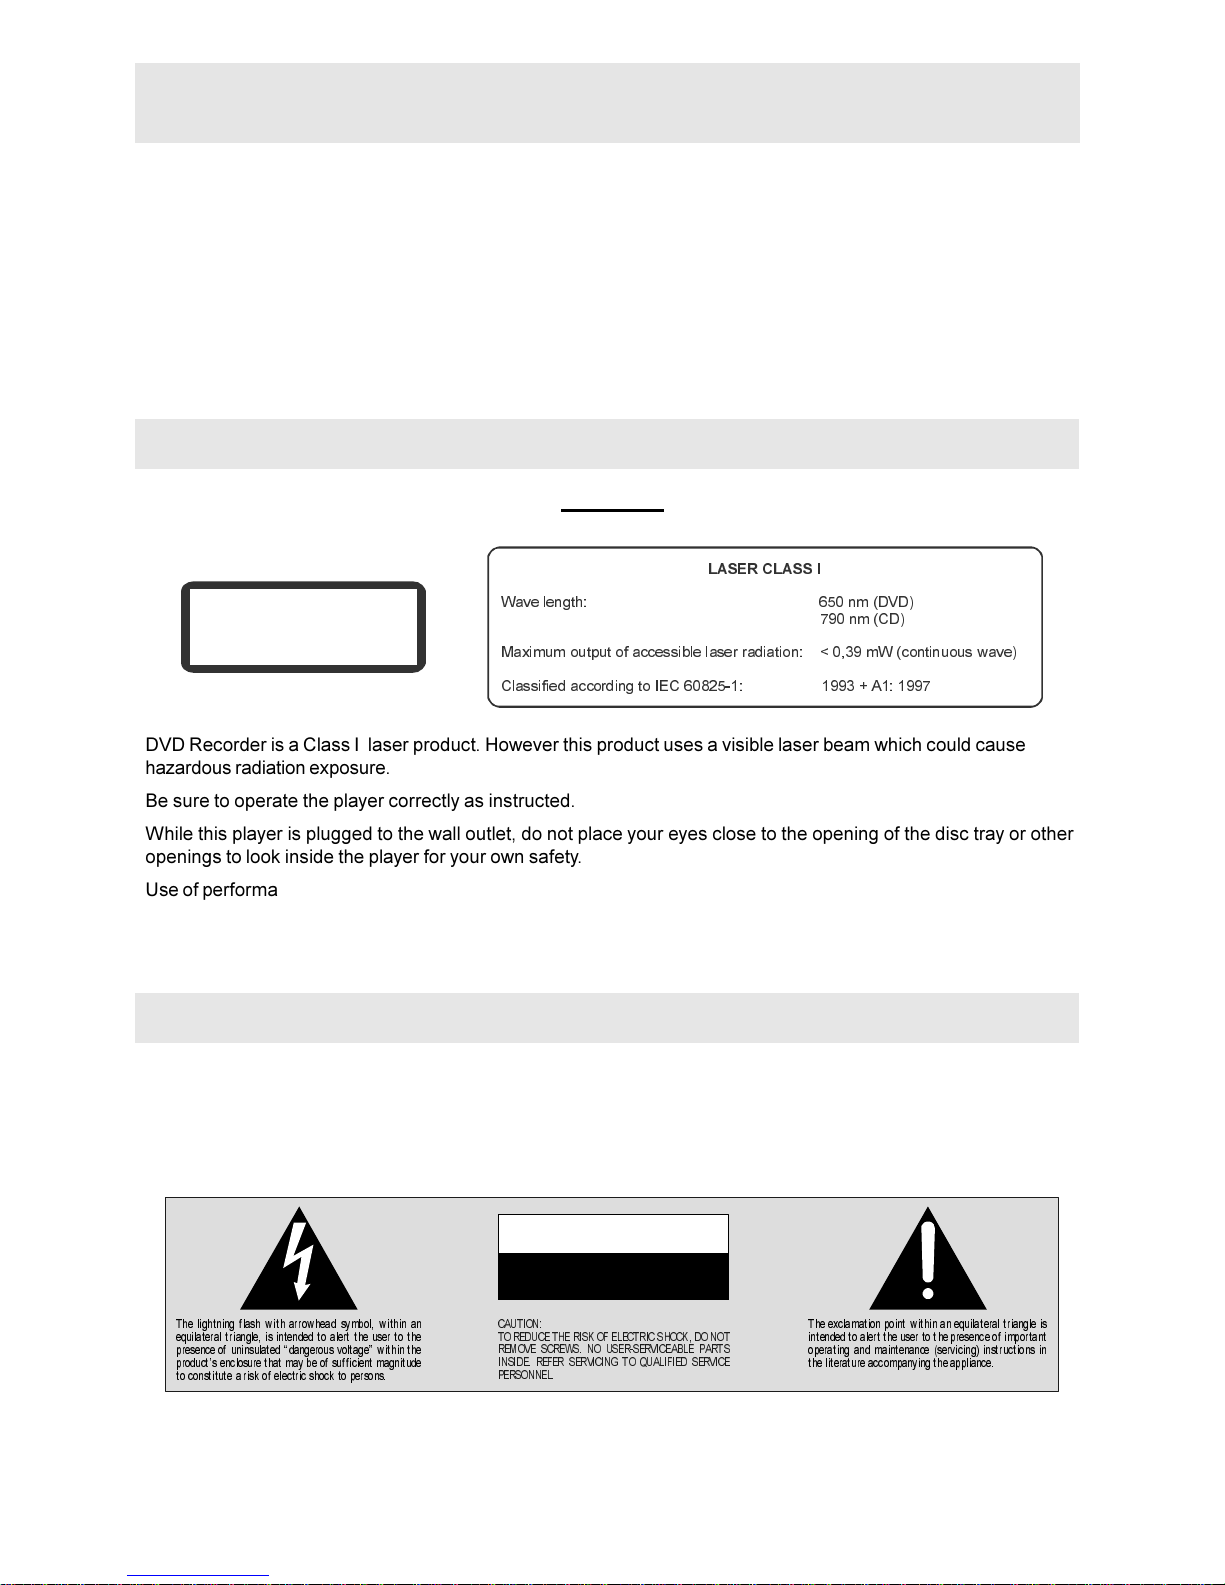
WARNING .................................................................................................................. 2
GENERAL PROPERTIES ........................................................................................... 3
NOTES ON CD-R/RW, DVD-R/RW AND DVD+R/RW ............................................ 4
NOTES ON DISCS ..................................................................................................... 5
WIRING THE PLUG ................................................................................................... 6
WIRING INSTRUCTIONS ......................................................................................... 6
WARNING .................................................................................................................. 6
IMPORTANT ............................................................................................................... 6
SAFETY PRECAUTIONS ...........................................................................................
AERIAL CONNECTION .............................................................................................. 8
CONNECTING YOUR DVD RECORDER TO THE TV SET ...................................... 8
CONNECTING WITH A SCART CABLE (ANTENNA/AV RECEIVER) ...................... 8
CONNECTING TO A SKY BOX ................................................................................. 9
CONNECTING WITH AN SVIDEO (Y/C) CABLE .................................................... 10
CONNECTING WITH VIDEO(CVBS) CABLE ......................................................... 11
CONNECTING AUDIO DEVICES TO THE ANALOGUE AUDIO SOCKETS ........... 12
CONNECTING AUDIO DEVICES TO THE DIGITAL AUDIO SOCKET .................... 12
CONNECTING EXTERNAL DEVICES TO THE SECOND SCART SOCKET ......... 13
CONNECTING EXTERNAL VIDEO RECORDERS / DVD PLAYERS ...................... 13
CONNECT CAMCORDER TO THE FRONT SOCKETS ......................................... 14
BASIC OPERATIONS ............................................................................................... 14
THE REMOTE CONTROL ....................................................................................... 15
FRONT PANEL BUTTONS ...................................................................................... 1
FRONT PANEL CONNECTIONS ............................................................................. 18
BACK PANEL CONNECTIONS ............................................................................... 18
VFD ICONS .............................................................................................................. 19
MESSAGES IN THE DVD RECORDER DISPLAY .................................................... 20
SUPPORTED DISCS ................................................................................................ 20
PREPARING THE REMOTE CONTROL FOR OPERATION .................................... 21
PREPARING YOUR FREEVIEW .............................................................................. 22
SWITCHING ON ...................................................................................................... 22
TUNING IN ............................................................................................................... 22
EVERYDAY OPERATION .......................................................................................... 24
MAIN MENU ............................................................................................................. 24
CHANNEL LIST ....................................................................................................... 24
DELETE .................................................................................................................... 25
EDIT NAME .............................................................................................................. 25
CHANNEL LOCK ..................................................................................................... 26
FAVOURITES ........................................................................................................... 26
FAVOURITES ........................................................................................................... 2
ADVANCED OPERATION ......................................................................................... 28
SETTINGS ................................................................................................................ 28
CONFIGURATION .................................................................................................... 28
SUBTITLE ................................................................................................................ 29
FAVOURITE MODE .................................................................................................. 29
CHANNEL LIST ....................................................................................................... 29
EPG PREFERENCE ................................................................................................. 29
RECEIVER UPGRADE ............................................................................................. 29
PARENTAL SETTINGS ............................................................................................. 30
MENU LOCK ........................................................................................................... 30
SET LOCK KEY ....................................................................................................... 30
LANGUAGE SETTINGS ........................................................................................... 31
INSTALLATION ......................................................................................................... 32
AUTOMATIC SEARCH ............................................................................................. 32
MANUAL SEARCH .................................................................................................. 32
NO MENU / RECORDING ....................................................................................... 33
DIGITAL TELETEXT ................................................................................................. 33
WIDESCREEN ......................................................................................................... 34
SUBTITLE ................................................................................................................ 34
ELECTRONIC PROGRAM GUIDE ( - DAY - EPG) ................................................. 34
HOW TO RECORD USING EPG ............................................................................. 36
USING THE MENU .................................................................................................. 38
WATCH TV ............................................................................................................... 38
PLAY/EDIT DISC ...................................................................................................... 39
RECORD PROGRAM .............................................................................................. 42
RECORD SHOW ..................................................................................................... 42
MY RECORD LIST ................................................................................................... 45
SETUP MENU .......................................................................................................... 46
RECORDING SETUP ............................................................................................... 46
RECORDING QUALITY ........................................................................................... 46
AUTO CHAPTER ...................................................................................................... 4
DVD CONTROL ....................................................................................................... 4
ANGLE MARK .......................................................................................................... 48
GENERAL ................................................................................................................ 48
SCREEN SAVER ...................................................................................................... 49
FACTORY DEFAULTS ............................................................................................. 49
POWER SAVING ...................................................................................................... 50
VIDEO SETUP .......................................................................................................... 51
TV DISPLAY .............................................................................................................. 51
TV TYPE ................................................................................................................... 52
VIDEO OUTPUT ....................................................................................................... 52
SPEAKER SETUP .................................................................................................... 53
DOWNMIX ............................................................................................................... 53
CENTER ................................................................................................................... 54
REAR ........................................................................................................................ 54
SUBWOOFER ......................................................................................................... 54
CENTER DELAY ...................................................................................................... 55
REAR DELAY ........................................................................................................... 55
SPEAKER SETUP-SPEAKER TEST ........................................................................ 55
AUDIO ...................................................................................................................... 56
DYNAMIC COMPRESSION ..................................................................................... 56
PLAYBACK ............................................................................................................... 5
INSERTING A DISC IN THE TRAY ........................................................................... 5
BASIC PLAYBACK ................................................................................................... 5
PREPARING FOR PLAYBACK ................................................................................. 5
CHANGING THE CAMERA ANGLE (DVD) ............................................................. 5
BASIC PLAYBACK (DVD,VCD,AUDIO CD) ............................................................ 5
STARTING PLAYBACK FROM ON SCREEN MENU (DVD-VCD) .......................... 58
STOPPING PLAYBACK (DVD,VCD,AUDIO CD) ..................................................... 58
PAUSING PLAYBACK (DVD,VCD,AUDIO CD) ....................................................... 58
REMOVING A DISC ................................................................................................. 58
PLAYING AT X2, X4, X6 OR X8 THE NORMAL SPEED (DVD,VCD,AUDIO CD) ..... 58
PLAYING FORWARDS AND BACKWARDS IN SLOW-MOTION (DVD-VCD) ..... 58
RESUMING PLAYBACK FROM THE SAME
LOCATION (DVD,VCD,AUDIO CD) ......................................................................... 59
LOCATING A SPECIFIC TITLE OR CHAPTER, USING THE MENU
BUTTON (DVD) ....................................................................................................... 59
MOVING TO A SPECIFIC TITLE OR CHAPTER (DVD) .......................................... 59
MOVING TO A SPECIFIC ELAPSED TIME (DVD,VCD,AUDIO CD) ....................... 59
CHECKING ELAPSED TIME (DVD,VCD,AUDIO CD) ............................................. 59
PLAYING REPEATEDLY (DVD,VCD,AUDIO CD) .................................................... 59
REPEATING A SPECIFIC SEGMENT A TO B (DVD,VCD,AUDIO CD) ................... 60
ZOOMING A PICTURE AND SHIFTING THE VIEW POINT (DVD-VCD) ............... 60
VIEWING JPEG PICTURES ..................................................................................... 60
PROGRAM FUNCTION (MP3 - AUDIO CD) ........................................................... 60
SMARTNAVI ............................................................................................................. 61
MANUAL RECORDING ........................................................................................... 64
GENERAL INFORMATION ....................................................................................... 64
RECORDING SETUP ............................................................................................... 64
SELECTING SOURCE ............................................................................................. 64
HOW TO INITIATE AND STOP RECORDING PROCESS? .................................... 64
HOW TO WATCH ANOTHER CHANNEL ON TV DURING RECORDING? ......... 65
INSERTING CHAPTER ............................................................................................ 65
PAUSE RECORDING ............................................................................................... 65
PROGRAMMING A RECORDING (TIMER) ............................................................ 65
GENERAL INFORMATION ....................................................................................... 65
TO SET A RECORDER OR REMINDER BY EPG ( NOW/ NEXT) .......................... 65
TO SET A RECORD OR REMINDER BY EPG ( DAY) ........................................... 66
HOW TO CREATE RECORDING ITEM ................................................................... 66
HOW TO CHECK, CHANGE OR DELETE A PROGRAMMED
RECORDING (TIMER) ............................................................................................ 6
OTR (ONE TOUCH RECORDING) ......................................................................... 6
LIMITATIONS AND SOME OTHER FEATURES ....................................................... 6
RECORDER FEATURES AND LIMITATIONS .......................................................... 6
APPENDIX A - TROUBLESHOOTING (FOR DVB) ................................................. 68
TROUBLESHOOTING (FOR DVD) ......................................................................... 69
APPENDIX B - SPECIFICATION (FOR DVB) .......................................................... 0
APPENDIX B -SPECIFICATIONS (FOR DVD) ......................................................... 1
DEFINITION OF TERMS .......................................................................................... 2
0DQXIDFWXUHG XQGHU OLFHQVH IURP 'ROE\ /DERUDWRULHV 'ROE\ DQG WKH
GRXEOH' V\PERO DUH WUDGHPDUNV RI 'ROE\ /DERUDWRULHV &RQILGHQWLDO
8QSXEOLVKHG:RUNV 'ROE\/DERUDWRULHV,QF$OOULJKWVUHVHUYHG
7KLVSURGXFWLQFRUSRUDWHVFRS\ULJKWSURWHFWLRQWHFKQRORJ\WKDWLVSURWHFWHGE\
PHWKRG FODLPVRI FHUWDLQ 86 SDWHQWV DQG RWKHU LQWHOOHFWXDO SURSHUW\ ULJKWV
RZQHG E\ 0DFURYLVLRQ &RUSRUDWLRQ DQG RWKHU ULJKWV RZQHUV 8VH RI WKLV
FRS\ULJKW SURWHFWLRQ WHFKQRORJ\ PXVW EH DXWKRULVHG E\ 0DFURYLVLRQ
&RUSRUDWLRQ DQG LV LQWHQGHG IRU KRPH DQG RWKHU OLPLWHG YLHZLQJ XVHV RQO\
XQOHVV RWKHUZLVH DXWKRULVHG E\ 0DFURYLVLRQ &RUSRUDWLRQ 5HYHUVH
HQJLQHHULQJRUGLVDVVHPEO\LVSURKLELWHG
'76 DQG '76 'LJLWDO 2XW DUH WUDGHPDUNV RI 'LJLWDO 7KHDWHU 6\VWHPV ,QF