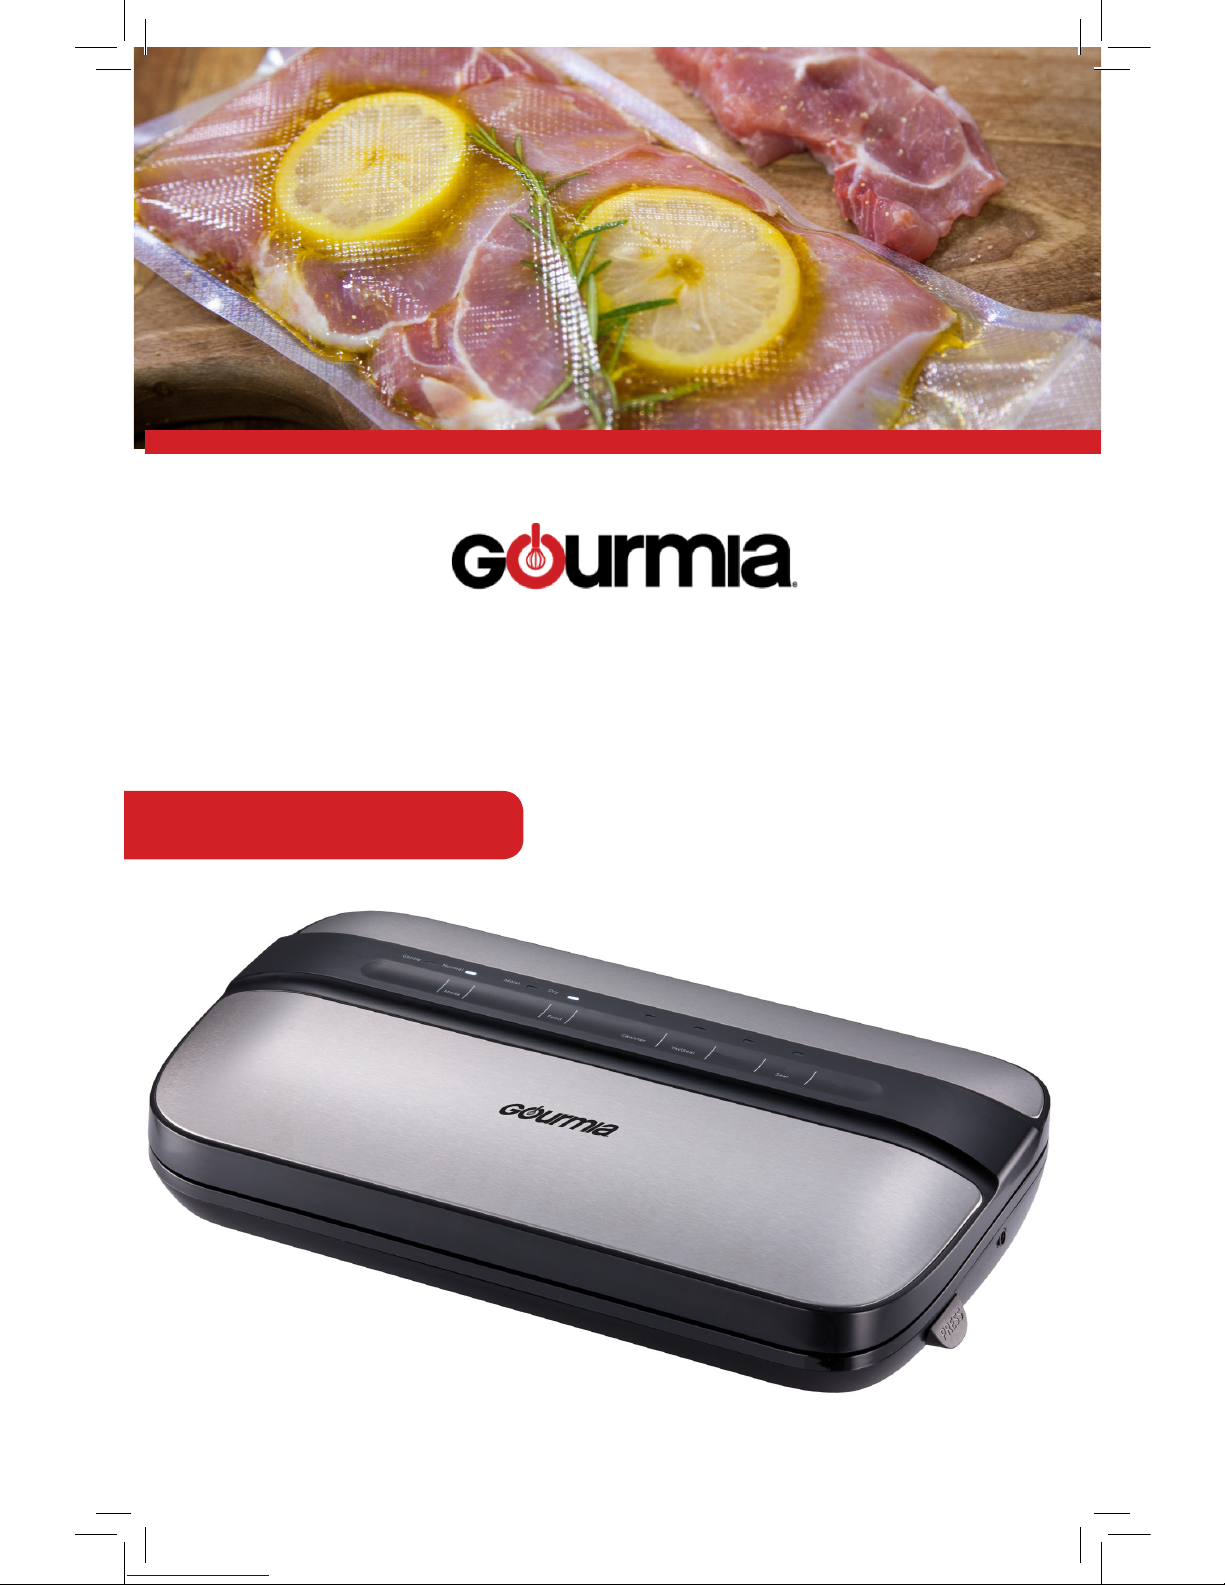
Gourmia GVS-455 User manual

Vacuum Sealer
Cancel
Pickling
USER MANUAL
Model# GVS-455

Model: GVS455
© 2017 Gourmia
www.gourmia.com
The Steelstone Group
Brooklyn, NY
All rights reserved. No portion of this manual may be reproduced by any means
whatsoever without written permission from The Steelstone Group, except for the
inclusion of quotations in a media review.
Although every precaution has been taken in the preparation of this manual, The
Steelstone Group assumes no responsibility for errors or omissions. Nor is any
liability assumed for damages resulting from the use of the information contained
herein. Although every eort has been made to ensure that the information
contained in this manual is complete and accurate, The Steelstone Group is not
engaged in rendering professional advice or services to the individual consumer;
further, The Steelstone Group shall not be held responsible for any loss or damage
allegedly arising from any information or suggestion in this manual.
Read this manual thoroughly
before using and save it for
future reference
2

Welcome to the Convenience of
Vacuum Sealing from Gourmia
Congratulations on your purchase of the Vacuum Sealer from Gourmia! The
Gourmia Vacuum Sealer is designed to extend the freshness of food up to
seven times longer than conventional storage methods. Its convenience
and versatility will allow you to preserve food eciently and it will become a
frequently used household appliance. With its thought out design and easy
operation you will be able to increase the shelf life of highly perishable or in-
frequently used items. The pages of this manual oer full and comprehensive
instructions to guide you through the functions and features of the Gourmia
Vacuum Sealer. In this guide you will also nd complete step-by- step instruc-
tions for the operation, assembly, and maintenance of your appliance.
Please read all safety instructions thoroughly to ensure safe usage at all times.
Thank you for your purchase! We sincerely hope you will enjoy this as well as all
the many innovative products brought to you by our family at Gourmia.
3

4
IMPORTANT SAFEGUARDS
Important Safety Instructions
READ INSTRUCTIONS CAREFULLY BEFORE USING
1. Please check if the local power supply voltage matches the voltage indi-
cated on this appliance before use.
2. To prevent re, electric shock or injury, do not immerse cord, plug or main
unit in water or anyother liquid.
3. Keep the appliance out of reach of children and people with limited
capabilities.
4. Unplug the appliance from the outlet when not in use and before clean-
ing. Do not unplug by pulling on the cord.
5. Do not operate the appliance with a damaged cord or plug. If the appli-
ance malfunctions, or has been damaged in any way, do not use it. Return
the appliance to the nearest authorized facility for repair.
6. Accessories or attachments that were not provided by the manufacturer
should not be used. They may result in re, electric shock or injury.
7. Do not use outdoors.
8. Do not let the cord hang over the edge of a table or counter, or touch hot
surfaces.
9. Do not use an extension cord with this appliance.
10. Do not place on or near a hot gas or electric burner, or in a heated oven.
11. The appliance should be operated on a at/ dry surface.
12. Do not use the appliance for anything other than intended use.
13. To prevent the appliance from overheating, allow it to cool for 40 sec-
onds with the lid raised before using again.
14. Use the appliance in a ventilated room, and do not let it touch curtains,
wall paper, clothing, dishcloths or any other ammable materials.
15. Cleaning and maintenance should not be done by children without
supervision.
16. FOR HOUSEHOLD USE ONLY.
SAVE THESE INSTRUCTIONS

TABLE OF CONTENTS
5
TABLE OF CONTENTS
Why Vacuum Sealing.............................6
Know Your Vacuum Sealer......................7
Using Your Vacuum Sealer......................8
Vacuum Sealing Tips............................12
Cleaning & Maintenance......................13
Troubleshooting..................................14
Warranty & Services.............................15

Why Vacuum Sealing?
6
WHY VACUUM SELAER
When food is exposed to air, it can lose avor and nutritional value. It also
enables bacteria to grow, which causes food to spoil faster. The Gourmia
Vacuum Sealer suctions the air out and prevents this from happening by
sealing the avor and freshness of the food.
With the Gourmia vacuum sealing system, you can buy in bulk on sale
and vacuum package your food in desired portion sizes without waste.
Additionally, you can use the Vacuum Sealer to marinate food in less than
half the time. Vacuum sealing opens up the pores of food so you can get
that great marinated avor in just twenty minutes.
Besides using the Vacuum Sealer for food, it is also great for protecting
household items, i.e. keeping camping and boating supplies dry, safe
and orgainzed.

KNOW YOUR VACUUM SEALER
7
PRESS
Seal
marinade
Vac/ Seal
Canister
Food
Cancel
Mode
Gentle
Normal Moist Dry
Roll
Storage
Vacuum
Nozzle
Sealing
Bar
Release
Button
Rubber
Rim
Canister
Hose Port
Rubber
Rim
Cutter
Gentle Normal Moist Dry
Mode Food
Canister Vac / Seal
Marinade Seal Cancel
Mode
Button
Food
Button
Canister
Button Vac / Seal
Button
Marinade
Button
Seal
Button
Cancel
Button
Power Function LightsPower Function Lights

8
KNOW YOUR VACUUM SEALER
STRUCTURE AND FUNCTIONS:
• Roll chamber: Place the rolls of vacuum bags in the roll chamber.
• Cutter: Use the cutter to cut the bags to the desired size.
• Rubber Rim: The rim guarantees that the sealing process will be smooth
and compressed.
• Vacuum Chamber: Insert the open side of the vacuum bags into the
vacuum chamber.
• Sealing Bar: The sealing bar ensures accurate sealing.
• Release Button: Press the release button to open the lid and remove the
vacuum bags.
• Canister Hole: When vacuuming
the canister, or other attachments,
connect the tube to this hole.
Roll
Storage
Sealing
Bar
Vacuum
Nozzle
Release
Button
Rubber
Rim
Rubber
Rim
Cutter
PRESS
Seal
marinade
Vac/ Seal
Canister
Food
Cancel
Mode
Gentle
Normal Moist Dry

Gentle Normal Moist Dry
Mode Food
Canister Vac/ Seal
Marinade Seal Cancel
9
USING YOUR VACUUM SEALER
9
USING YOUR VACUUM SEALER
SEALING THE VACUUM BAGS:
1. Plug the appliance into a wall
outlet.
2. Open the lid and pull out the de-
sired amount of plastic from the roll.
Note: Leave about four inches from
the top for a good vacuum pack.
Always make the bag bigger than
you need.
3. Move the cutter from side to side
to cut the bag to your desired size.
4. Feed the open side of the bag into
the vacuum chamber to seal the
bag.
NOTE: Make sure not to cover the
vacuum nozzle.
5. Press the lid down with both
hands until you hear the click.
NOTE: If Using Precut Bags Skip These Steps
6. Press the seal button and the LED
light will turn on.
7. When the LED light turns o, the
sealing is complete.
8. Then press the release button to
open the appliance and remove the
bag.
Gentle Normal Moist Dry
Mode Food
Canister Vac / Seal
Marinade Seal Cancel

10
USING YOUR VACUUM SEALER
Using Your Vacuum Sealer
Vacuum Sealing Food Using the canister mode (Canister not included):
1. Plug the appliance into a wall outlet.
2. Place the food inside the canister.
3. Make sure to leave at least one inch of space between the food and the top
of the canister.
4. Wipe the exterior of the canister to make sure it is clean and dry.
5. Place the lid on the canister.
6. Insert one end of the hose into the canister hose input hole on the
appliance.
7. Insert the other end of the hose into the suction hole on the top of the
canister lid.
8. Press the Canister button to start the vacuuming cycle and the LED light will
turn on.
9. The vacuum will begin to draw the air from the canister and create a tight
seal.
10. You can press the stop button at any time to stop the vacuuming process.
11. When the vacuuming process is complete, the LED light will turn o.
12. Unplug one end of the hose from the canister rst.
13. Then unplug the other end from the appliance.
14. The preserved food can be kept in the canister until it is ready to be used.
15. When the stored items have expired, in order to remove them from the
canister. Press down the button in the center of the canister lid to deate air,
then open the canister.
Note: Remove the lid before you put the canister in the microwave oven. Place
the canister in refrigerator for better preservation.

11
USING YOUR VACUUM SEALER
11
Marinating Food Using the Vacuum Sealer
In this mode, the appliance can marinate food using vacuum cycles.
It creates great avor in a short amount of time.
1. Plug the appliance into a wall outlet.
2. Place the food inside the canister.
3. Make sure to leave at least one inch of space between the food and the
top of the canister.
4. Wipe the exterior of the canister to make sure it is clean and dry.
5. Place the lid on the canister.
6. Insert one end of the hose into the canister hose input hole, on the
appliance.
7. Insert the other end of the hose into the suction hole on the top of the
canister lid.
8. Press the Pickling button to start the marinating cycle, and the LED light
will turn on.
9. You can press the stop button at any time to stop the process.
10. When the marinating process is complete, the LED light will turn o.

12
VACUUM SEALING TIPS
TIPS
1. Do not overcrowd the bags. Leave enough space, about four inches, at the
opening of the bag so that it can be placed in the vacuum chamber easily.
2. If the bag is too small, uid will enter the vacuum chamber and will ruin the
seal.
3. Make sure that the opening of the bag is not wet. A wet bag may be
dicult to heat and ruin the seal.
4. Vacuum sealing cannot completely replace refrigeration or freezing.
Perishable foods still need to be refrigerated or frozen.
5. Make sure the opening of the vacuum bag is clean and at. There should
be no wrinkles as they may cause leaking during the process and ruin the
seal.
6. To prevent wrinkles in a seal when vacuum sealing bulky items, gently
stretch the bag to atten it while inserting it into the vacuum chamber. Hold
it there until the sealing begins.
7. When you are vacuum sealing items with sharp edges (dry spaghetti, sil-
verware, etc.), protect the bag from punctures by wrapping the item in a soft
padded material, such as parchment paper or paper towels. You may need to
place the food in a canister or container instead of a bag.
8. When using accessories, remember to leave (1-inch) of space at the top of
the canister or container.
9. Freeze fruits and blanch vegetables before vacuum sealing for best results.
10 . It is recommended to wait forty seconds before sealing the next item.
11. If you are unsure whether your bag was sealed properly, reseal the bag.
NOTE: To avoid illness, do not reuse bags after storing raw meats, raw sh or
greasy foods. Do not reuse bags that have been microwaved or cooked.
Note: Allow hot foods to cool down to room temperature before vacuum
packaging. Otherwise, contents may bubble and spill from the canister.
Note: Do not vacuum package carbonated or sparkling beverages, as gas
removal will cause them to go at.

13
13
CLEANING AND MAINTENANCE
1. Always unplug the appliance before cleaning.
2. Do not immerse the appliance or cord in water or any other liquid.
3. Do not use harsh cleaners as they will scratch the surface of the appliance.
4. Wipe the exterior of the appliance with a damp cloth or a sponge with
mild soap, if necessary.
5. To clean the vacuum chamber, wipe any food or liquid with a cloth.
6. Dry thoroughly before using the appliance again.
PRESS
Seal
marinade
Vac/ Seal
Canister
Food
Cancel
Mode
Gentle
Normal Moist Dry

14
USING YOUR BREAKFAST MAKER
14
Vacuum sealing doesnt work.
There is still air in the bag after
vacuum packing.
Air has been removed from the
bag, but then re-entered.
The bag melts
Check if the power cord is tightly plugged into electrical outlet.
Check if the power cord is damaged.
Check if the electrical outlet is working by plugging in another appliance.
Make sure the lid of theVacuum Sealer is locked in place.
Make sure the bag is placed correctly inside theVacuum Chamber.
Allow the appliance to cool down for forty seconds before using it again.
Make sure the opening of the bag is placed entirely inside the
vacuum chamber.
If you use one of the included bags in a customized size, check the seal of the
bag. A wrinkle in the bag along the seal may cause leakage and allow air to
re-enter. In this case, just cut bag and reseal.
Do not attempt to make your own side seams on the bag.
The bags are manufactured with special side seams, which are
sealed all the way to the outer edge. Making your own side seams may cause
leakage and allow air to re-enter.
Do not seal the bag when food is hot, otherwise the food will shrink while
cooling down and it may cause air to leak.
Do not seal fermented food. Fermented food is not suitable for vacuum
packing, because it will release gas.
Examine seal of the bag. A wrinkle along the seal may cause leakage and allow
air to enter. Simply cut the top of the bag, wipe down, and reseal.
Sometimes moisture or food material (such as juices, grease, crumbs, powders,
etc.) along the seal prevents the bag from sealing properly. Cut the bag, wipe
the top inner part of the bag and reseal.
If you vacuum package sharp food items, the bag may have been punctured.
Use a new bag if there is a hole. Cover sharp food items with a soft padded
material, such as parchment paper or paper towels, and reseal.
If there is still air in the bag, fermentation or the release of natural gases from
inside the foods may have occurred.When this happens, food may have begun
to spoil and should be discarded.
If the bag melts, the rubber rim may have become too hot. Always wait at
least 40 seconds for the appliance to cool down before you vacuum package
another item.
PROBLEM POSSIBLE CAUSE
TROUBLESHOOTING

WARRANTY & SERVICE
This Limited Warranty is for one full year from the date
of purchase. It is applicable to the original purchaser
only and is not transferable to a third party user. Repair
or replacement of defective parts is solely at the seller’s
discretion. In the event that repair isn’t possible, the
seller will replace the product/part. If product repair/
replacement won’t suce, the seller has the option of
refunding the cash value of the product or component
returned.
Product defects not covered under the Warranty
provisions include normal wear and damage incurred
from use or accidental negligence, misuse of instruction
specications or repair by unauthorized parties.
The manufacturing company is not liable for any
incidental or consequential damages incurred by such
circumstances.
15
WARRANTY & SERVICES

USING YOUR BREAKFAST MAKER
FOR CUSTOMER SERVICE
QUESTIONS OR COMMENTS
VISIT US @ GOURMIA.COM
OR CALL 888.552.0033
Table of contents
Other Gourmia Food Saver manuals
Popular Food Saver manuals by other brands

Centron Technologies
Centron Technologies SE450 user manual

Cuisinart
Cuisinart VS-300C Instruction booklet

Hamilton Beach
Hamilton Beach 78218 manual

Status
Status HV100 user manual

Rapid Packaging
Rapid Packaging IPG USA 2324-BB Operations manual & parts list

Home Electronics
Home Electronics FS-XL19 instruction manual