9
BACK TO INDEX For more informaon about our products and how to contact us, please visit thermopatch.com
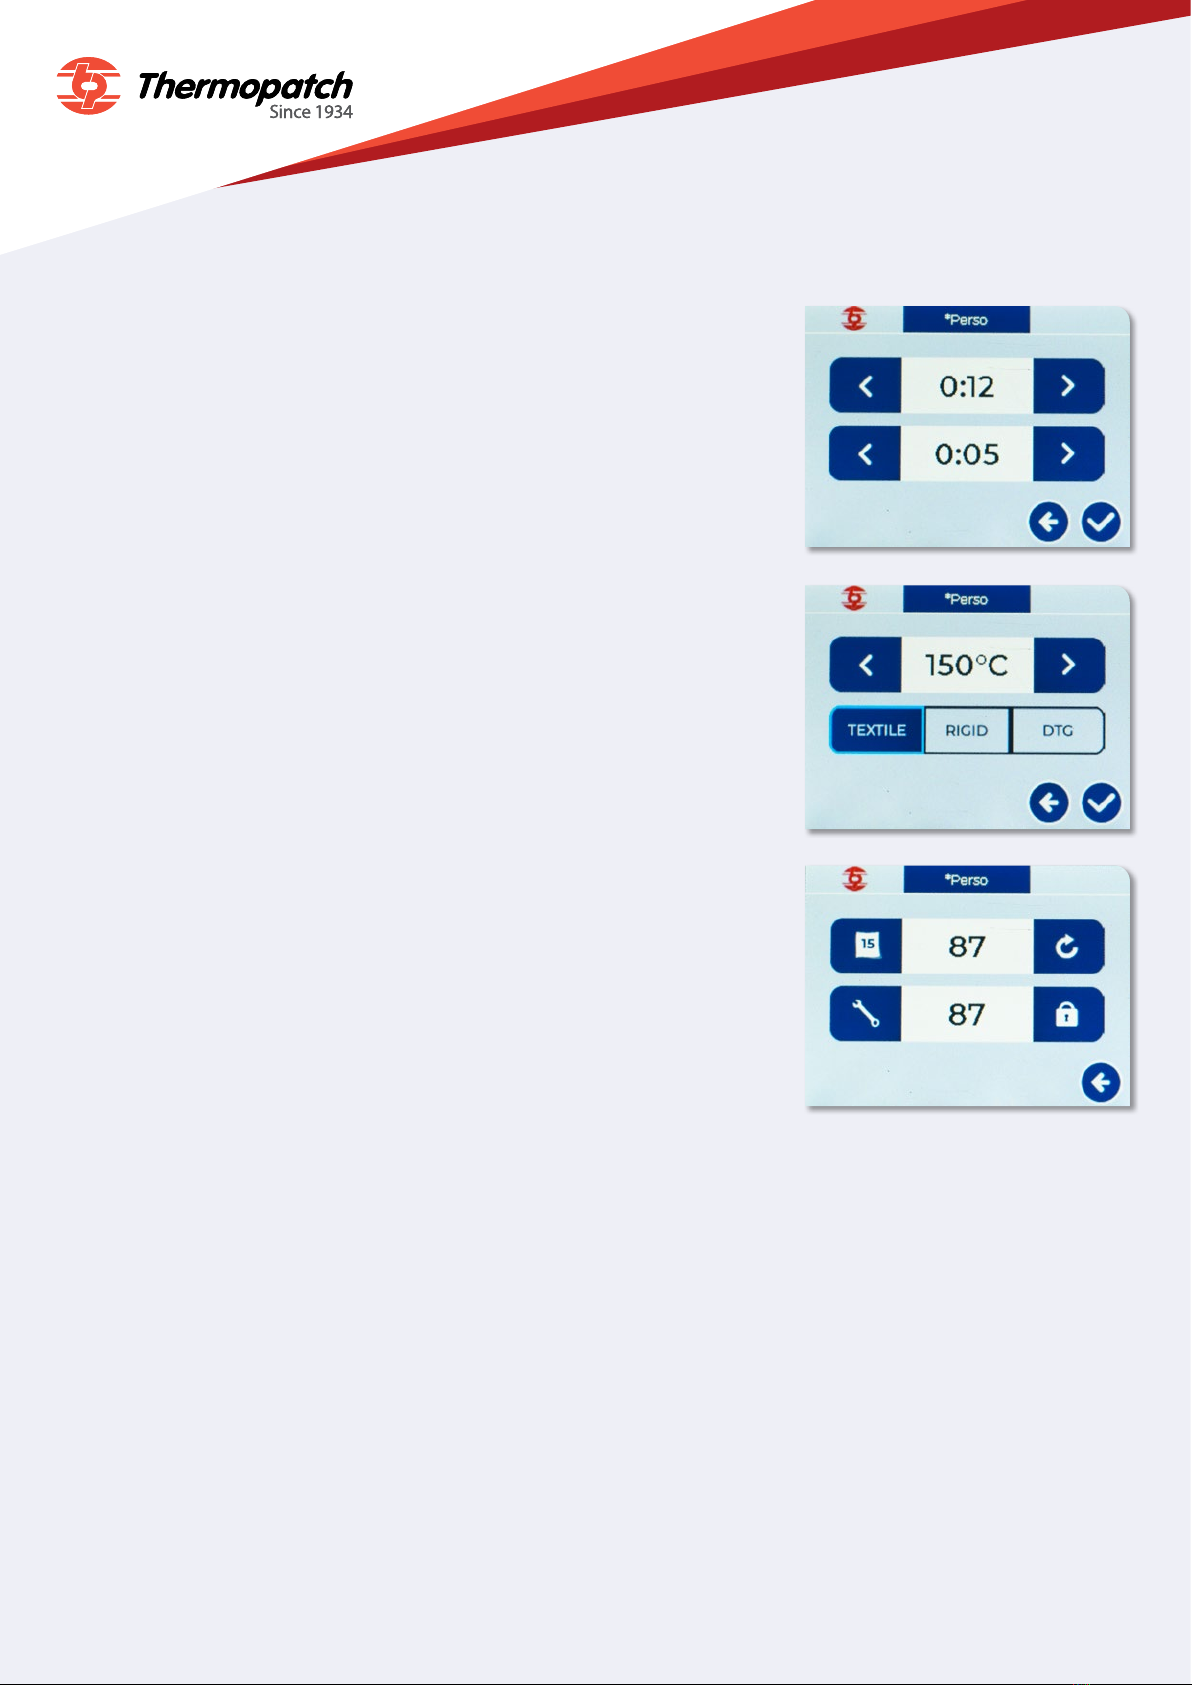
d) Presets
Pressing the Presets icon brings up the menu shown opposite.
Use the le and right arrows to select one of the 5 pre-congured
presets. To use a preset, press the oppy disk icon with the arrow
poinng to the right. Once selected, press the home icon in the
boom right corner to return to the main menu.
To create or alter a preset, you must rst set the me and temperature
from the main screen and then select a memory slot (1 to 5) from the
preset screen. To rename a preset, press the pencil icon.
Give your preset a name and press the arrow in the boom right
corner to conrm. To nish, press the oppy disk icon with the arrow
poinng to the le to save your choice/seng.
e) Sengs
Press this icon in the main menu to go to the machine sengs.
There are 6 available opons.
The rst opon, represented by 2 gear wheels, lets you change the
machine’s technical aspects. Touching this opon brings up another 6
icons.
Lets you choose whether the machine emits a sound each me the touch screen is used.
Lets you enable or disable an alarm when the pressing me is complete.
Lets you choose the unit of temperature: Celsius or Fahrenheit.
Lets you enable another mer for the pressing me.
With this opon enabled, you can alter 2 mes in the pressing me menu.
The le arrow takes you back to the previous menu.
The right arrow takes you to other sengs.