Table of contents
Hoshizaki
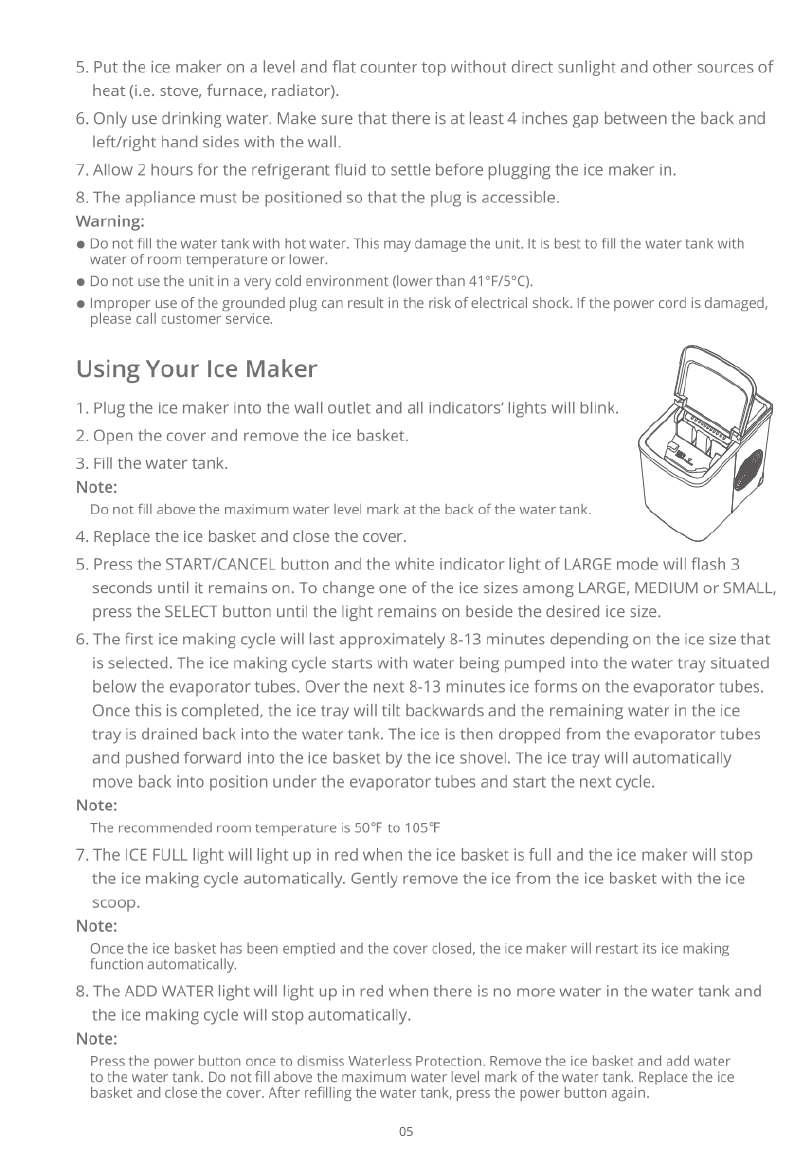
Hoshizaki KMD-460MWJ instruction manual
Sub-Zero
Sub-Zero 315I Planning information
Kenmore
Kenmore 2217402A Use & care guide
Cornelius
Cornelius WM600 Installation & owner's manual
GE
GE XPIO43SCSS owner's manual
Hoshizaki KMD-901MAH Specifications
Whynter
Whynter FIM-450HA instruction manual
U-Line
U-Line UMCR014-SC01A User guide & service manual
Andrew James
Andrew James AJ000522 manual
Scotsman
Scotsman CME1356 user guide
Scotsman ACM 25 Service manual
Kärcher
Kärcher IP 120 manual
U-Line SS1095 Quick referenc guide
Maytag
Maytag MIM1554WRS - Ice Maker User instructions
Hoshizaki KM-630MAH instruction manual
Princess
Princess Yonanas user manual
Unold
Unold 48946 Instructions for use
Electrolux
Electrolux E15IM60GP Factory parts catalog